How Remove Distracting Objects In Photoshop

Sometimes no matter how hard you try in camera to achieve the perfect image their some things you can control. Maybe it’s a car in the background, maybe your model had a hair tie around their wrist. The hair tie!!! There are ways in Photoshop to easily remove those objects.

You can use the clone stamp and content aware to help you. I usually use a combination of the two to get the most natural results.

You can view this quick video here on how to use these tools in Photoshop to remove distracting objects:

How To Use Photoshop Overlays To Create Unique Images

To me a raw images is like a white canvas with a preliminary sketch on it. You have so many options of what you can do with your image. I’ve always loved editing images and giving them a unique feel.

I created some photoshop Overlays that include sparkles, sparklers, borek and most recently leafs. The leafs are probably my favorite. I use them on a lot of my fall photo shoots. I also utilize the bokeh overlays for night shoots.

Overlays are very easy to download and apply to your images. They look very natural and can be used on a variety of indoor/outdoor images.

You can view all our Overlays within our SHOP

Using our Photoshop Overlays:

Landscape Photography Editing Dark & Moody Pack

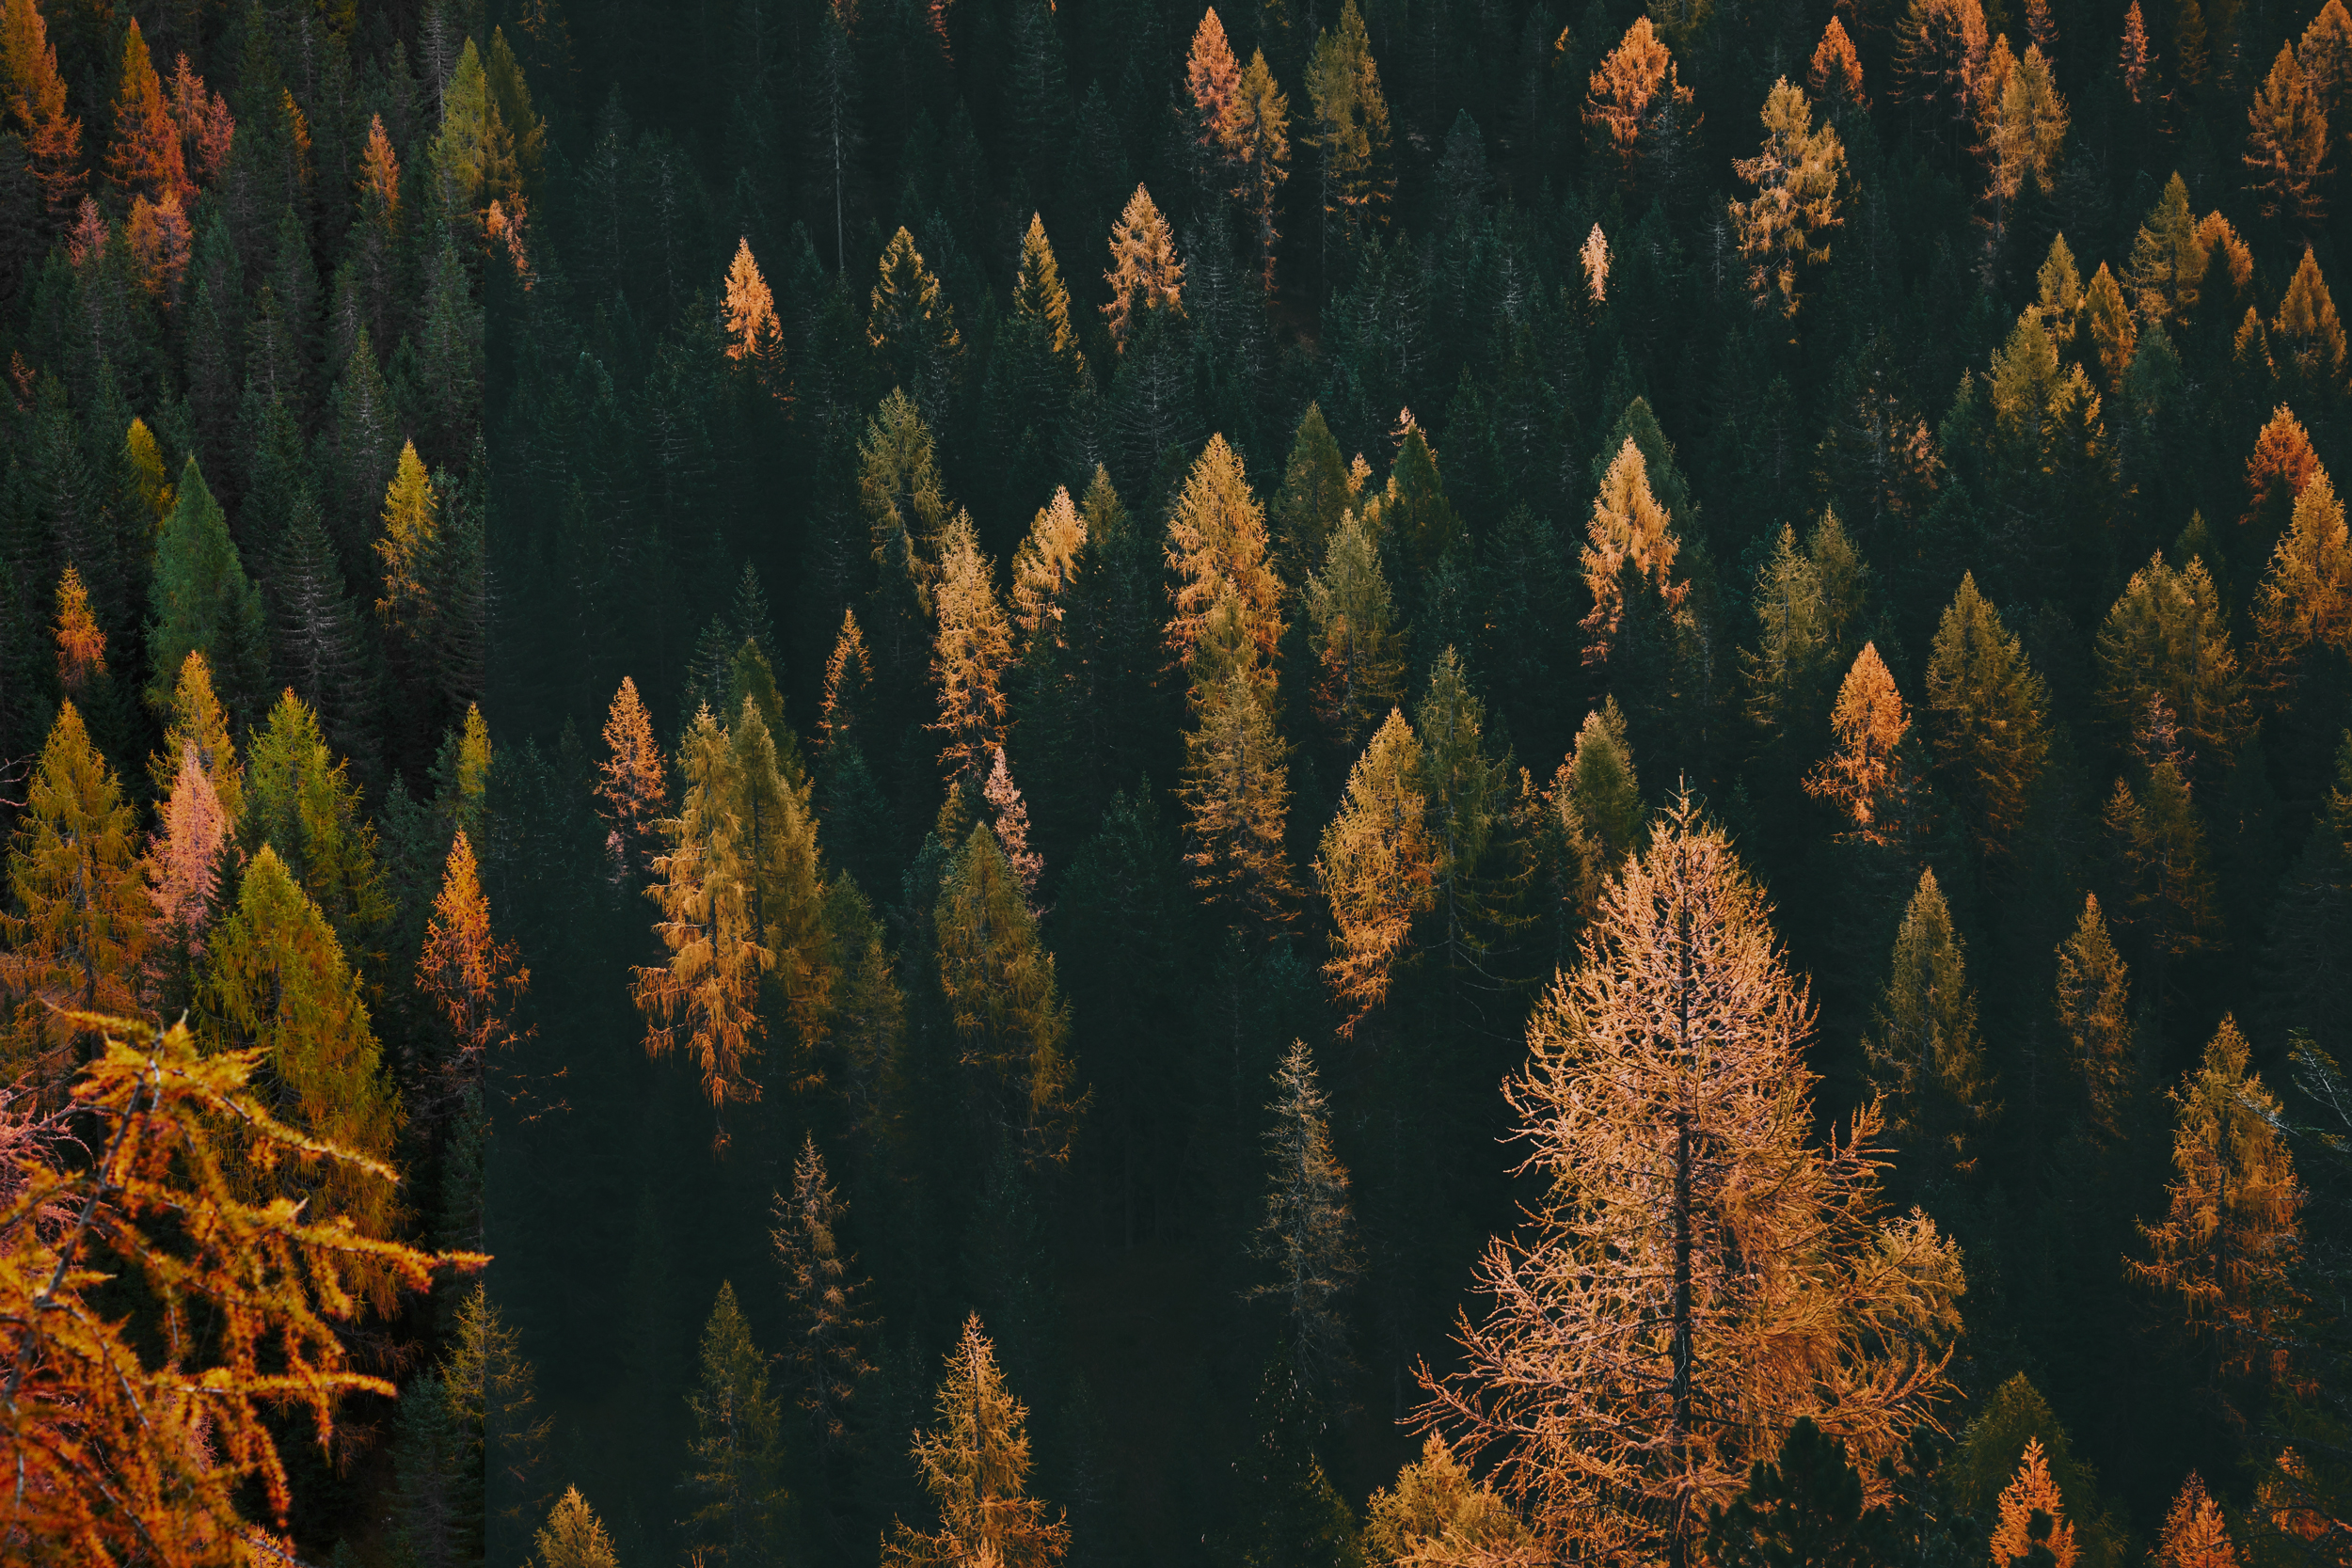
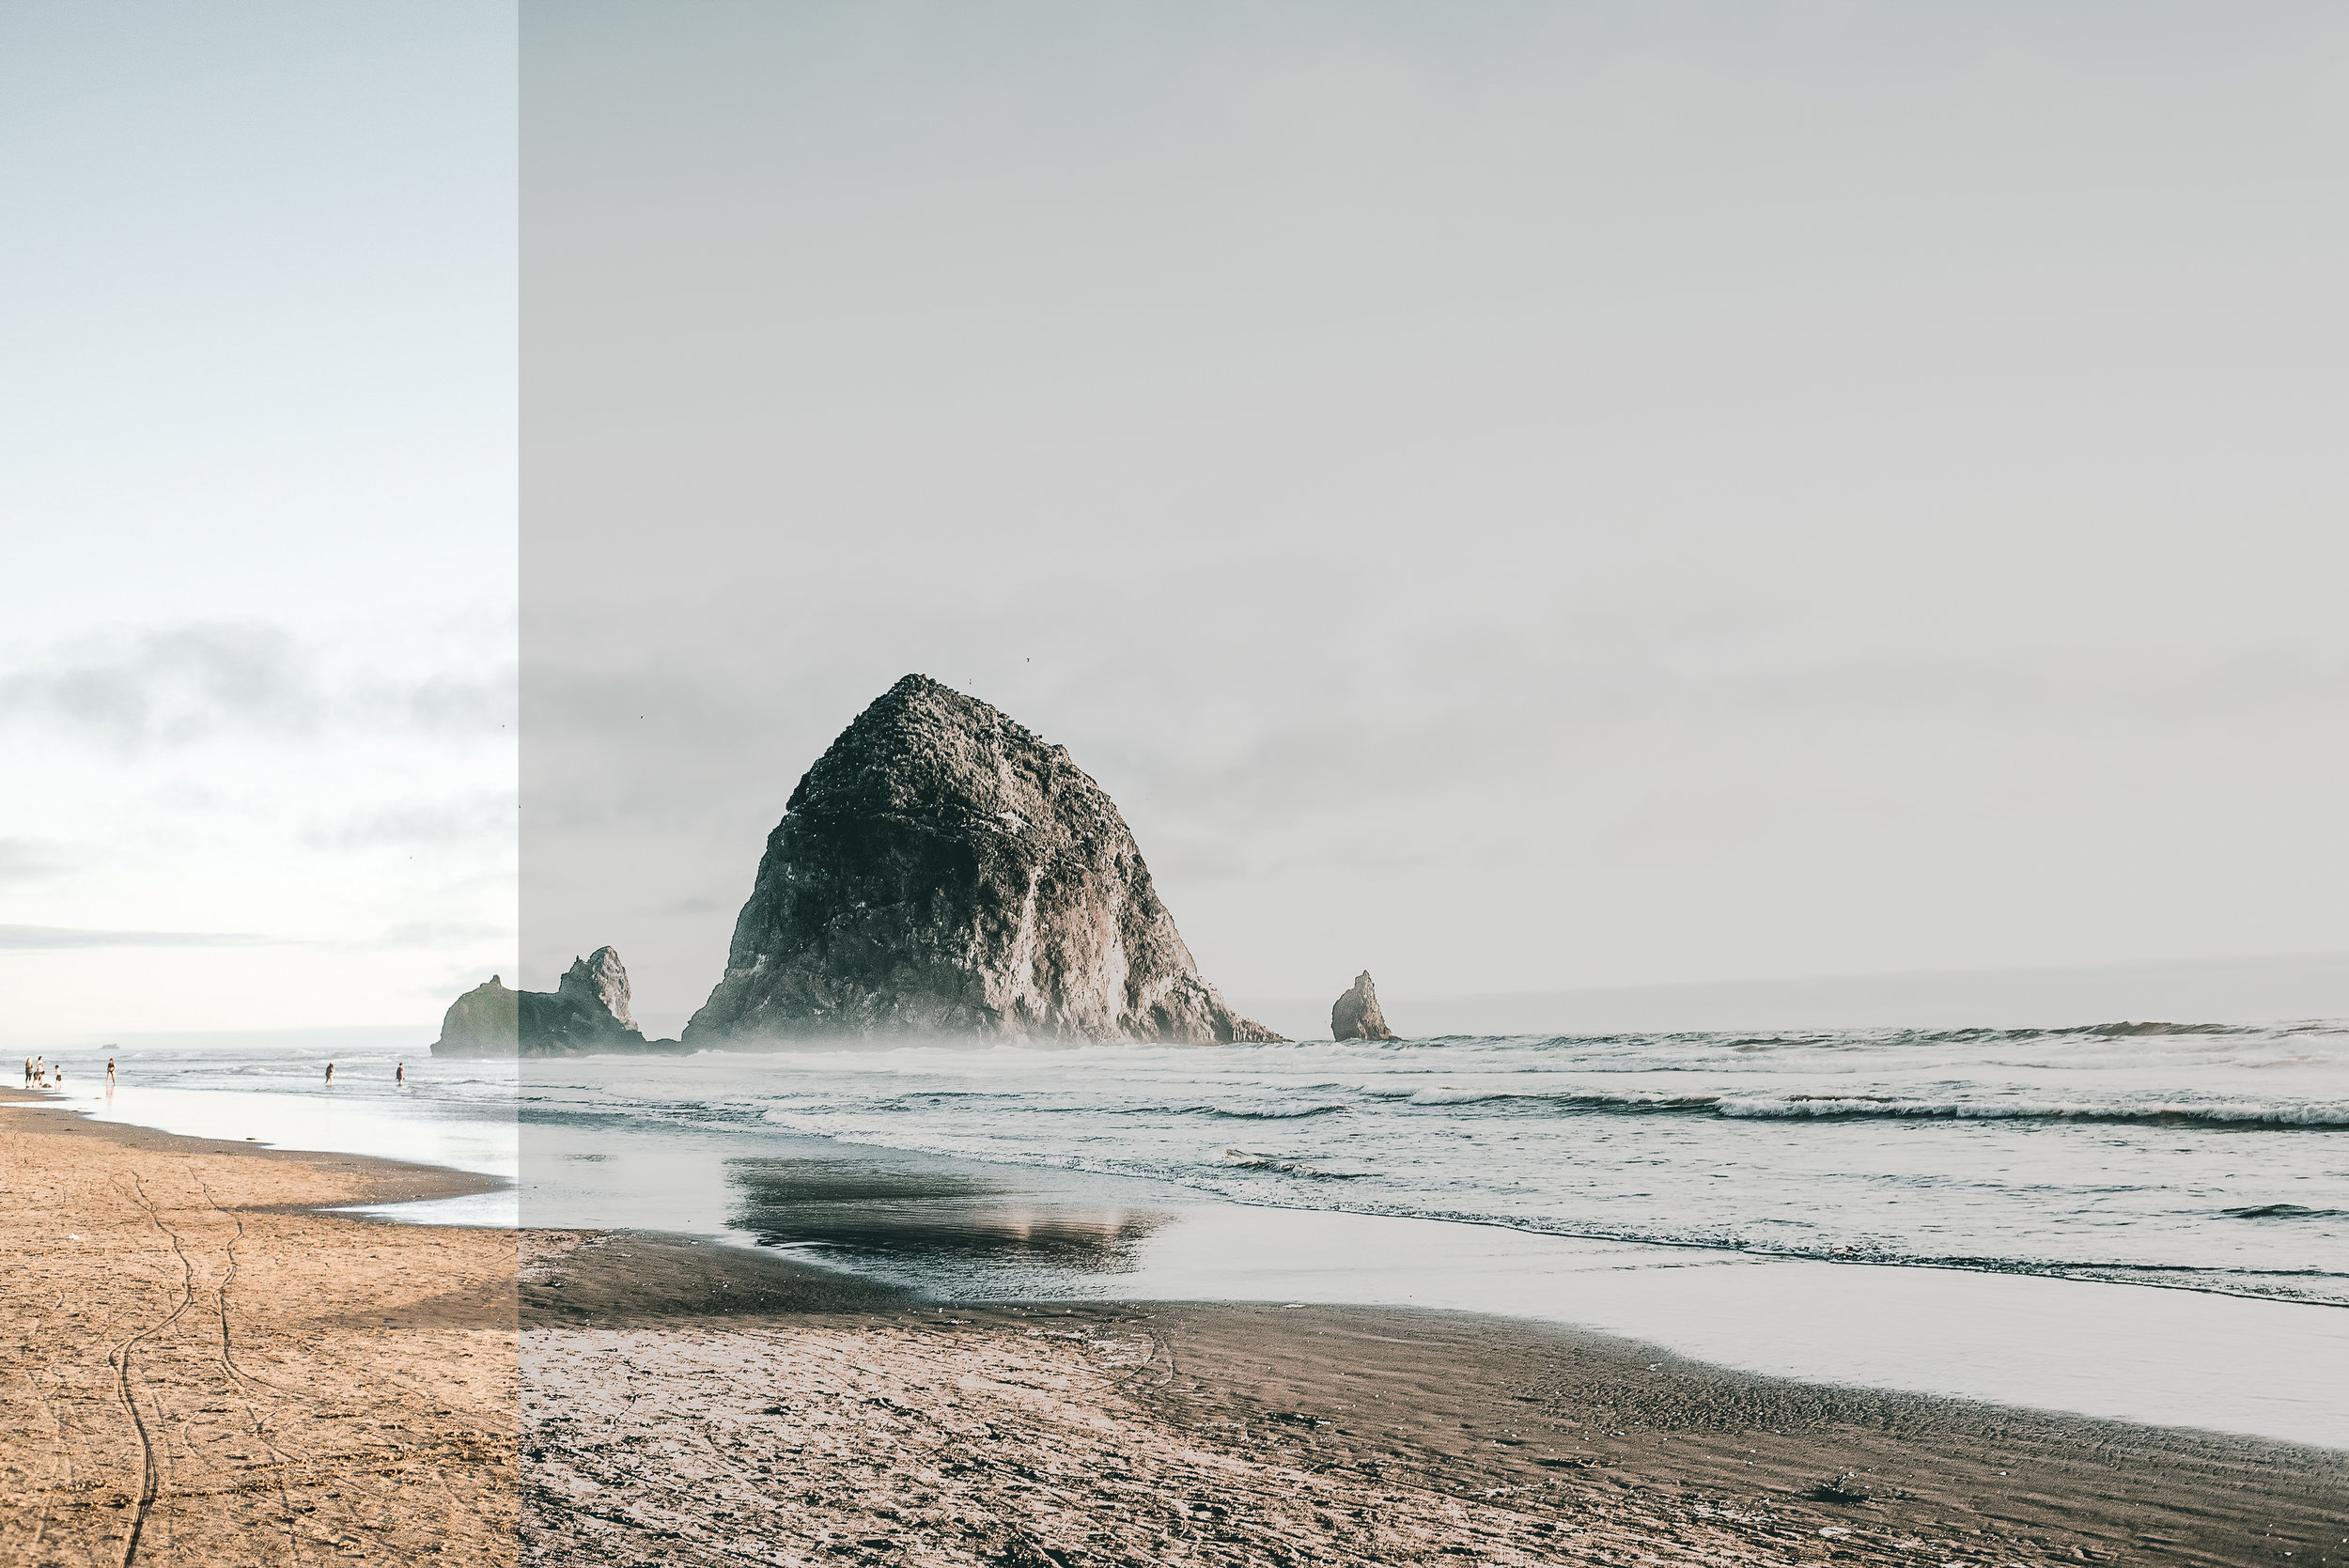
I have always been drawn to Dark & Moody Landscape images. I love a vibrant sunset or sunrise but being from the PNW and living there for the majority of my life I will always love the Moody Look. I created a Pack for Lightroom & Photoshop to emulate dark moody PNW Days.

You can view our Dark & Moody Pack within our SHOP

Before and Afters with our Dark & Moody Pack:

Editing Process // Lightroom Or Photoshop?

I get a lot of questions about the pros and con of Lightroom vs. Photoshop and what I use more. I use both for my editing process.

To break down my editing process for a portrait shoot: I start importing my raw files into Lightroom. Once in Lightroom I go through the images and flag my favorites from each pose that I will be editing. I then filter to only see my flagged images. This is the fastest process I have found to organize and decide which images to edit.

Lightroom or Photoshop Blog?.jpg

I then export the images as DNGs to maintain their raw information. Once exported I open them in Photoshop Camera Raw. I adjust my exposure and white balance if needed. I them use my Retouching Actions to smooth skin texture, highlight, and balance skin tone. Next I head back into Camera Raw and apply my ACR.

I then save a full resolution file and export for web. This process has worked wonders for me to maintain consistency and speed up my workflow.

You can definitely use one or the other but I have found using both is the best option.


How To Maintain Consistency When Editing

Maintain consistency when editing your work is important. It’s important to have a consistent look to your work within a shoot and for your social media. You create a look people start to recognize from you. Making sure images within a shoot have the same tone and look is important for you clients too.

So how to maintain consistency when you shoot in different locations with different lighting and colors? It can be hard to achieve and can take a little work. At some point you will need to decide what editing style you like. Do you like the Bright & Airy look? Do you like the Moody Film Look? Do you like Vibrant Colorful images? Do you like the Bright Film look? 

Maintain Consistency in Photoshop.jpg

Once you find your style you can maintained that look by editing with the same method. Also a lot of the outcome starts in camera. If you like the Bright & Airy look you will want to properly exposure if not slightly over exposure. You will also want to shoot against bright  backgrounds. If you like the Moody Film look you will want to shoot at sunset or sunrise and slightly underexpose your images. Getting a great base helps maintain consistency. 

To sum it up maintaining consistency starts with deciding what you style you like. Planning out your locations and times accordingly. Then make sure you are setting your self up for success by achieving your style in Camera to get a great base. In editing make sure you edit with the same style. 


Blogger Editing In Lightroom & Photoshop

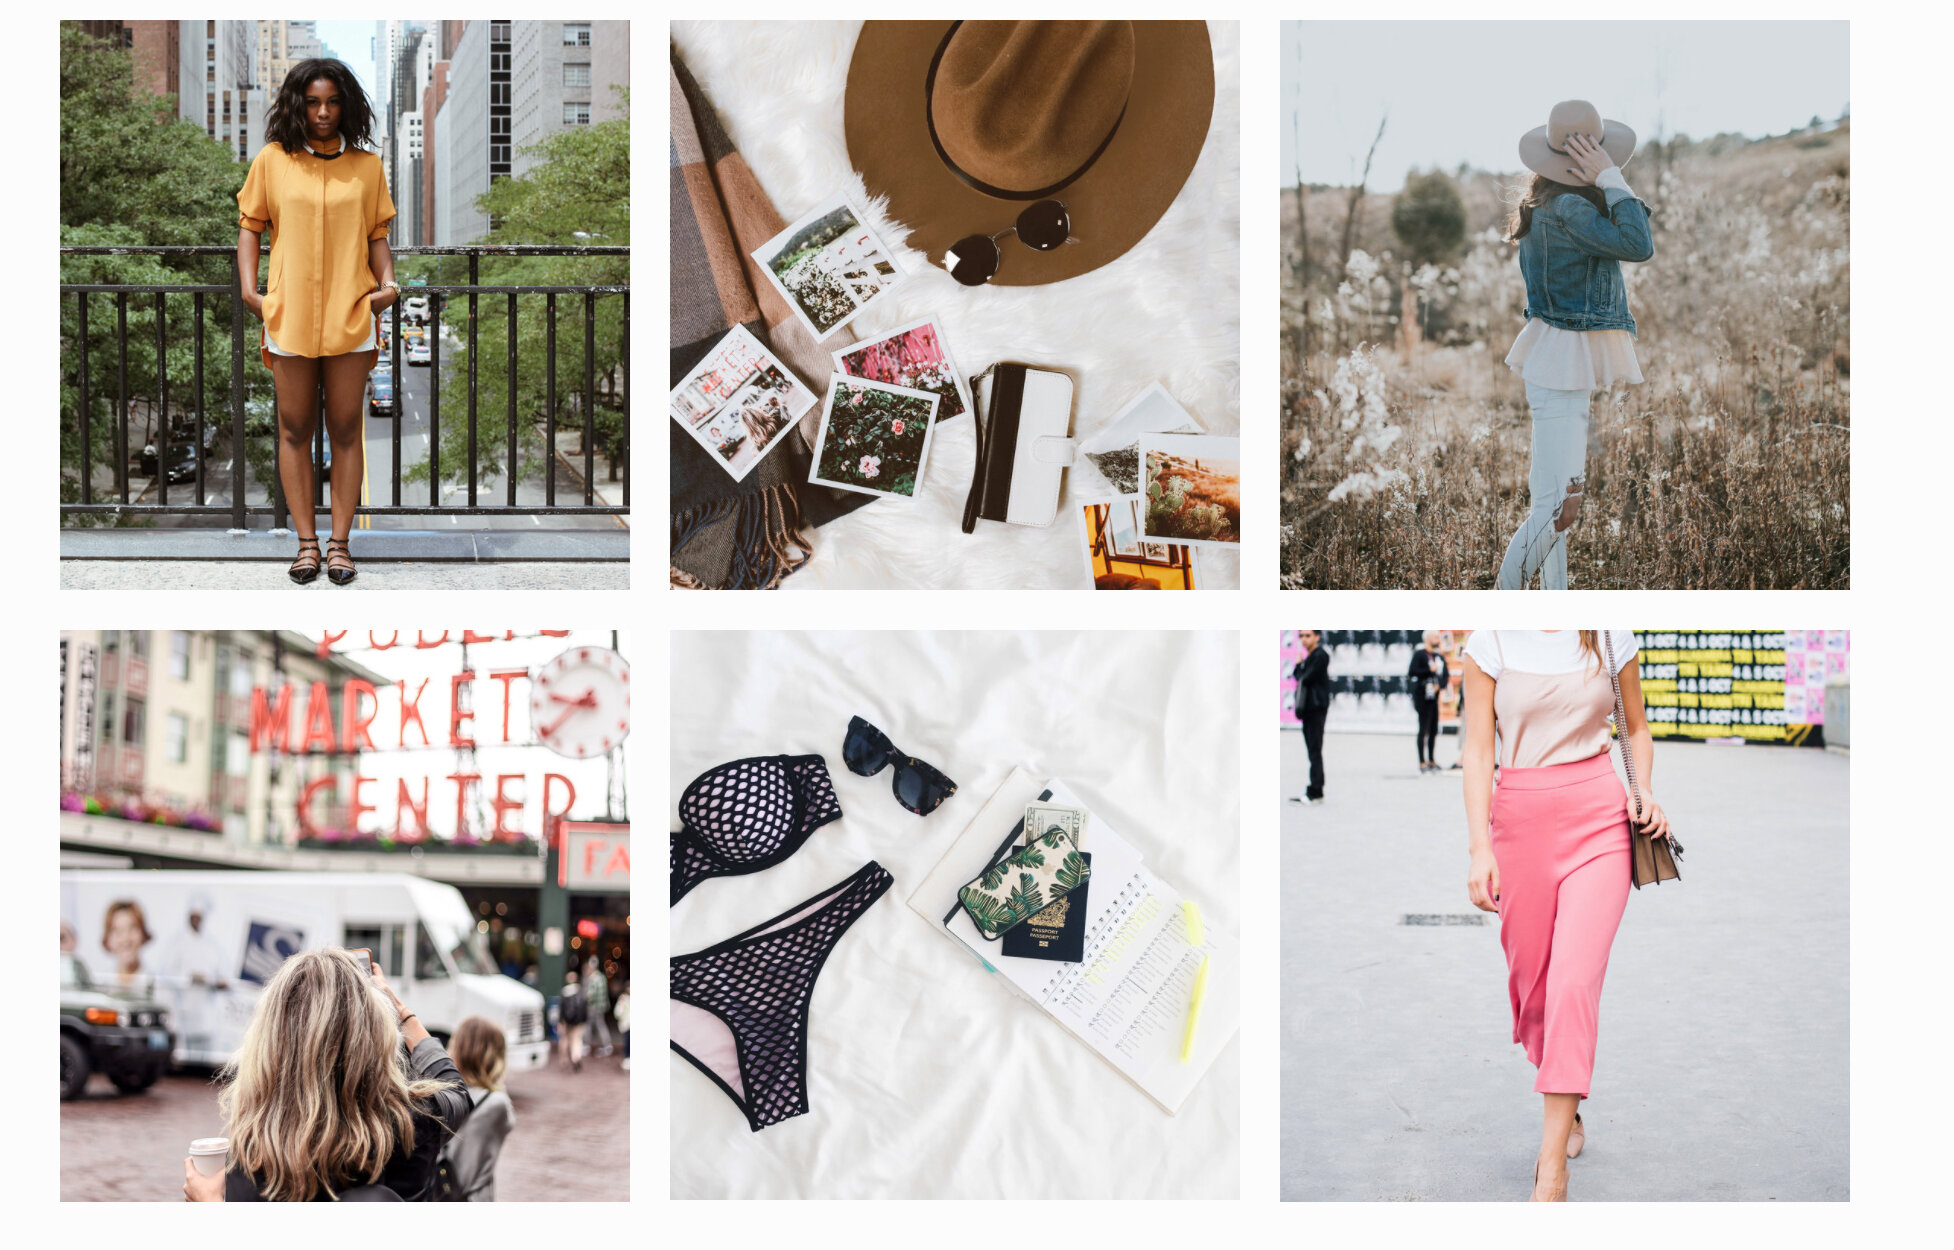
We have two options for photo editing for Bloggers. One is for Photoshop and one is for Lightroom. The Lightroom Version is full of helpful presets for portraiture/fashion/editorial/product photography. The Photoshop Version is a mix of ACRs and Actions. You can achieve the same look in either Photoshop or Lightroom.

You can view before and afters and the full product descriptions within our SHOP

Edited with our Lightroom Blogger Pack:

Screen Shot 2020-04-28 at 3.10.59 PM.jpg

Edited with our Photoshop Blogger Pack:

Screen Shot 2020-04-28 at 3.11.03 PM.jpg

Installing Your Lou & Marks Presets into New Adobe Lightroom CC 2017

Blog Posts_1.jpg

Adobe has released a new version of Lightroom CC.  The Version of Lightroom we have been previously using is now Lightroom CC Classic, and the new CC Version is powerful yet simple and can be used across multiple platforms including your mobile device.

You will be able to install our Presets into your Desktop version of the new application but not yet in the mobile app. Hopefully this will be a future update!

Installing Your Presets

This method is just as simple and fast as in Lightroom CC Classic:

1. Open your Lightroom CC app on your Mac or PC.  

2. Click on the the Editing section. It is on the top right hand side with three horizontal lines with a circle on each line.

3. Open the Presets section. You'll do this by clicking on the Presets bar at the bottom of the Editing section.

4. Click on the three dots at the top of the Presets panel that opens. Choose "Open Presets Folder".

5. Paste your presets into your "Develop Presets" Folder.  Copy and paste over the folders containing your Lou & Marks Presets.

6. Now Restart your Lightroom CC application by closing and re-opening the program. Your Presets will now be located in the Presets Bar at the bottom of the Panel

You can also follow along on this video:

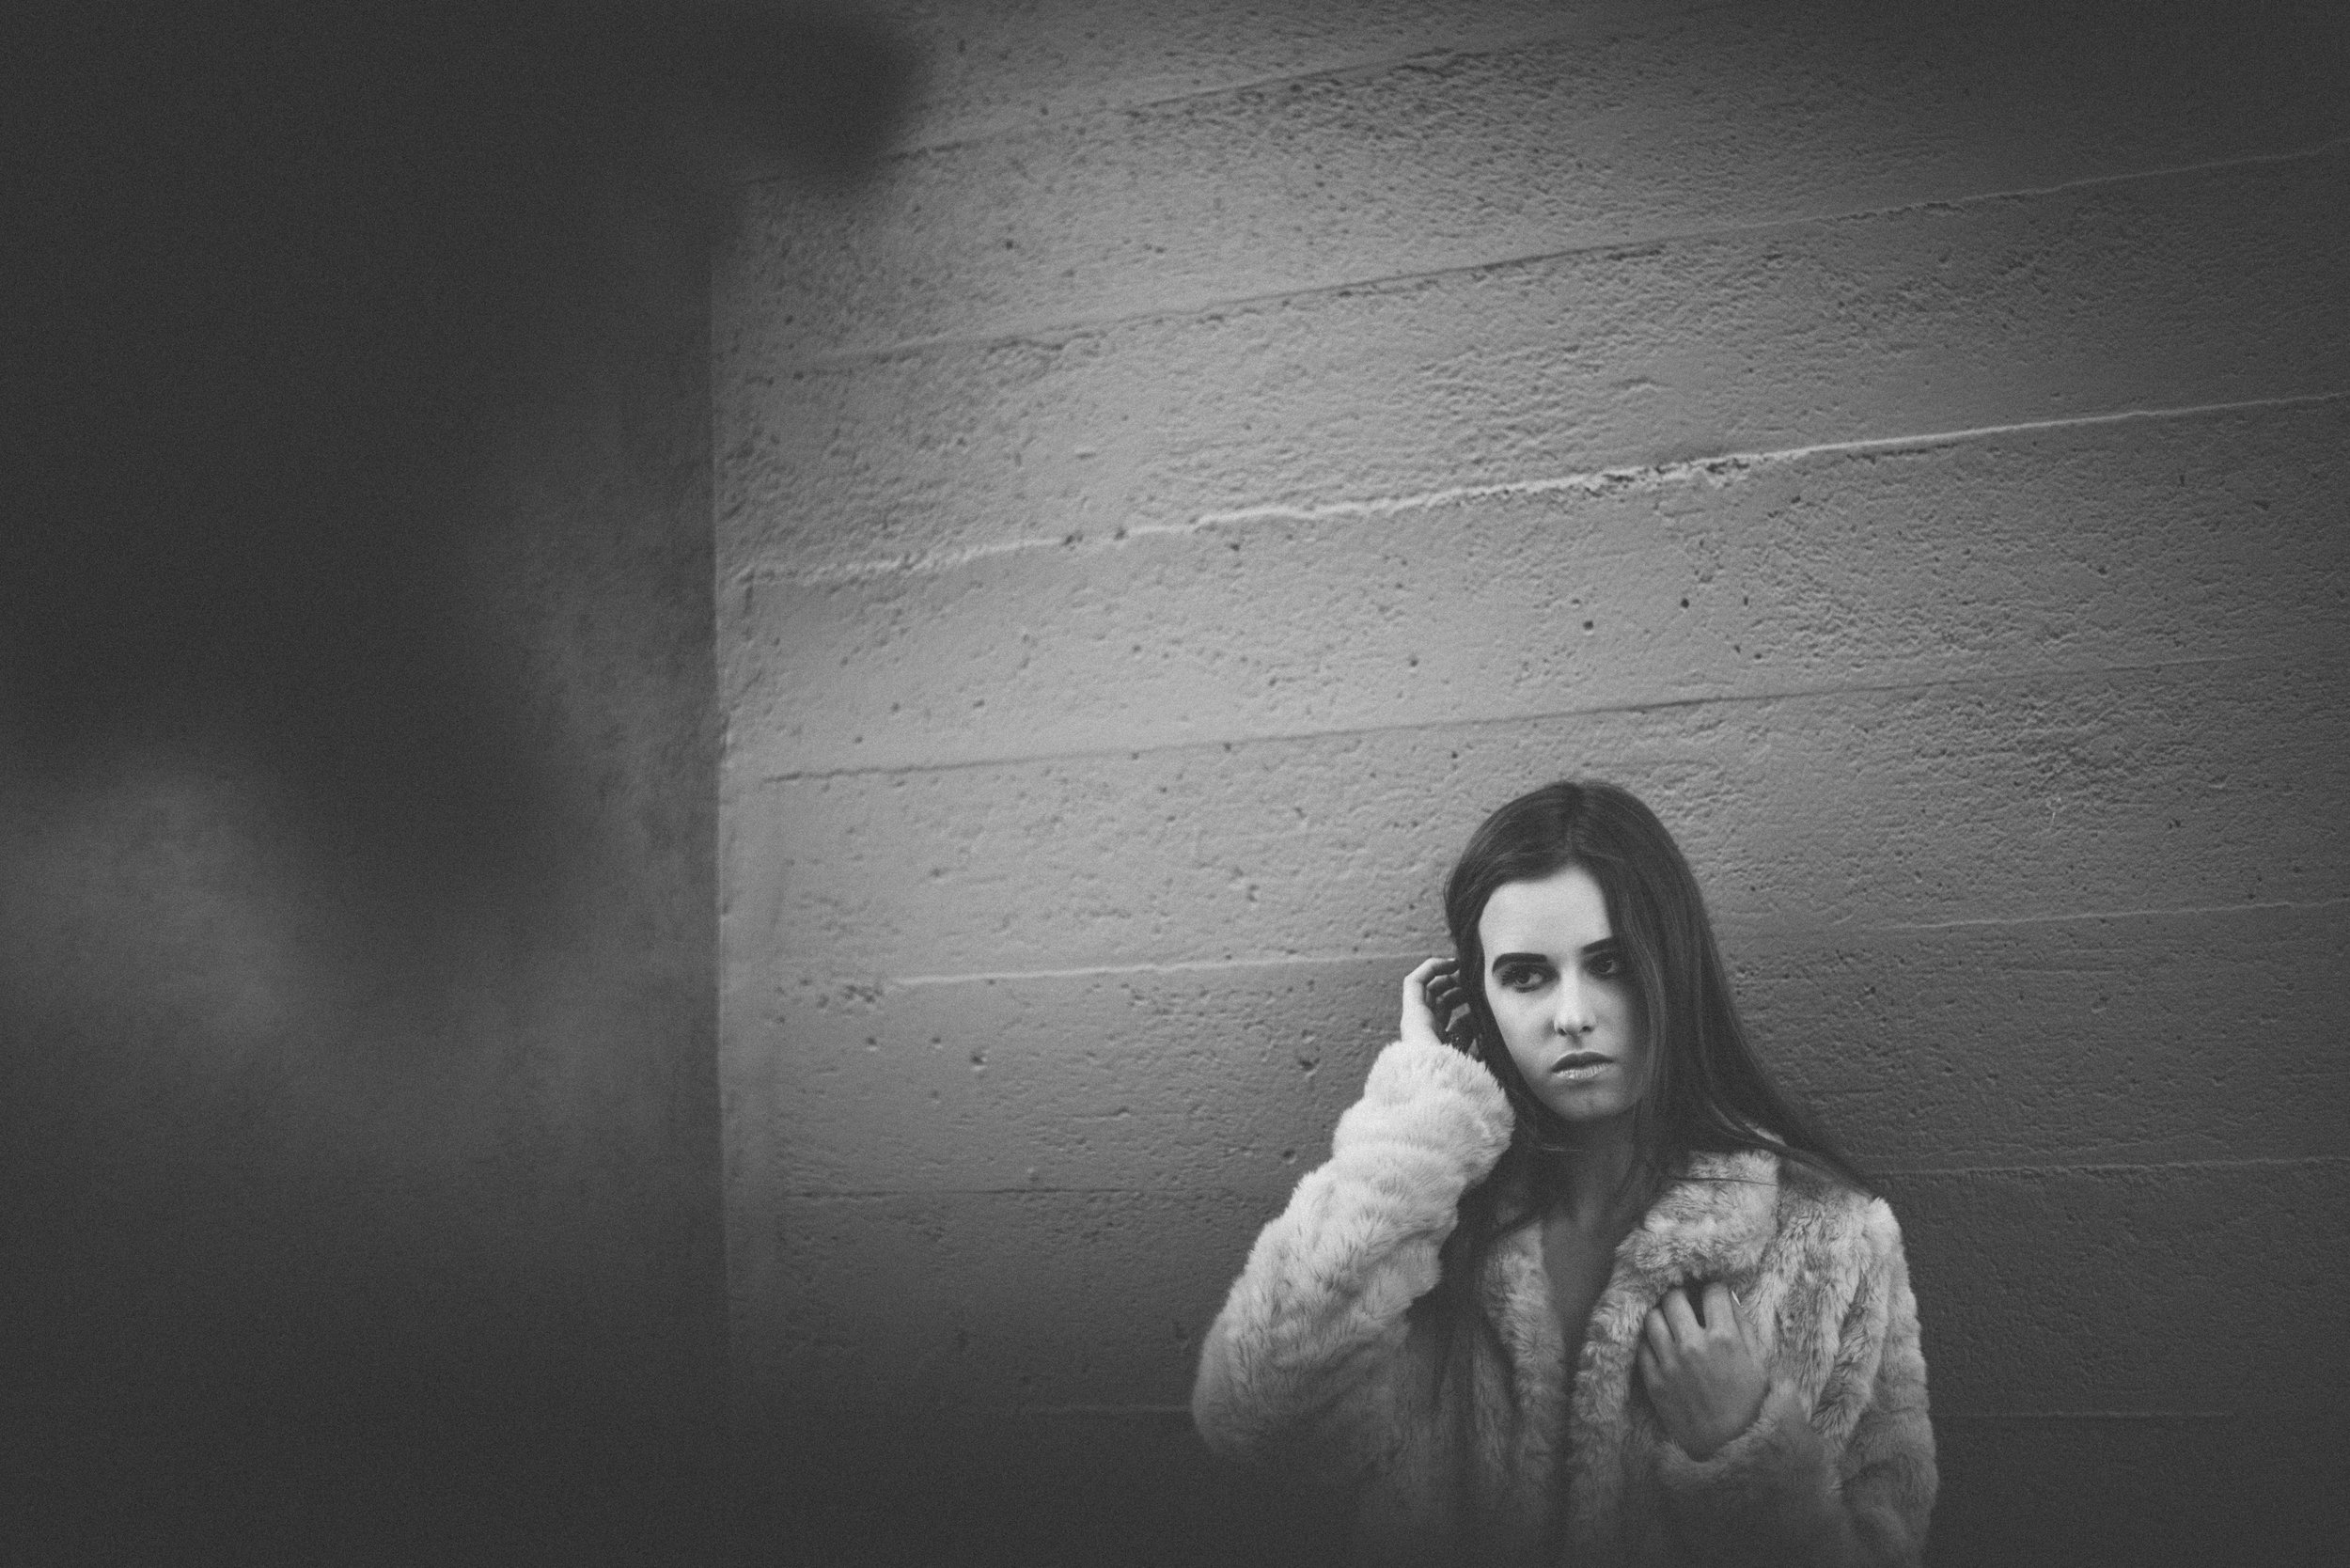
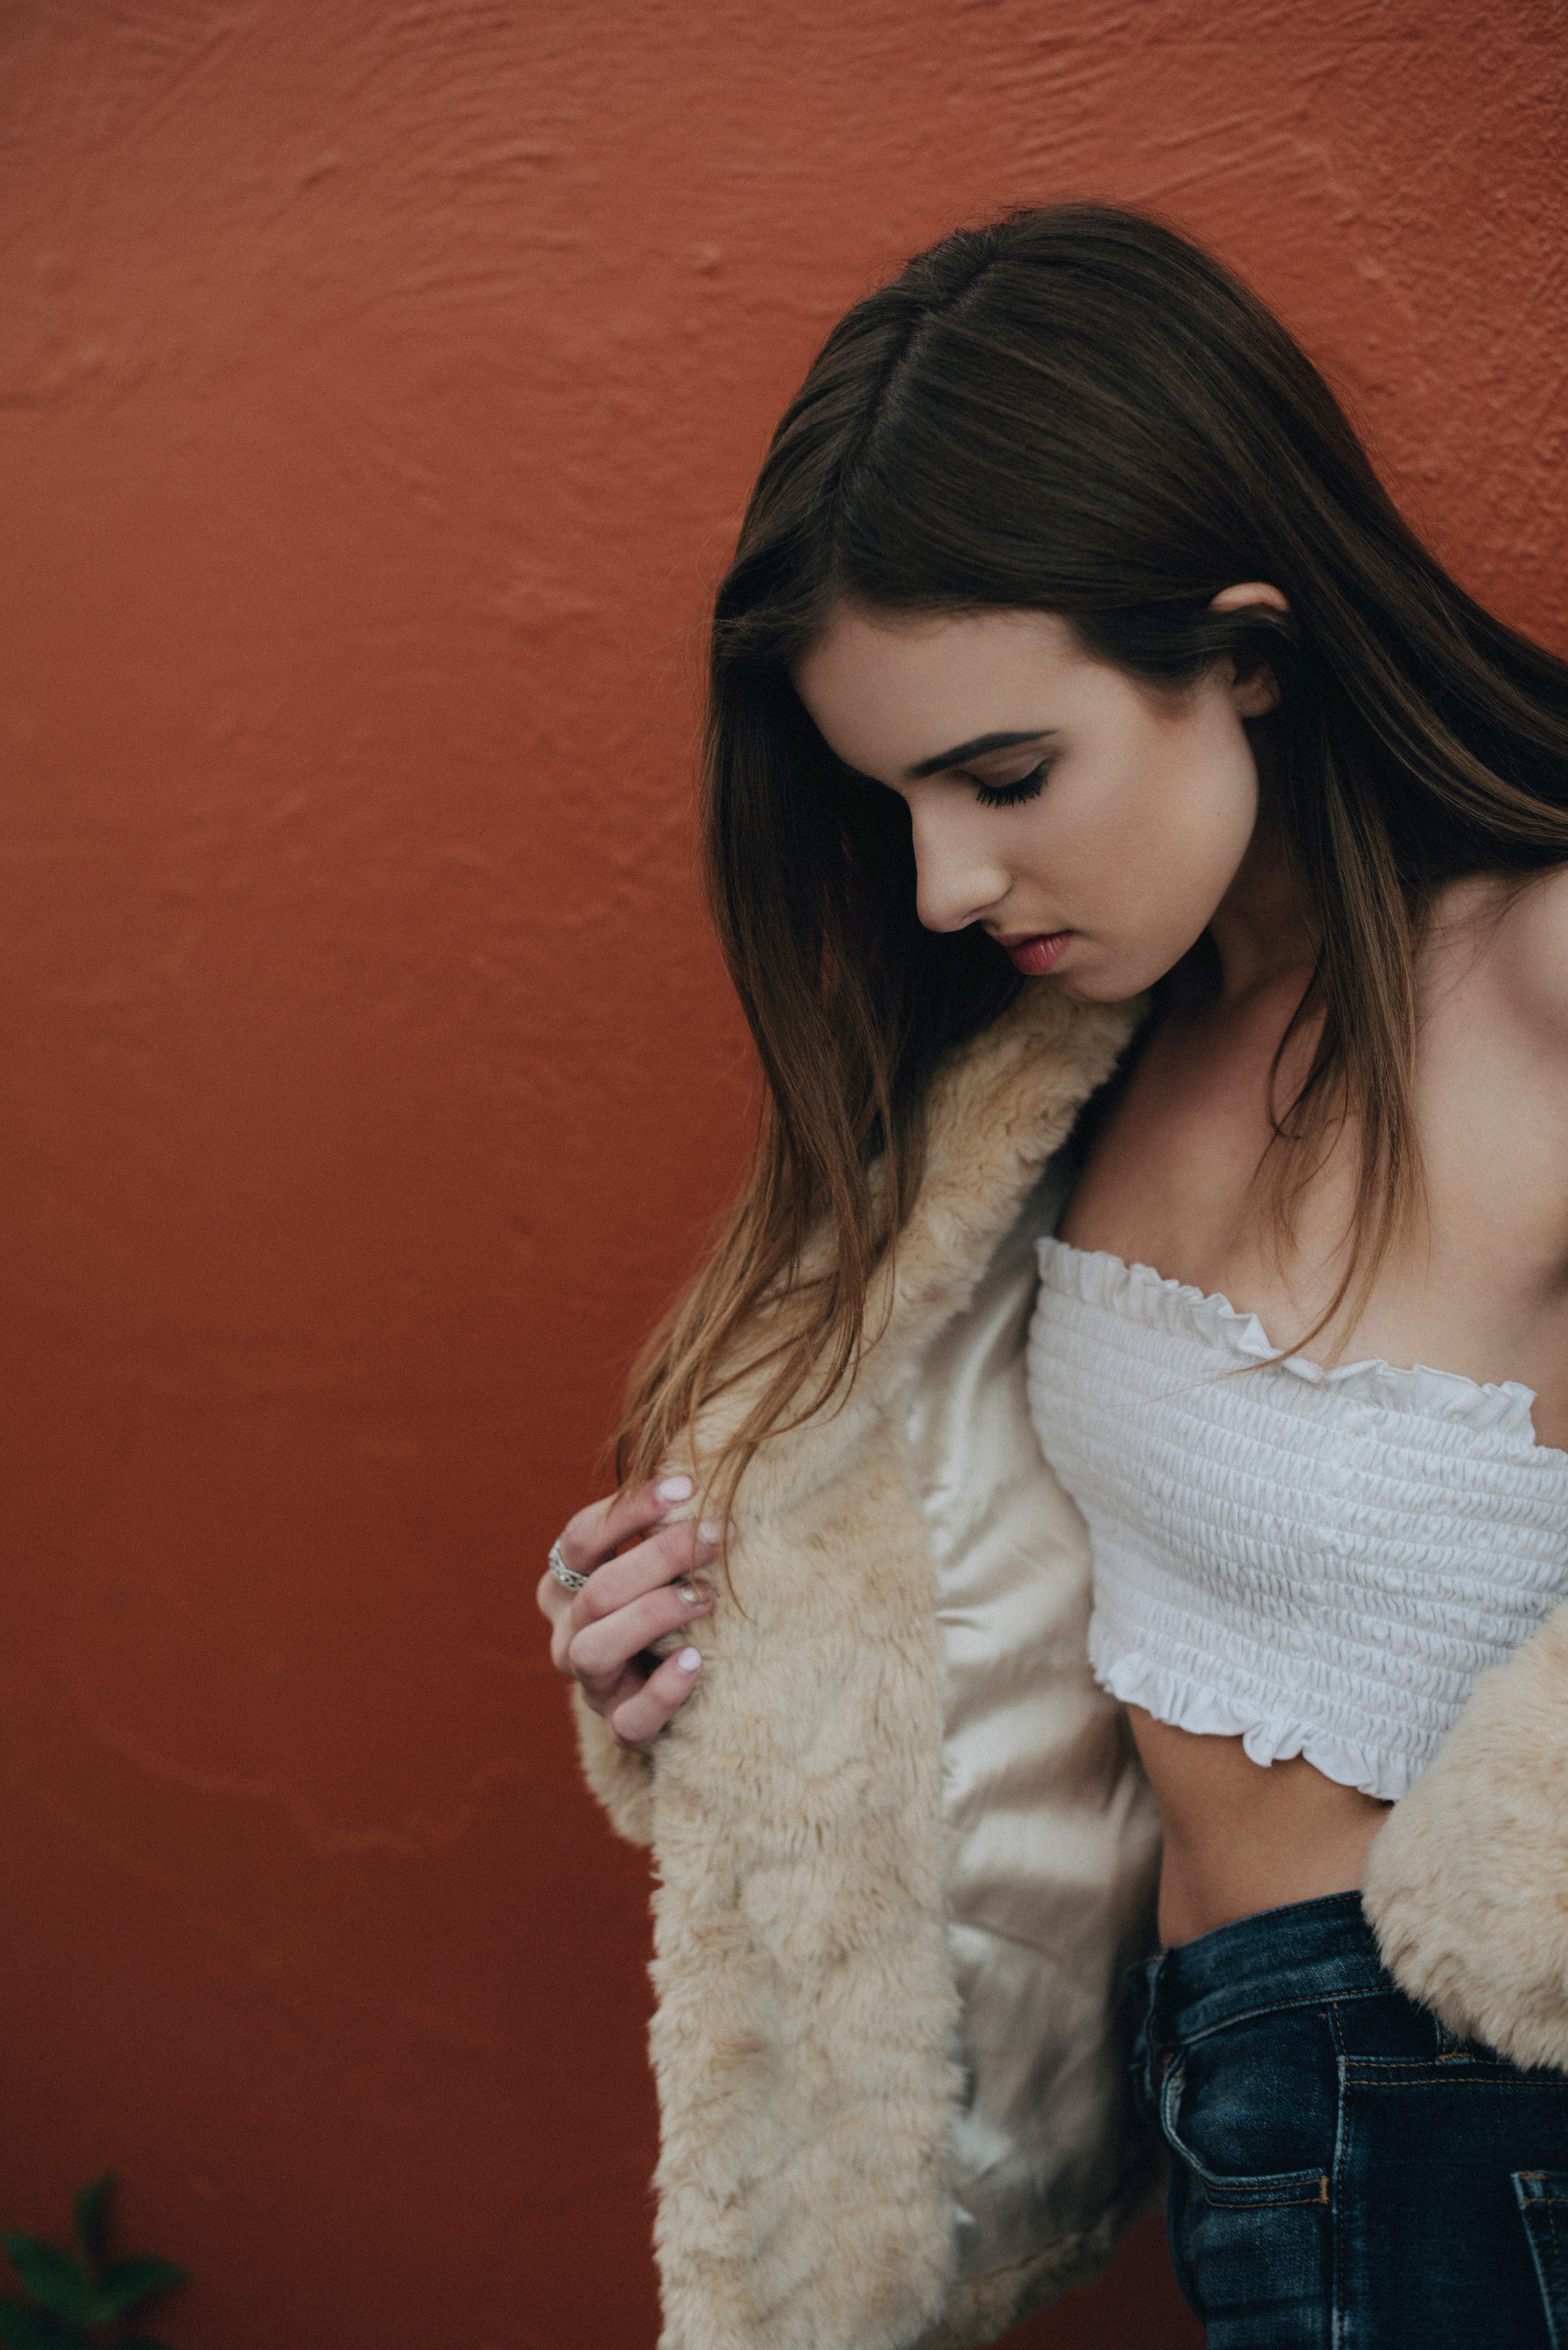
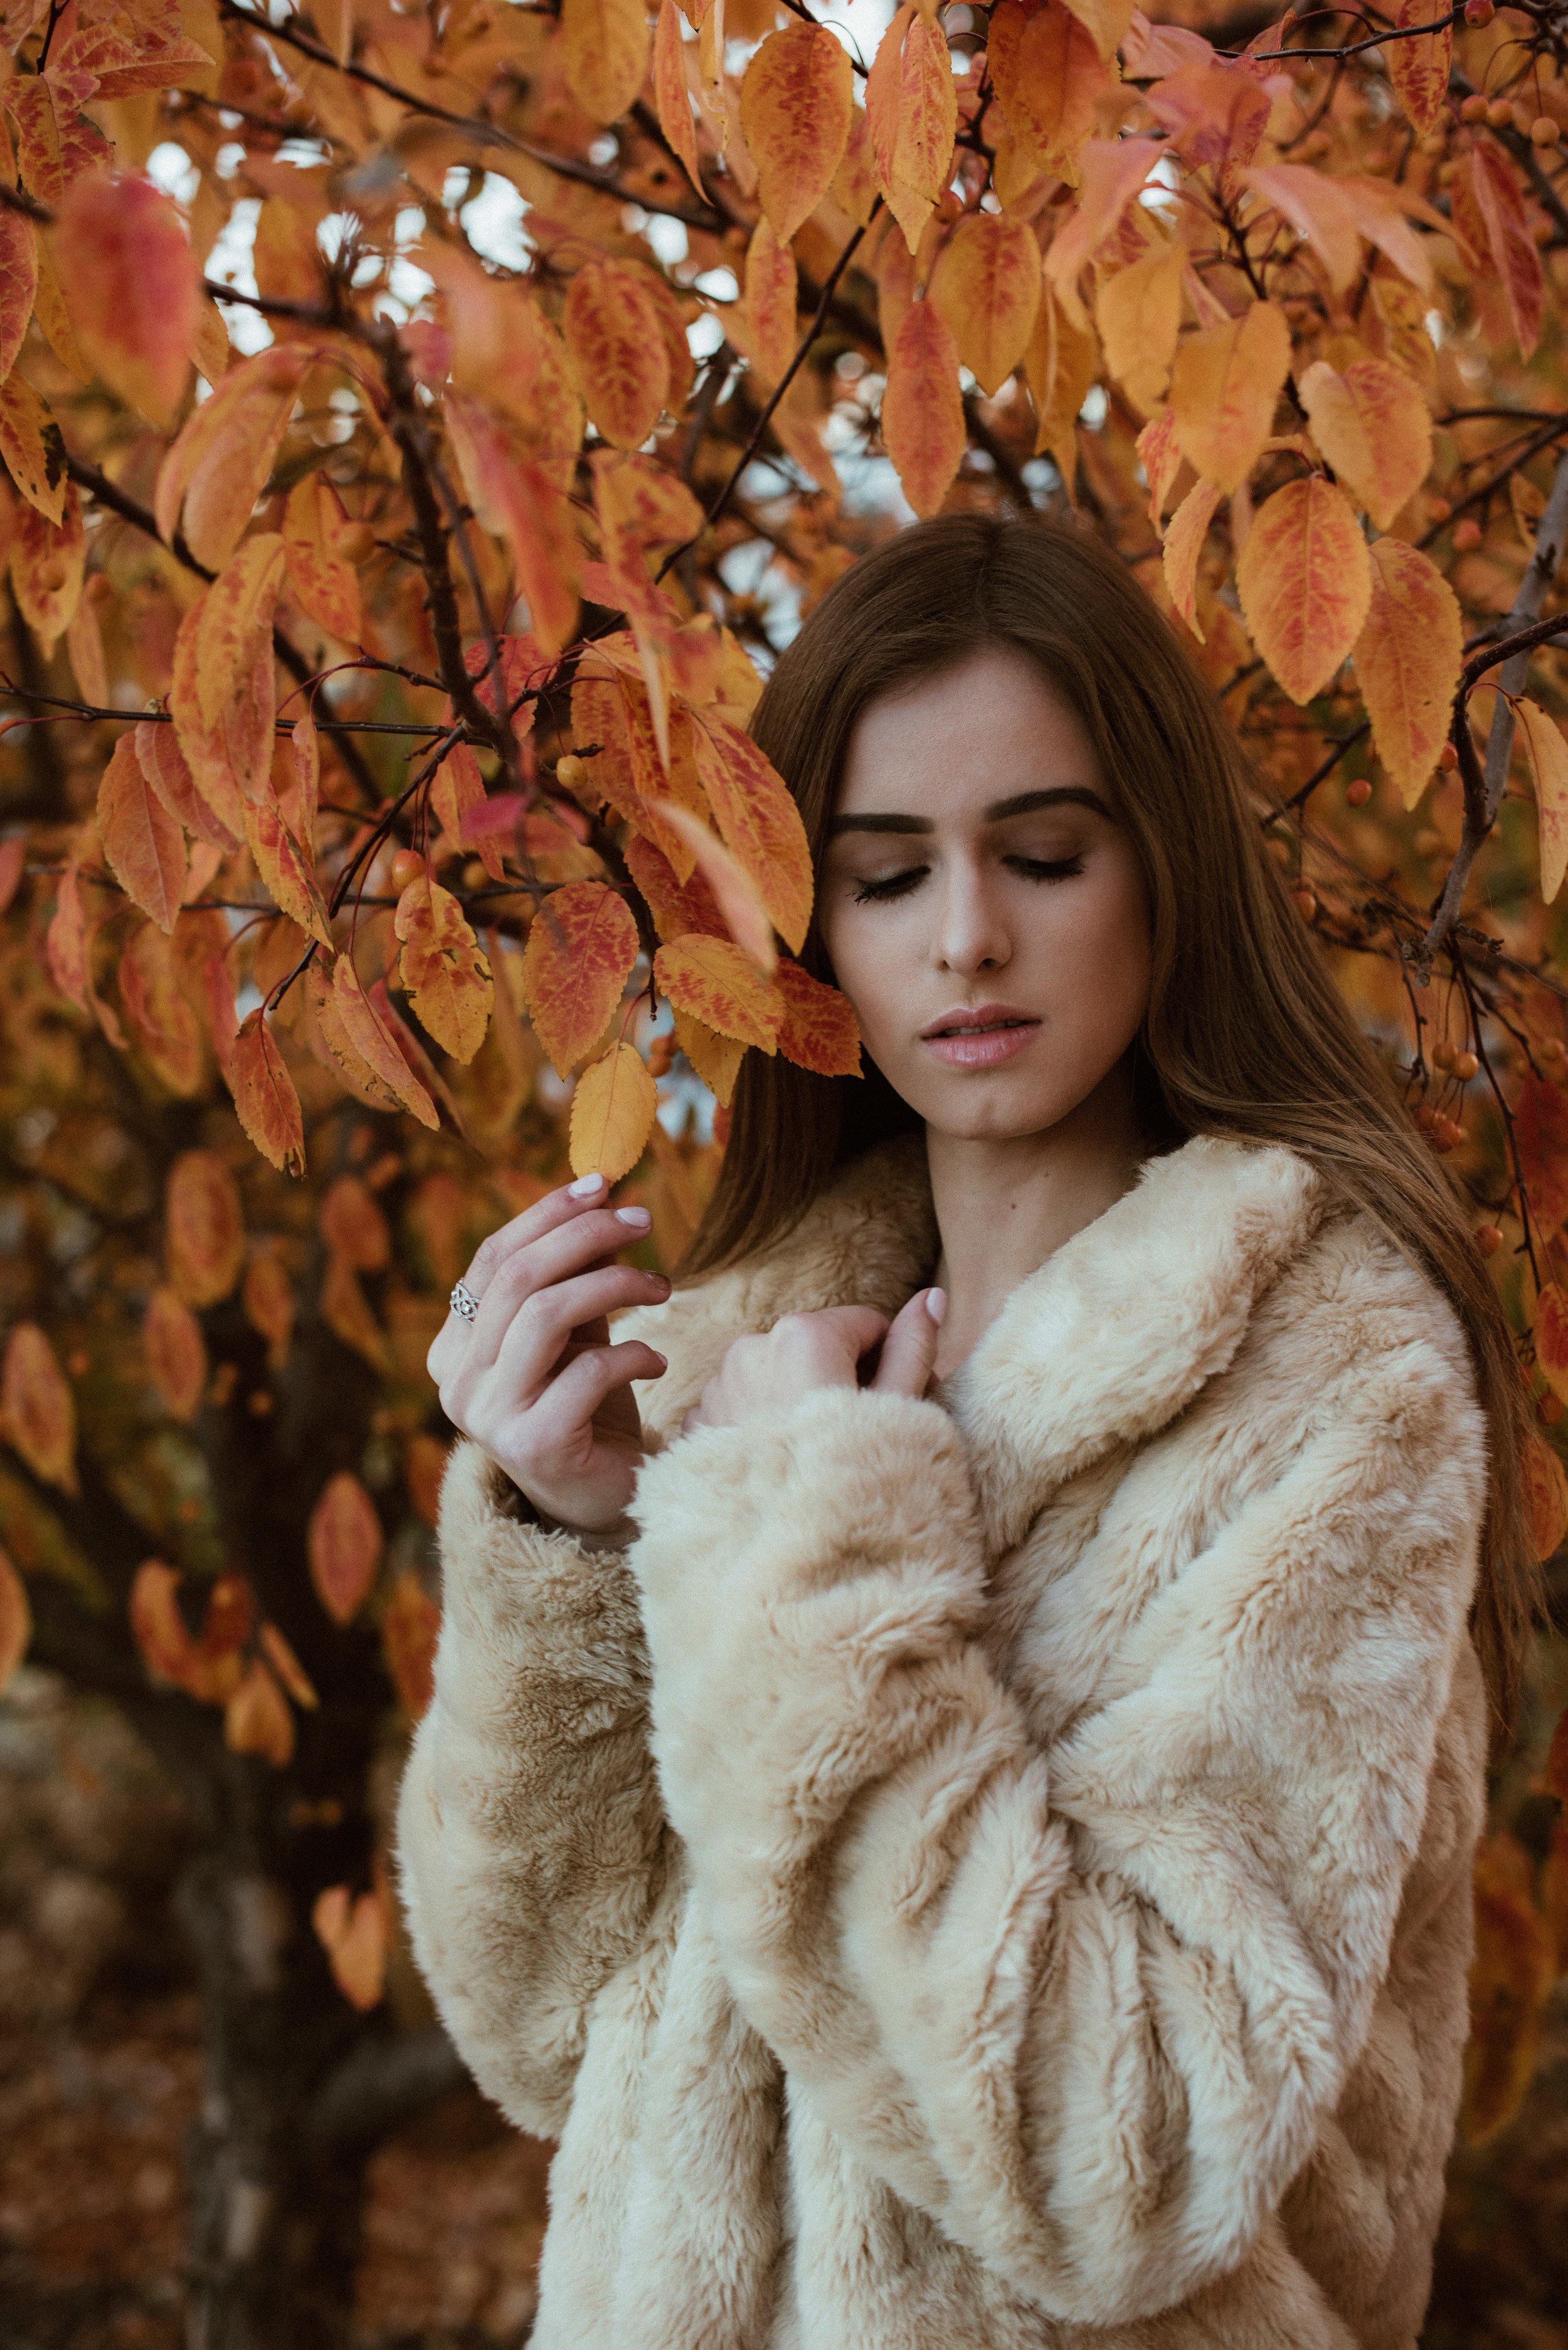
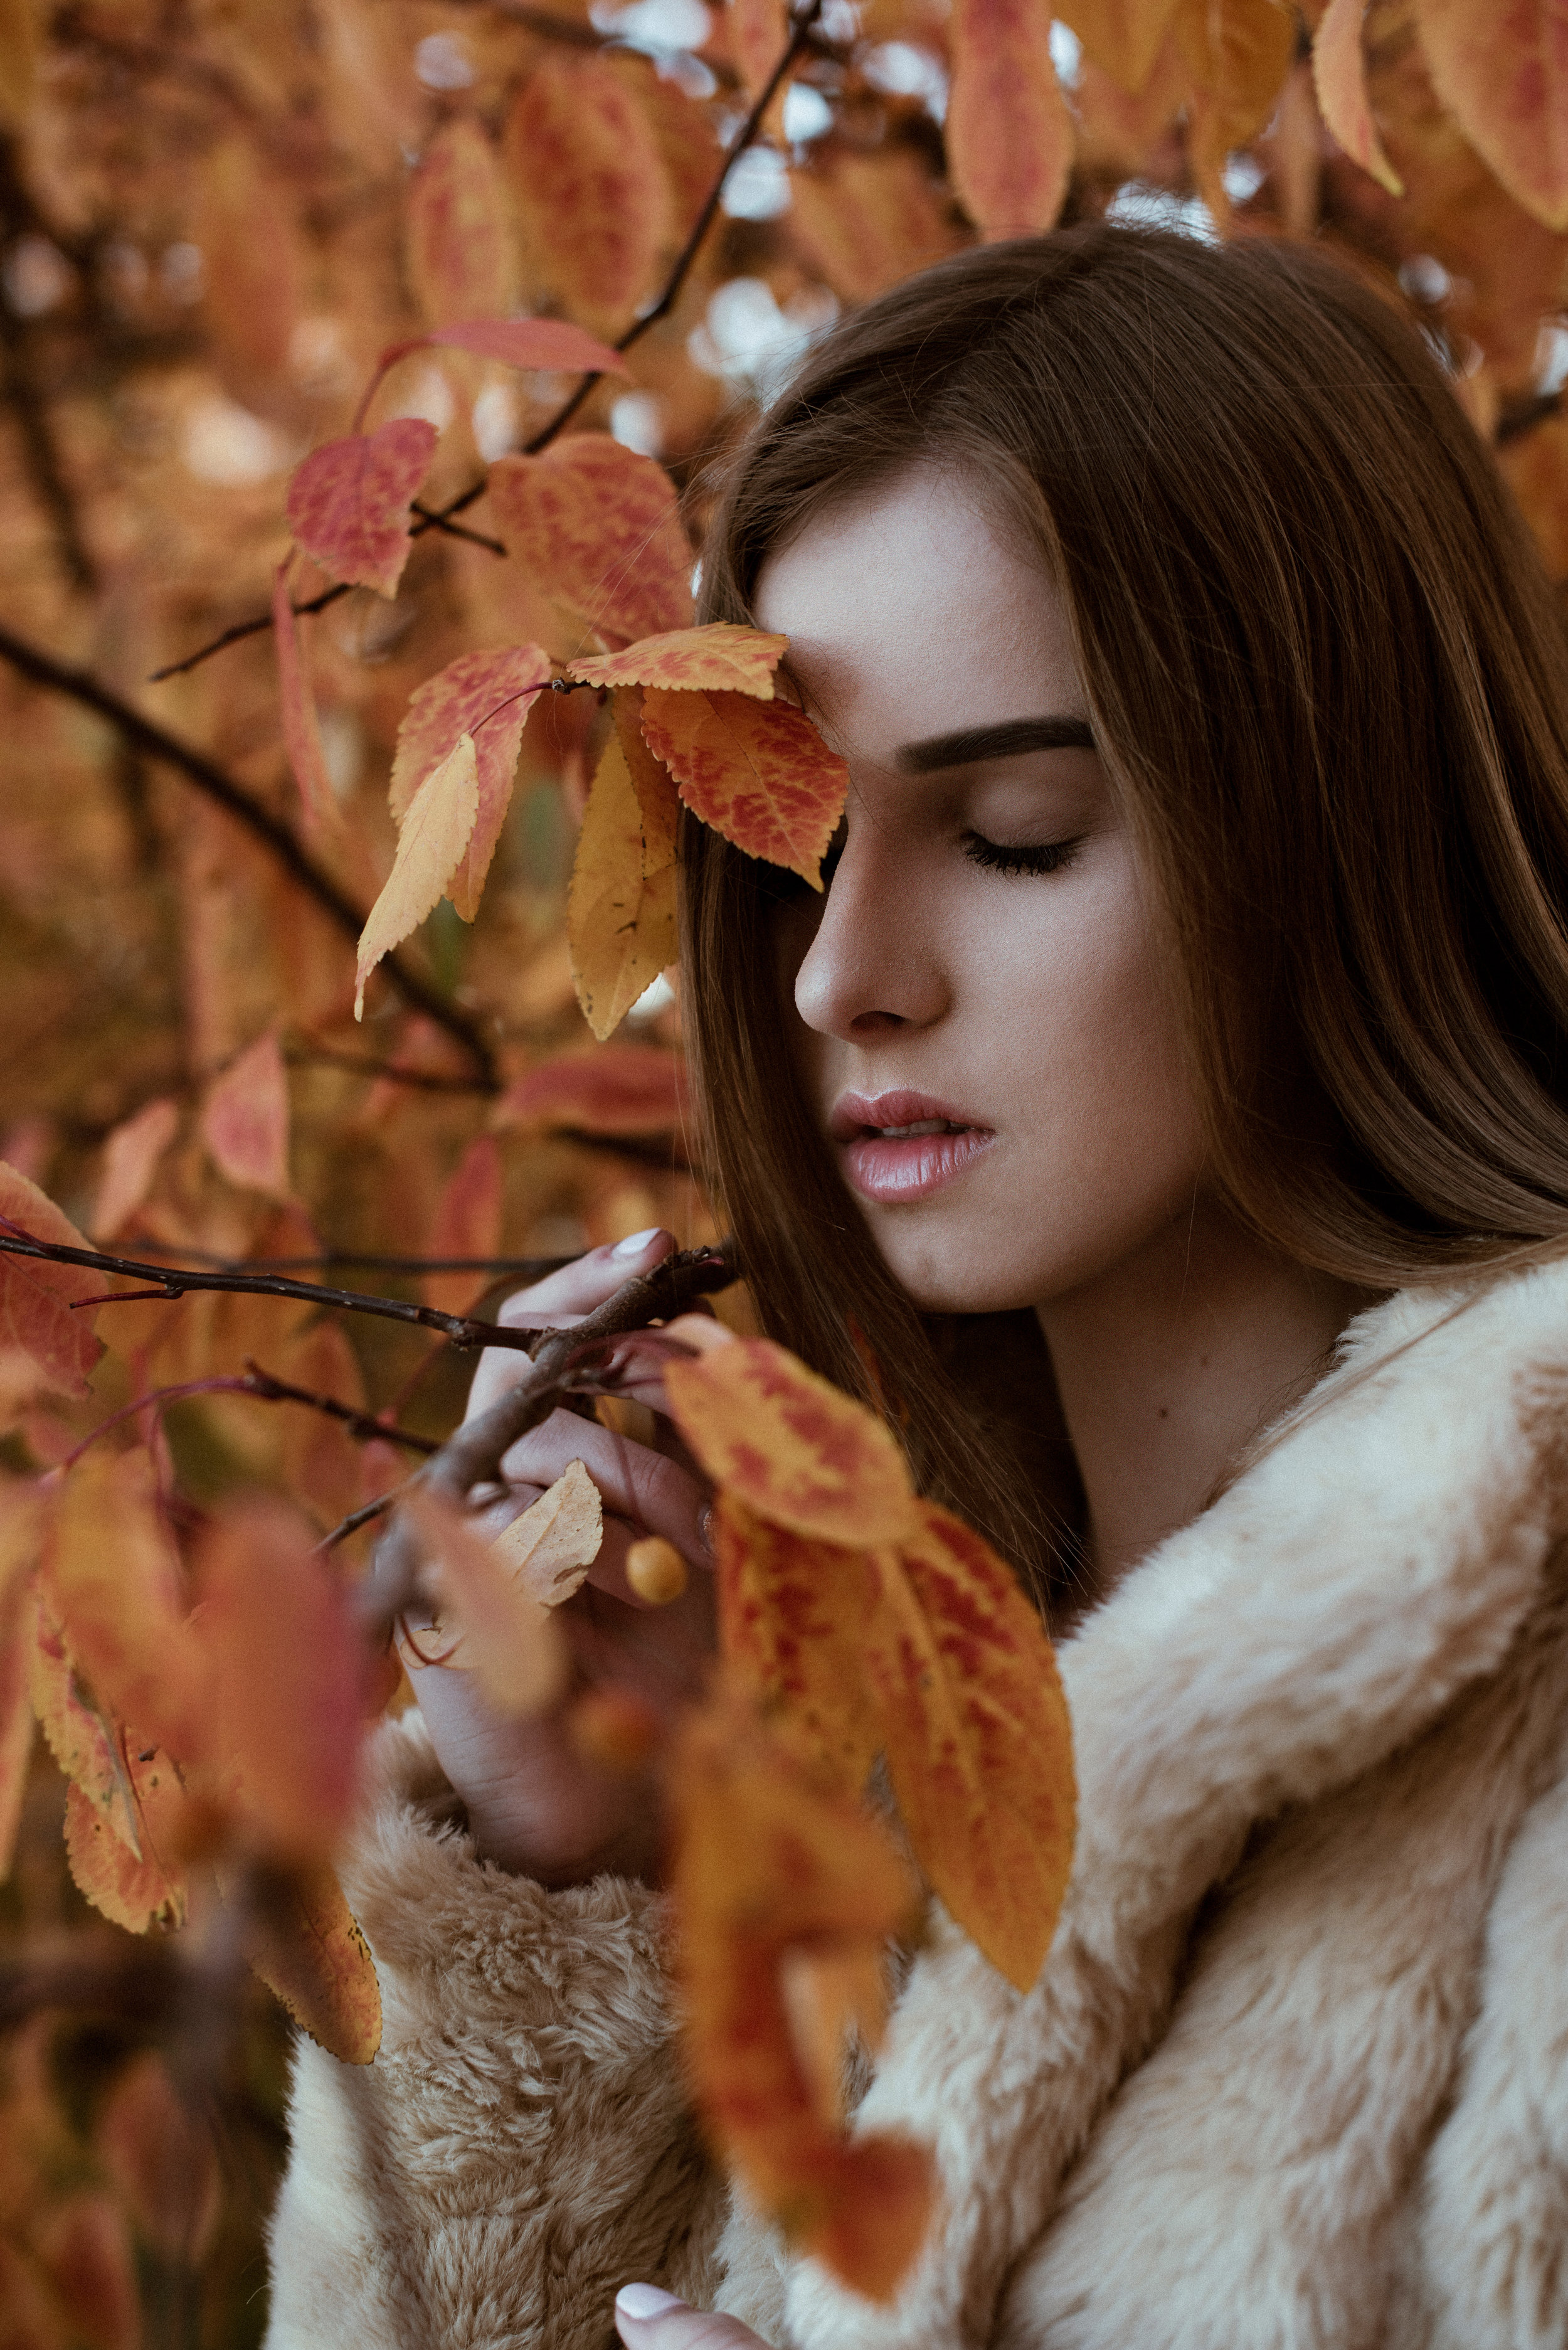
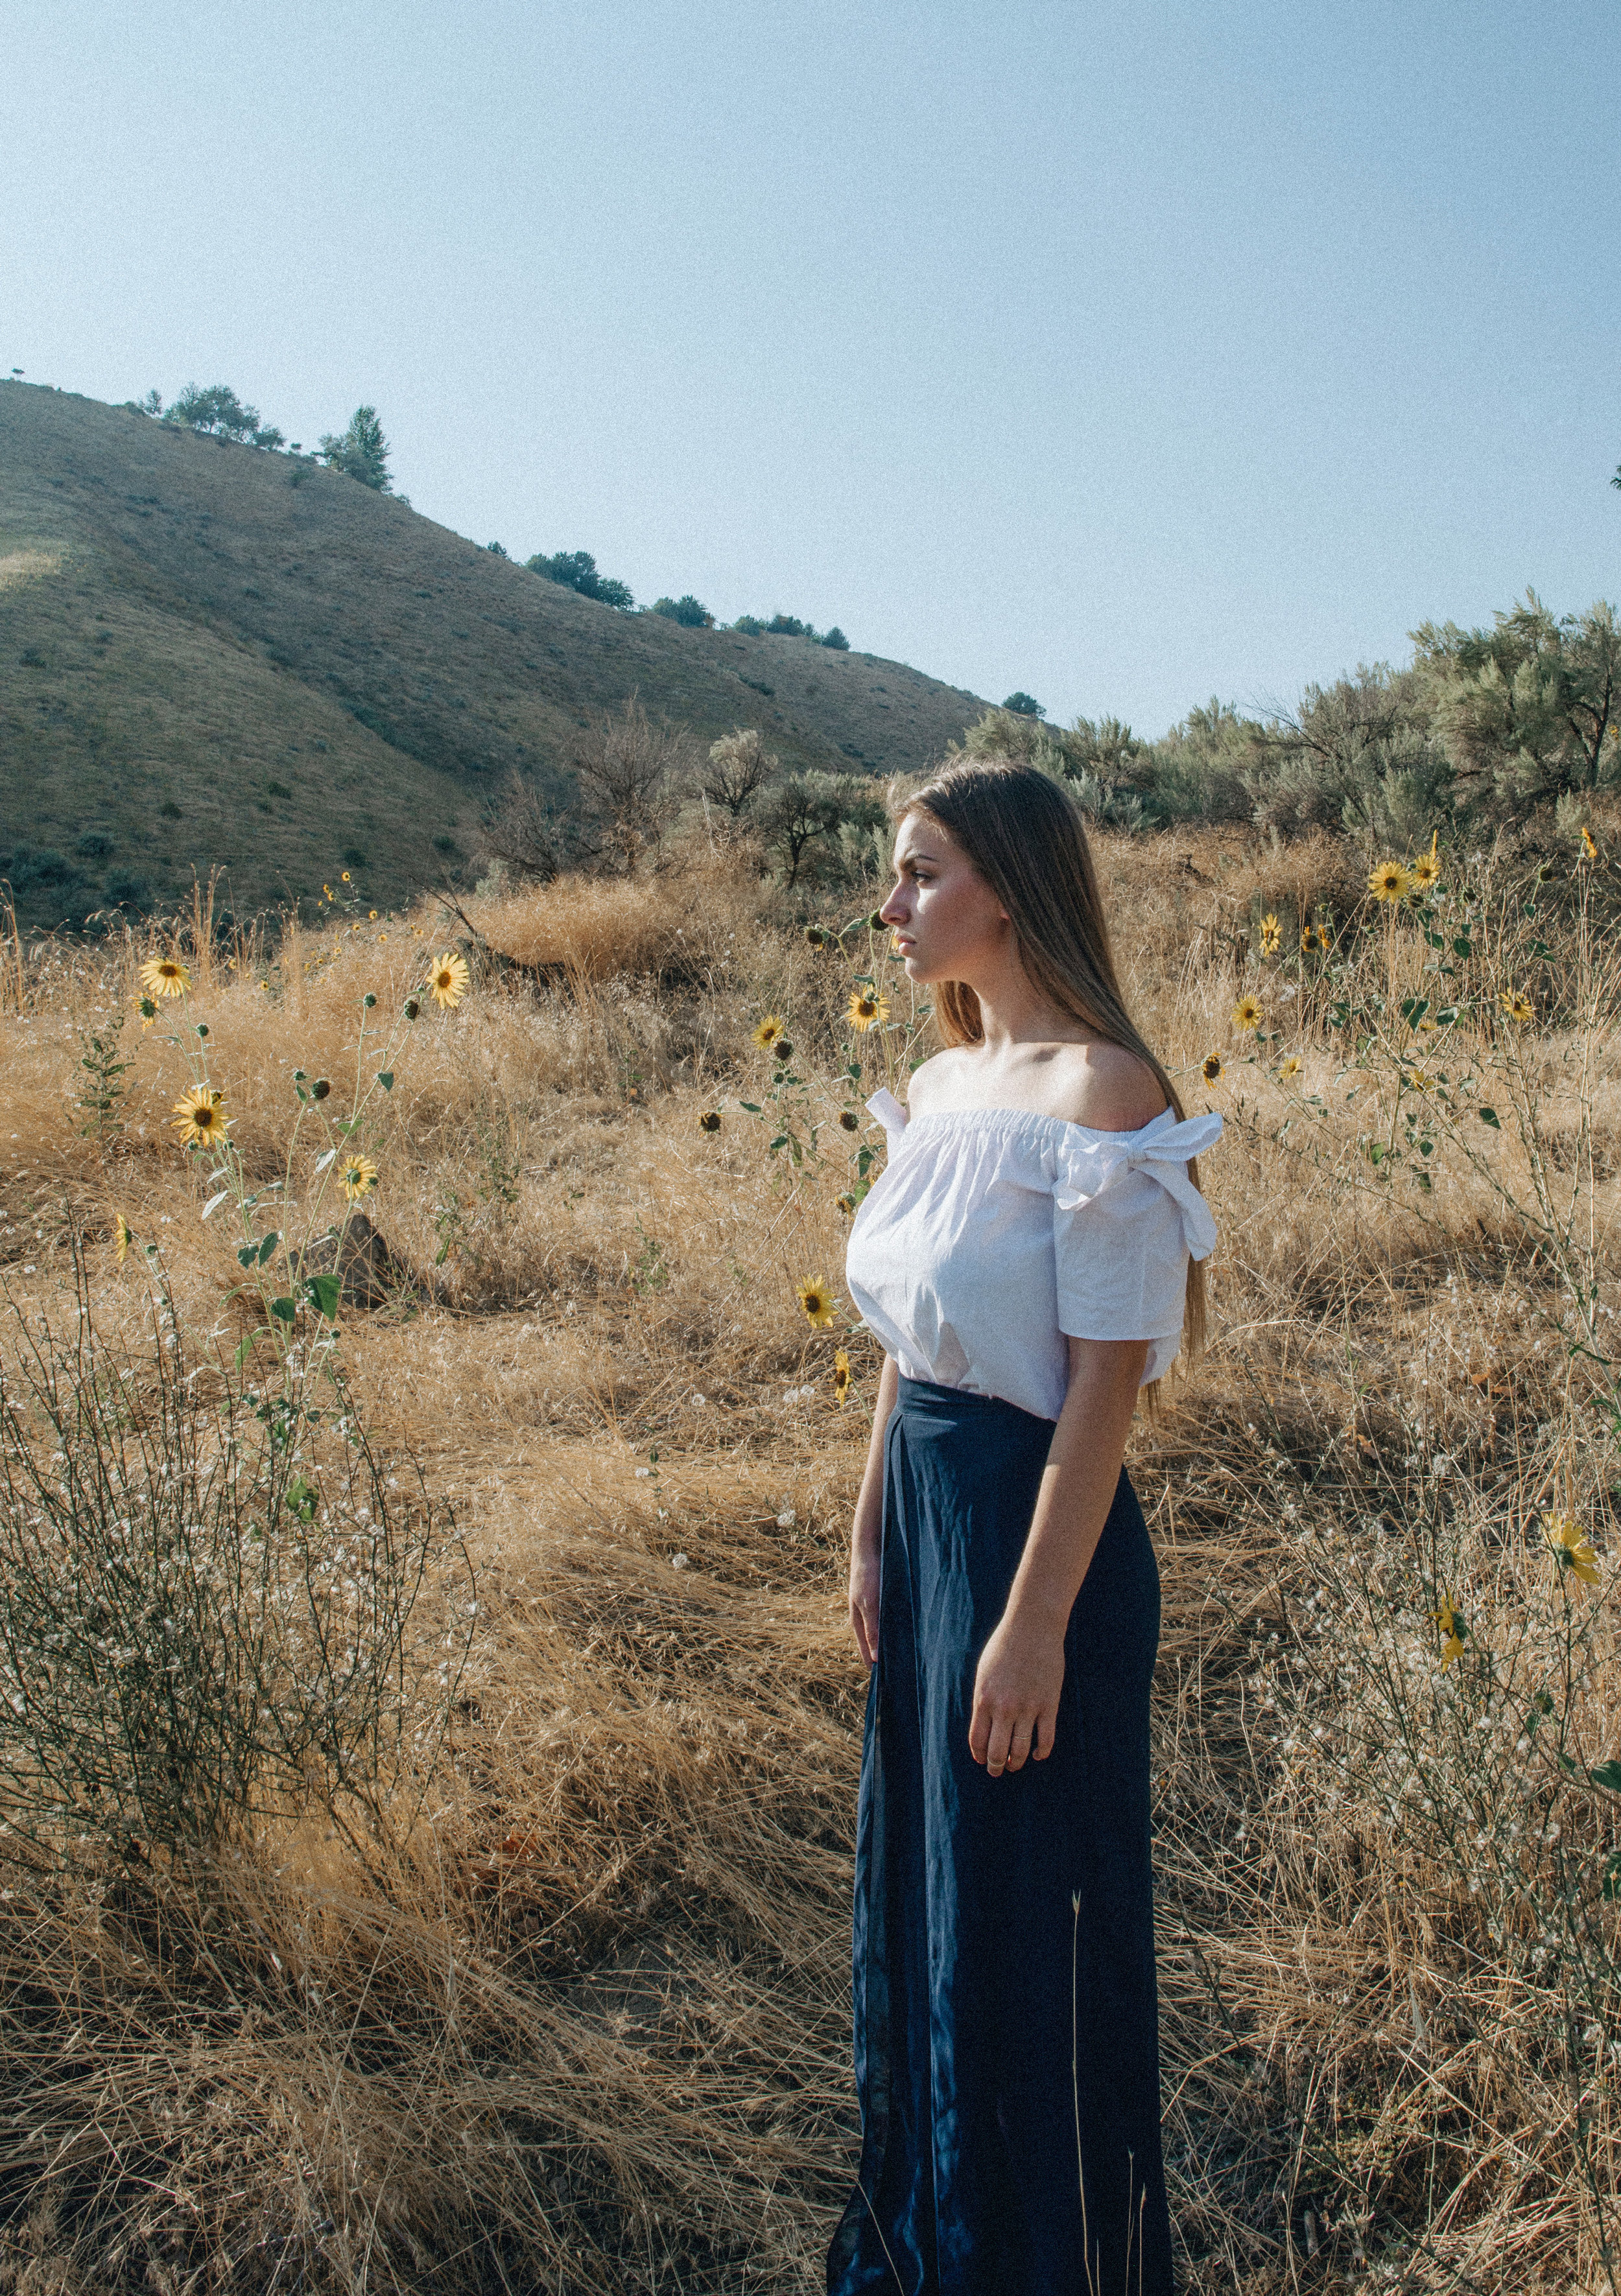
Portrait Session With Anna

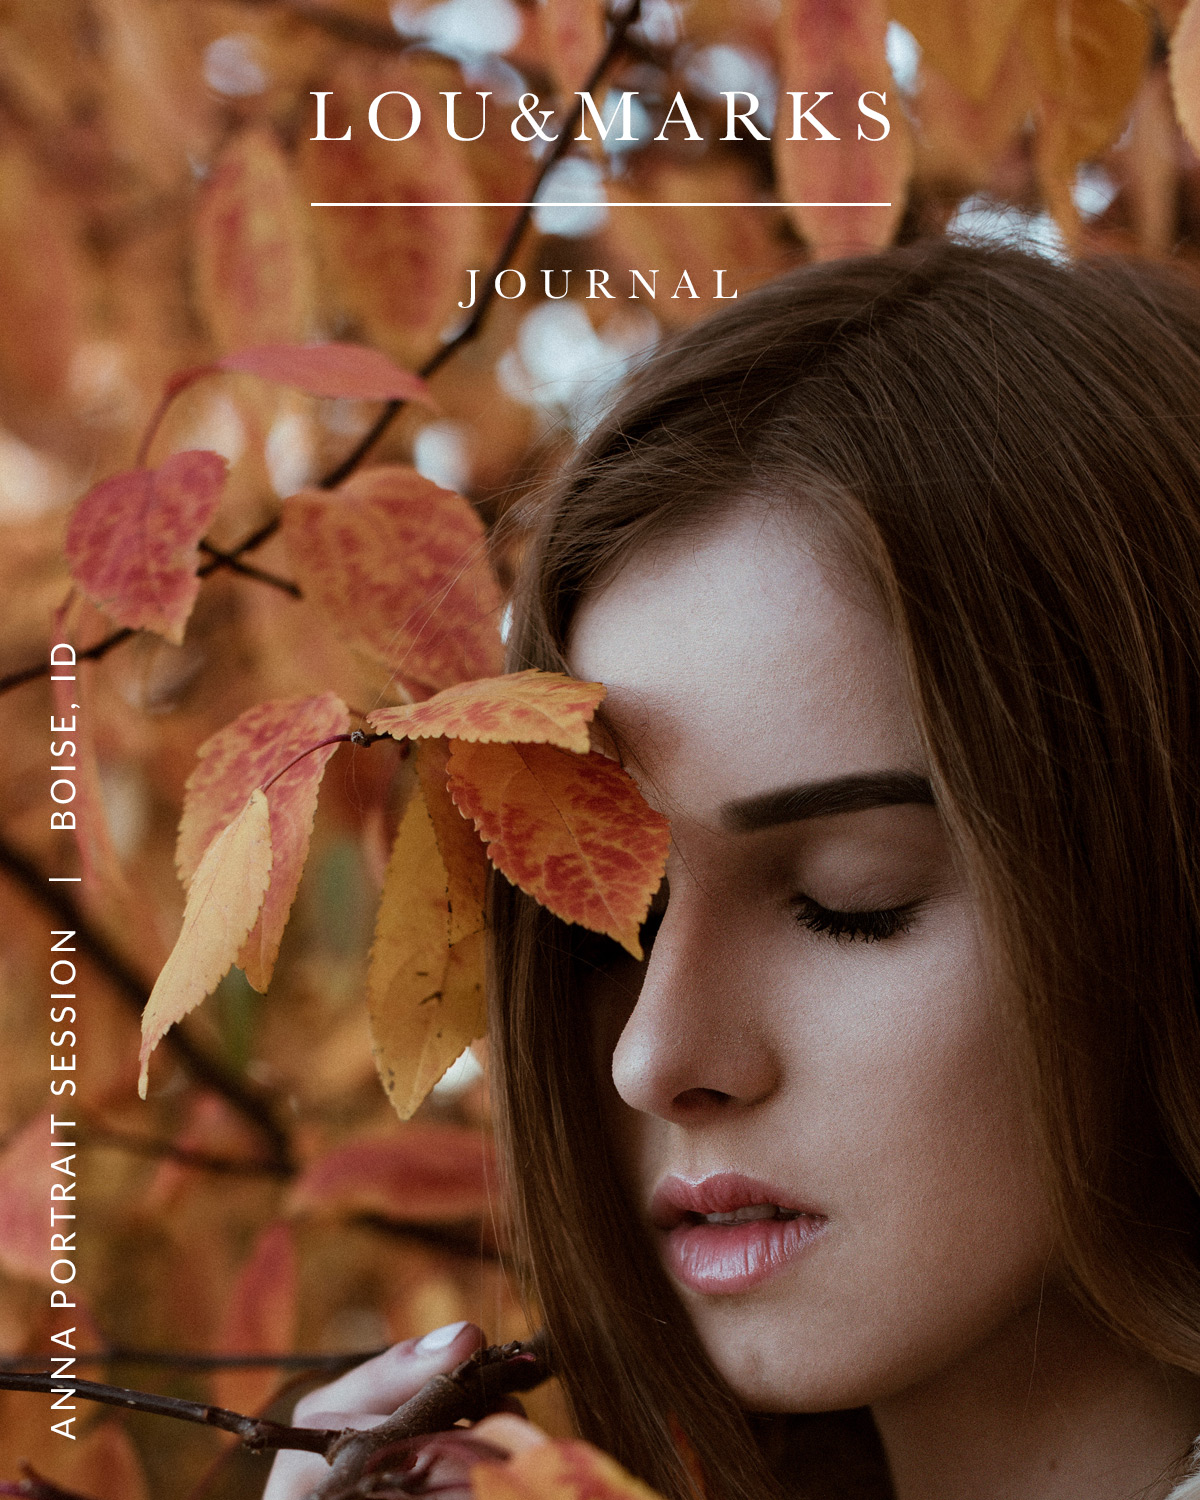
Before we left our location in Boise Idaho we had the pleasure of shooting with Anna. I had picked our two different downtown locations to shoot at in Boise. I loved this shoot for the variety of locations we were able to shoot at all within walking distance.

I edited this shoot with our Portrait Pack. I did a light retouching with our Photoshop Actions before apply Presets in Photoshop for this shoot. I was going for a light fall feel so I also warmed this shoot up with our Autumn Pack. You can view all our Product HERE

California Weekend + Luts

Blog-Posts_1.jpg

We have spent almost our entire first week a the beach here in Orange County. We brought lots of sunblock, cameras and our newest drone with us each day. Alfredo was able to capture some breath taking images & video over the ocean at sunset with our DJI Inspire 2 & Zemus Lens.

I love editing, I'm sure you can tell from my blog lol. Beside photo editing I also work with film editing in Final Cut Pro X. I have been working on launching my Luts I have made for Alfredos beach clips. 

Here is a little sneak peak of what we have coming:

Third Day In Yellowstone

Blog-Posts_1.jpg

On our third day adventuring through Yellowstone we were able to visit the majority of the park and a few hiking trails. This was by far my favorite day. I was beyond excited for the Grand Canyon of Yellowstone.

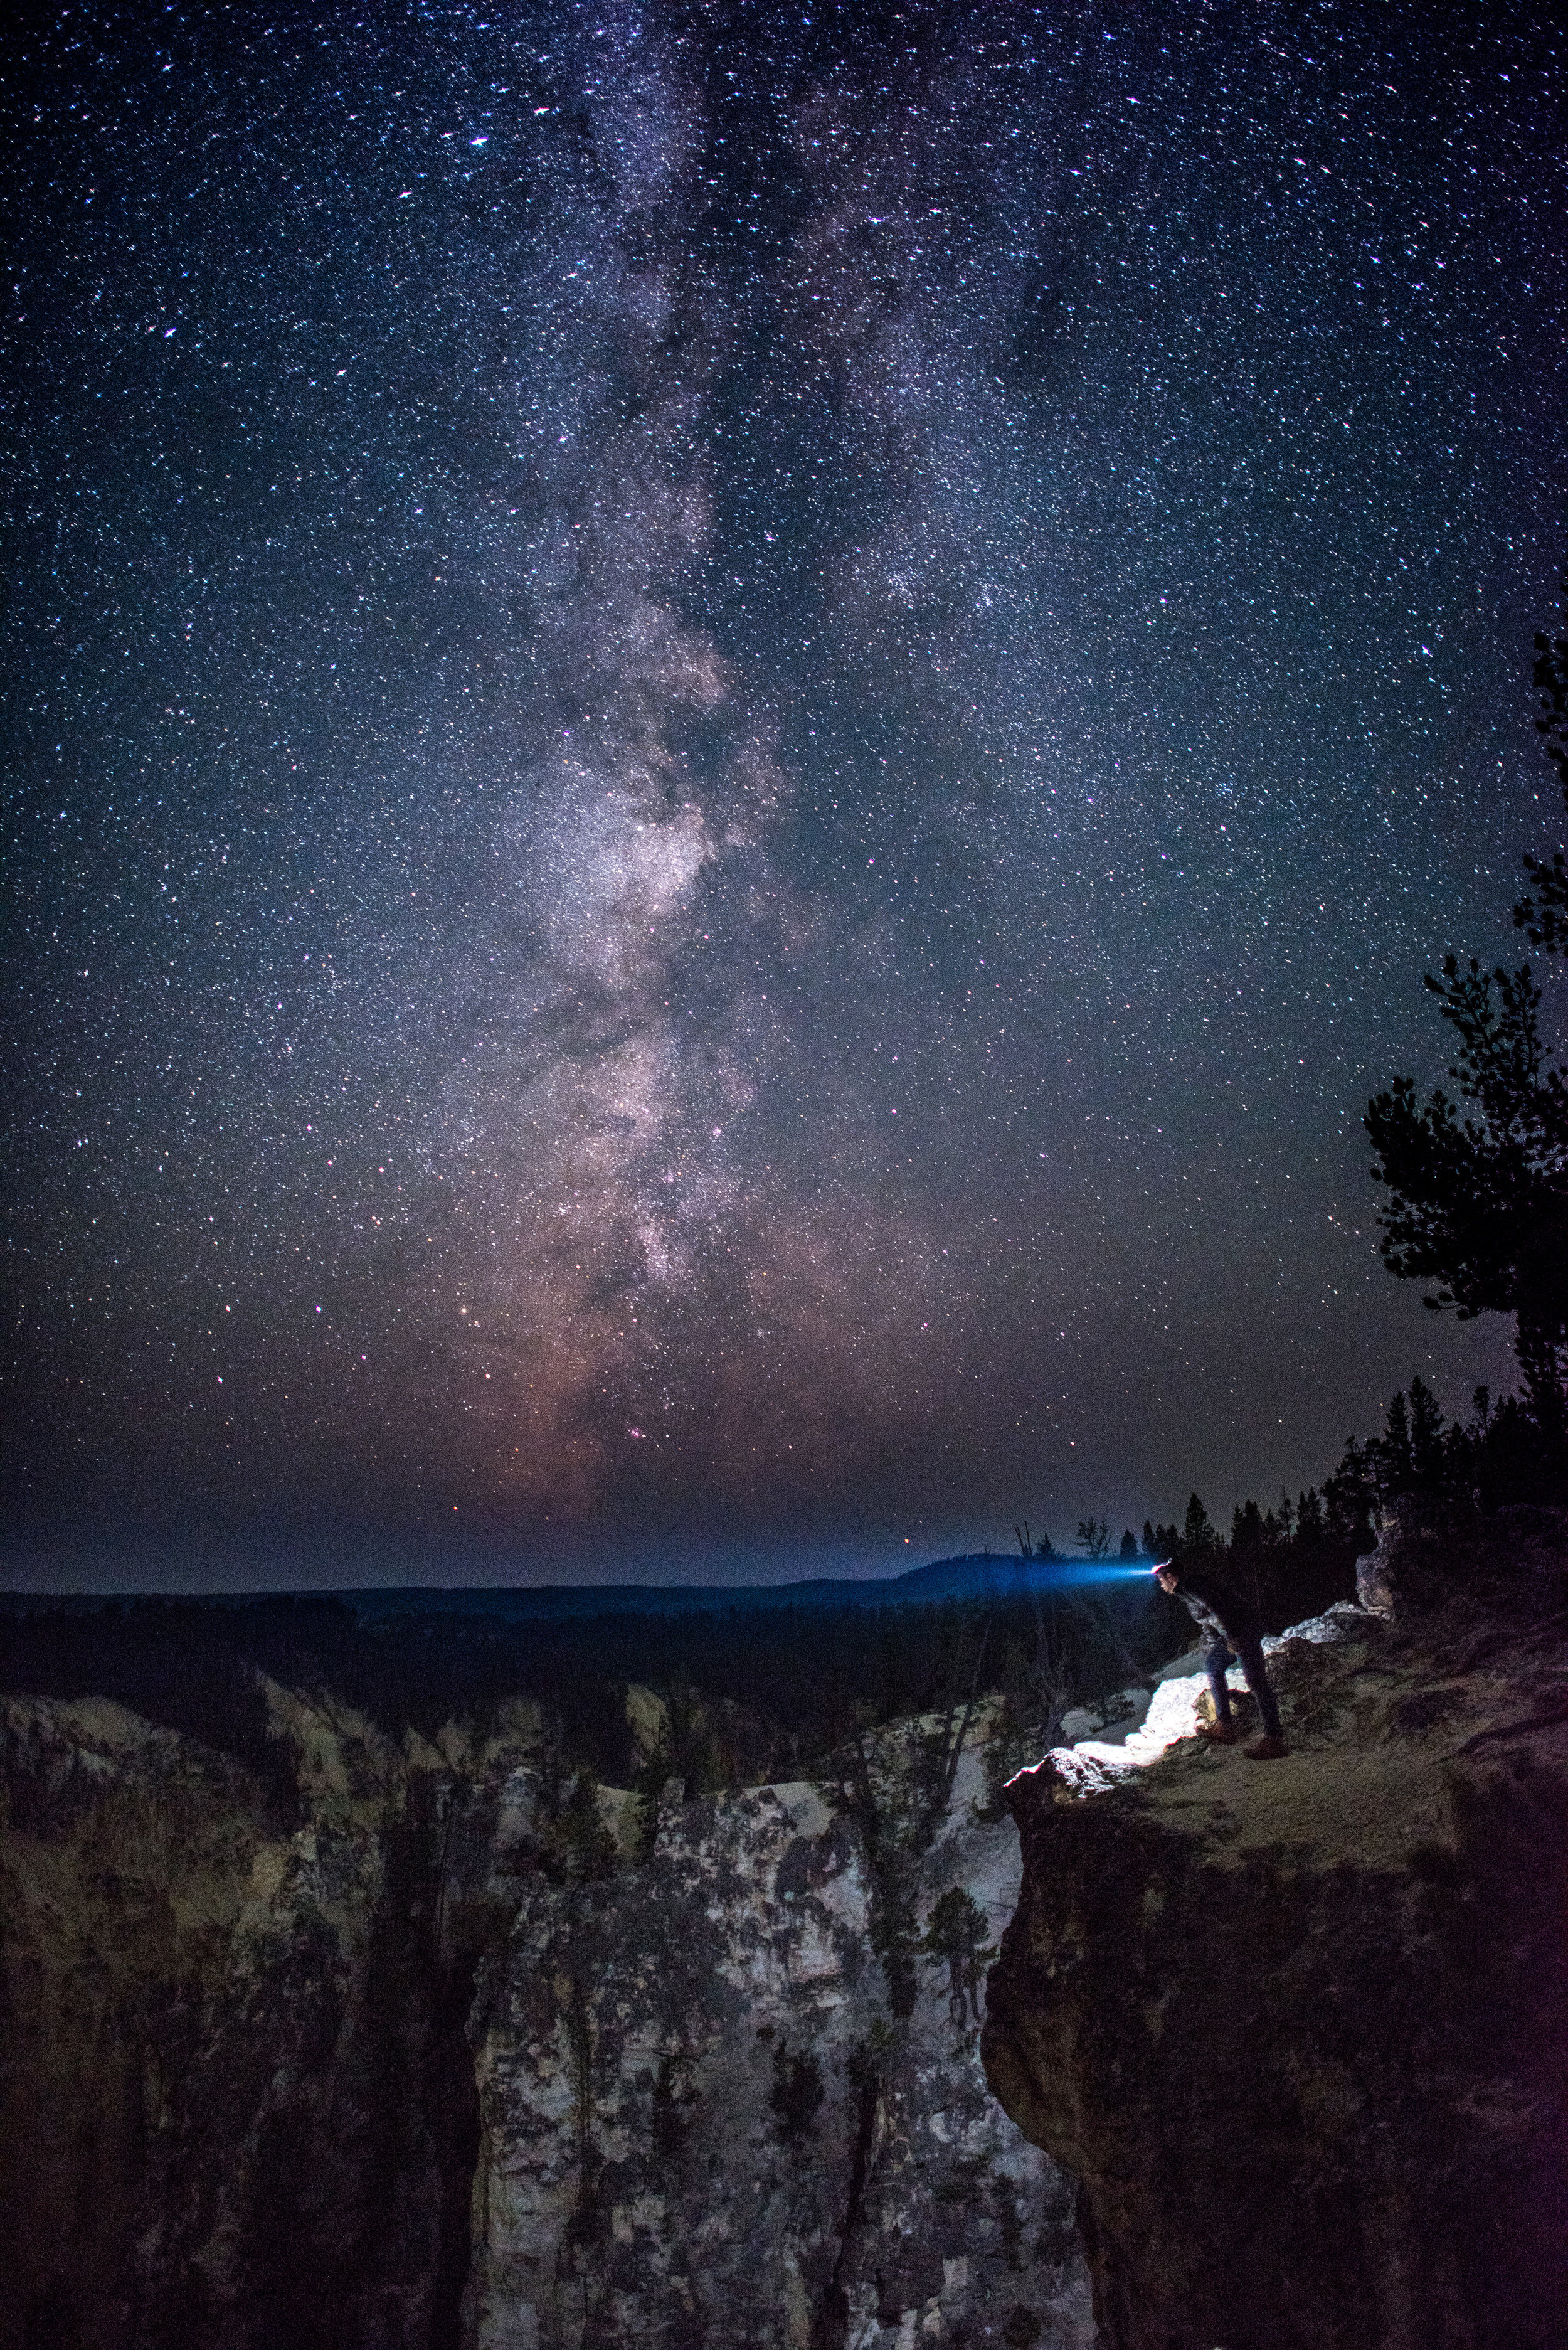
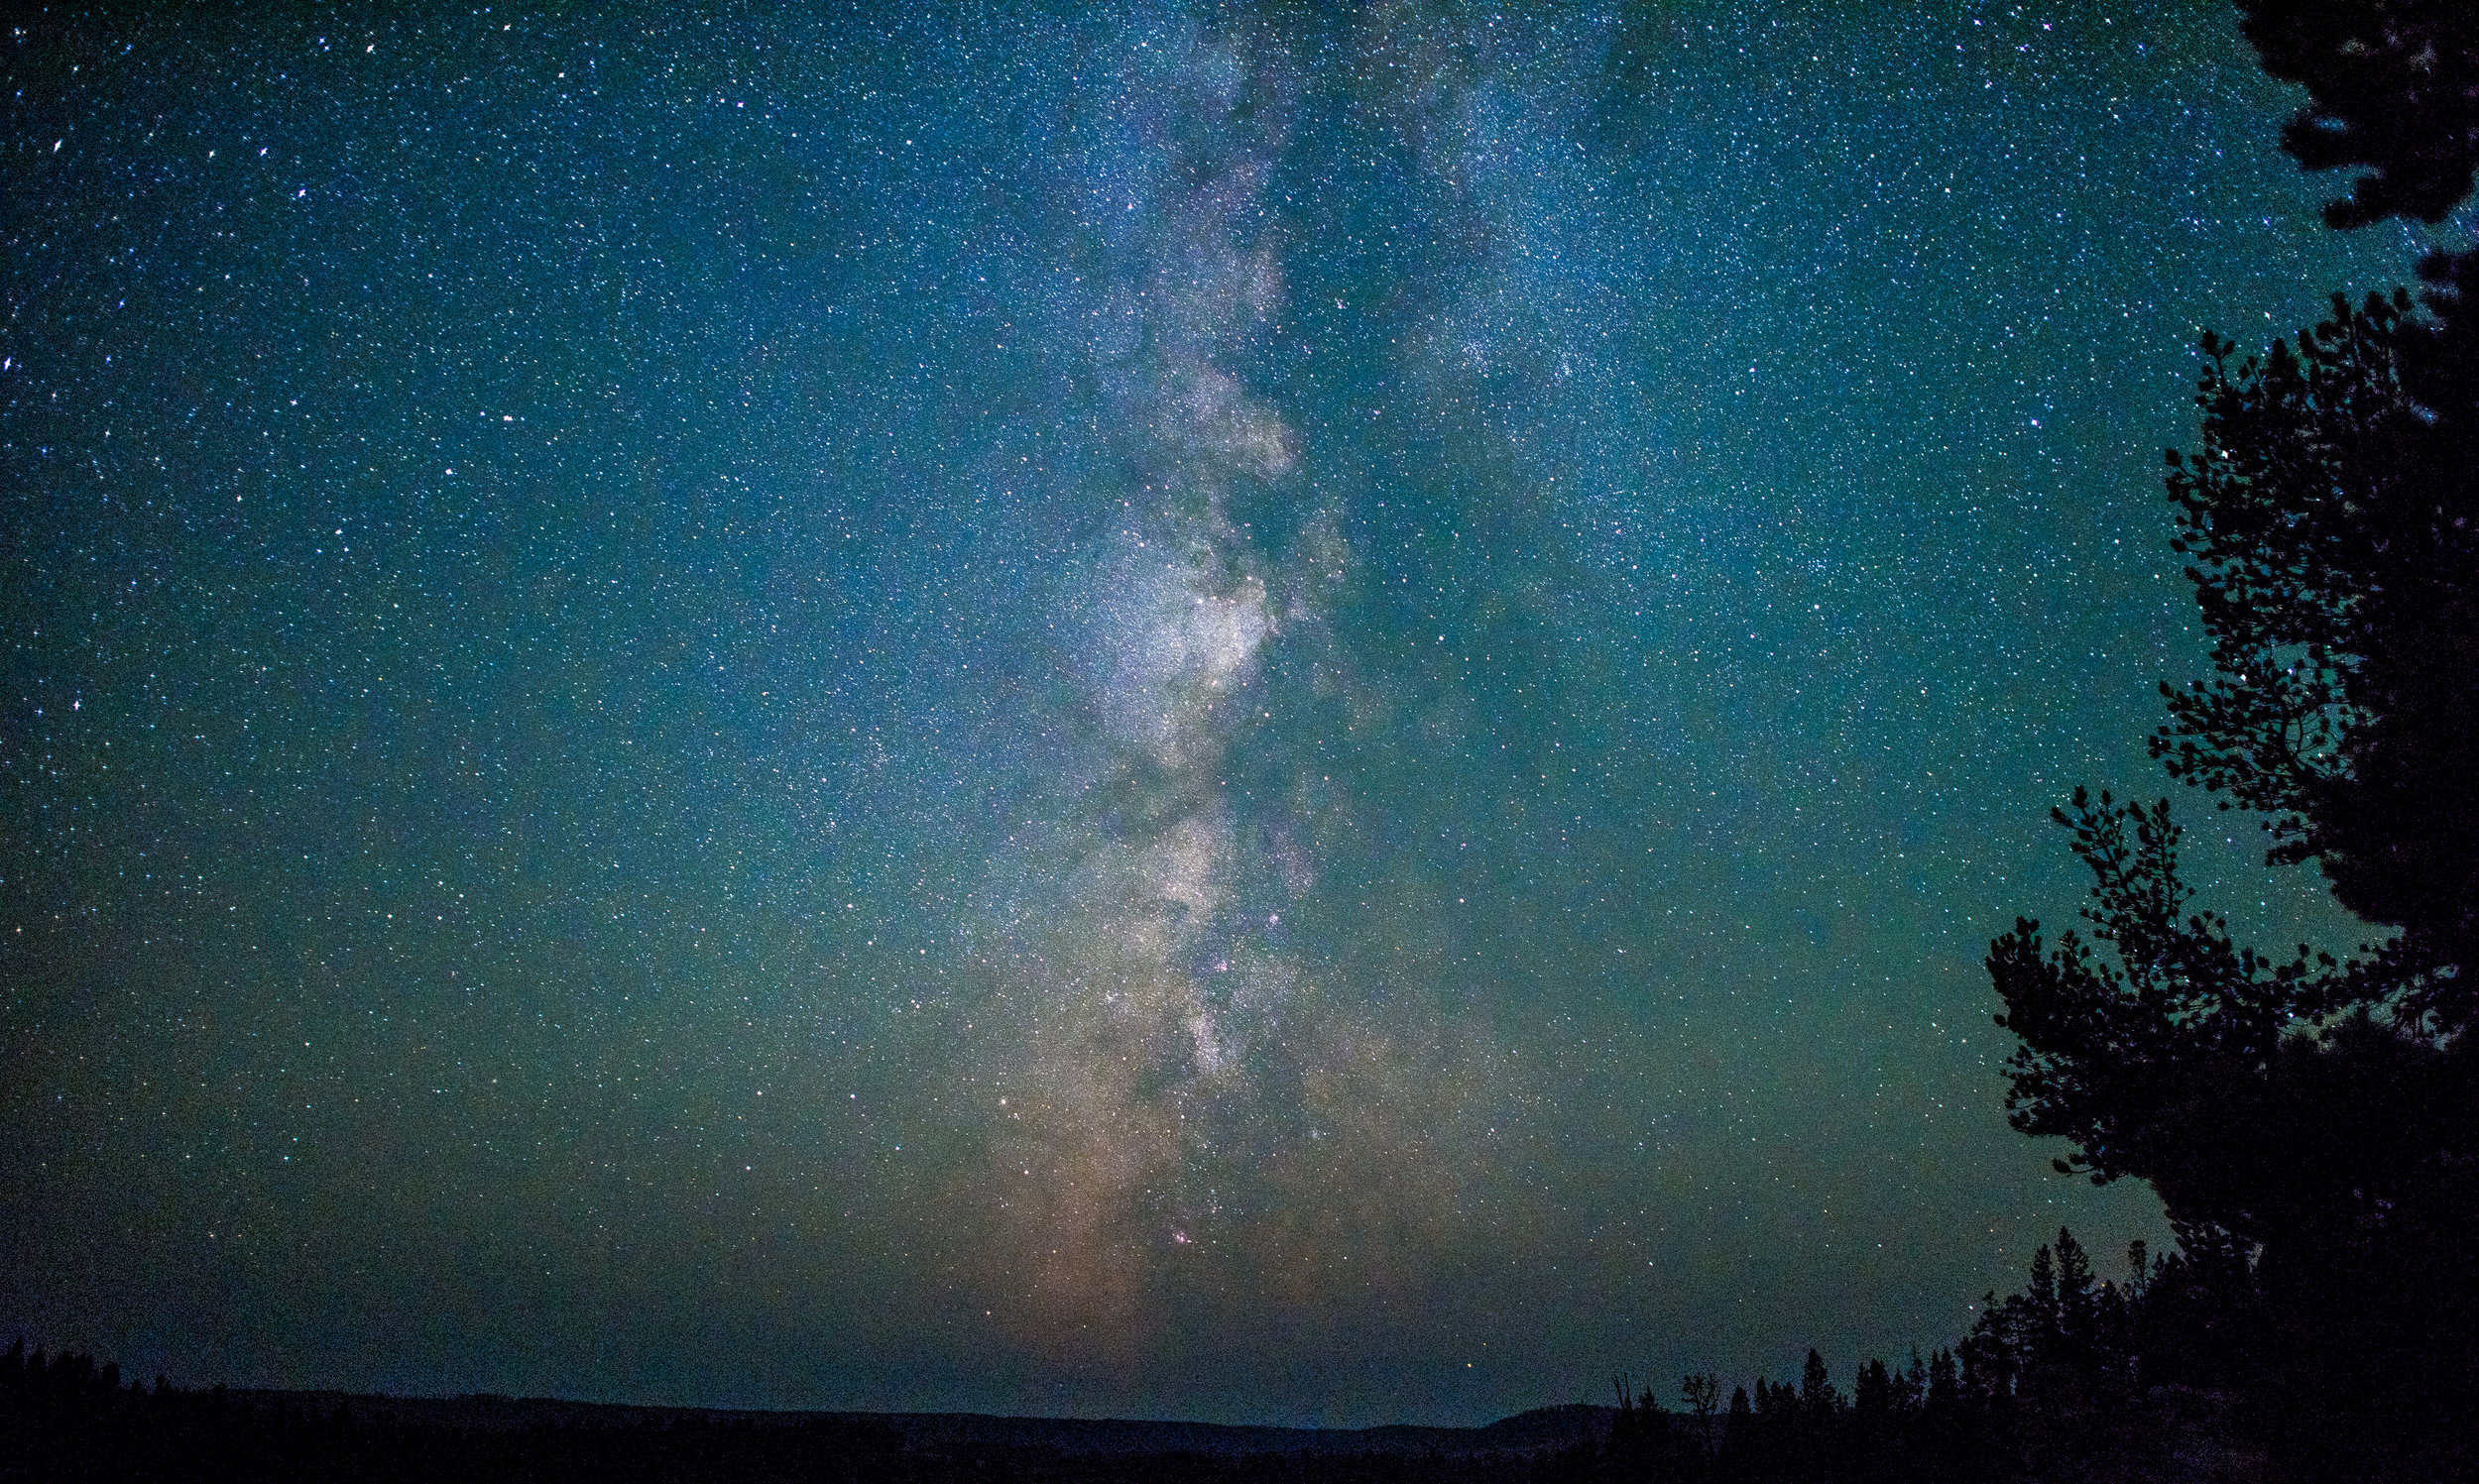
We stayed the night in our truck along the edge of the Canyon to capture some astrophotography over the canyon ledge. We had an amazing time and captured some images that are so close to my heart!

These image were edited with a combination of our Astrophotography Presets, Landscape Pack, and Fine Art Pack available within our SHOP.

Second Day Adventuring In Yellowstone

Blog-Posts_1.jpg

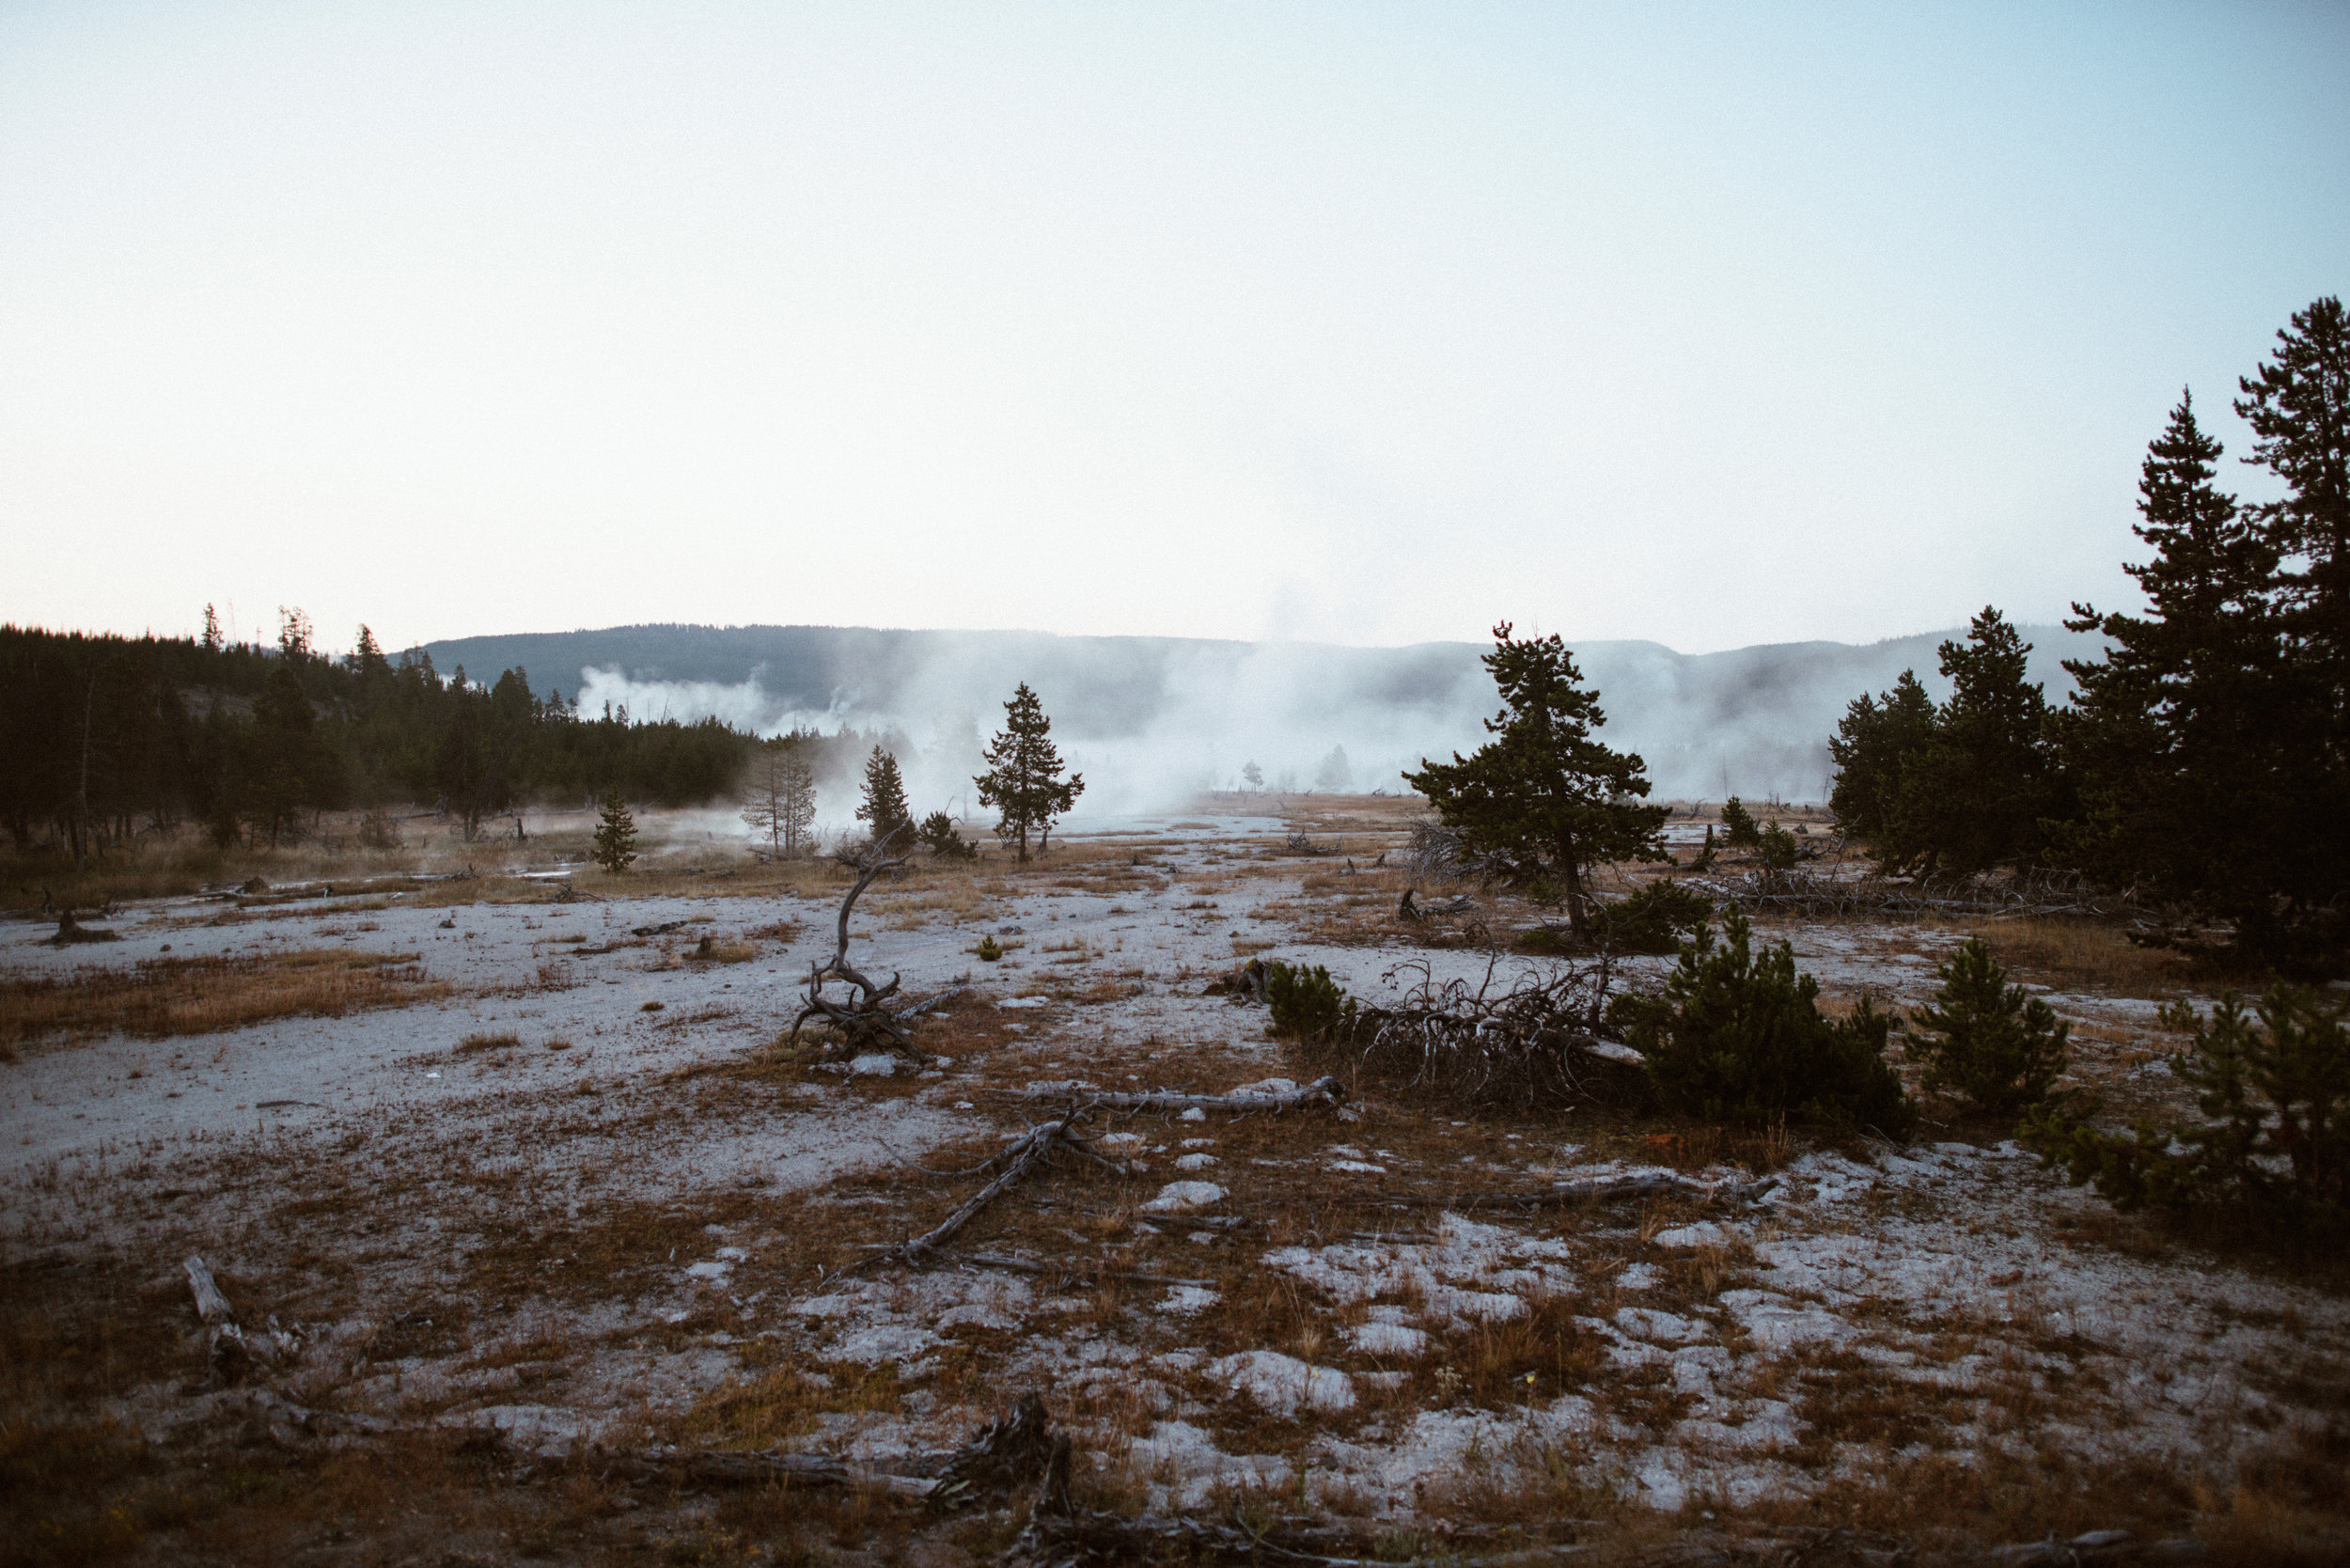
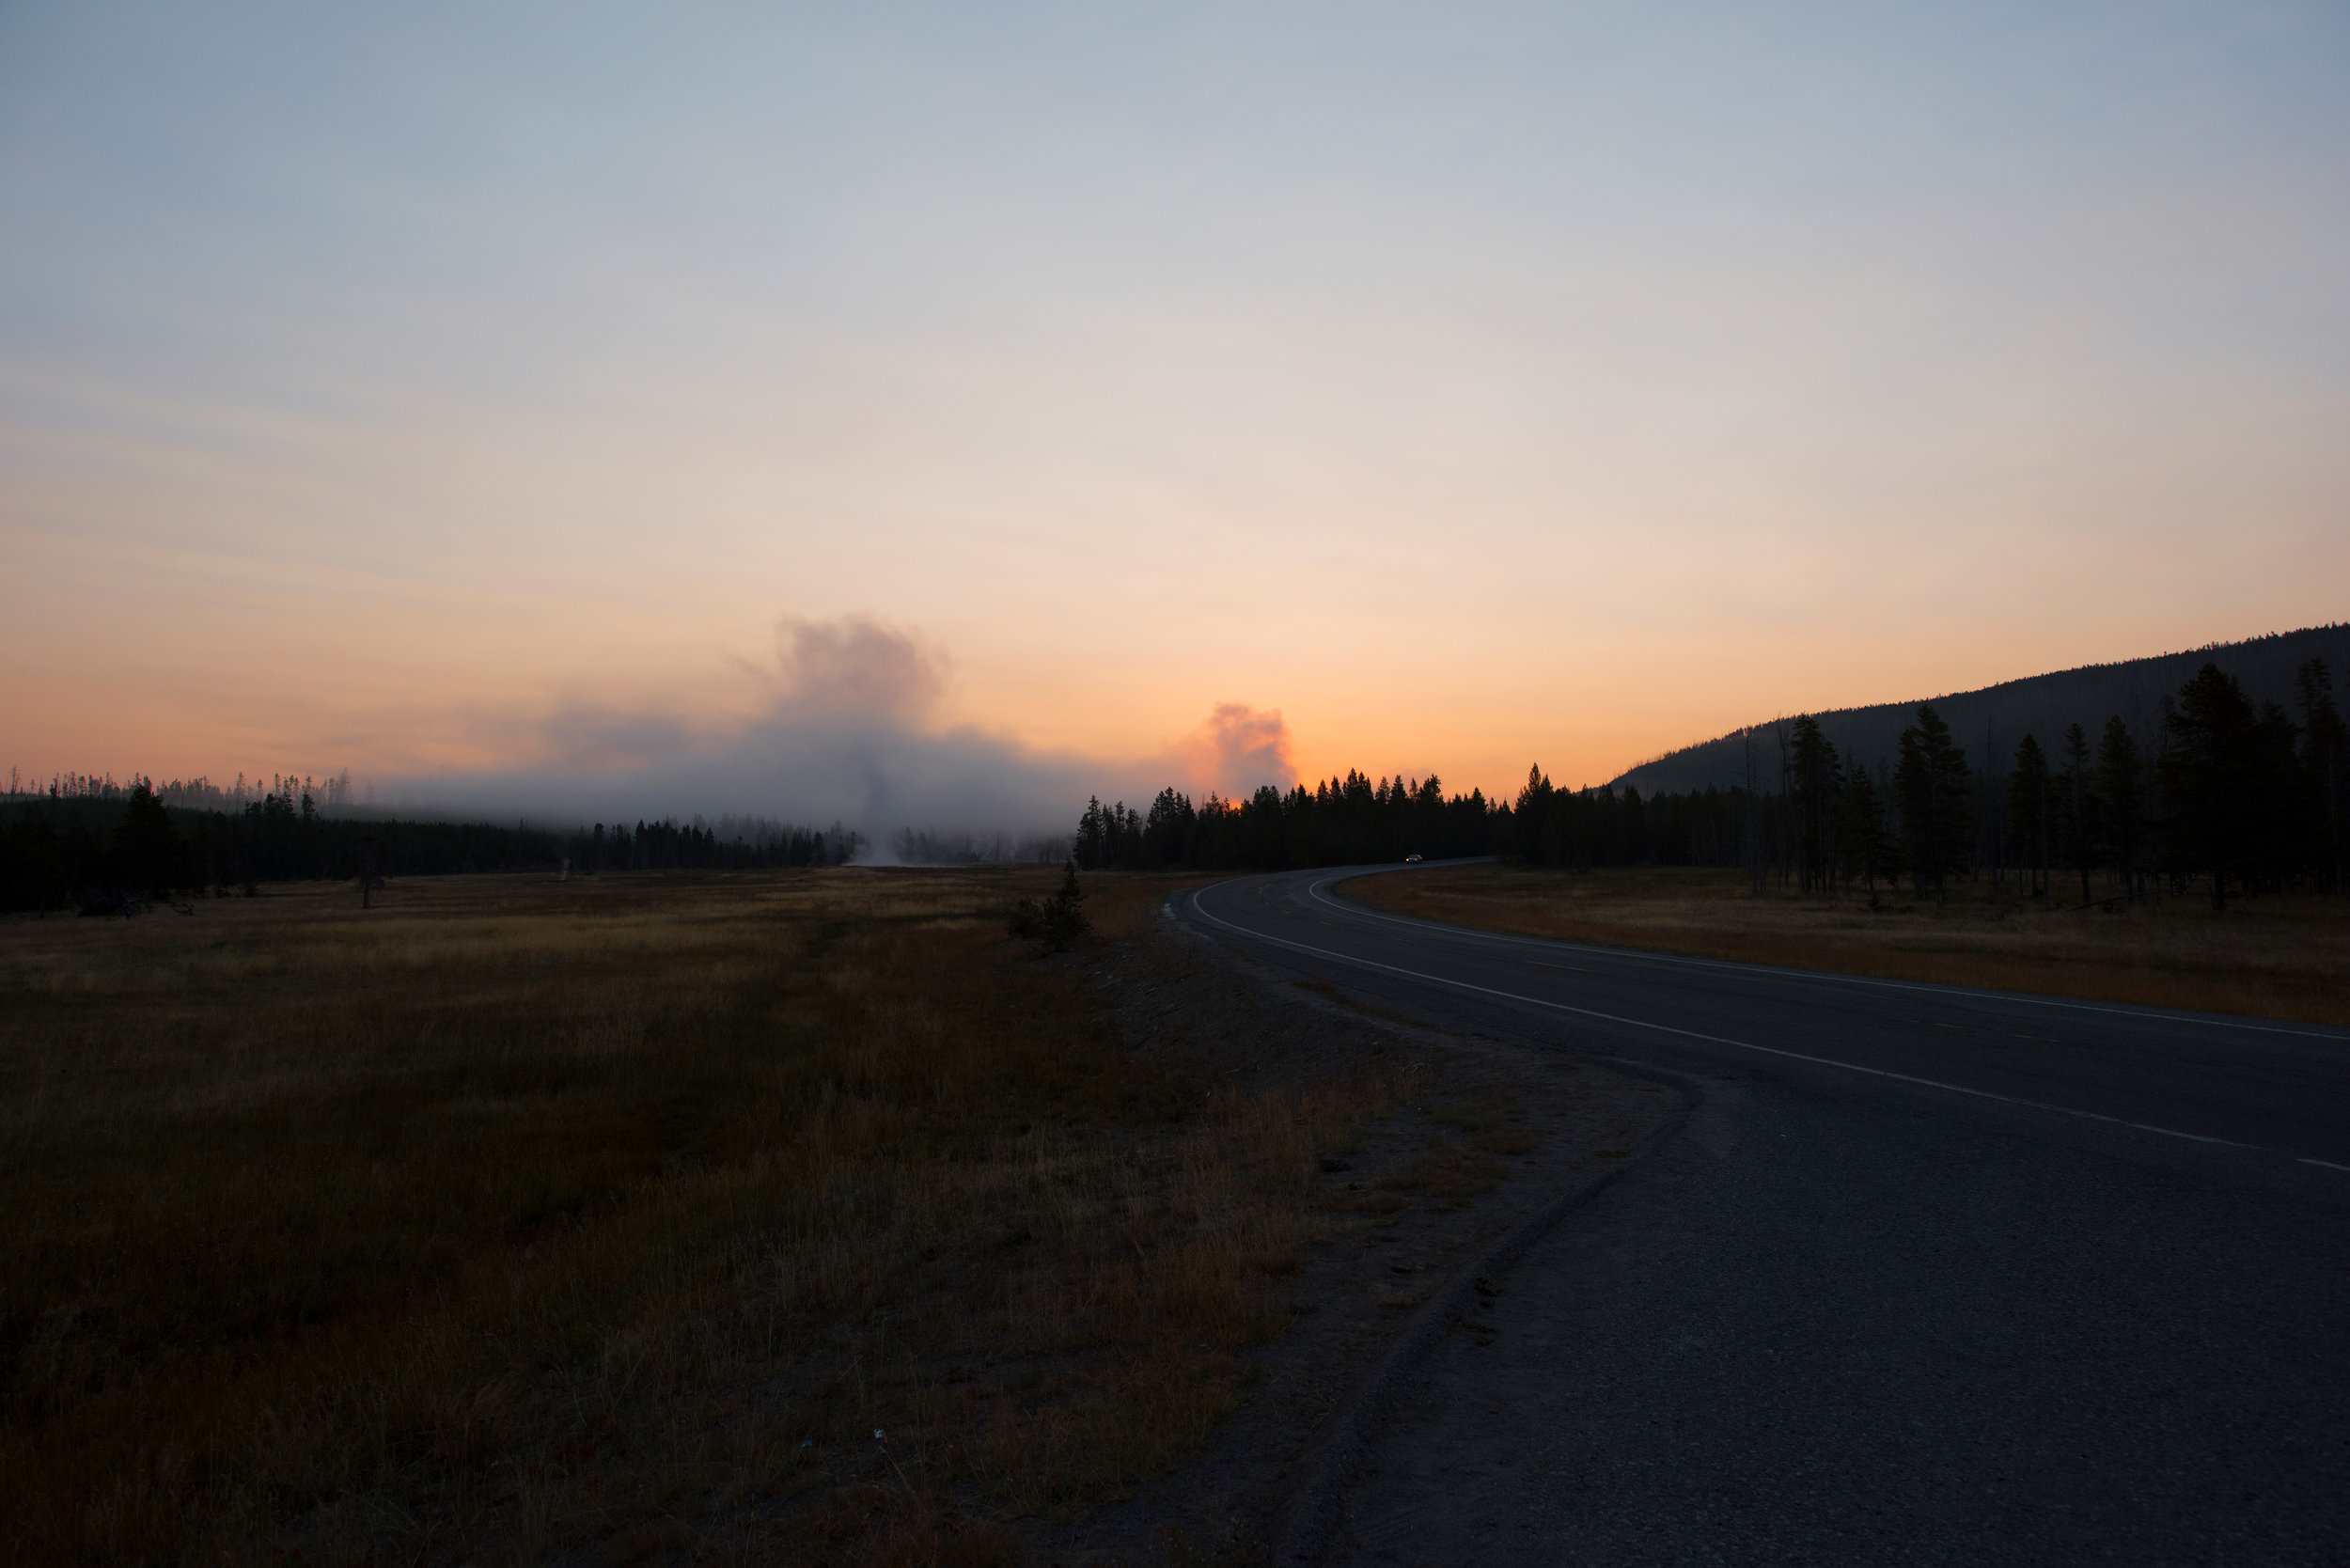
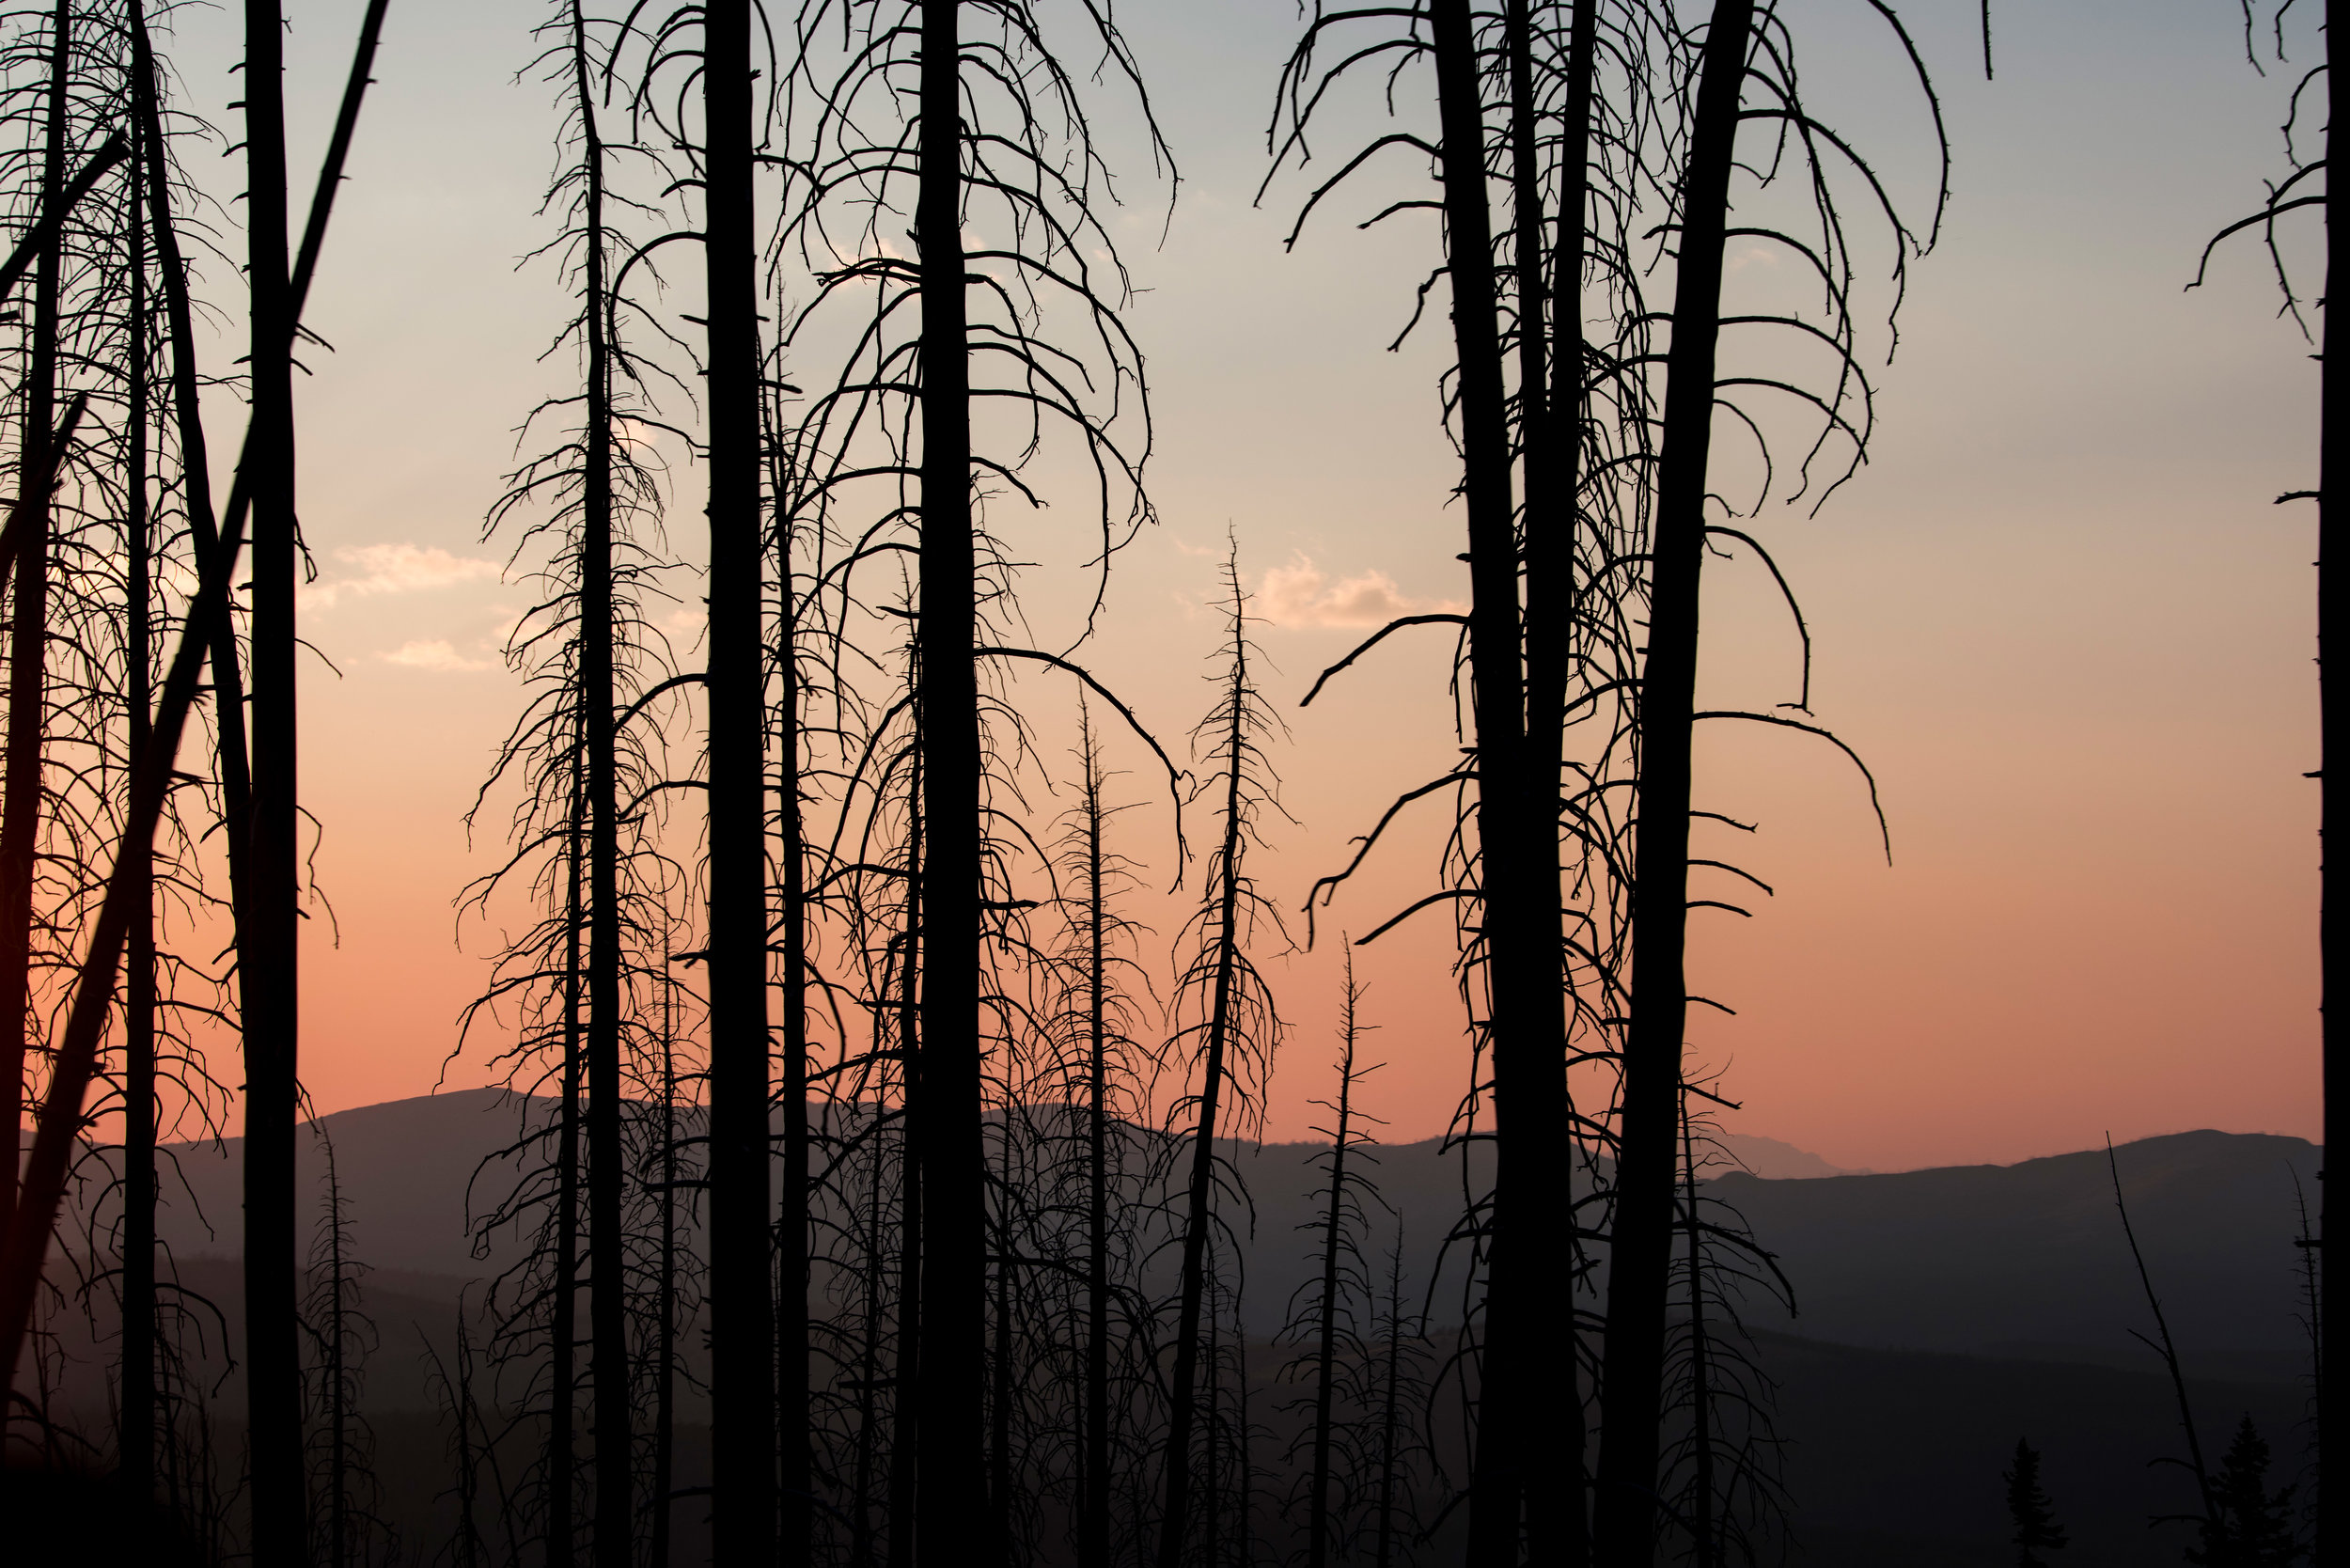
We were craving more adventure on our second full day spent in Yellowstone National Park. Alfredo and I were both hoping to see some buffalo on our drive through the valley. Before we got to the valley we stoped at the all the geysers and pools.

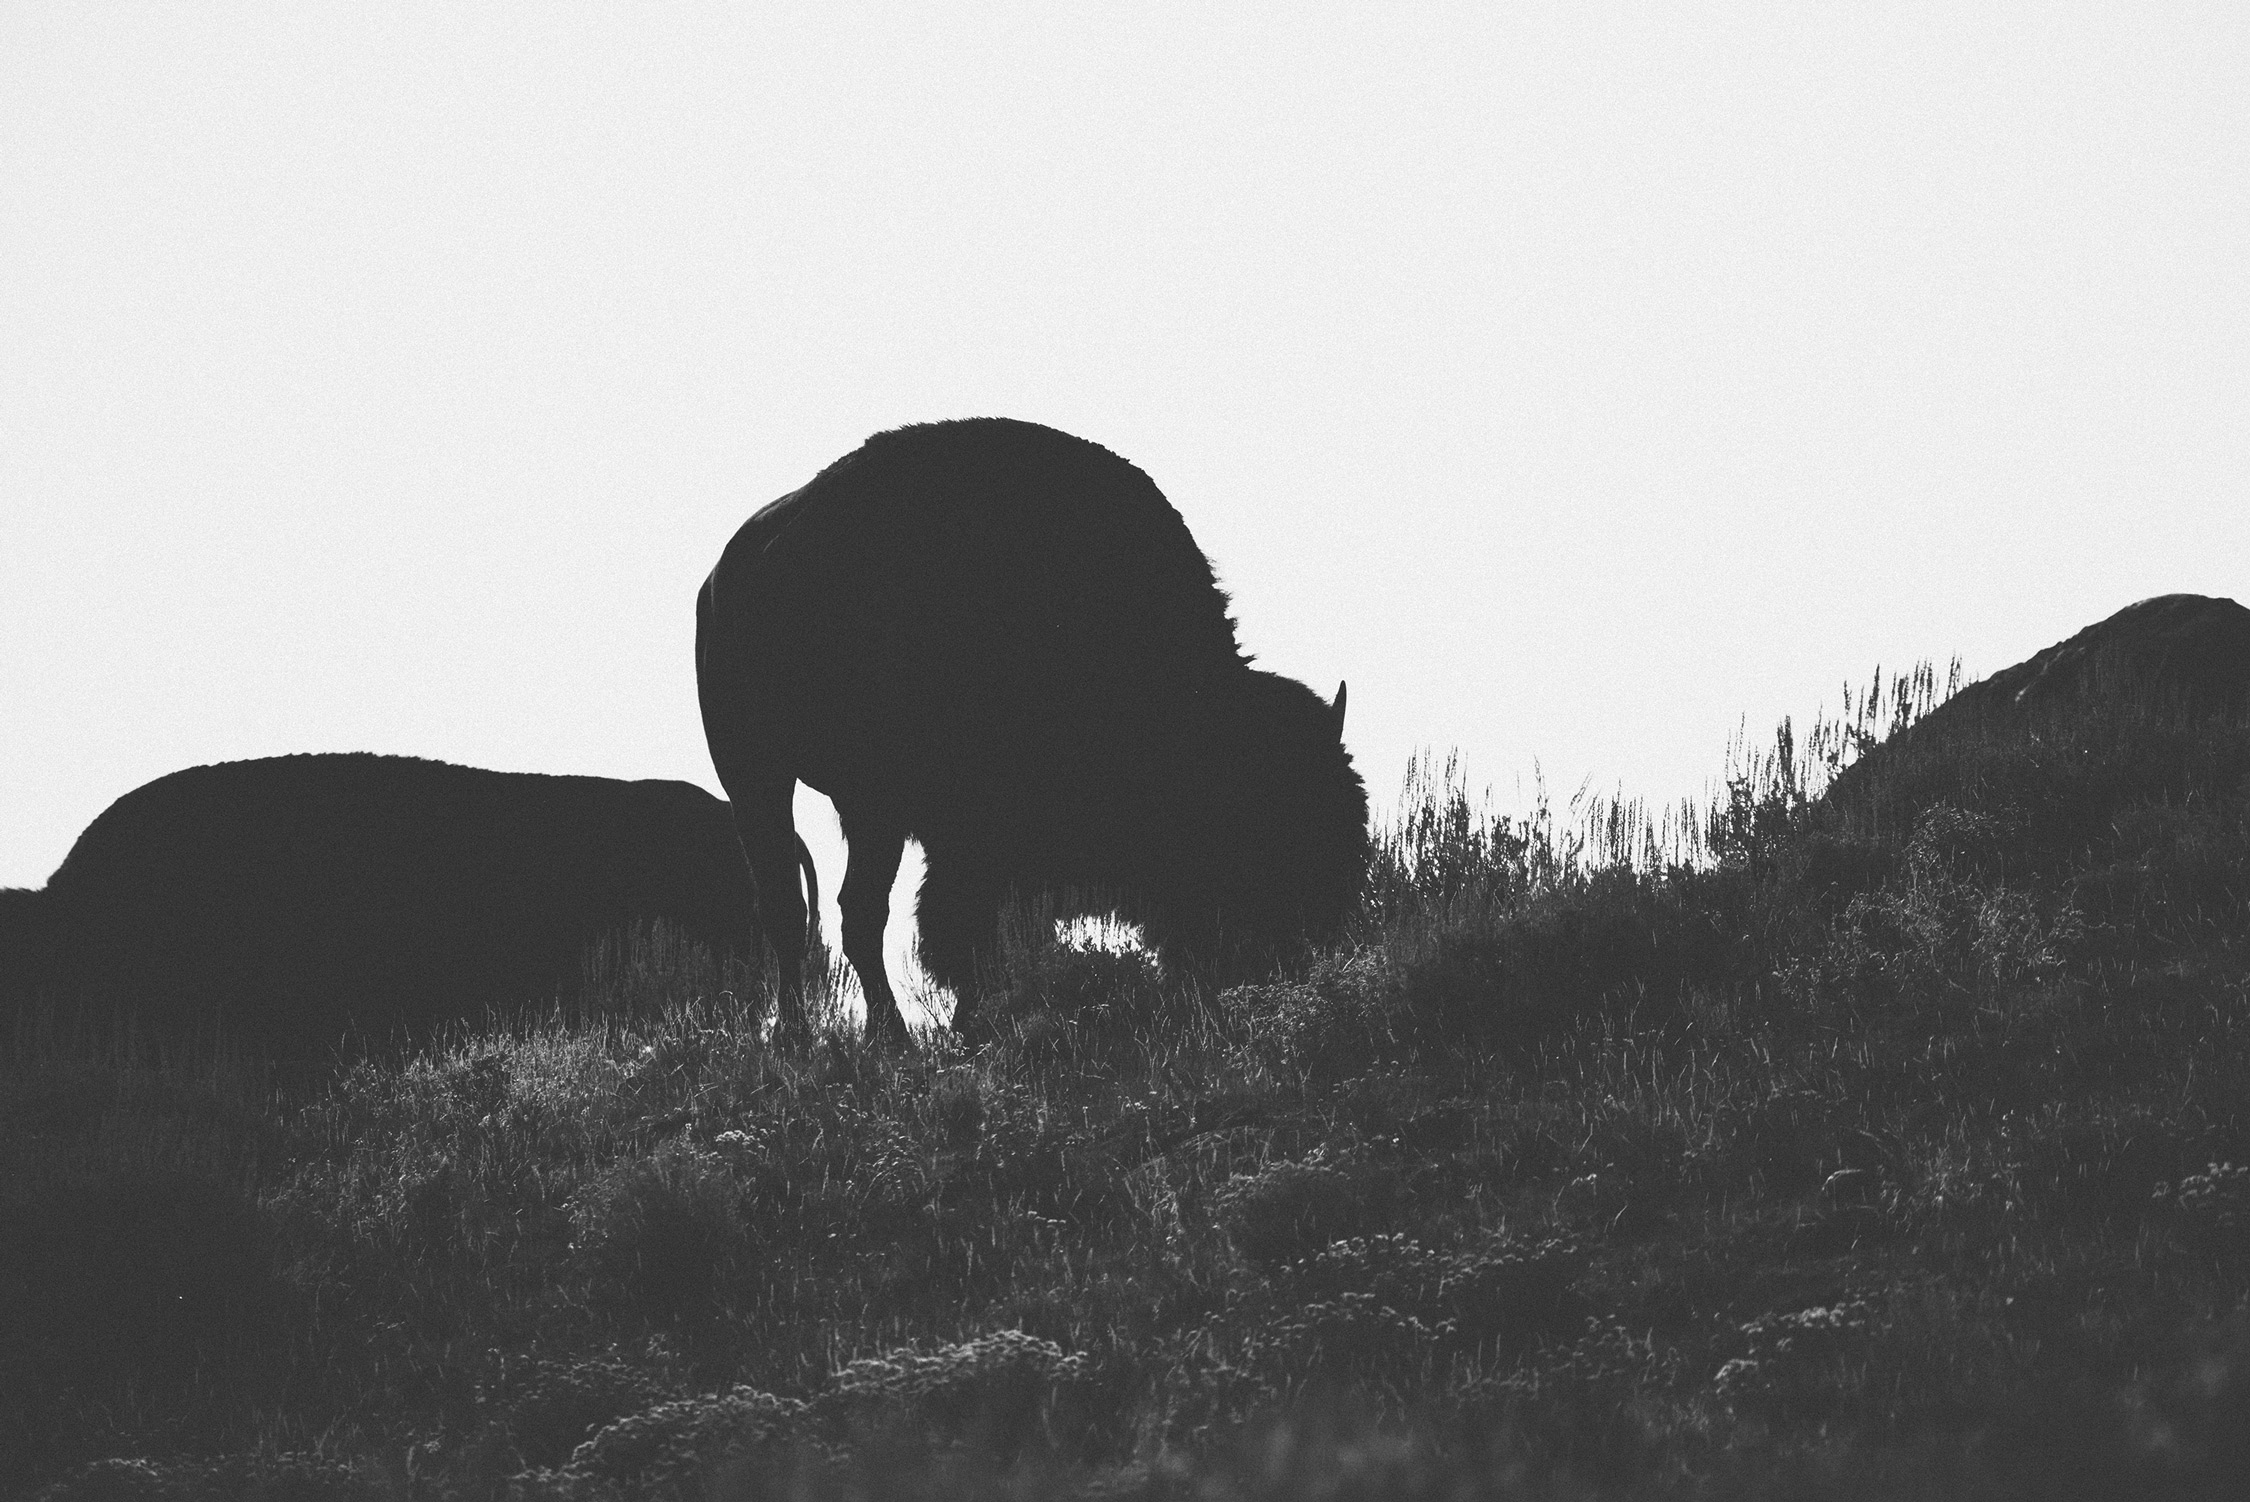
We took huge amounts of photographs during our time here. We especially loved photographing the Buffalo. We have an amazing zoom lens that allowed us to safely capture close photographs of wildlife while at the park.

Below are some of the images from our second day in Yellowstone editing with our Adventure Pack available within our SHOP.

Edwards Greenhouse Shoot With Susanna

Blog-Posts_1.jpg

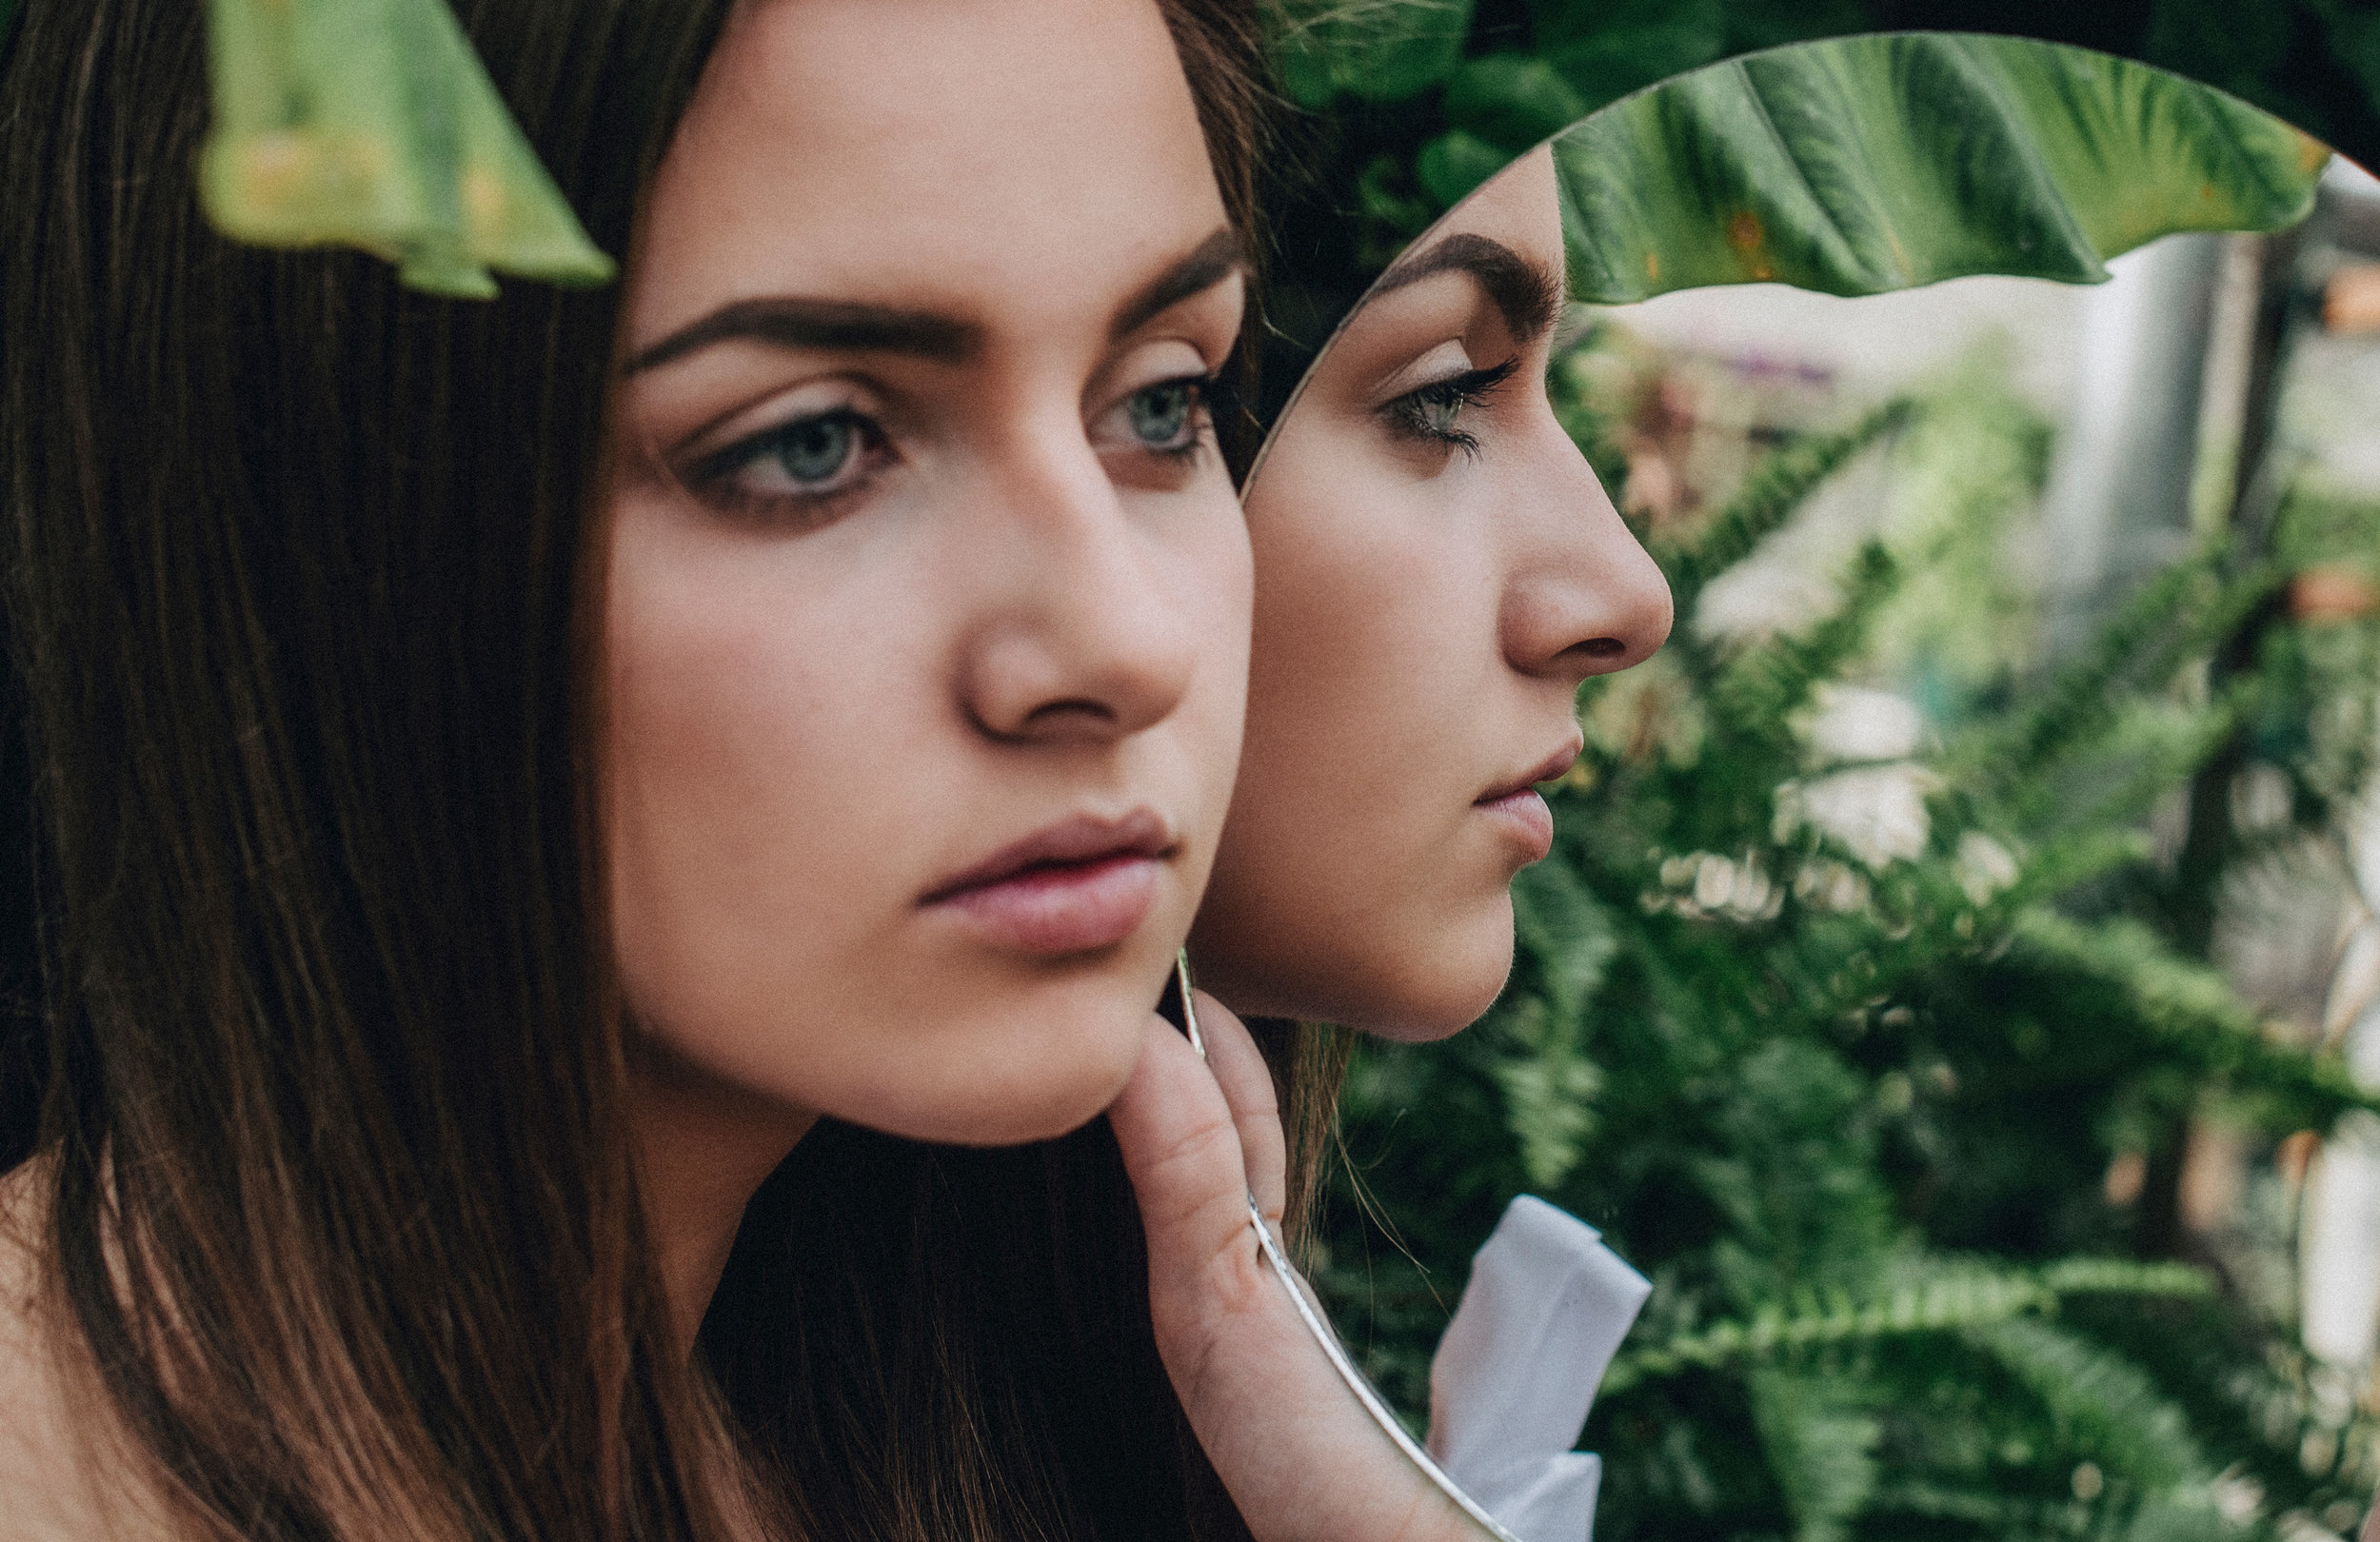
Once we arrived in Boise I scouted different locations for our Portrait shoots we had lined up. While driving around the North end of Boise I found Edwards Greenhouse. I have always loved not only the color green but also foliage. I worked as a florist for 6 months and loved every minute of it. Naturally I am always pulled towards outdoor locations so we moved to another near by location after the Greenhouse.

I love all the different textures and plants were able to incorporate into this shoot. All the images from this shoot were edited with our Blogger Pack available within our SHOP.

Our Long Haul From Idaho to California

Blog-Posts_1.jpg

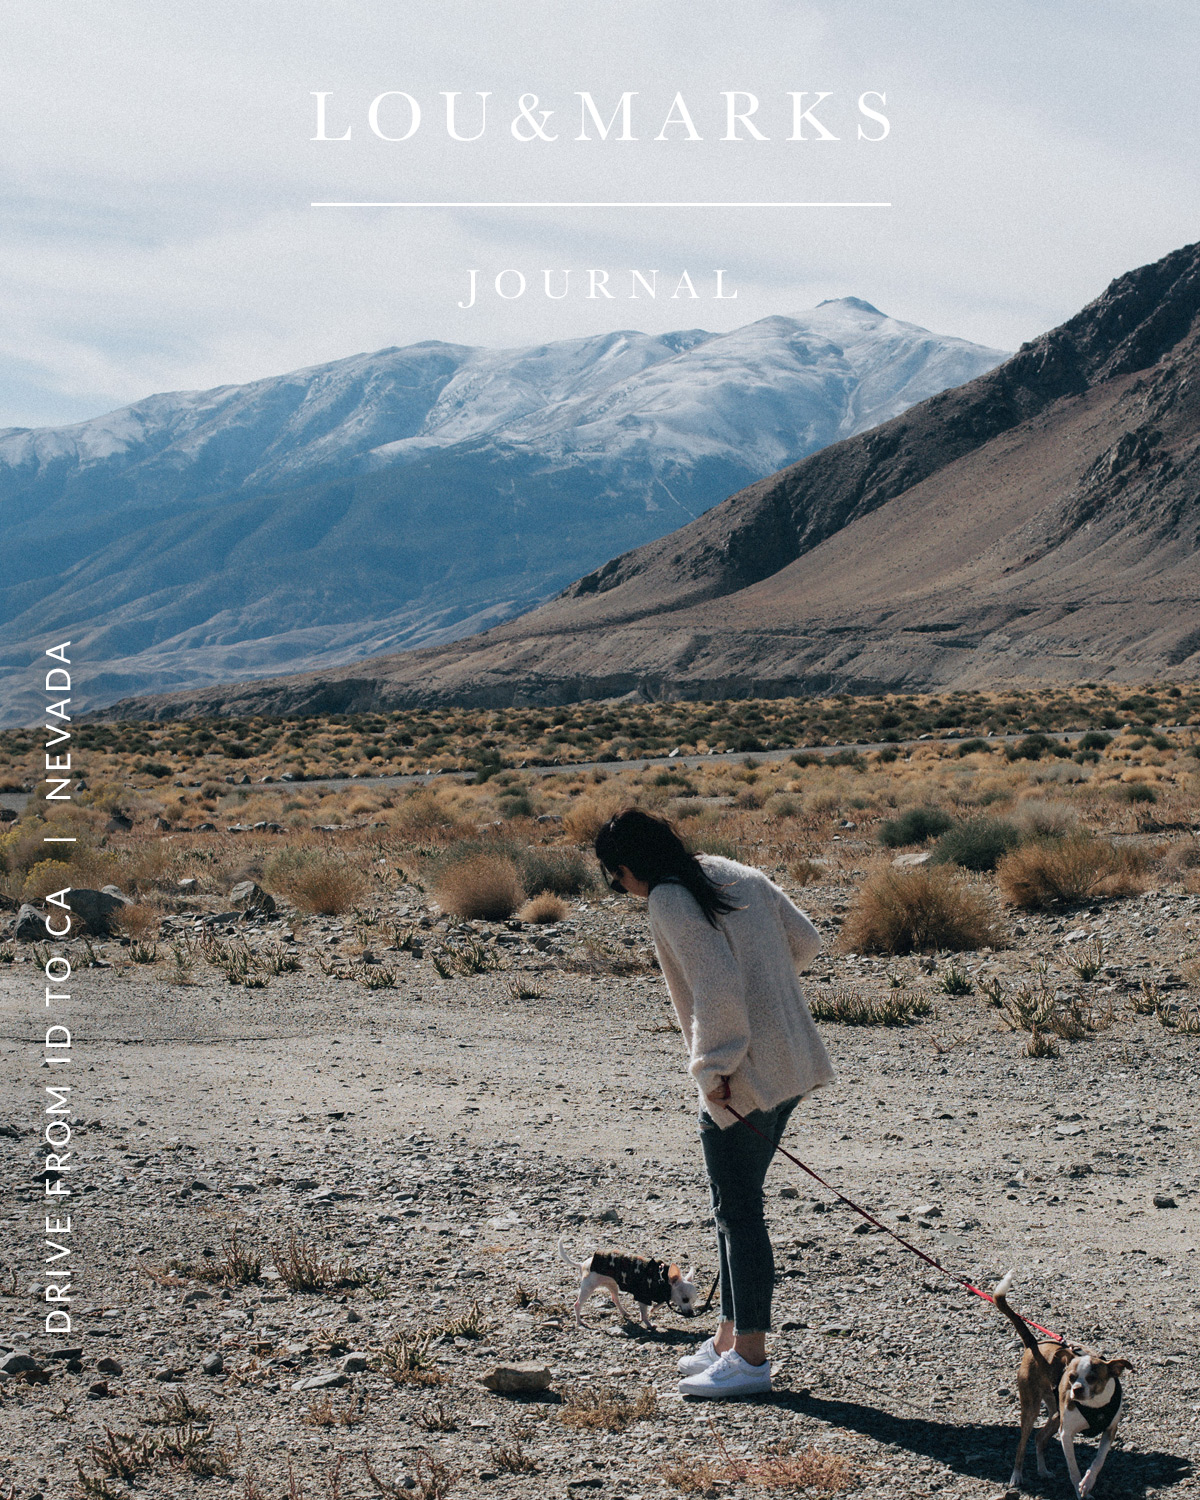
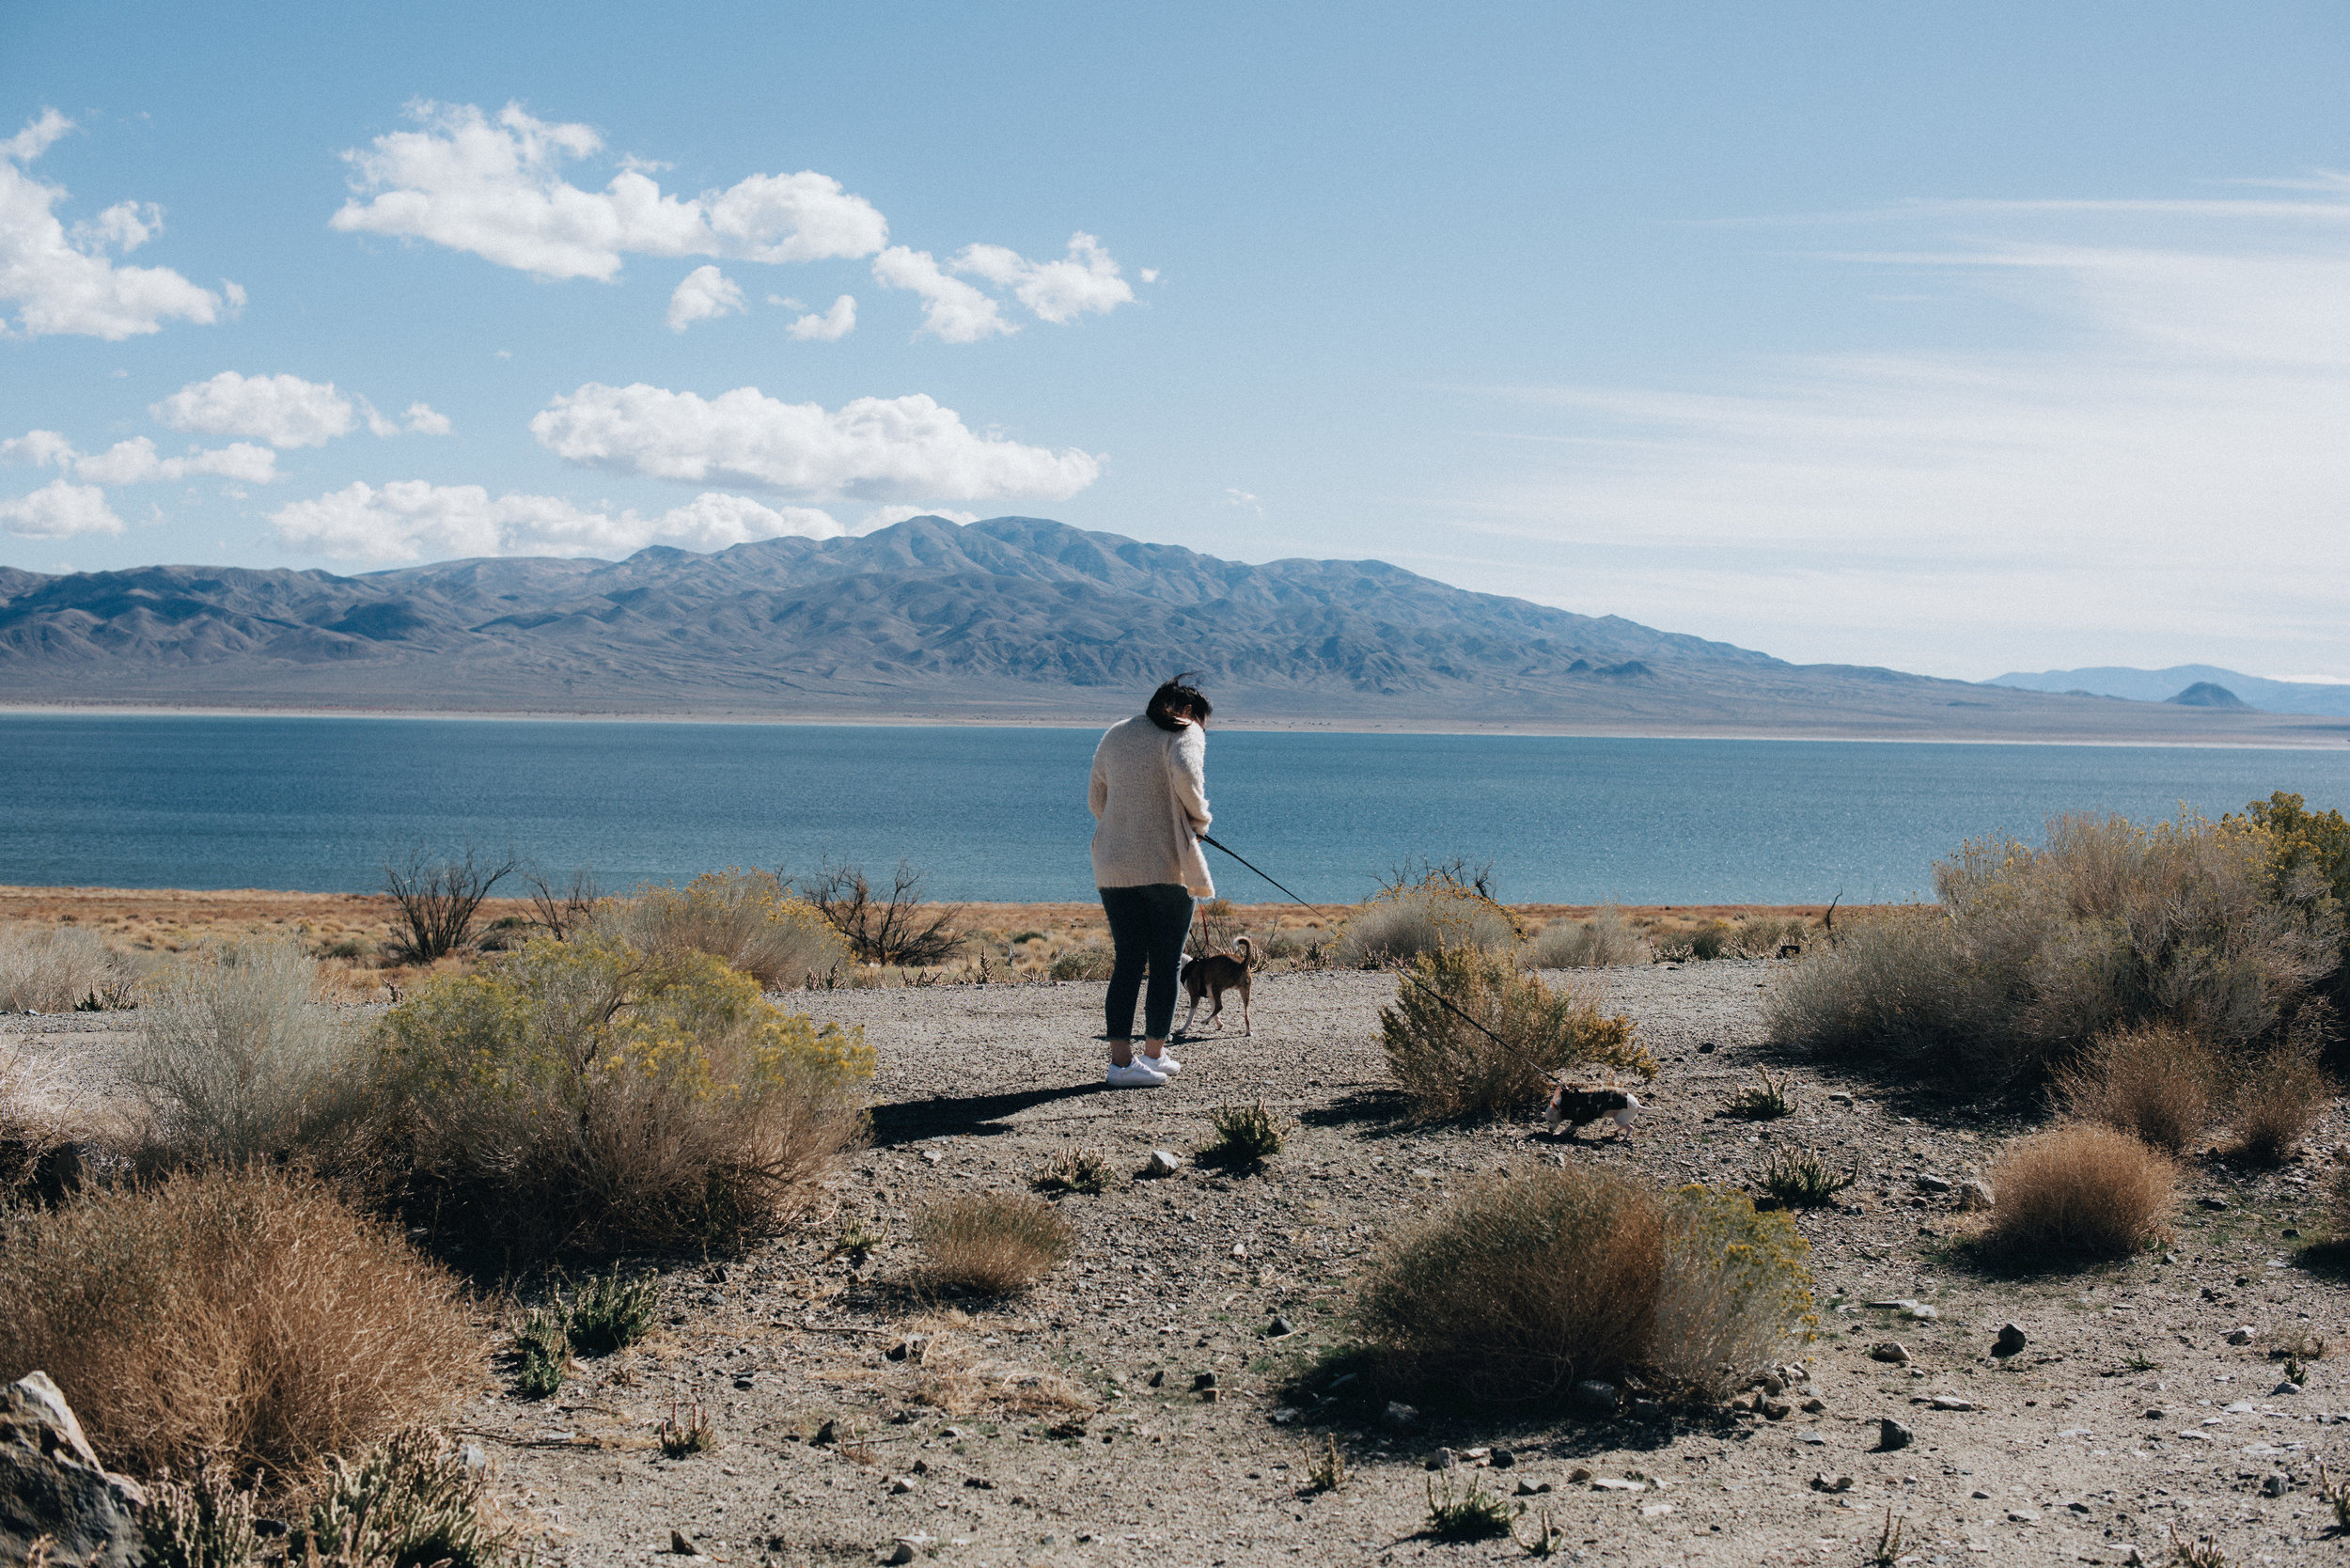
We recently left our last location in Idaho to head to Southern California. We had a long 16 hour drive day. We also take a bit longer than most travelers because we have our three pets with us who need frequent breaks as well as two photographers who like to frequently stop to get photographs.

We travel through Idaho, Oregon, Nevada, and all the way through the state on California to finally end up in Dana Point. Here are some images from our long but adventurous drive edited with our Fine Art Pack available on our SHOP.

Studio Boise Shoot

Blog-Posts_1.jpg

During the time we spend in Boise Idaho we were able to find an amazing workspace for studio work. Studio Boise is an amazing location to work on your studio portraits. Denise the owner and photographer herself is beyond helpful! I shot with Hannah, Alexa, and Mia for my studio session,

If you are in the Boise area you definitely need to check them out! Below are some images from our recent shoot at Studio Boise. All the images were editing with our Presets available on our SHOP.

Hannah + Lucky Peak Idaho

Blog-Posts_1.jpg

We are trying to focus on photographing the beautiful landscapes of the areas we travel to as well as link up with other creatives and work on our Portrait Photography and booking sessions.

We met up with Hannah at Lucky Peak for a sunrise shoot. The beautiful tones over the water brought out a lot of warmth on this chilly Idaho morning.

All the Images from this shoot were editing with our Fine Art Pack available within our SHOP.

Driving All Day

Blog-Posts_1.jpg

With all the traveling we do sometimes we have to drive for 8-12 hours to reach our next destination. We most recently drove from Yellowstone, WY to Boise, ID. This was an 12 hour drive for us. We also made a few stops along the way.

We first stopped at Craters of The Moon. We both have been fascinated by the volcanic landscape. After a few hours exploring around we were back on the Road to ShoShone Falls. We explored around the park and gazed out from the viewpoints. 

Although our detour took us an extra two hours it was definitely worth the extra travel time. Below are some of the images we captured from our drive and our stops.

Craters of the Moon & Shoshone Falls Edited with our Adventure Pack available within our SHOP

Screen Shot 2020-04-28 at 3.07.15 PM.jpg

Our First Day // Yellowstone National Park

Blog-Posts_1.jpg

Yesterday was our first day at Yellowstone National Park. We traveled from Oregon and along the way stopped and camped at Mount St. Helens and Glacier National Park. It was an amazing 6 day camping and traveling adventure.

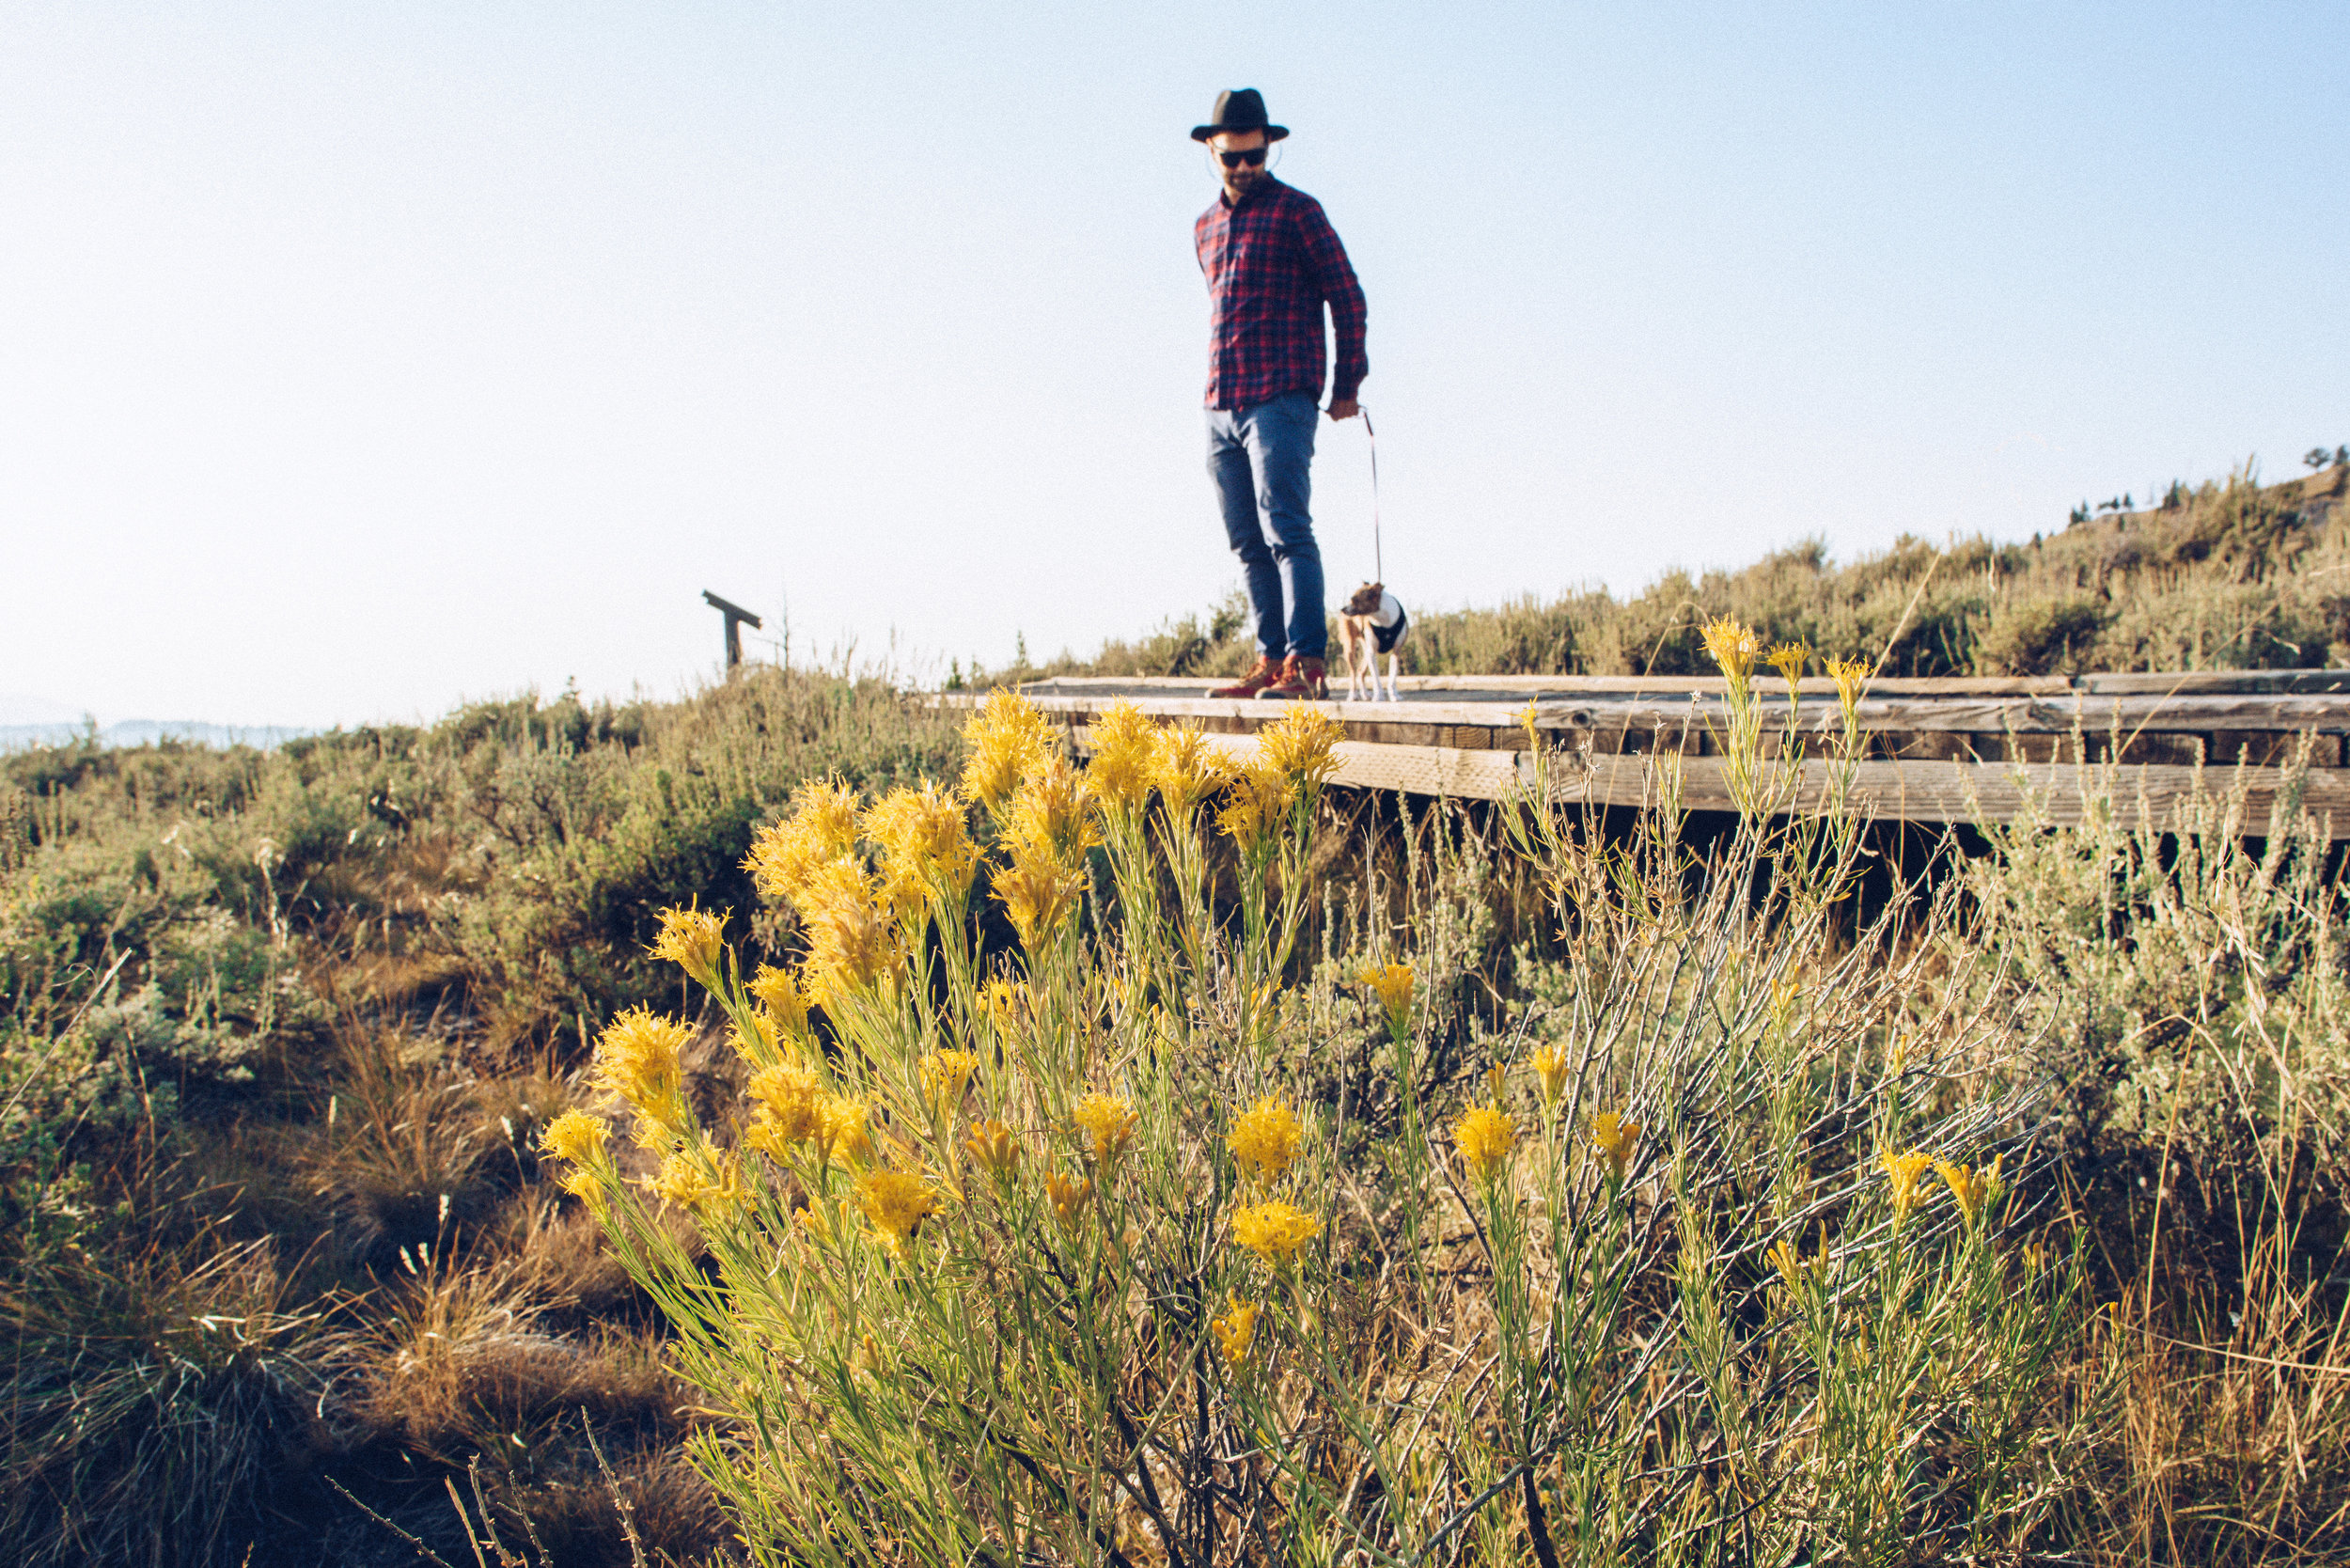
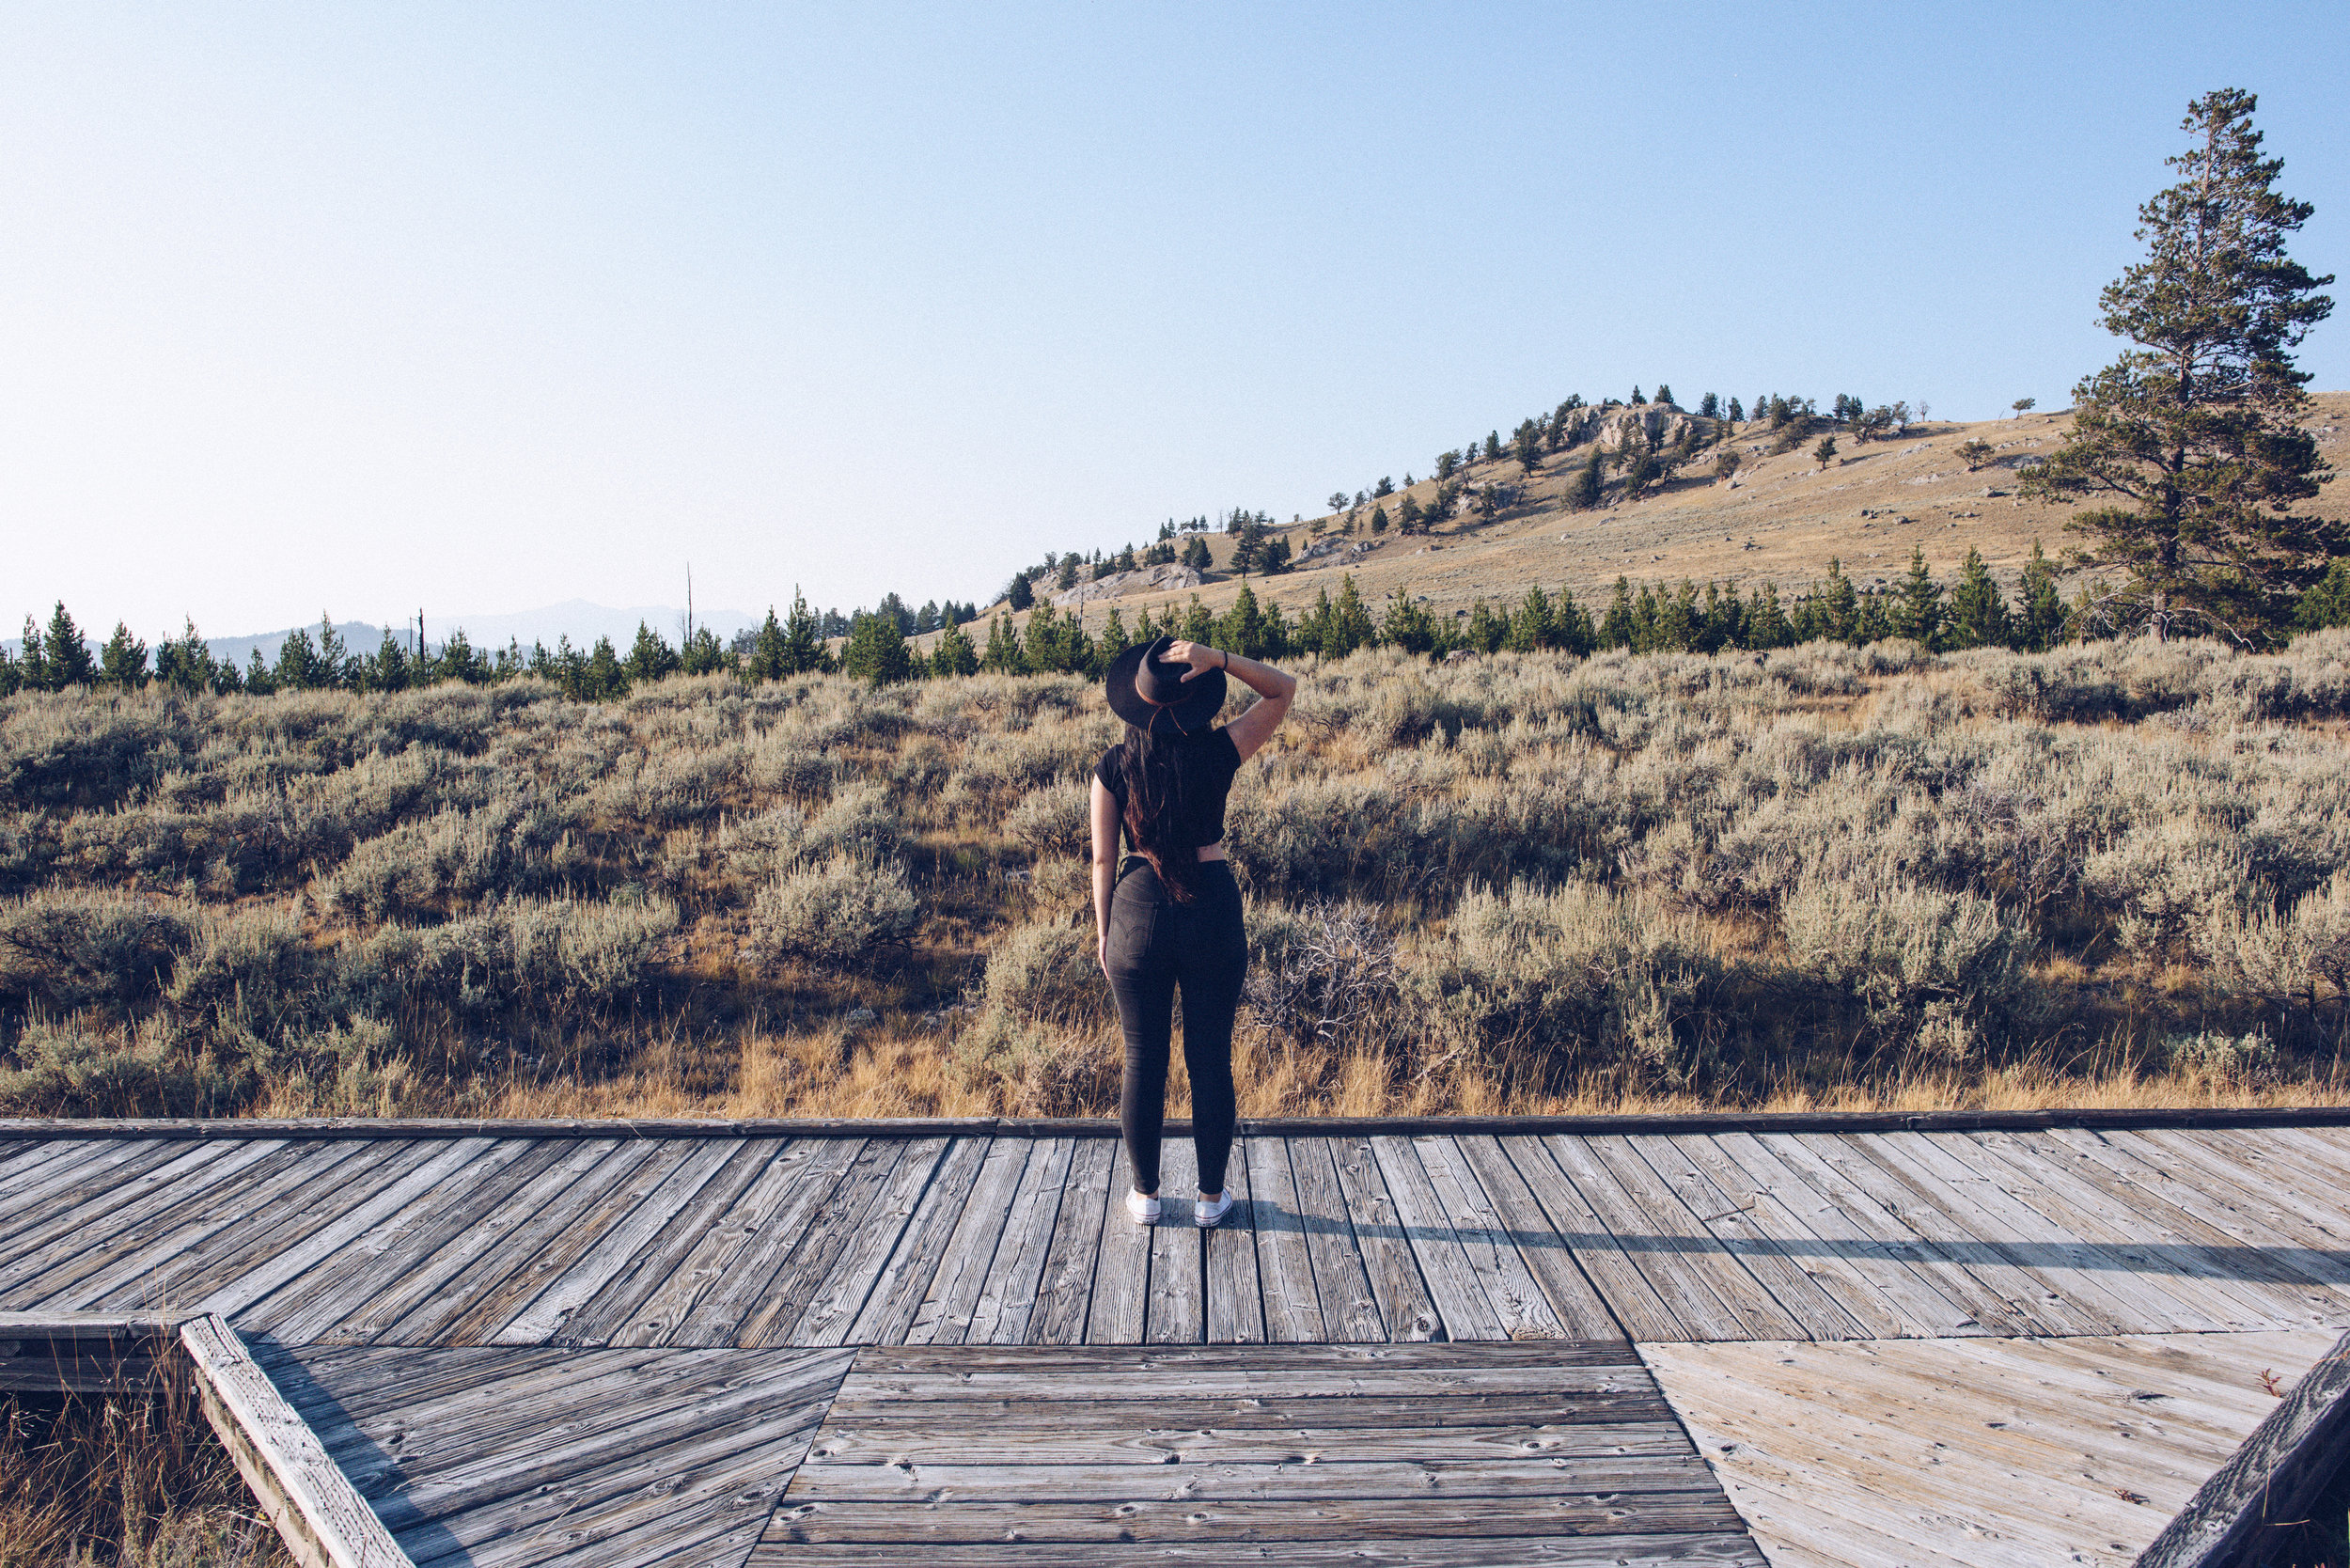
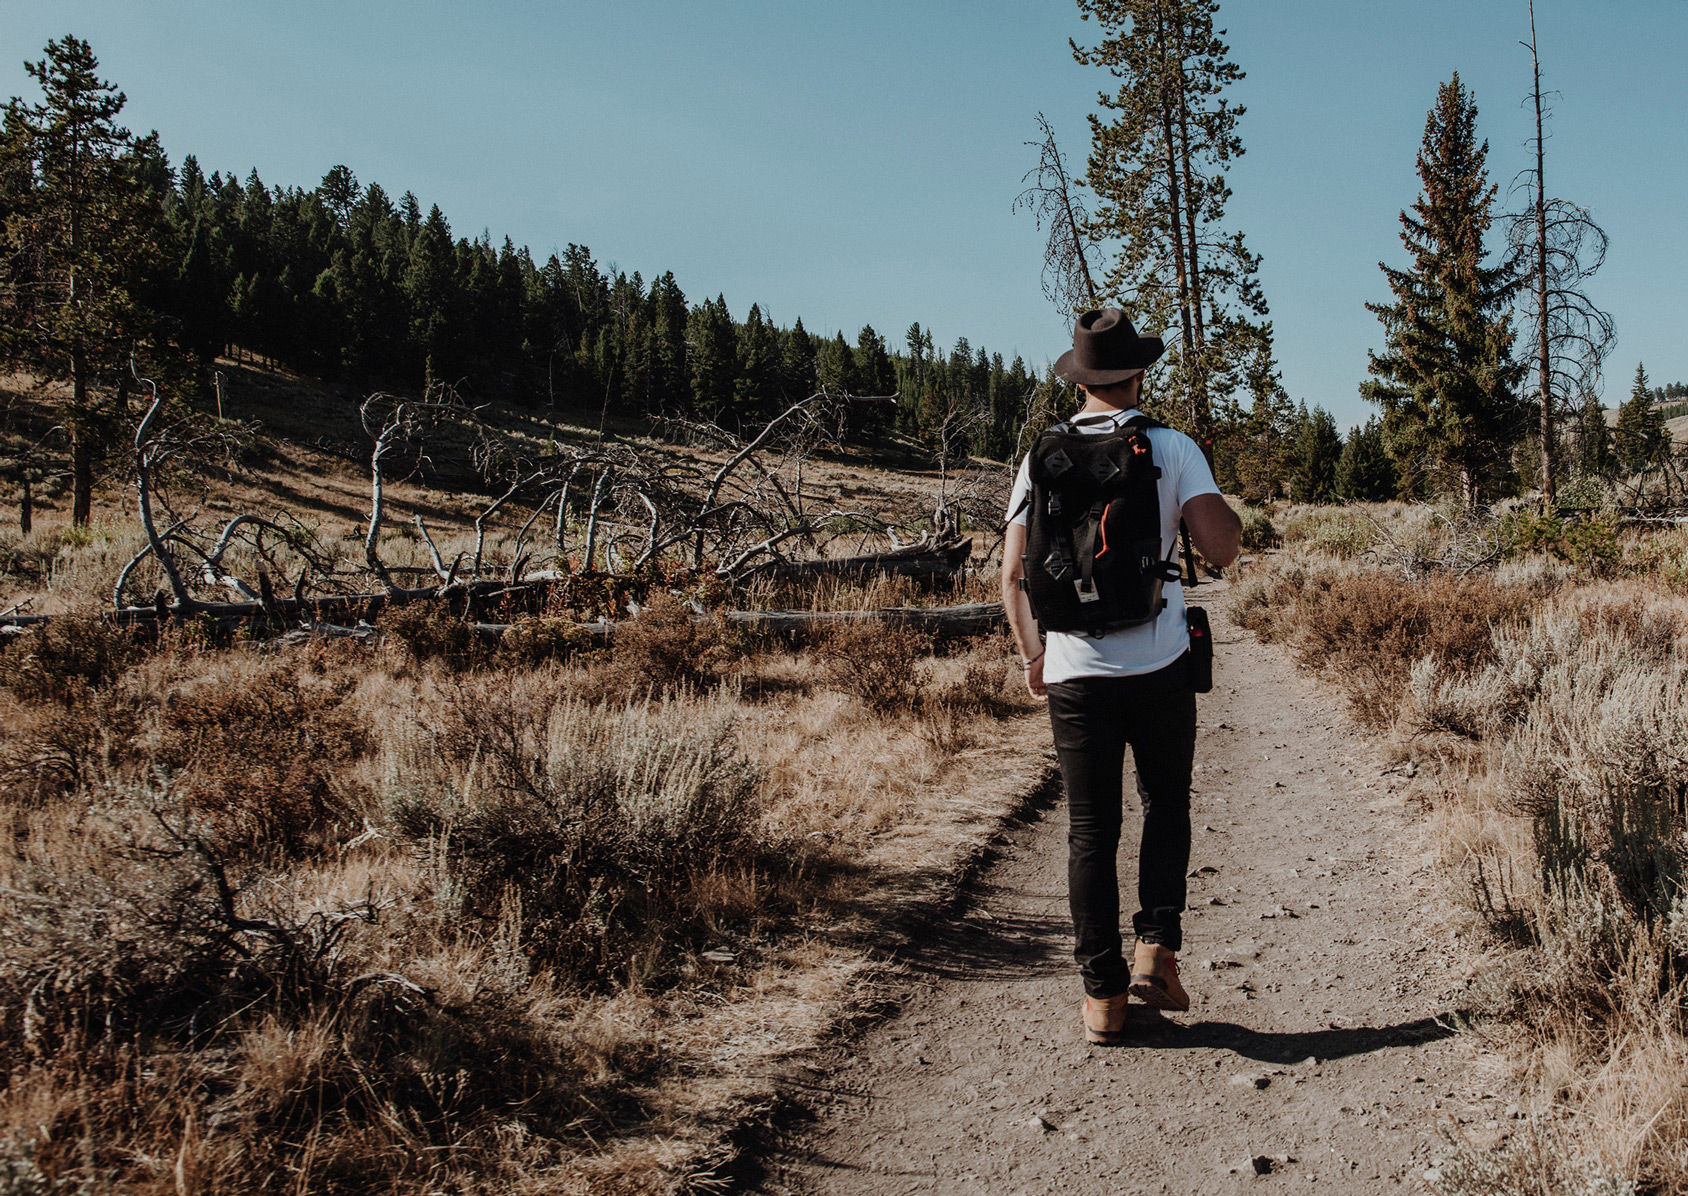
We just scraped the surface of the park yesterday. Mammoth Hot Springs was an amazing site. The colors and textures are a photographers dream. Although we are traveling at the busiest time of the year the park wasn't too busy. We walked along the board walk through all the hot spring sites and adventured further into the park.

Unfortunately there was an incident with Buffalo being stuck by cars on the road to Old Faithful so we called it an early day and are going to be heading back out to view the Geysers and Prismatic Springs. The reset of our 6 days here we will be checking out all the amazing hiking trails.

From our first day at Yellowstone:

Screen Shot 2020-04-28 at 3.07.20 PM.jpg

Beach Camping // The Oregon Coast

Blog-Posts_1.jpg

After we left the Olympic Park Area we headed to the Waldport/Florence/Yachats area. We found a beautiful little spot on the beach at South Jetty to set up our camp. All of our animals were welcome there. Some locations on the Oregon Coast don't allow you to camp or even walk the beach with your animals.

We had an amazing view of the ocean and slept so peacefully hearing the waves. If you are traveling to or through Oregon and looking for a camping place on the beach with pets I highly recommend this area.

Images from our camping adventure:

Screen Shot 2020-04-28 at 3.07.26 PM.jpg


Shi Shi Beach + Adventure//Pack

Blog-Posts_1.jpg

On Tuesday we traveled to the tip of the Washington Peninsula to visit two very beautiful places Shi Shi Beach and Cape Flattery. We had a bit of a drive from where we are in Bainbridge, WA to get there. The hike to Shi Shi Beach was 8 miles in total (there and back). We Timed it at a time when the tide would be low so we would have the best opportunity to capture images. 

We always travel with at least one DSLR and one Drone. This trip we had both DSLRs and both Drones. Fredo Mark and I love being able to capture the view from above, not only for documenting but to actually see what the areas look like from above.

The hike starts out through a beautiful moss covered forest for the first 1.5 miles. We ran into some serious mud along the trail but we were still able to get through. The rest of the hike is on the sandy beach. Oddly the hike through the sand was much harder on my legs then through the forest and mud.

We had amazing time hiking and photographing this beautiful area in Washington. I edited these images with Presets from our Adventure//Lifestyle Pack available for sale within our SHOP. This is my favorite pack to use when editing our travel/landscape photography. 

Shi Shi Beach + Adventure//Pack:

Screen Shot 2020-04-28 at 3.07.31 PM.jpg