Alanna // San Diego Bright Pack

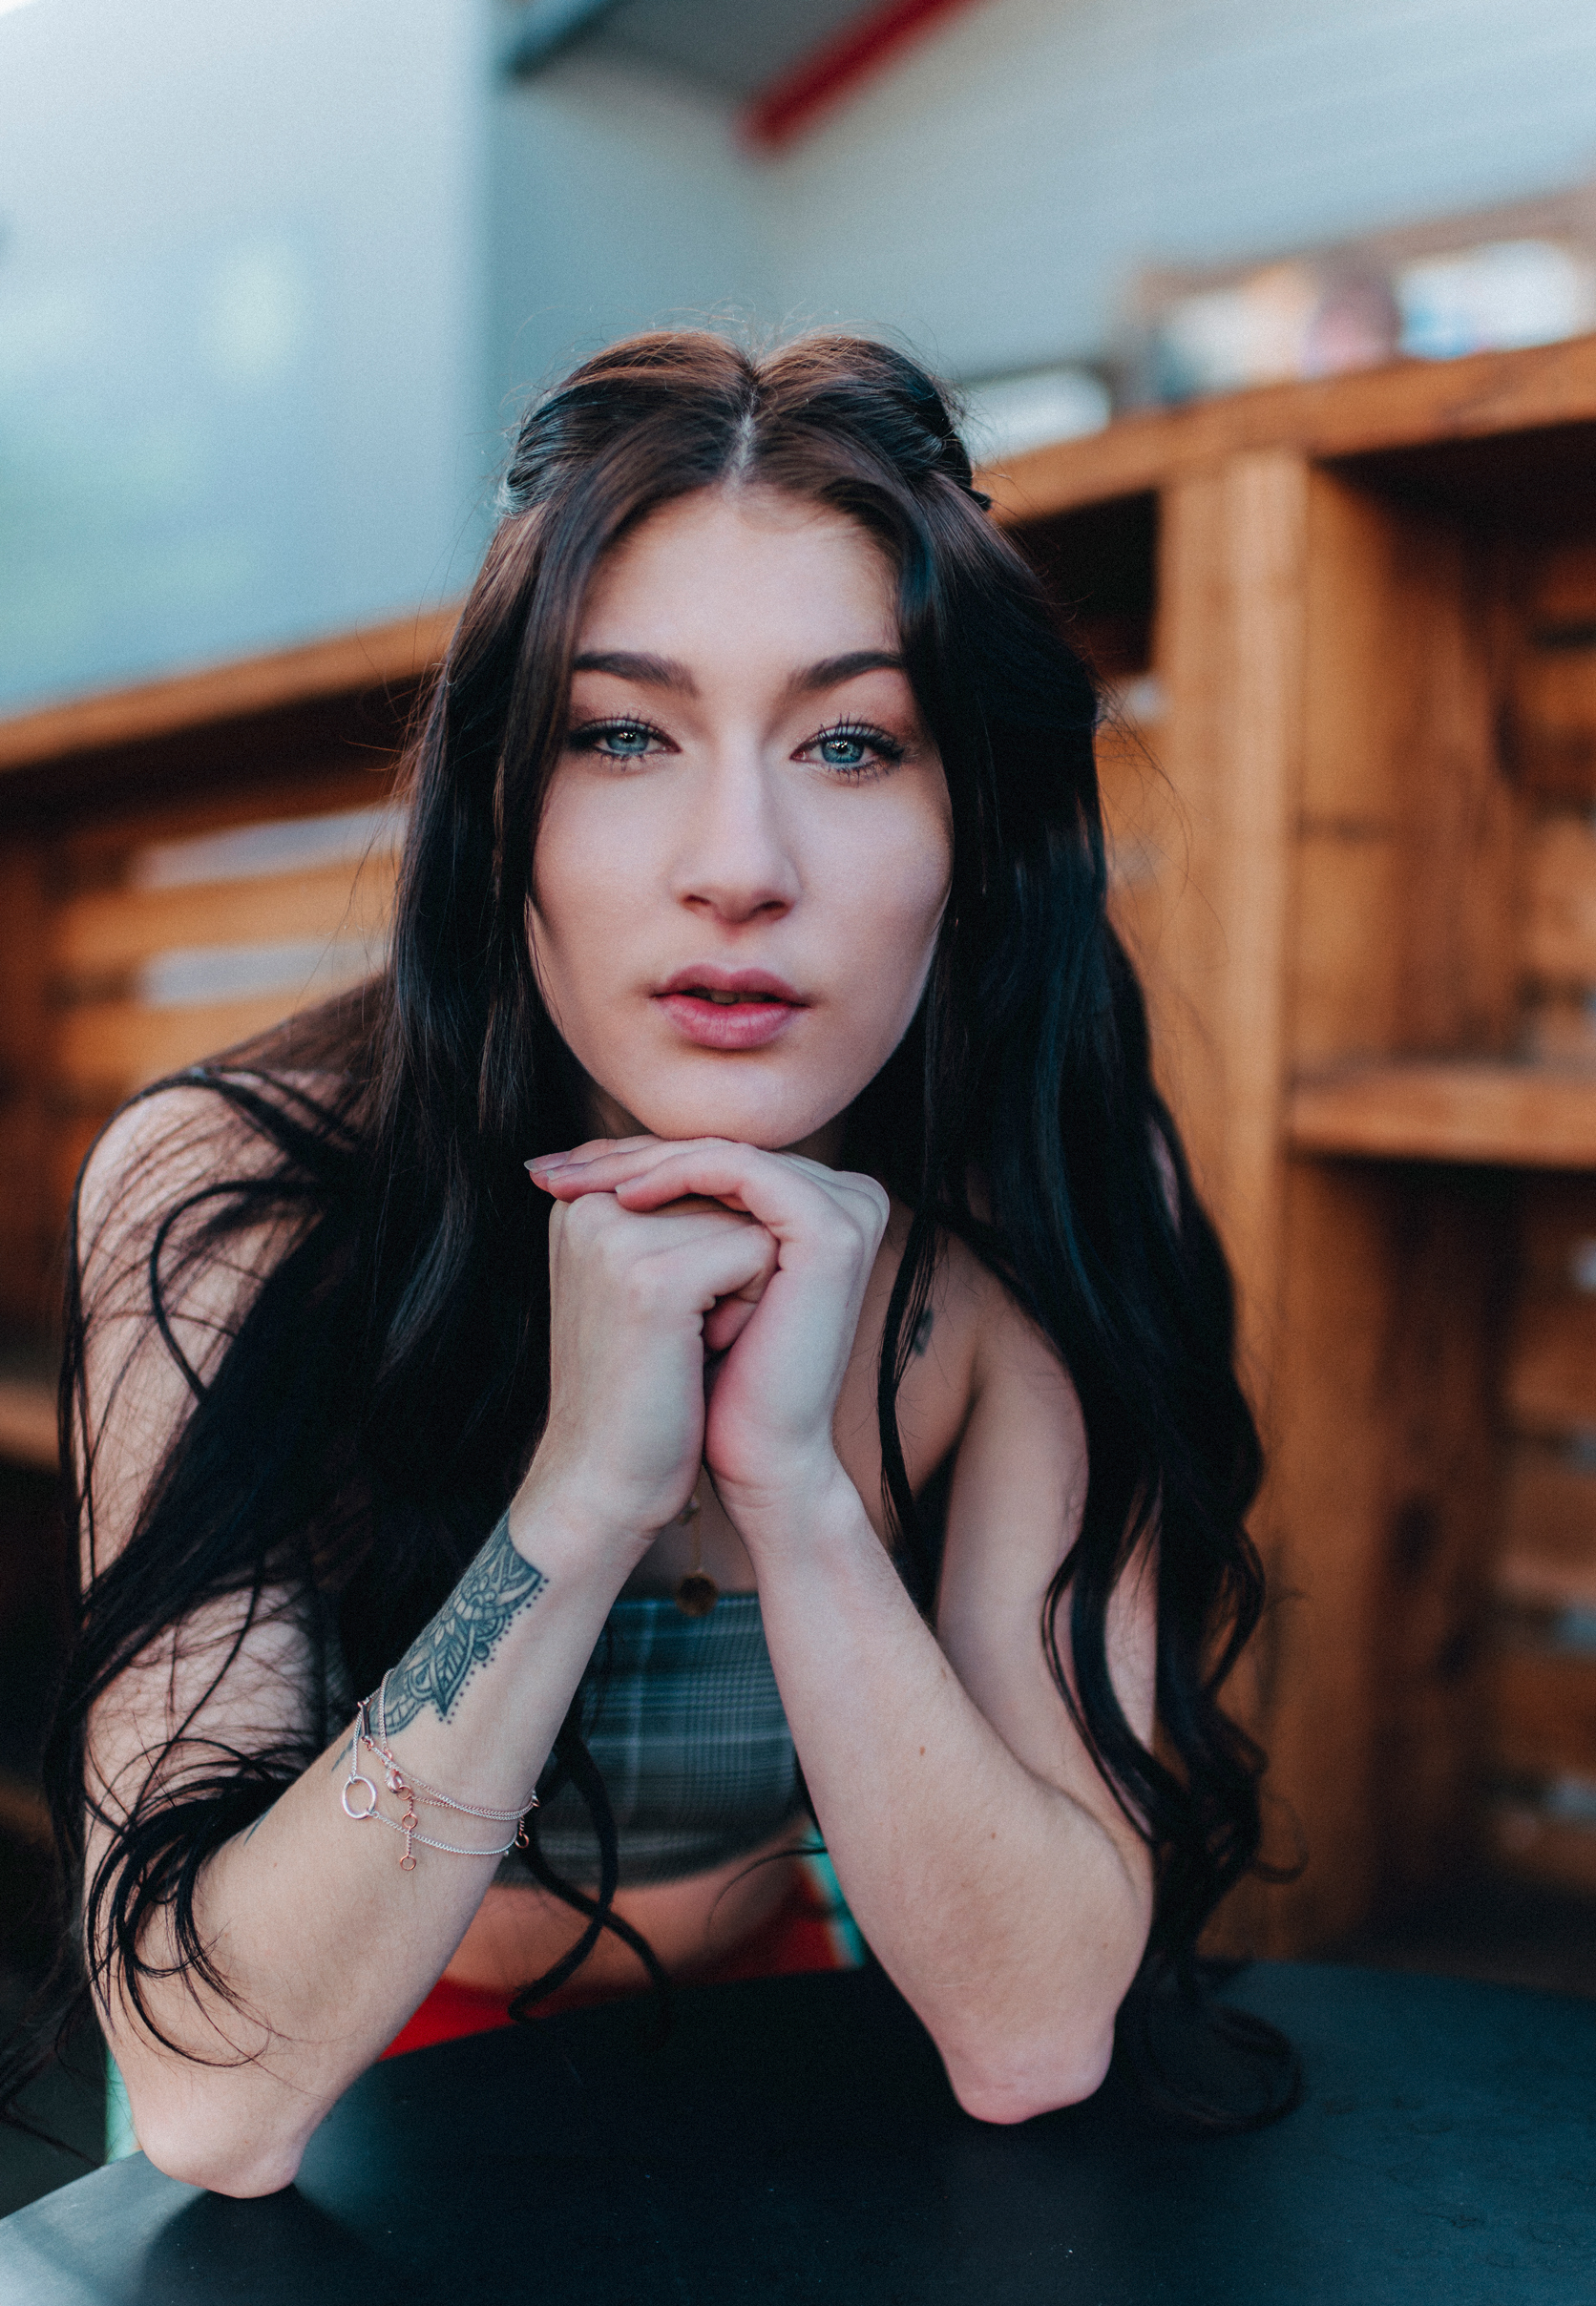
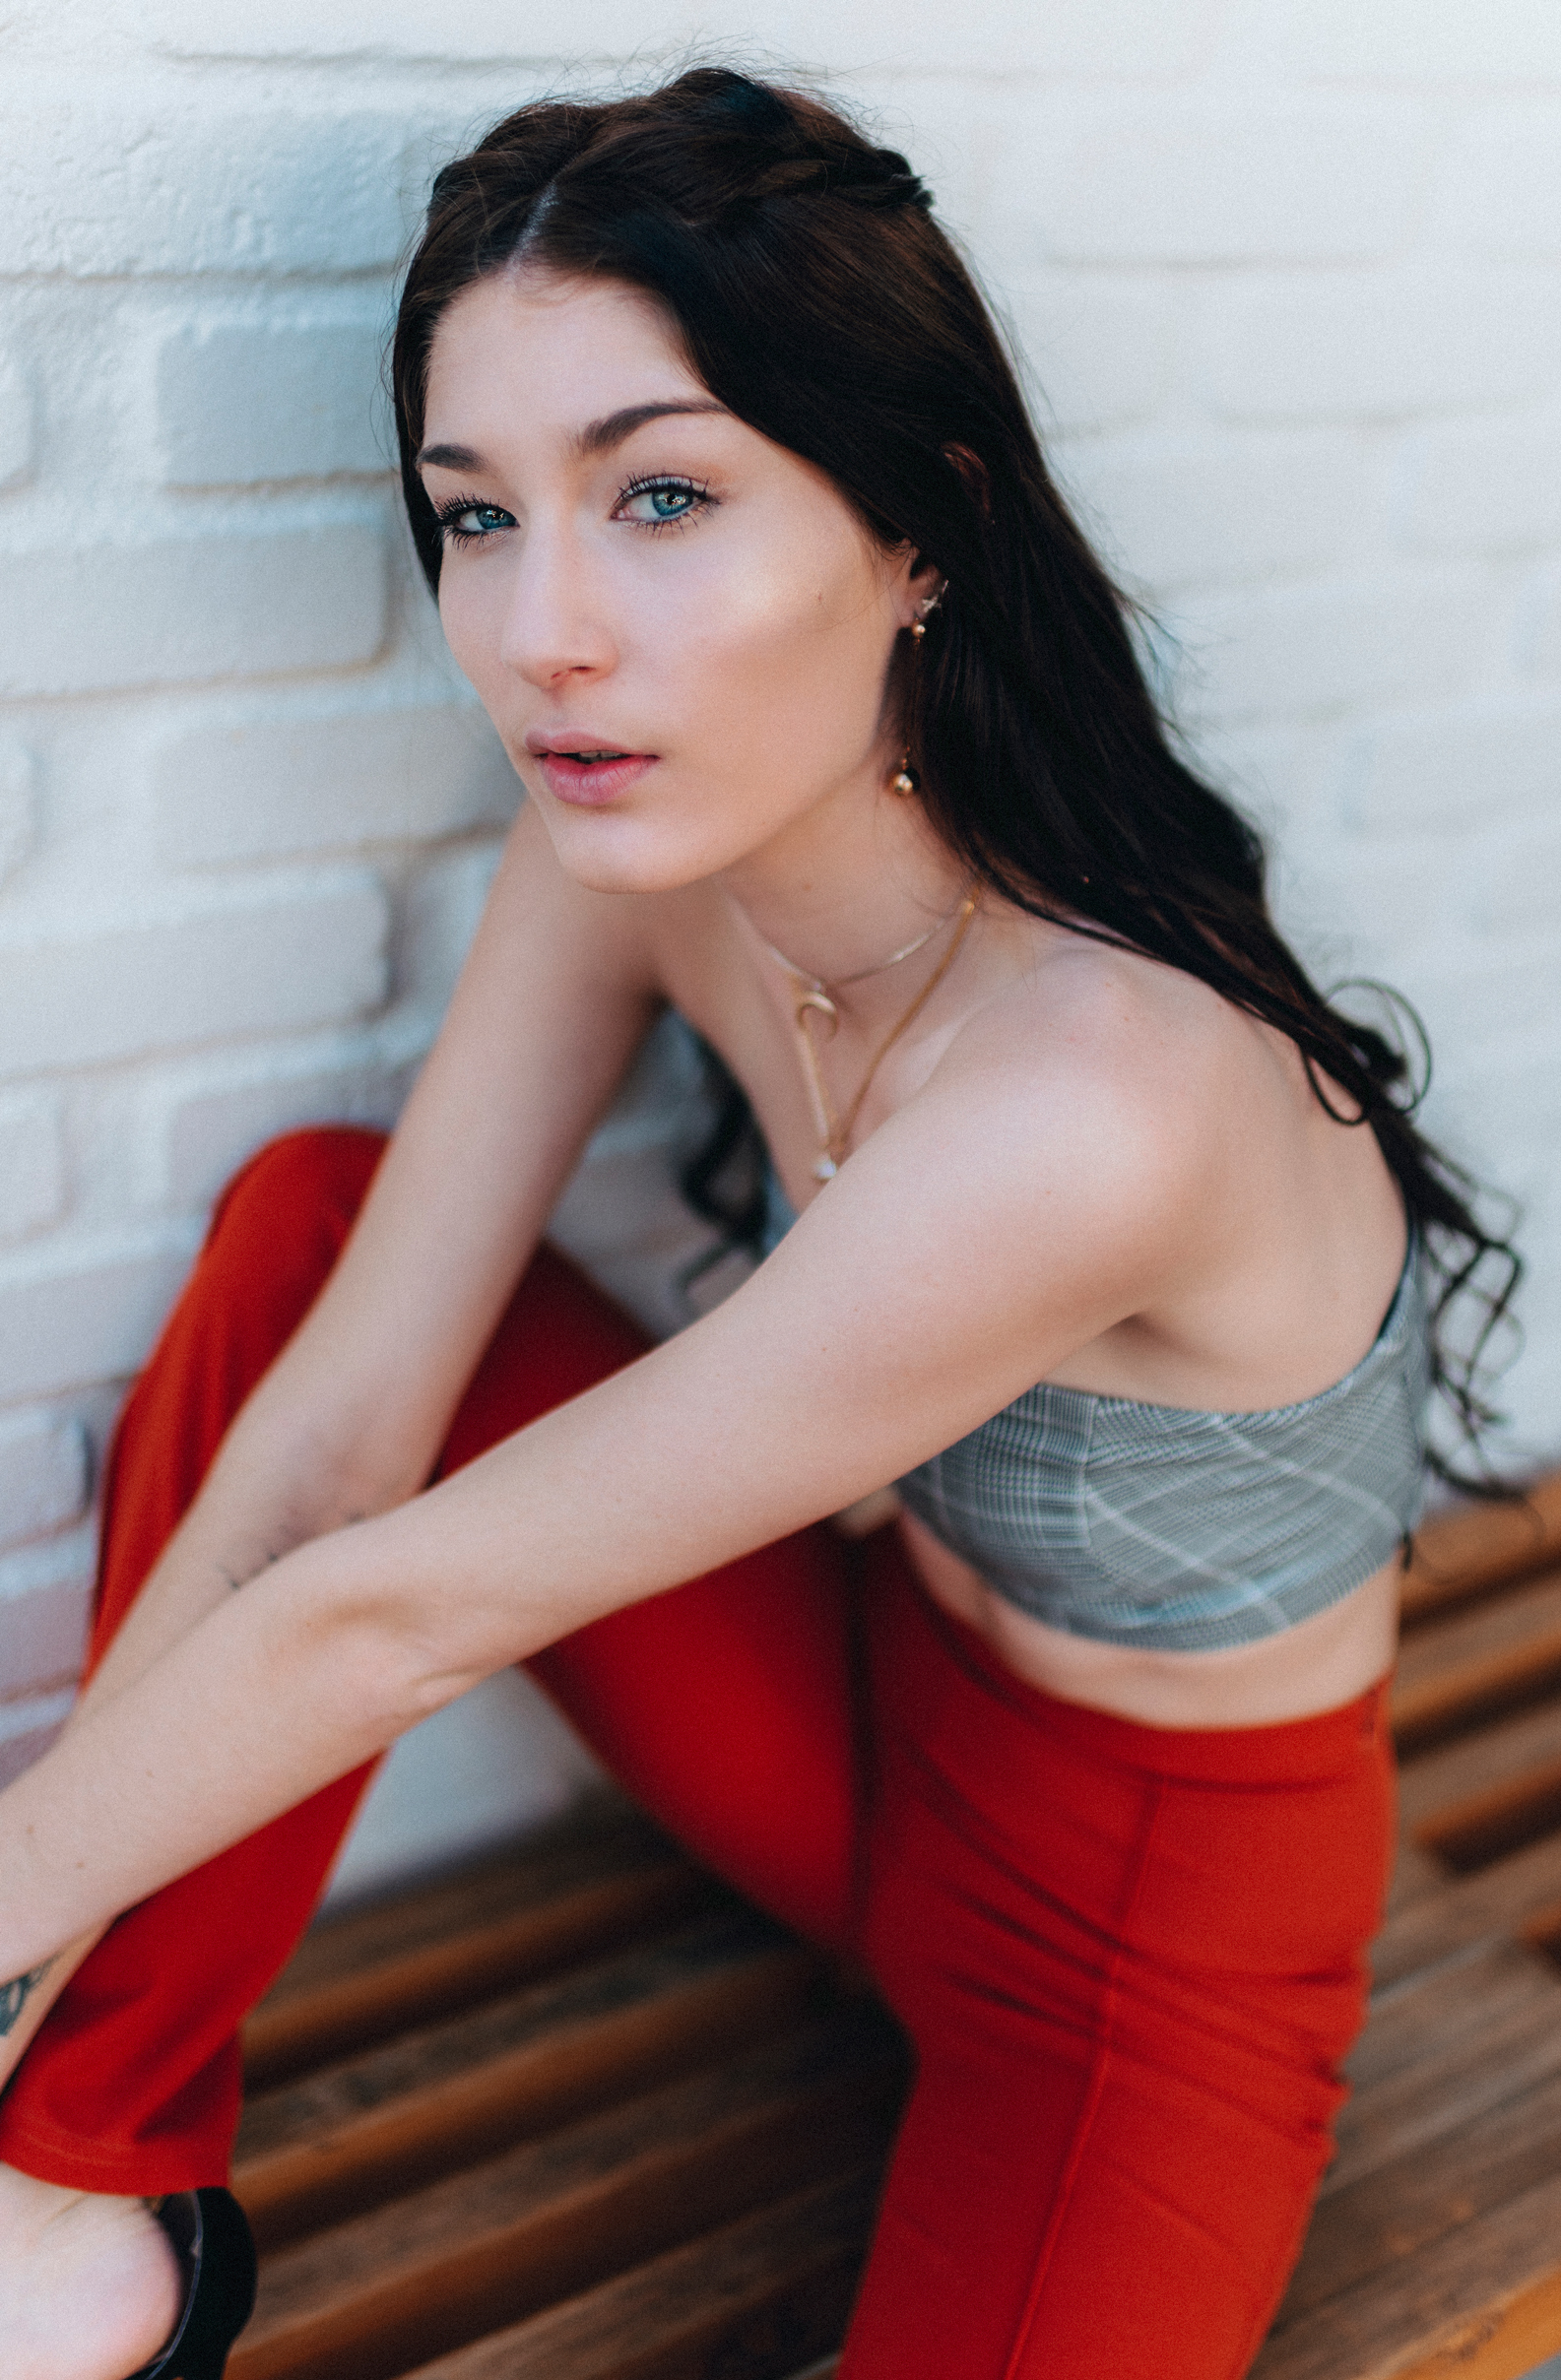
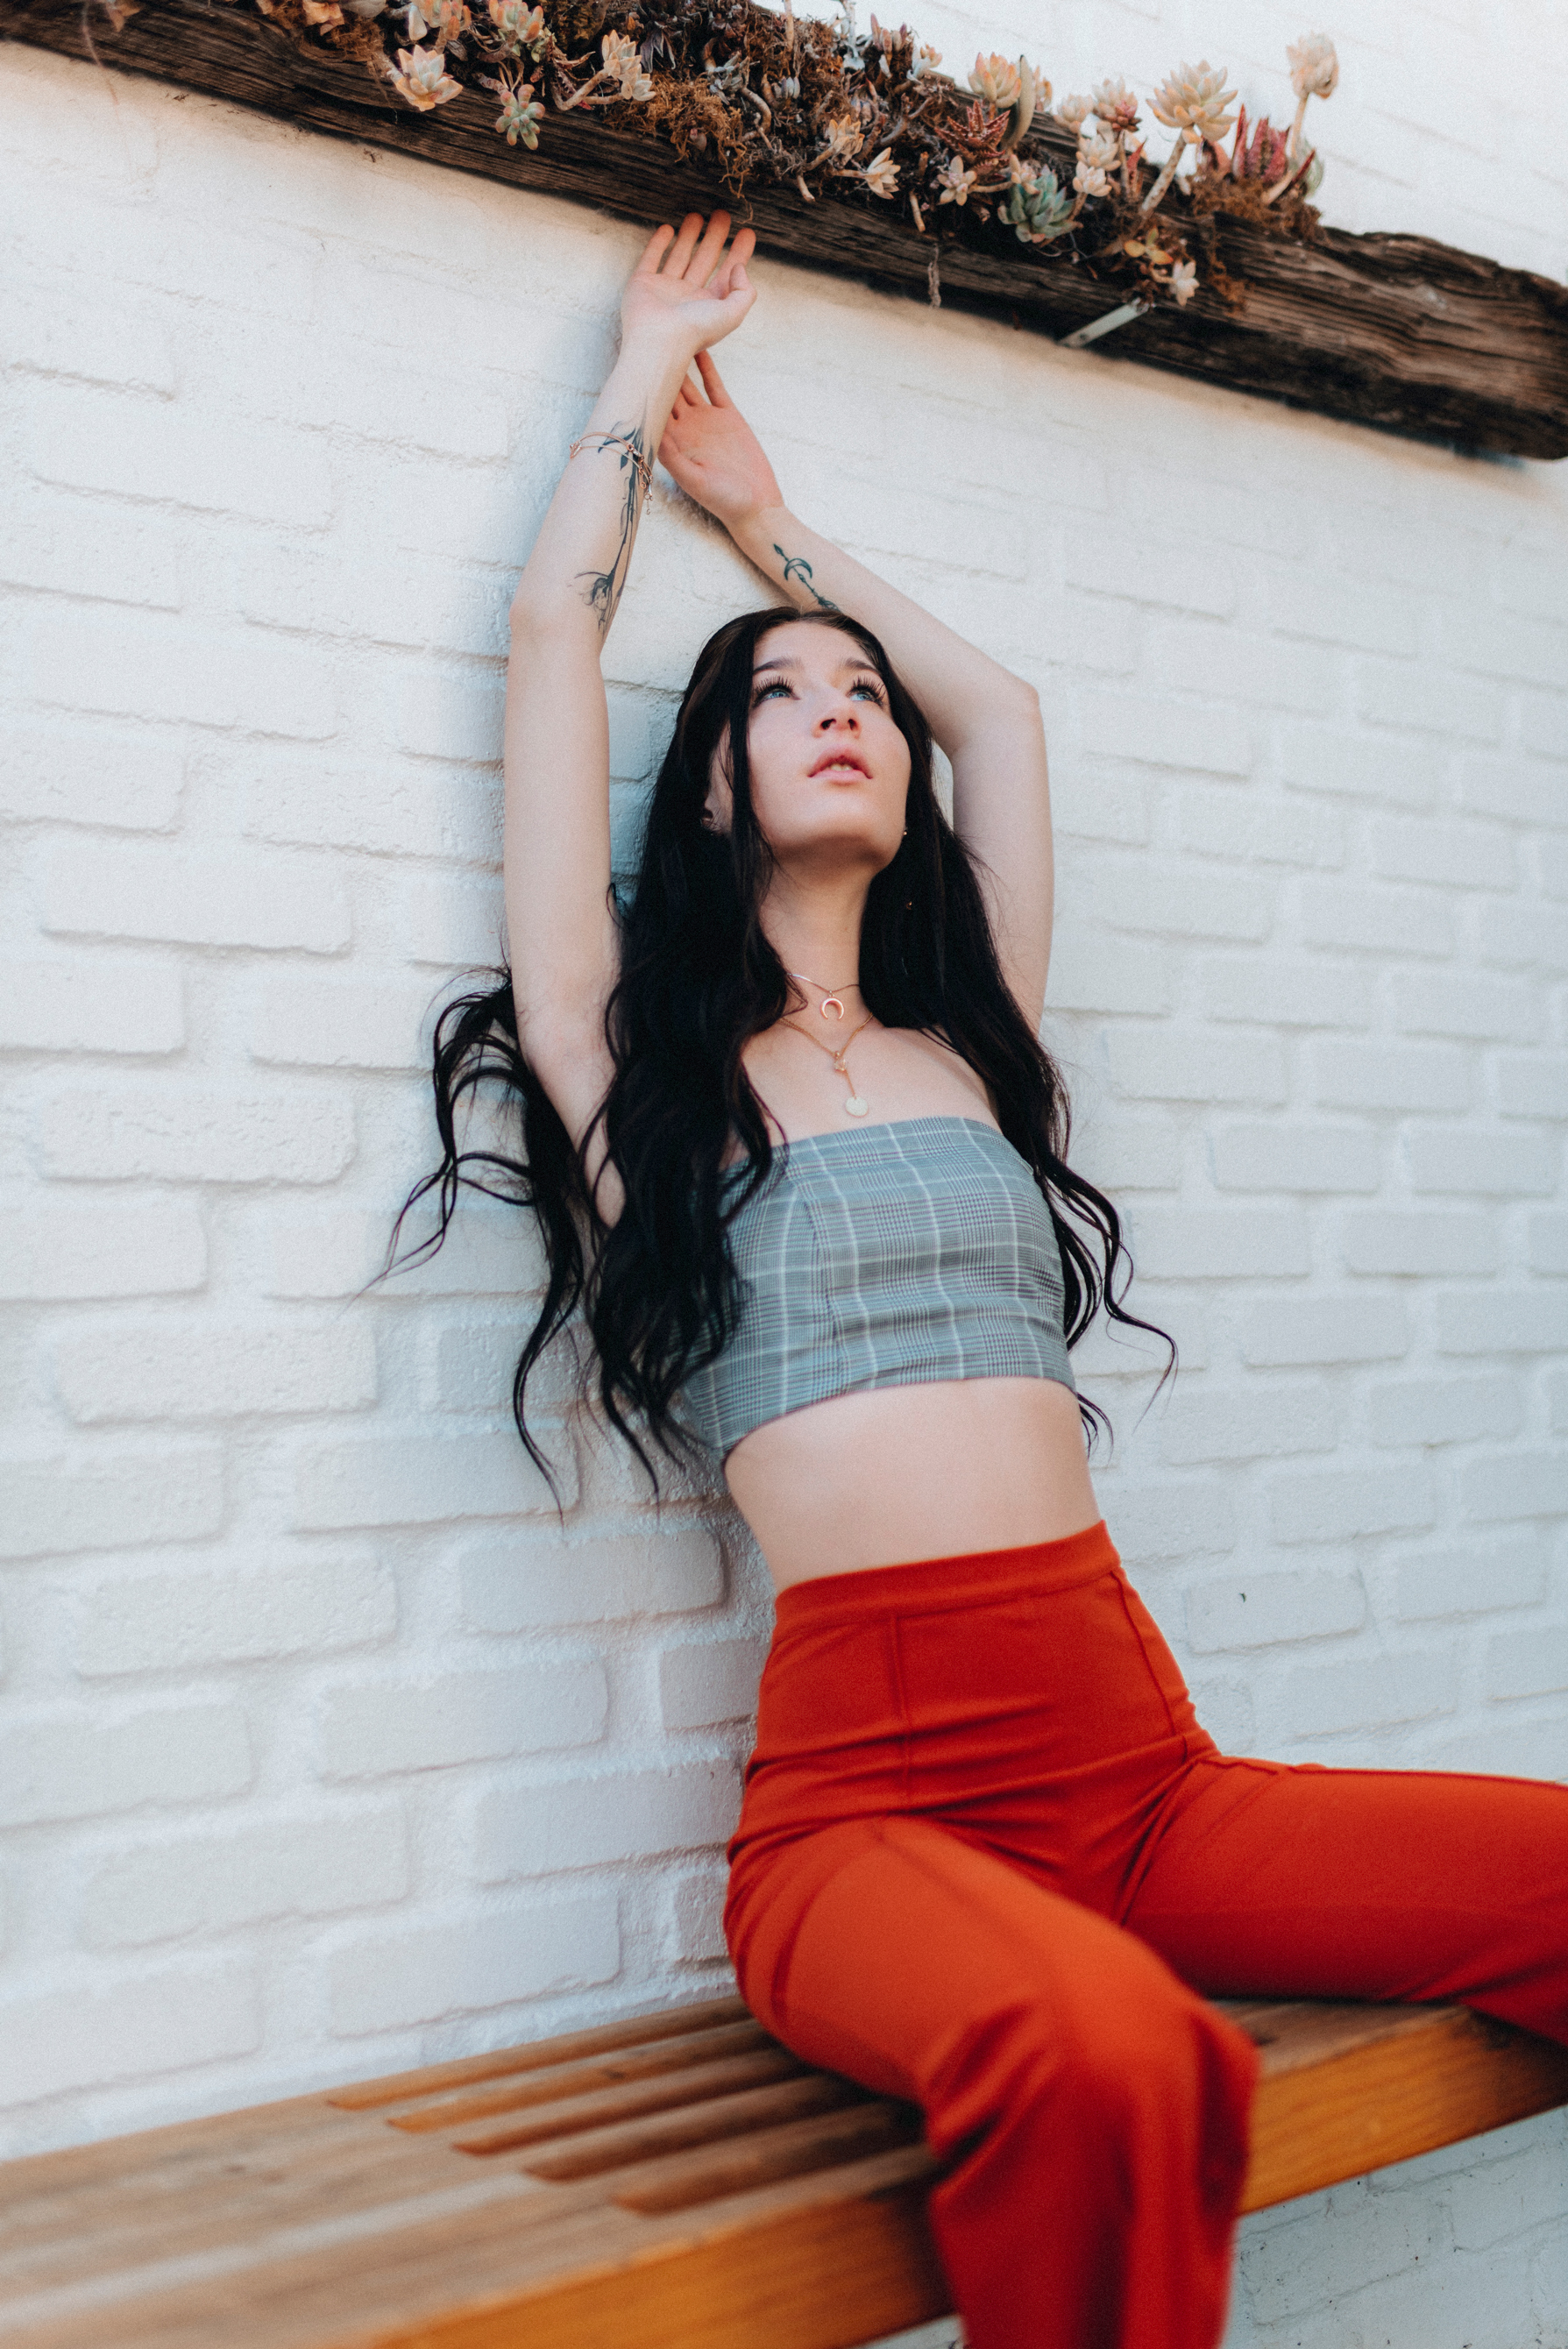
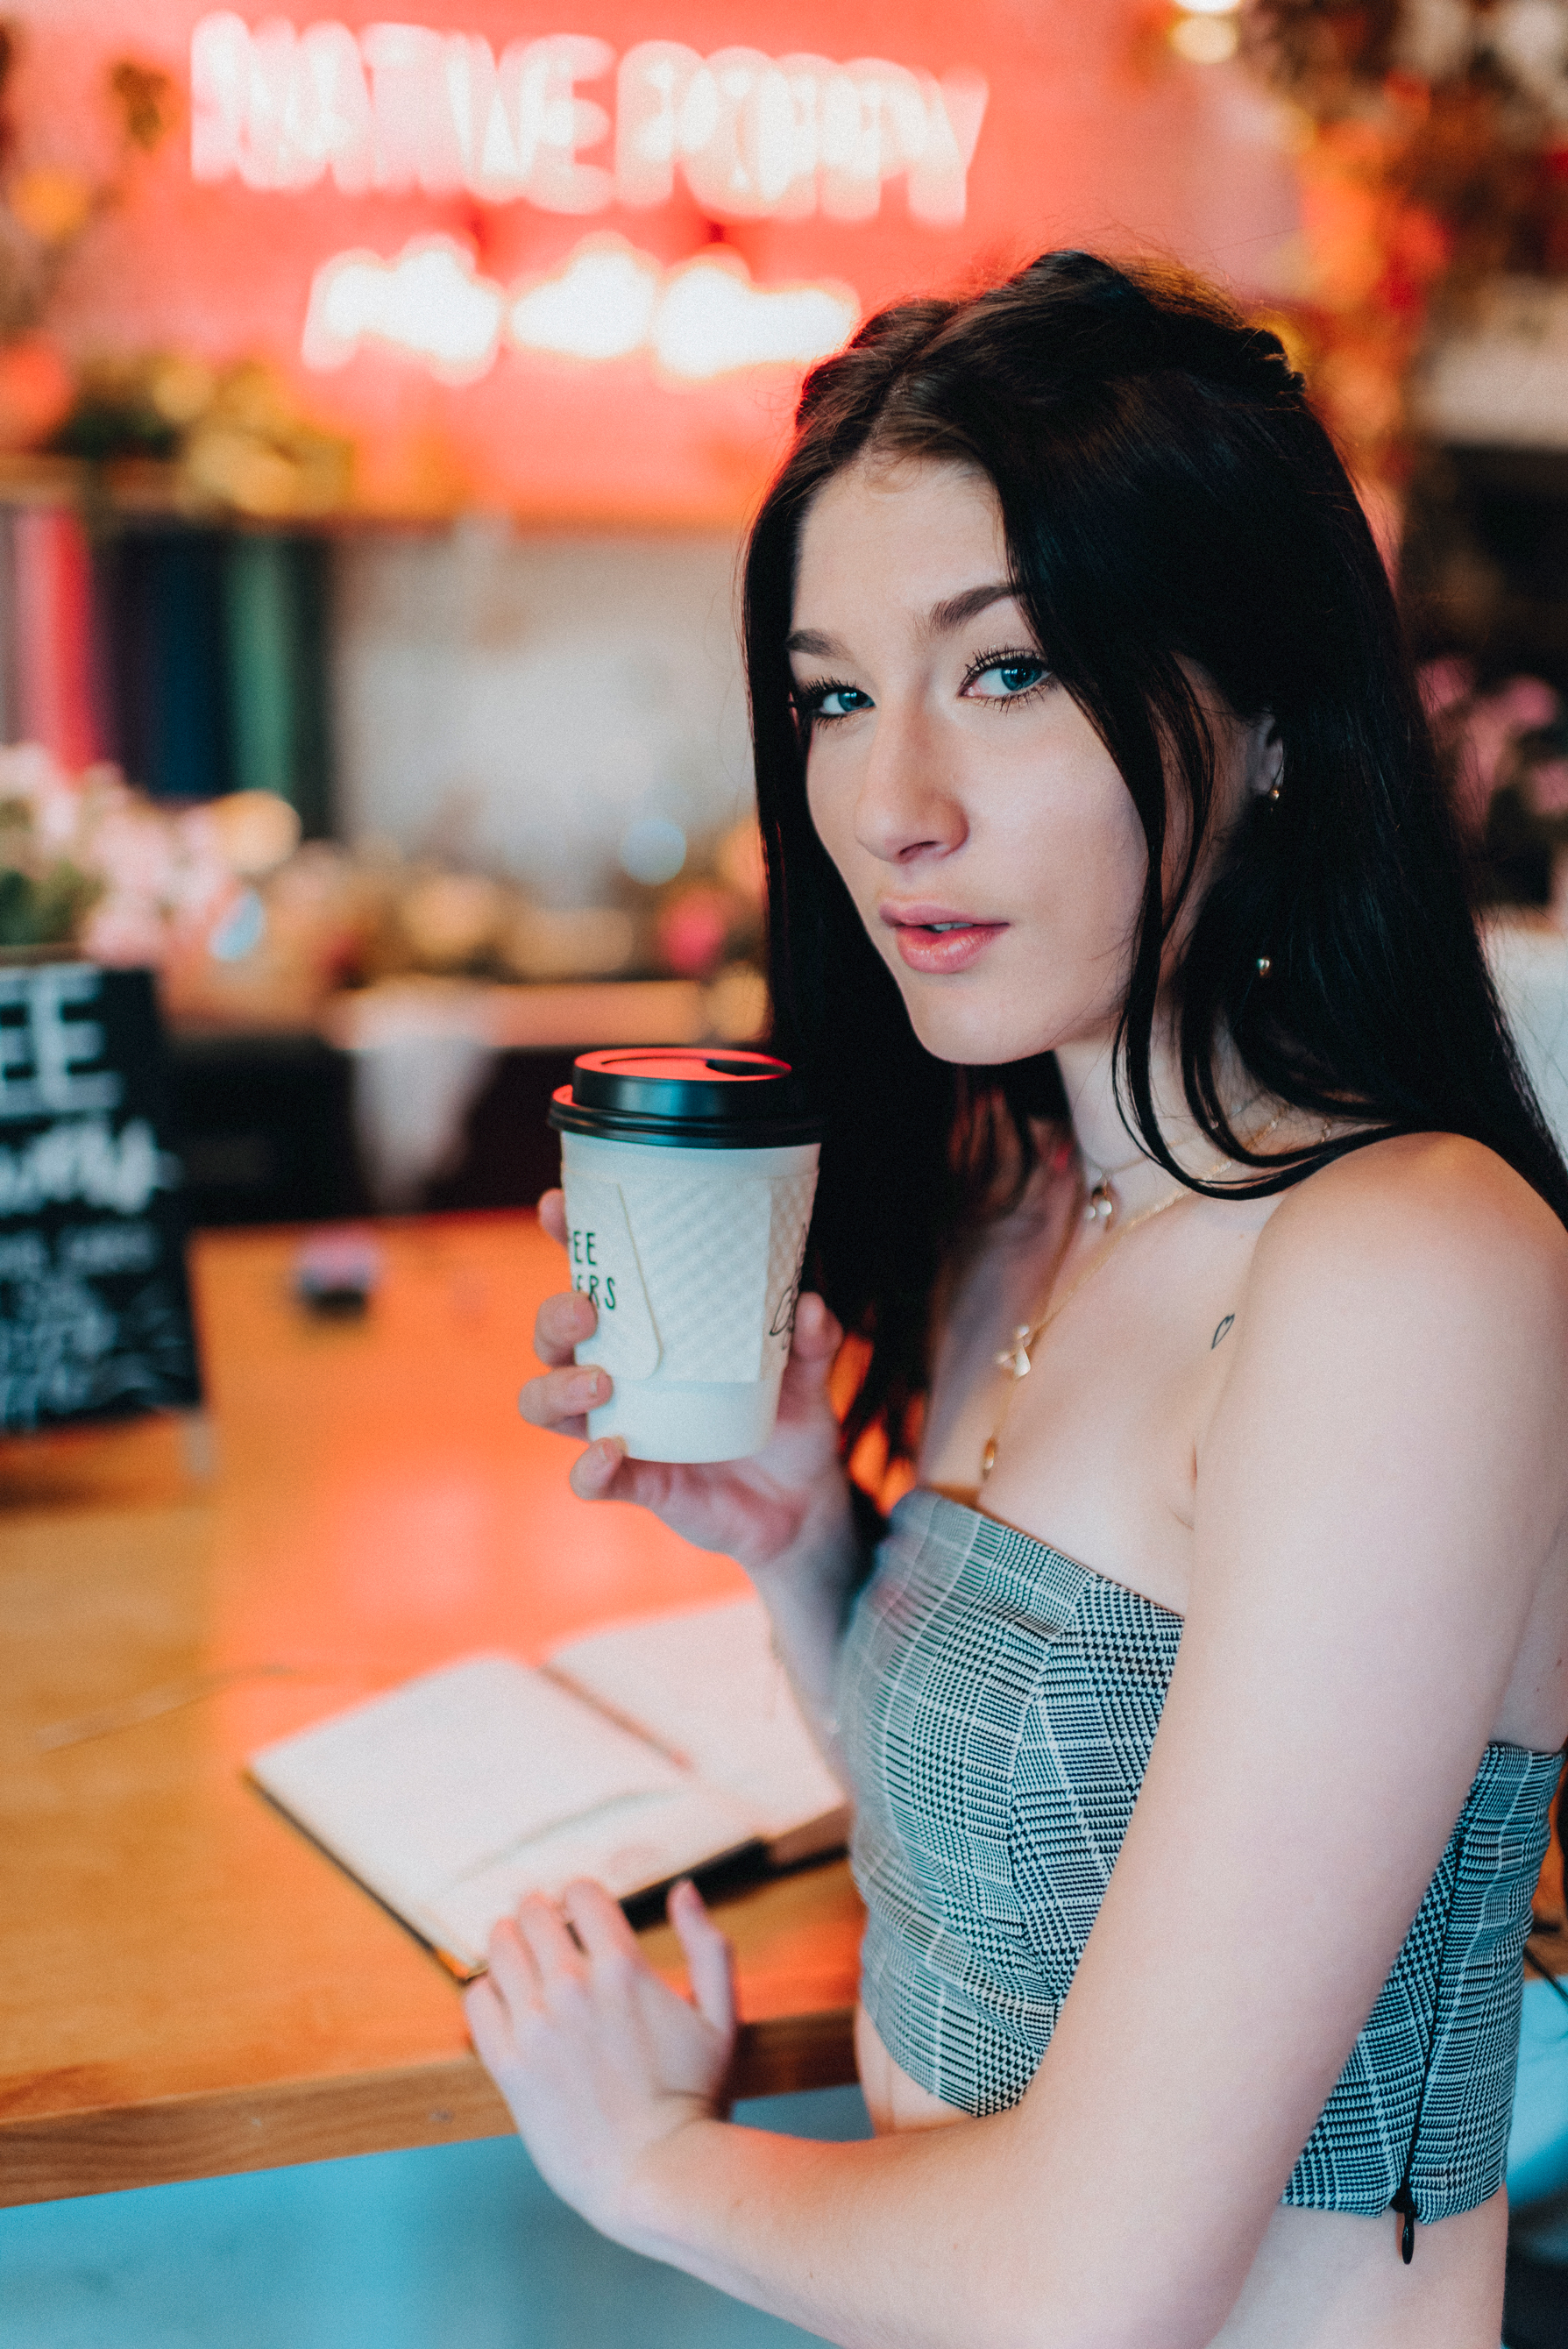
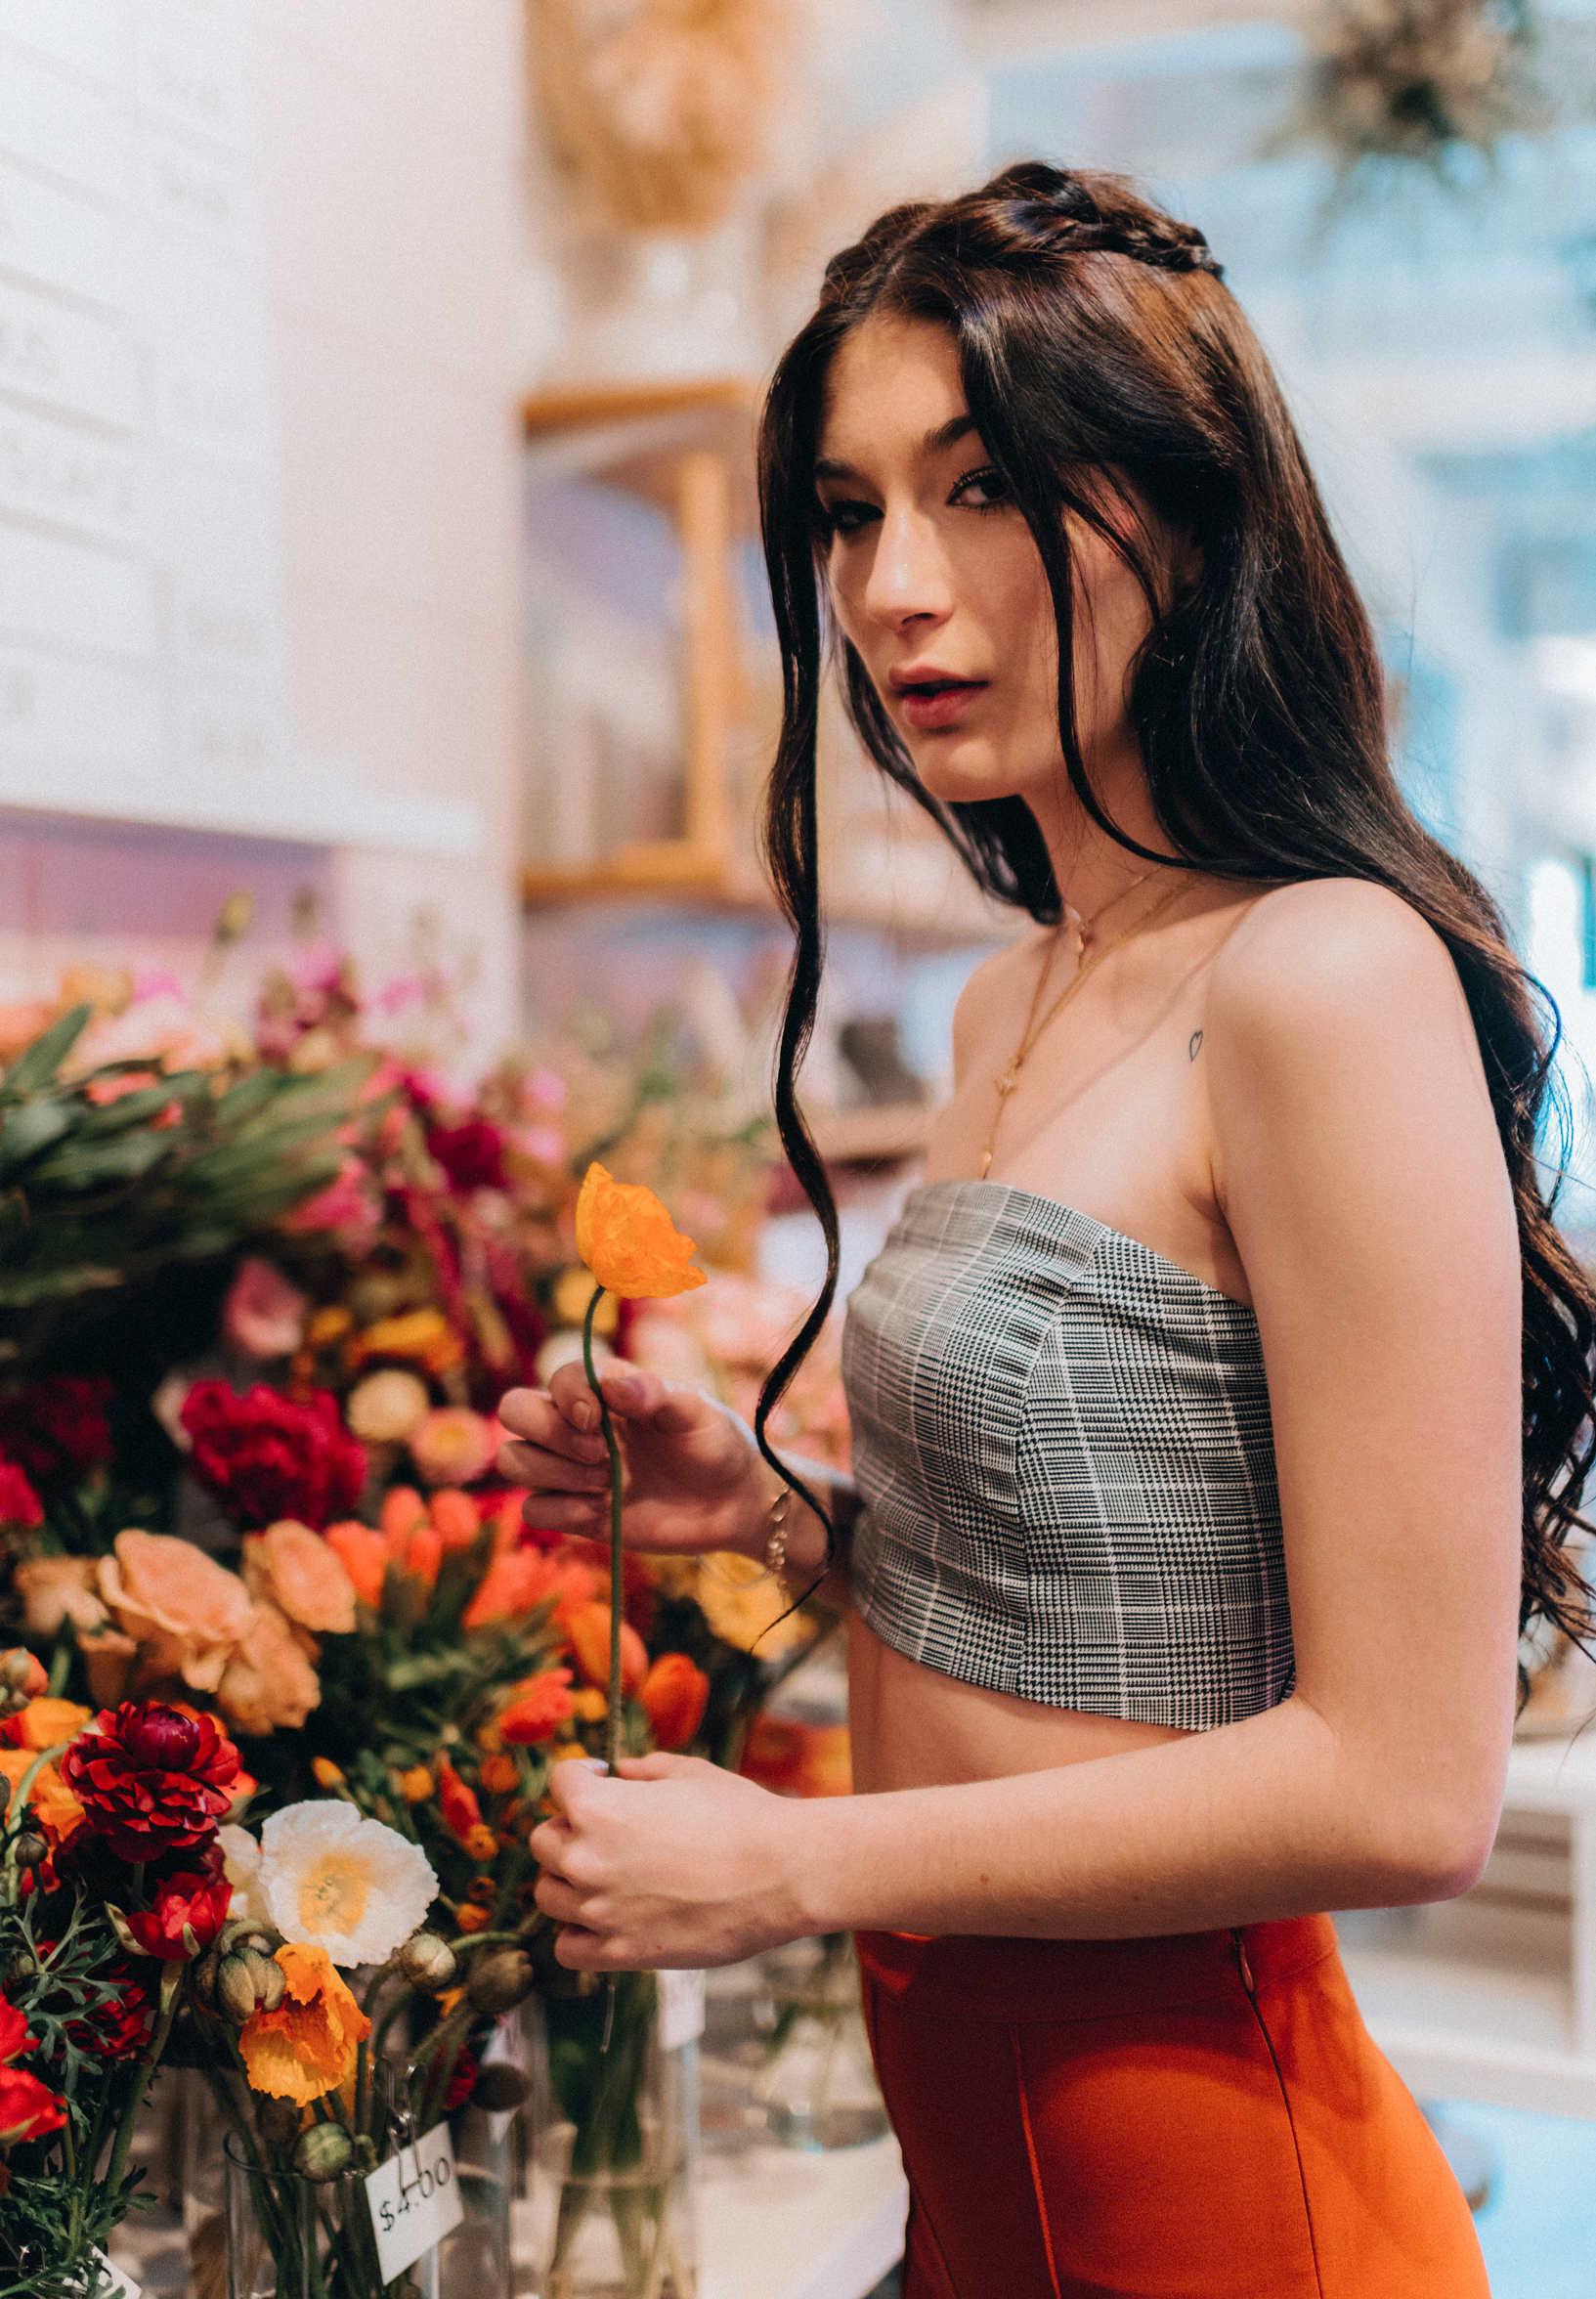
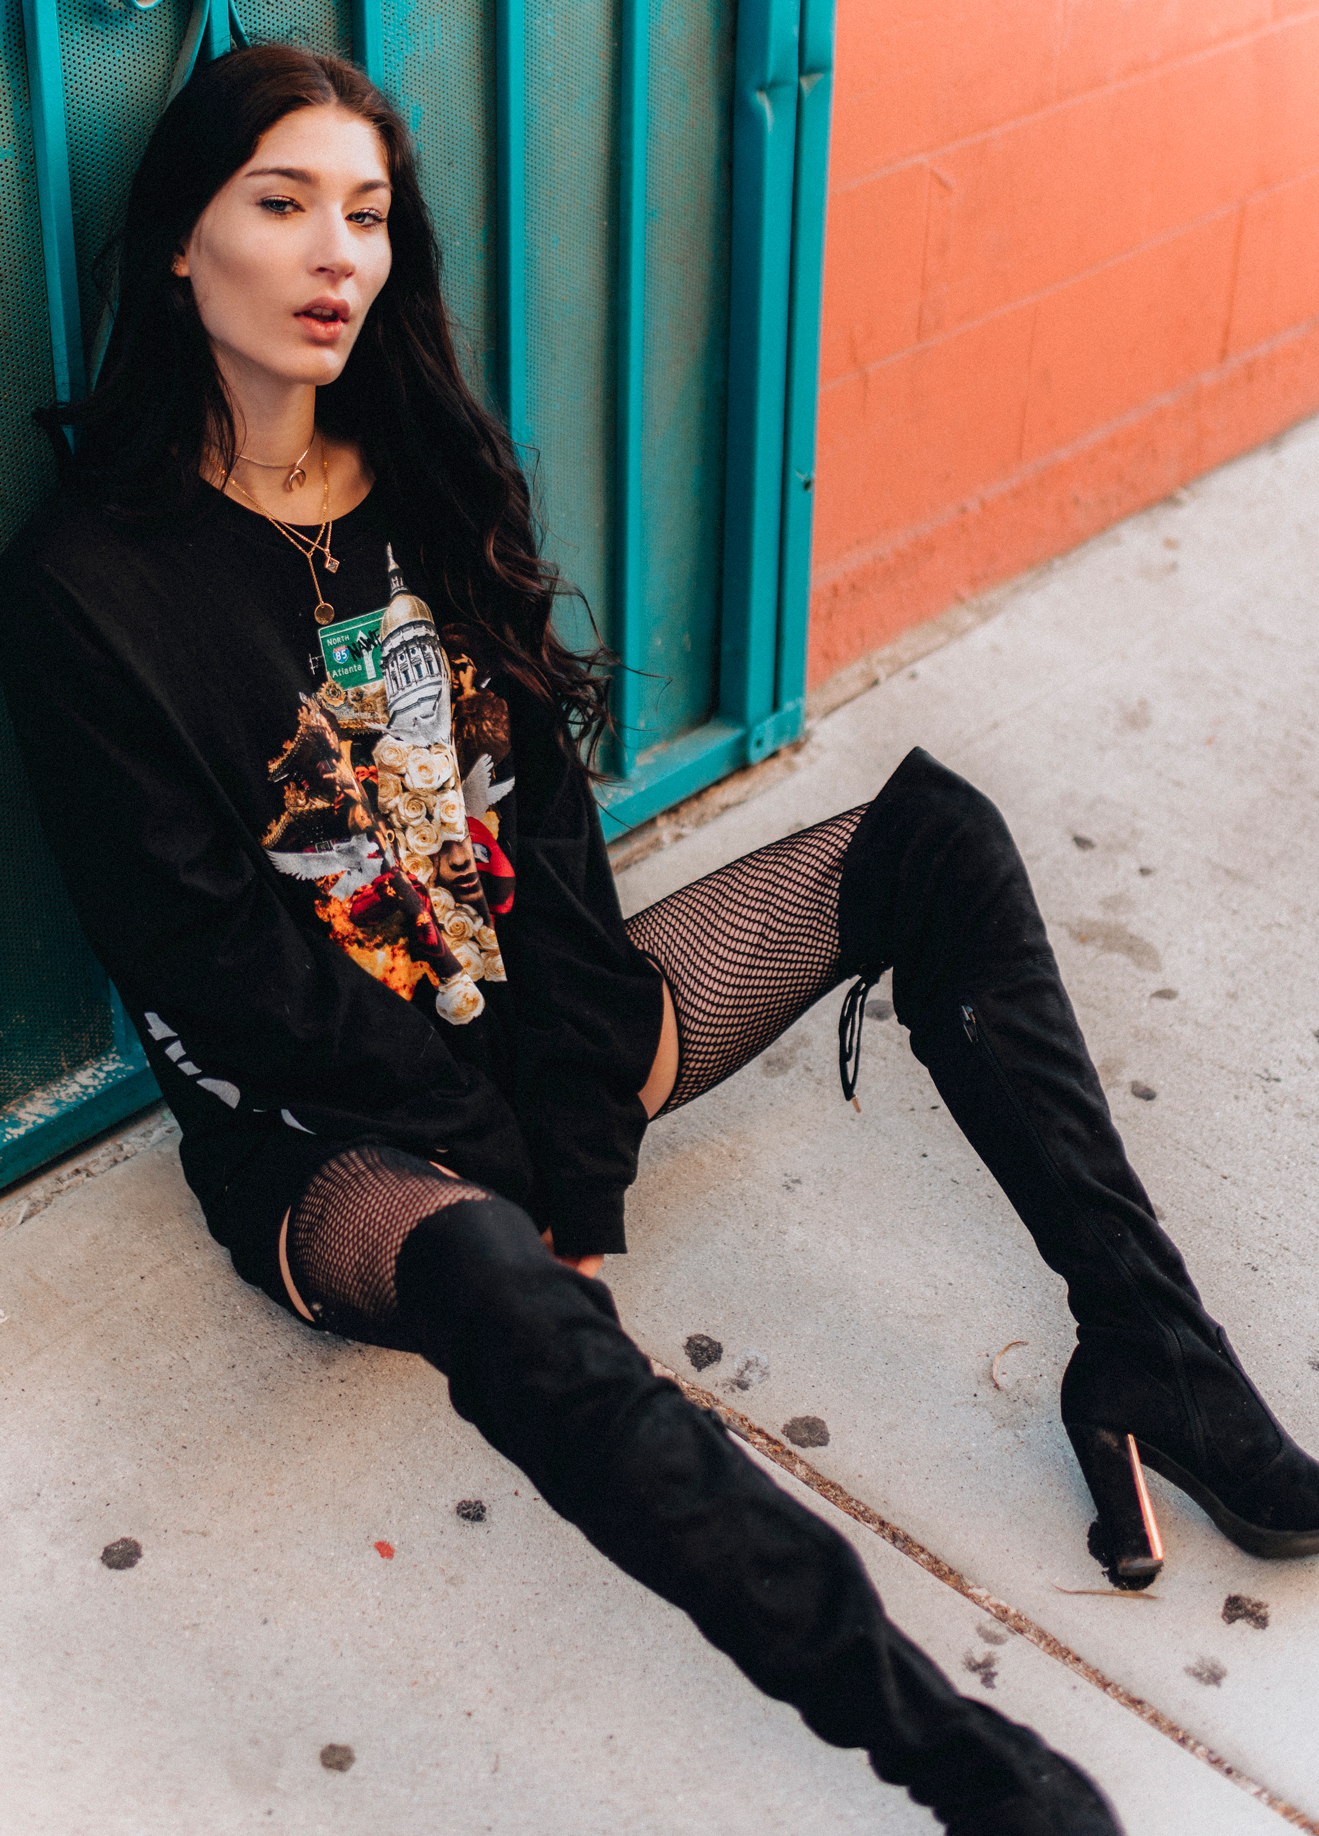
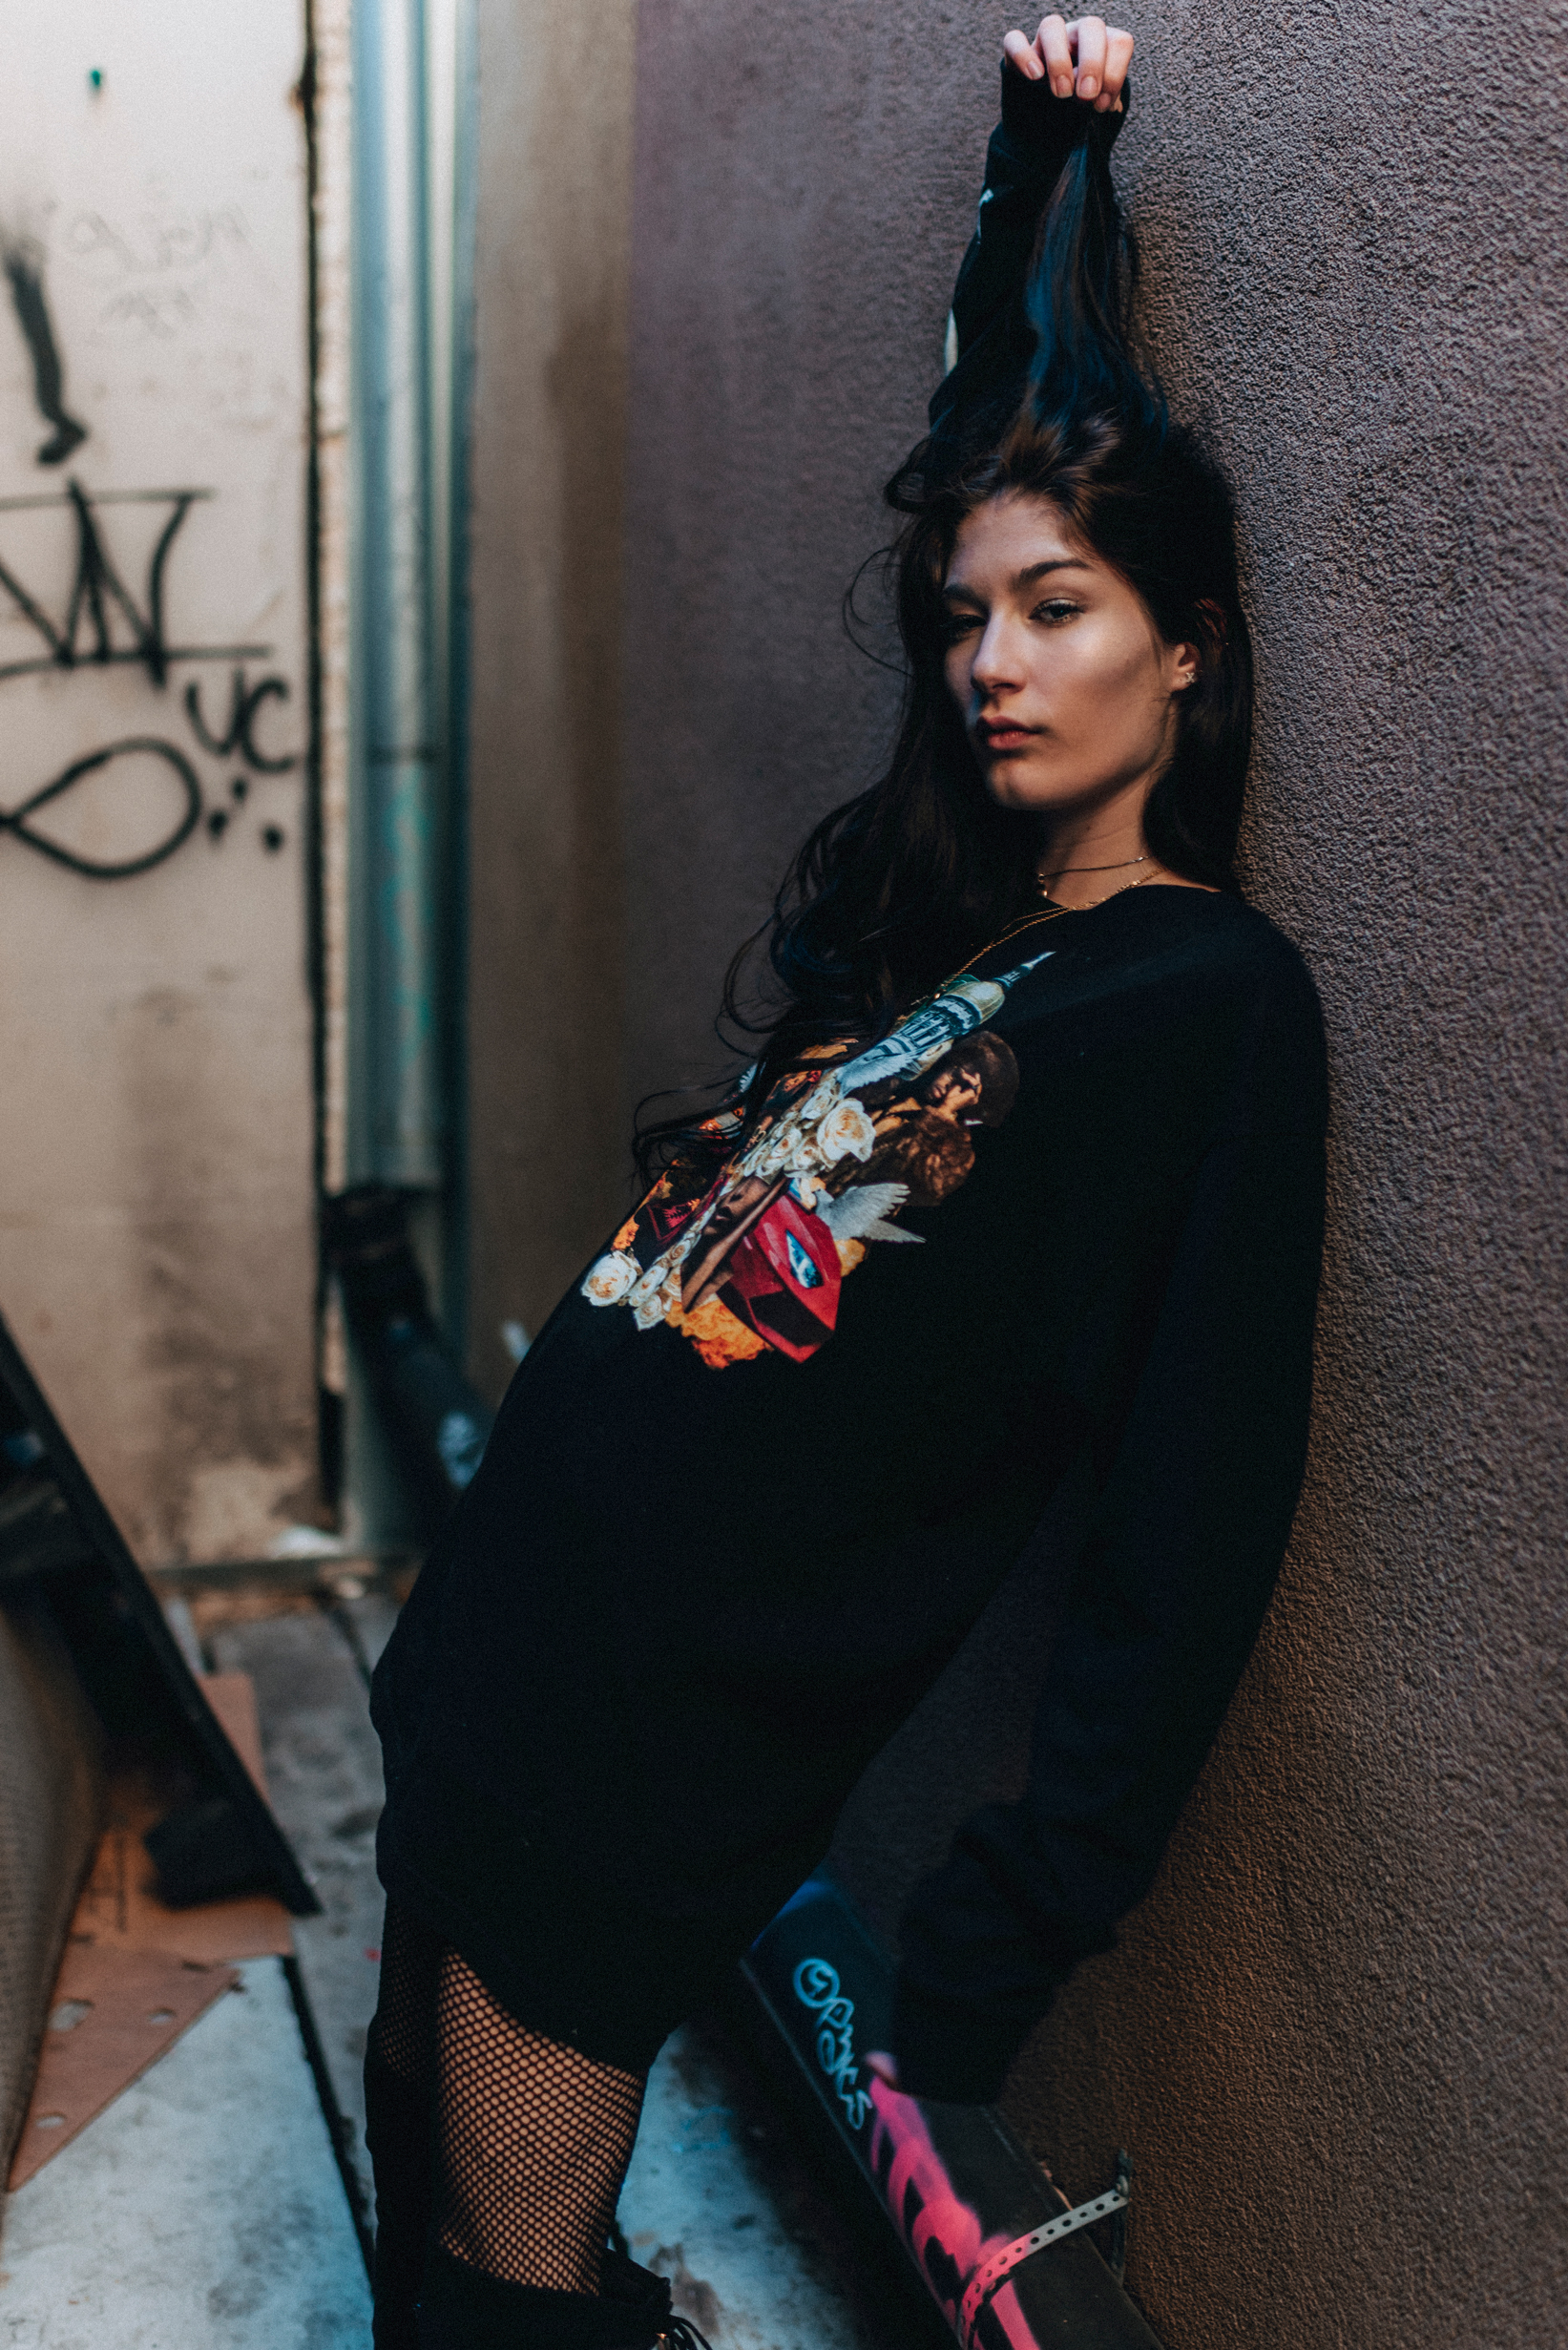
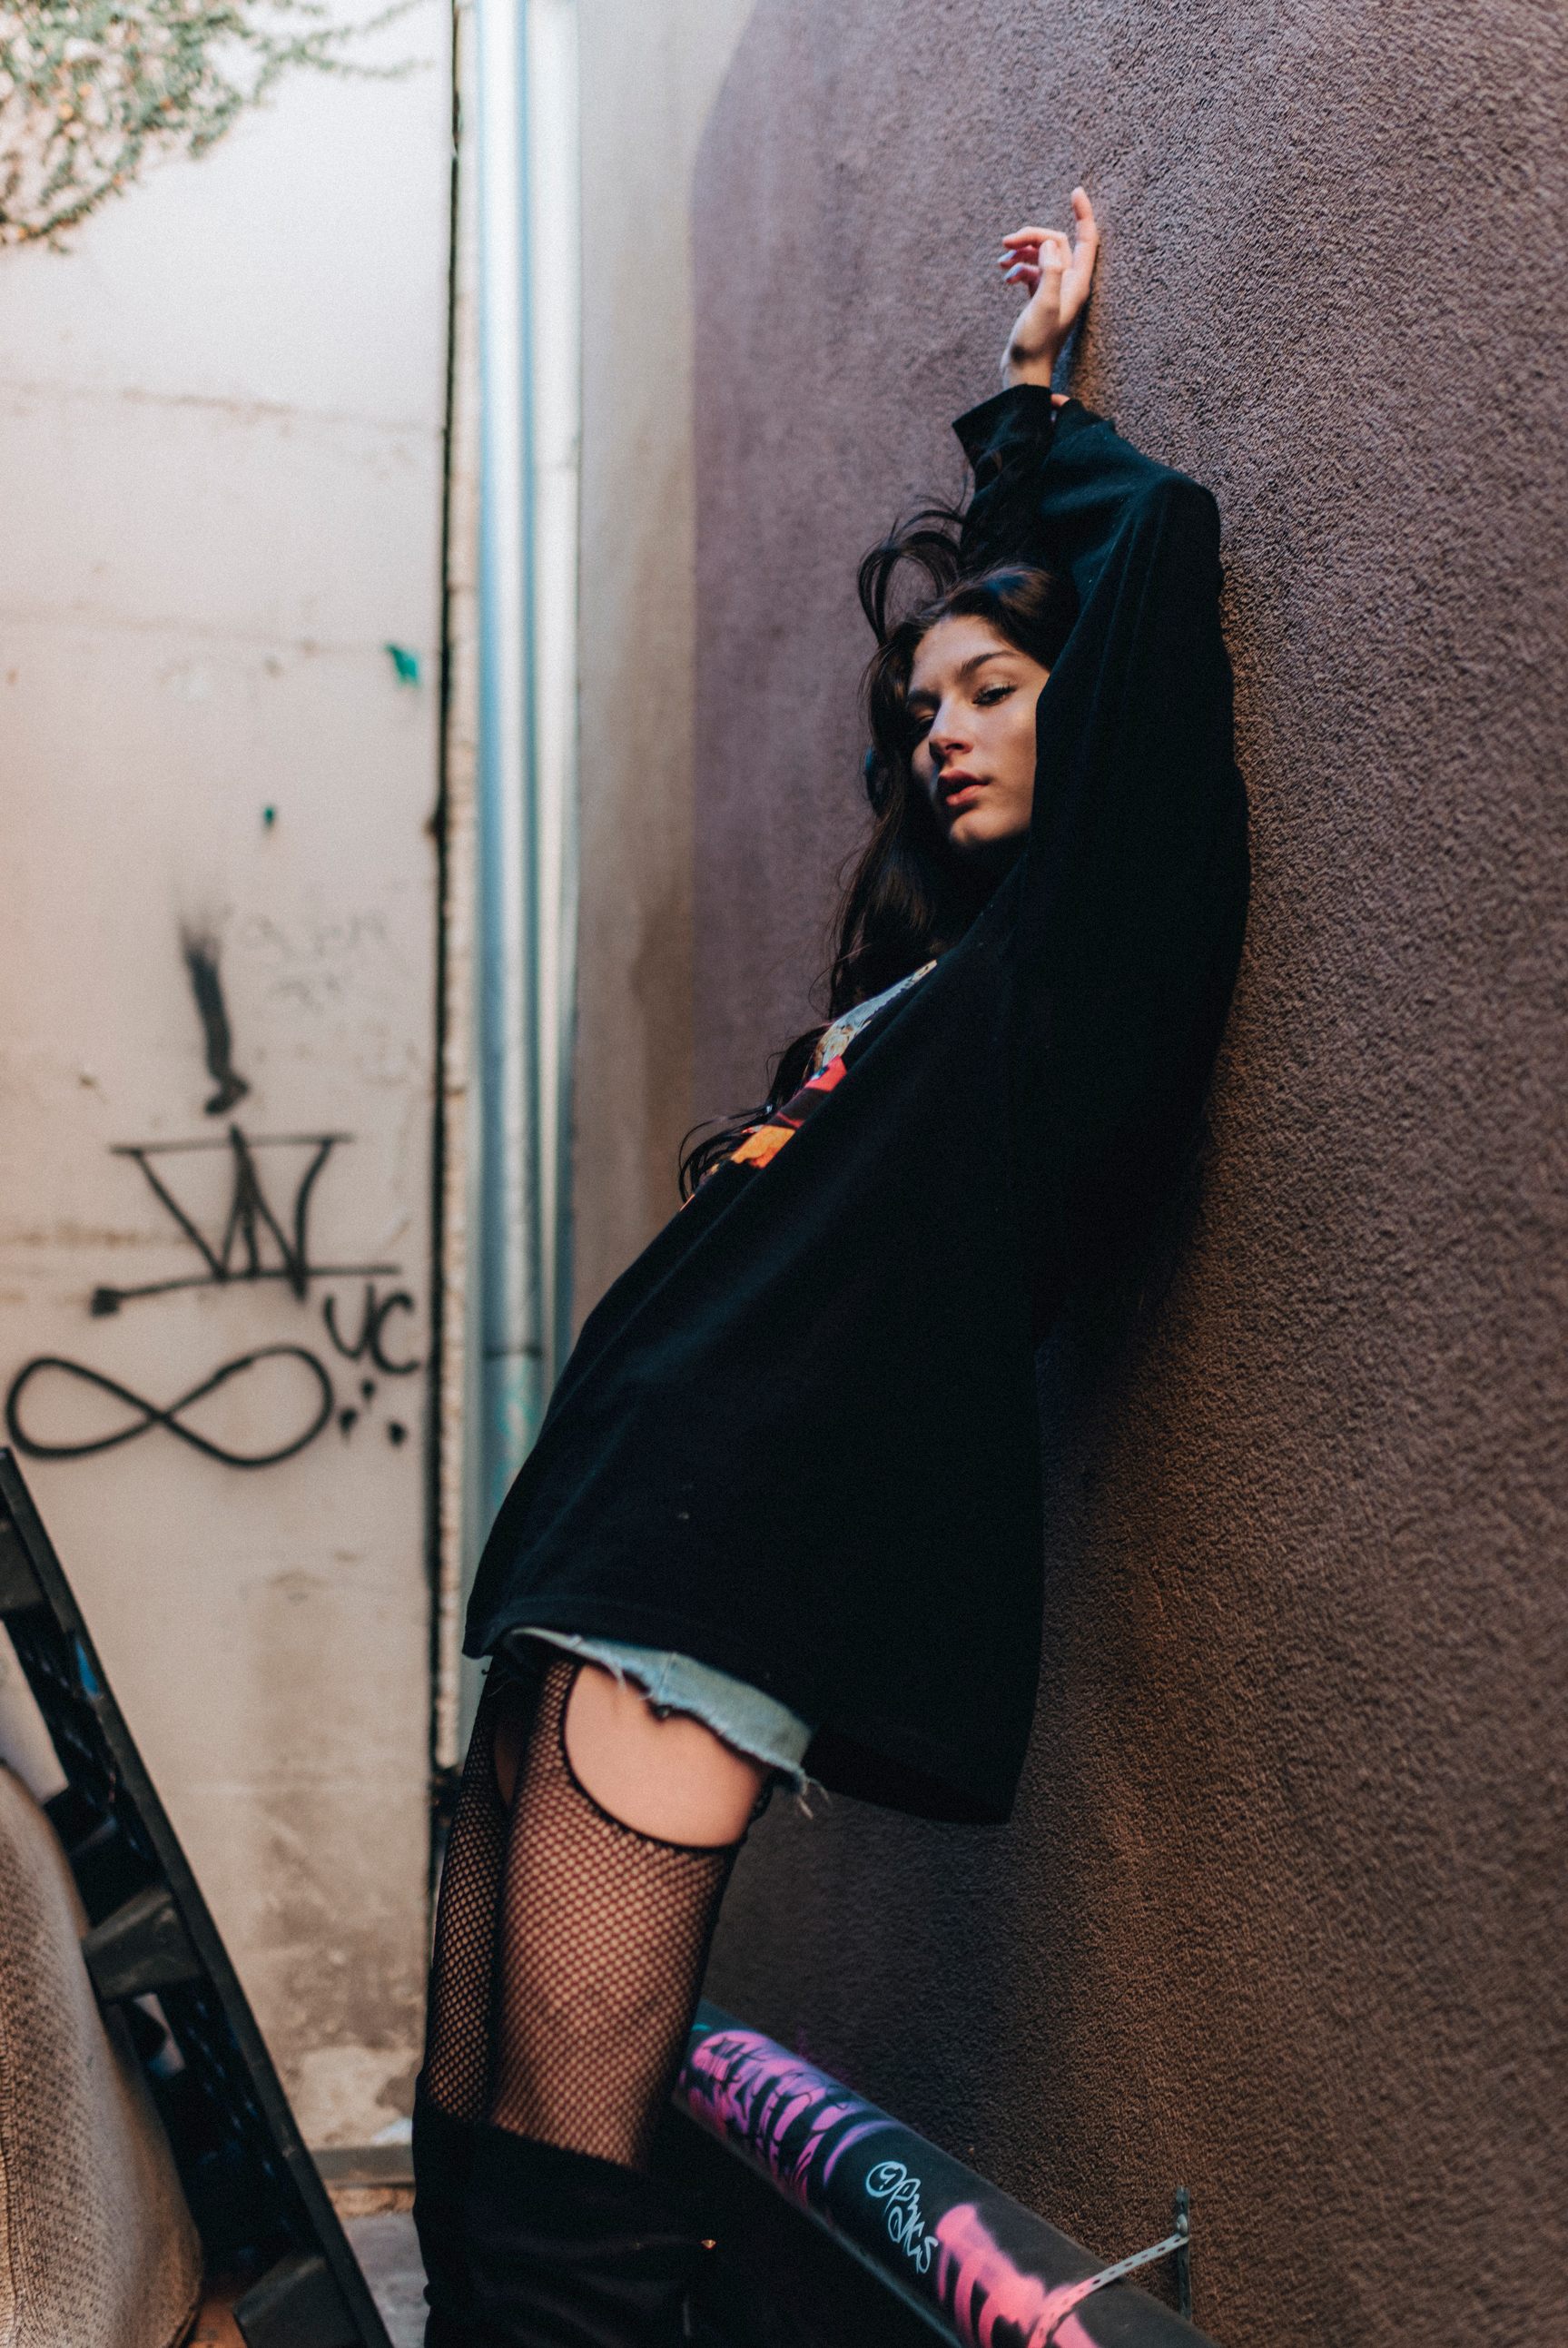
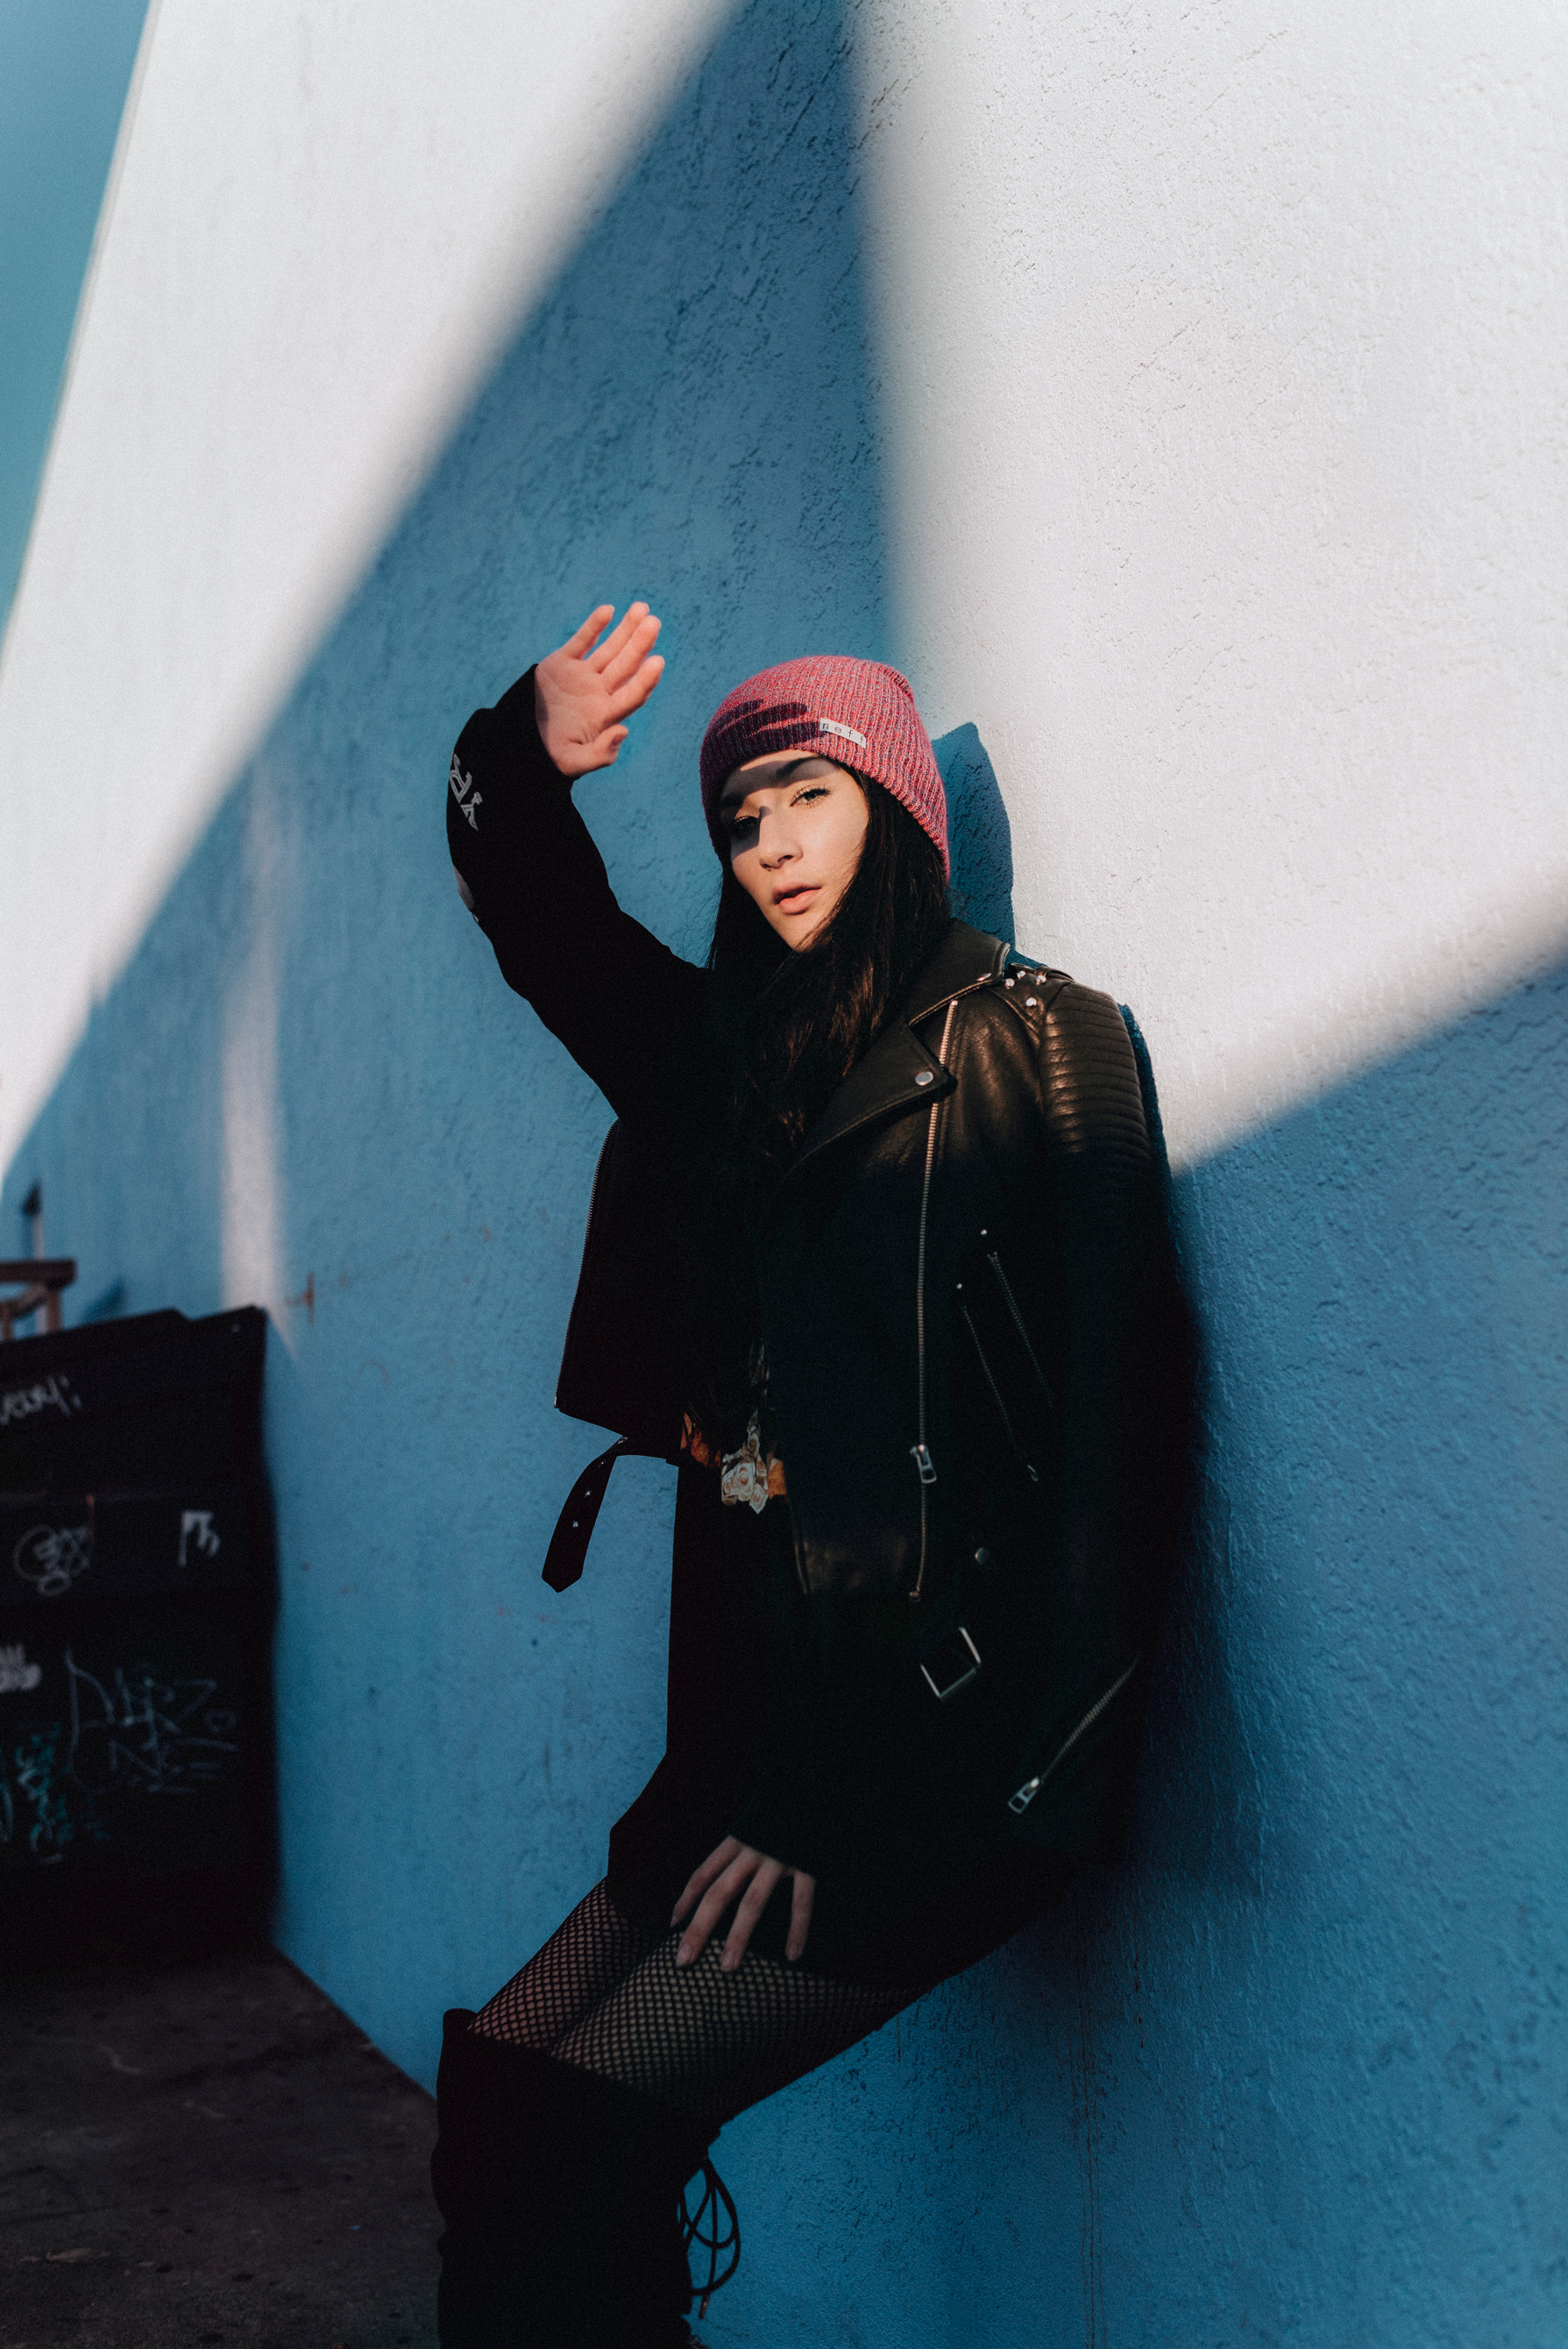
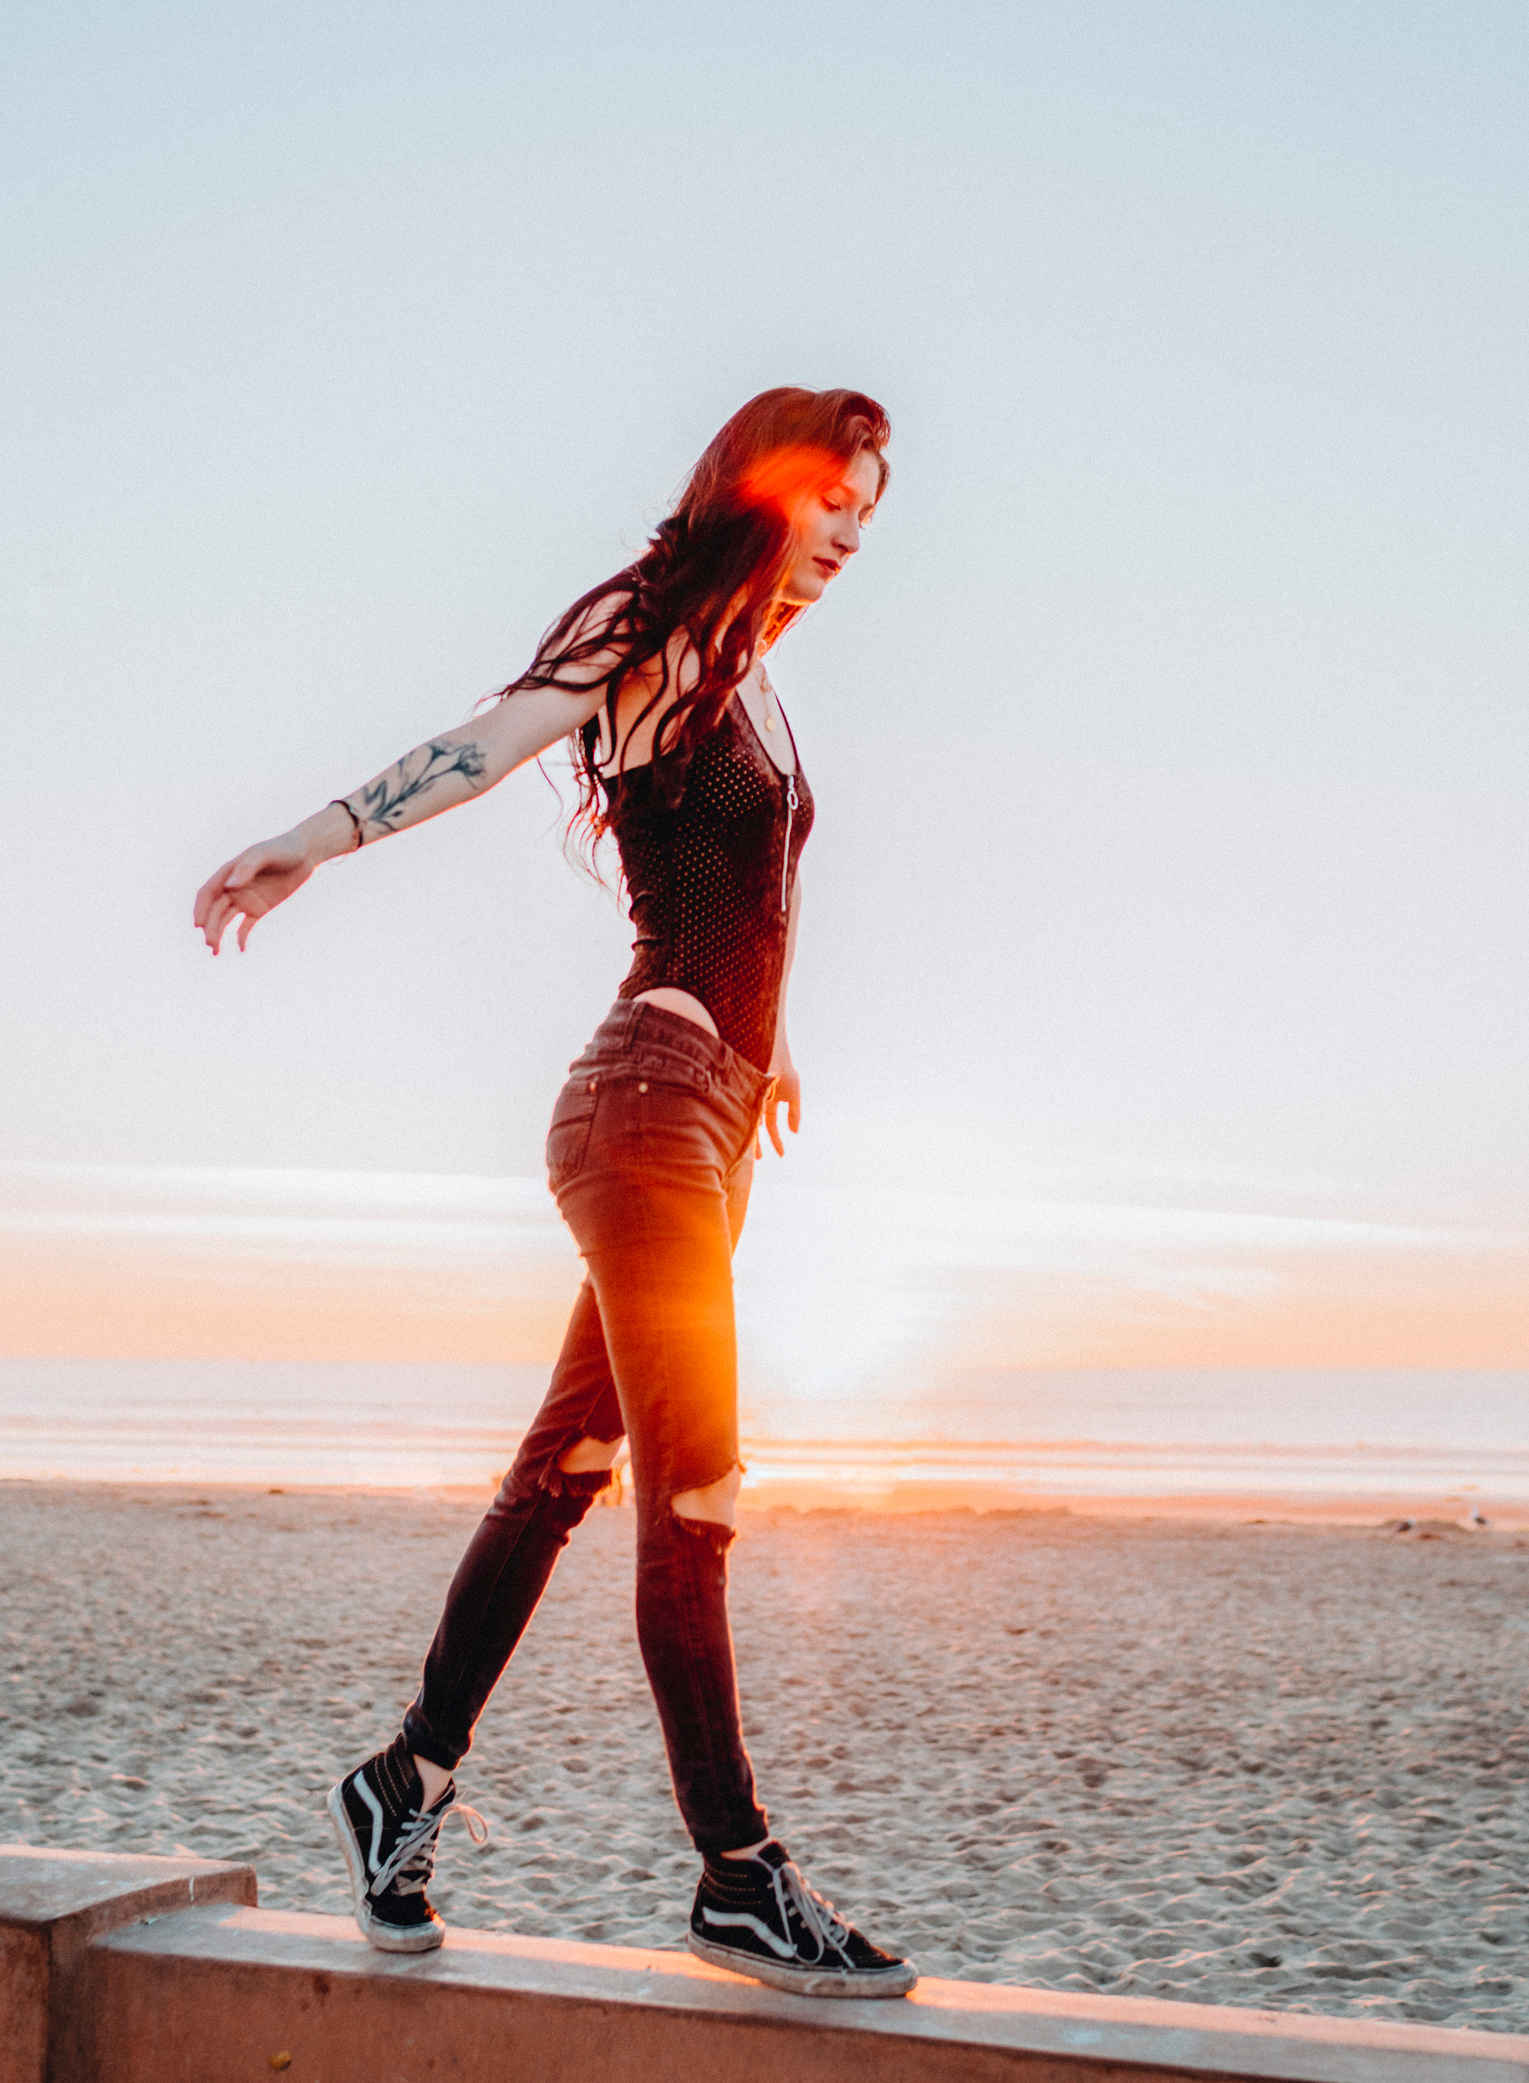
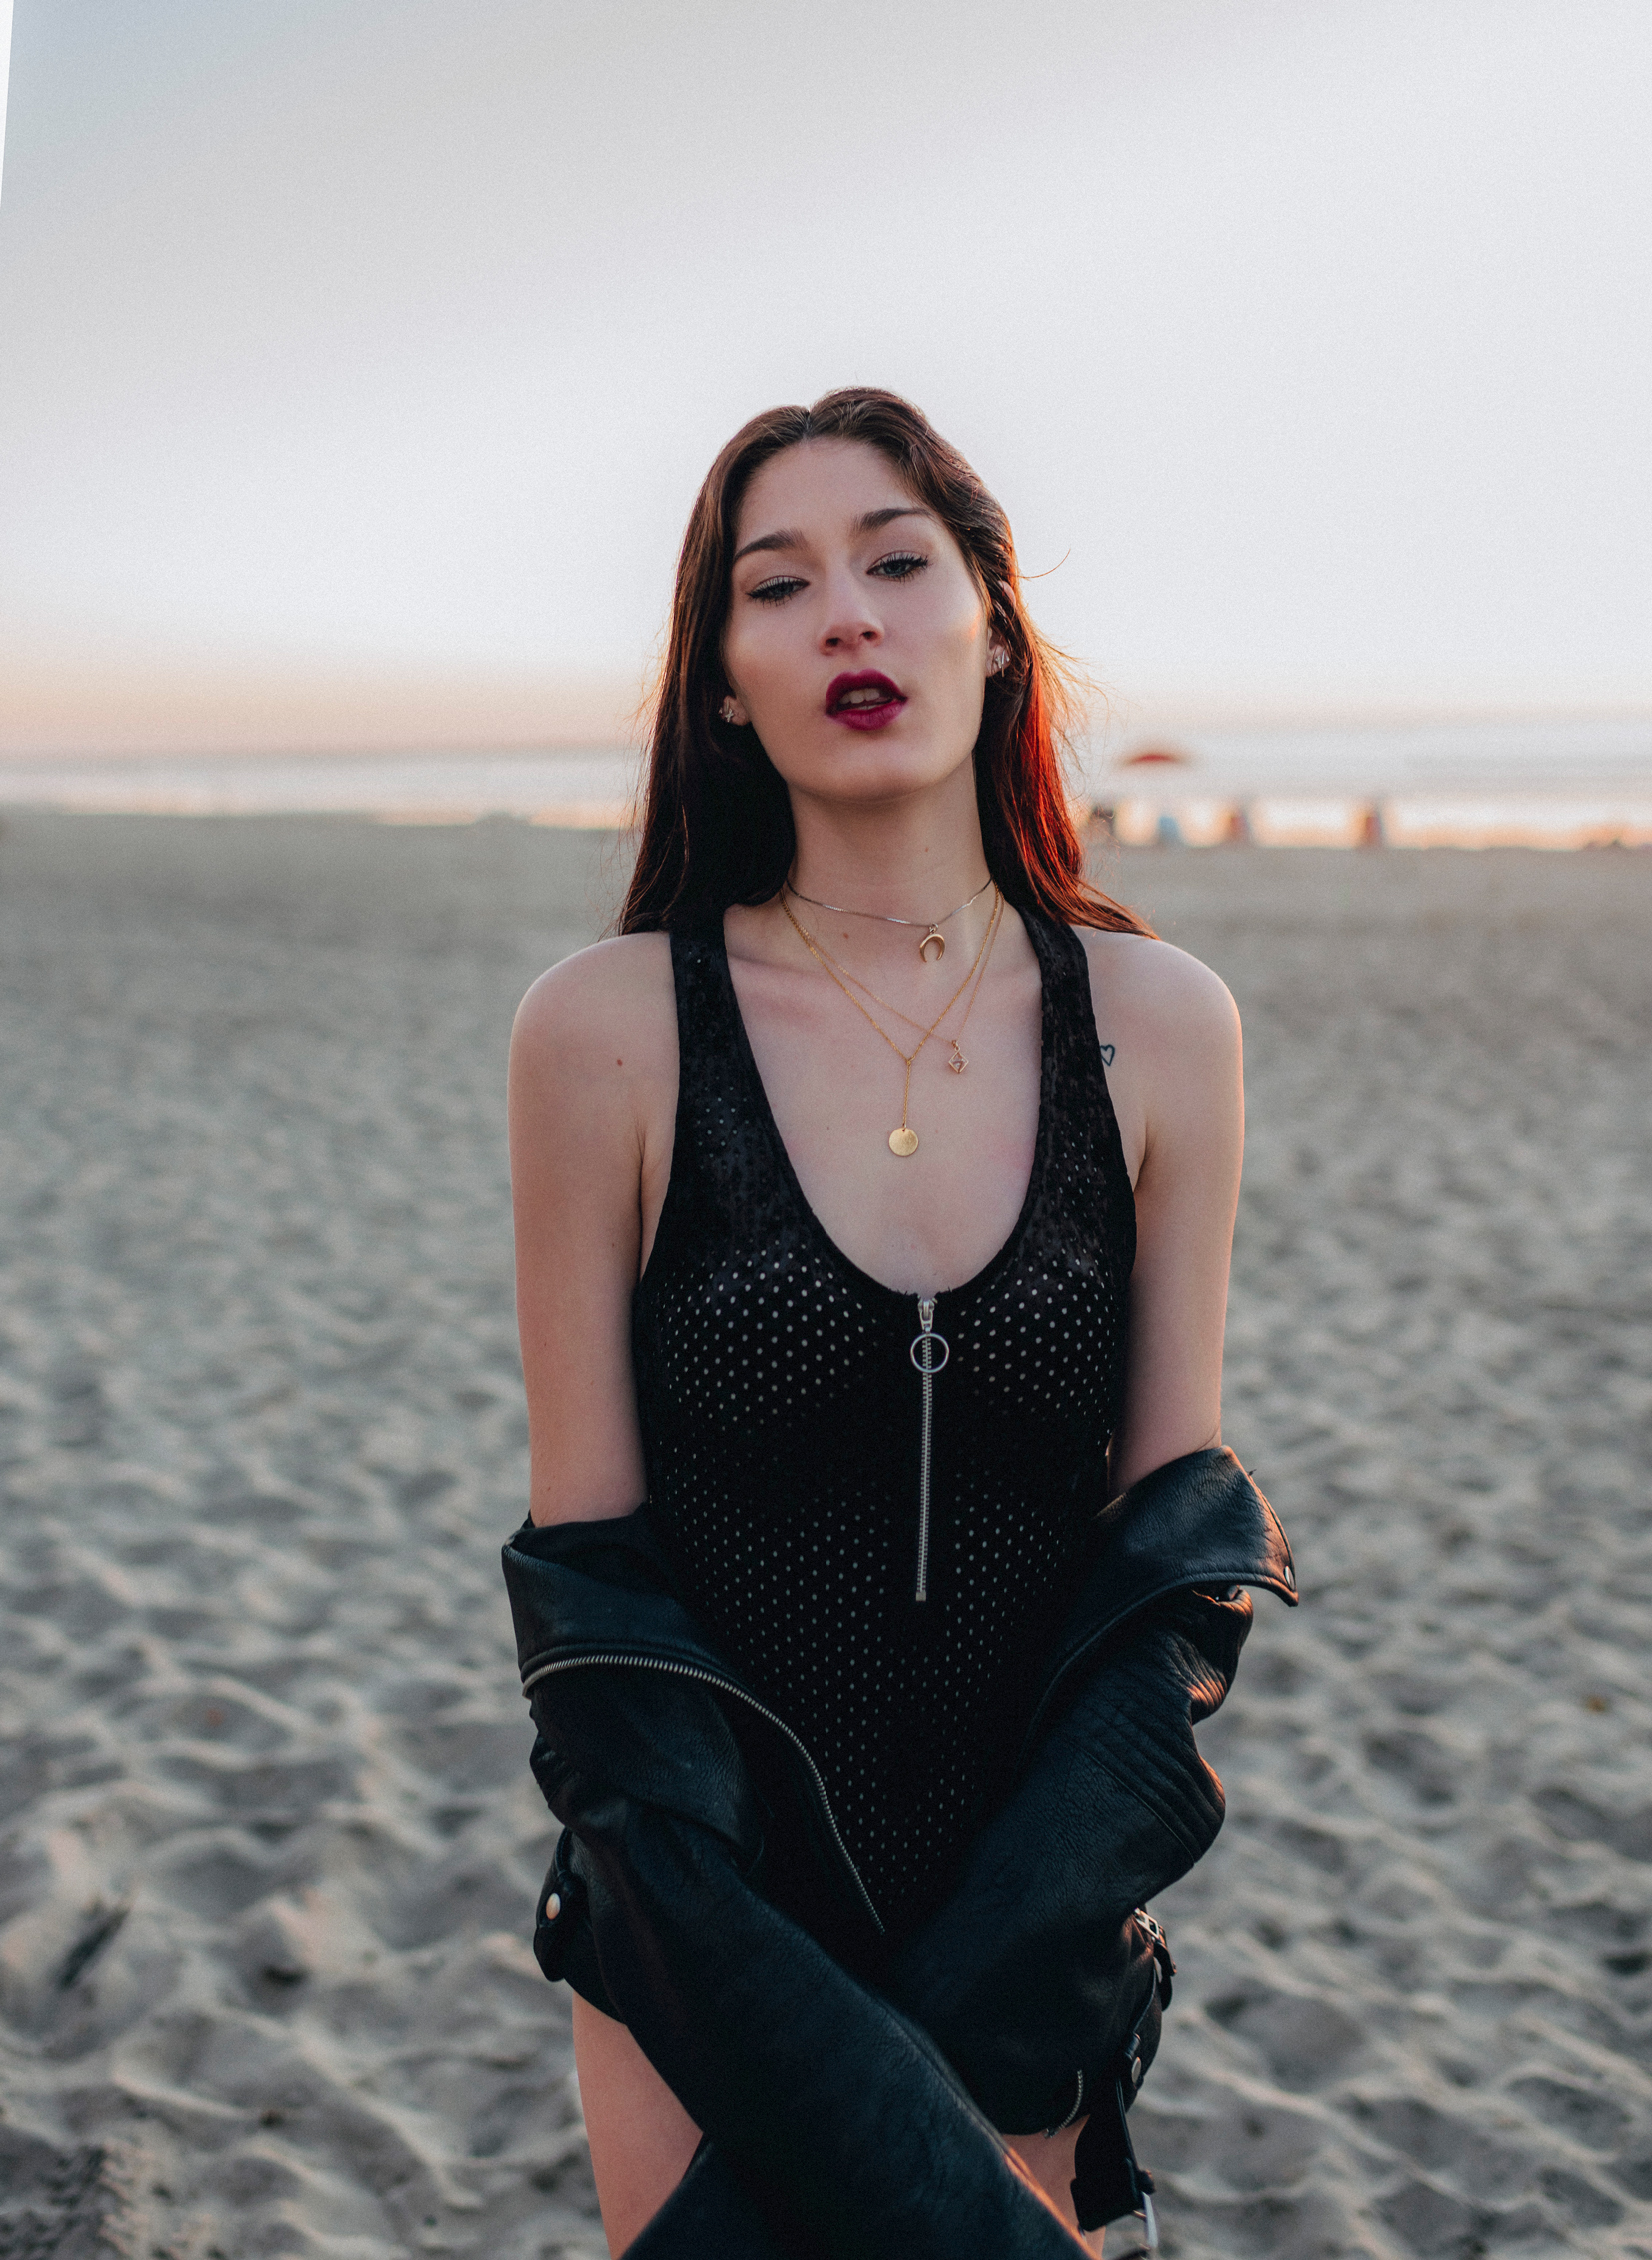
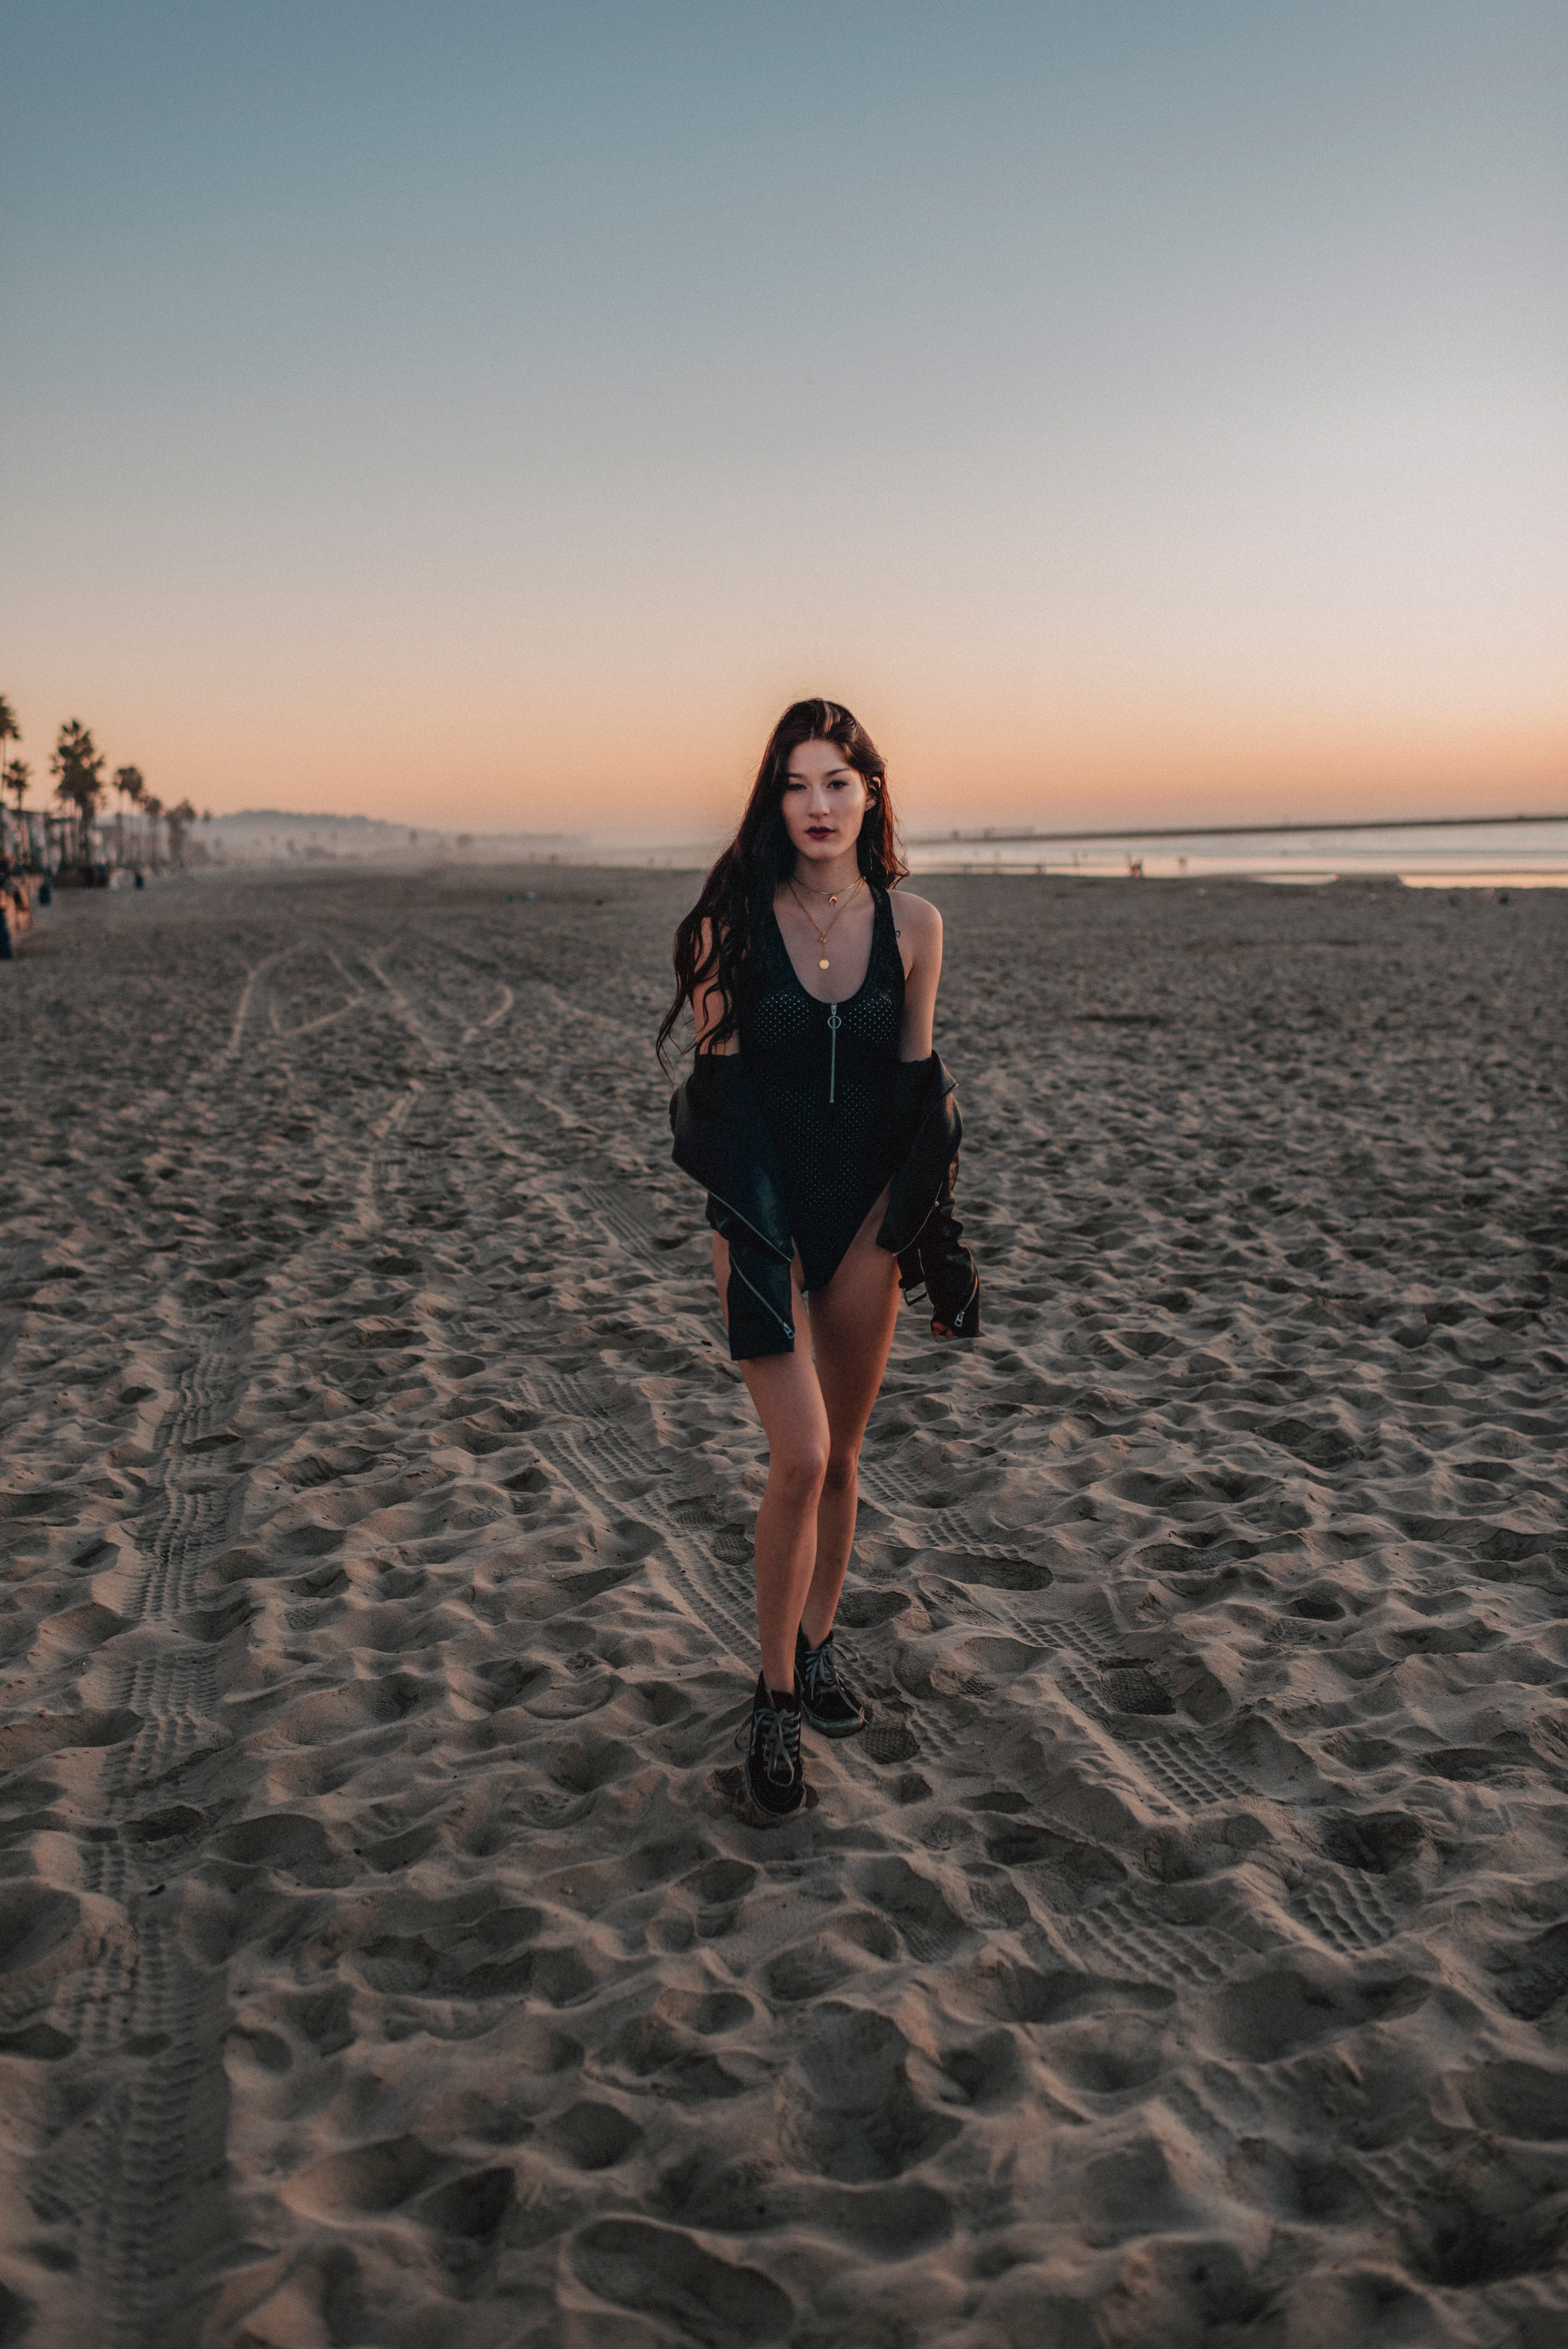
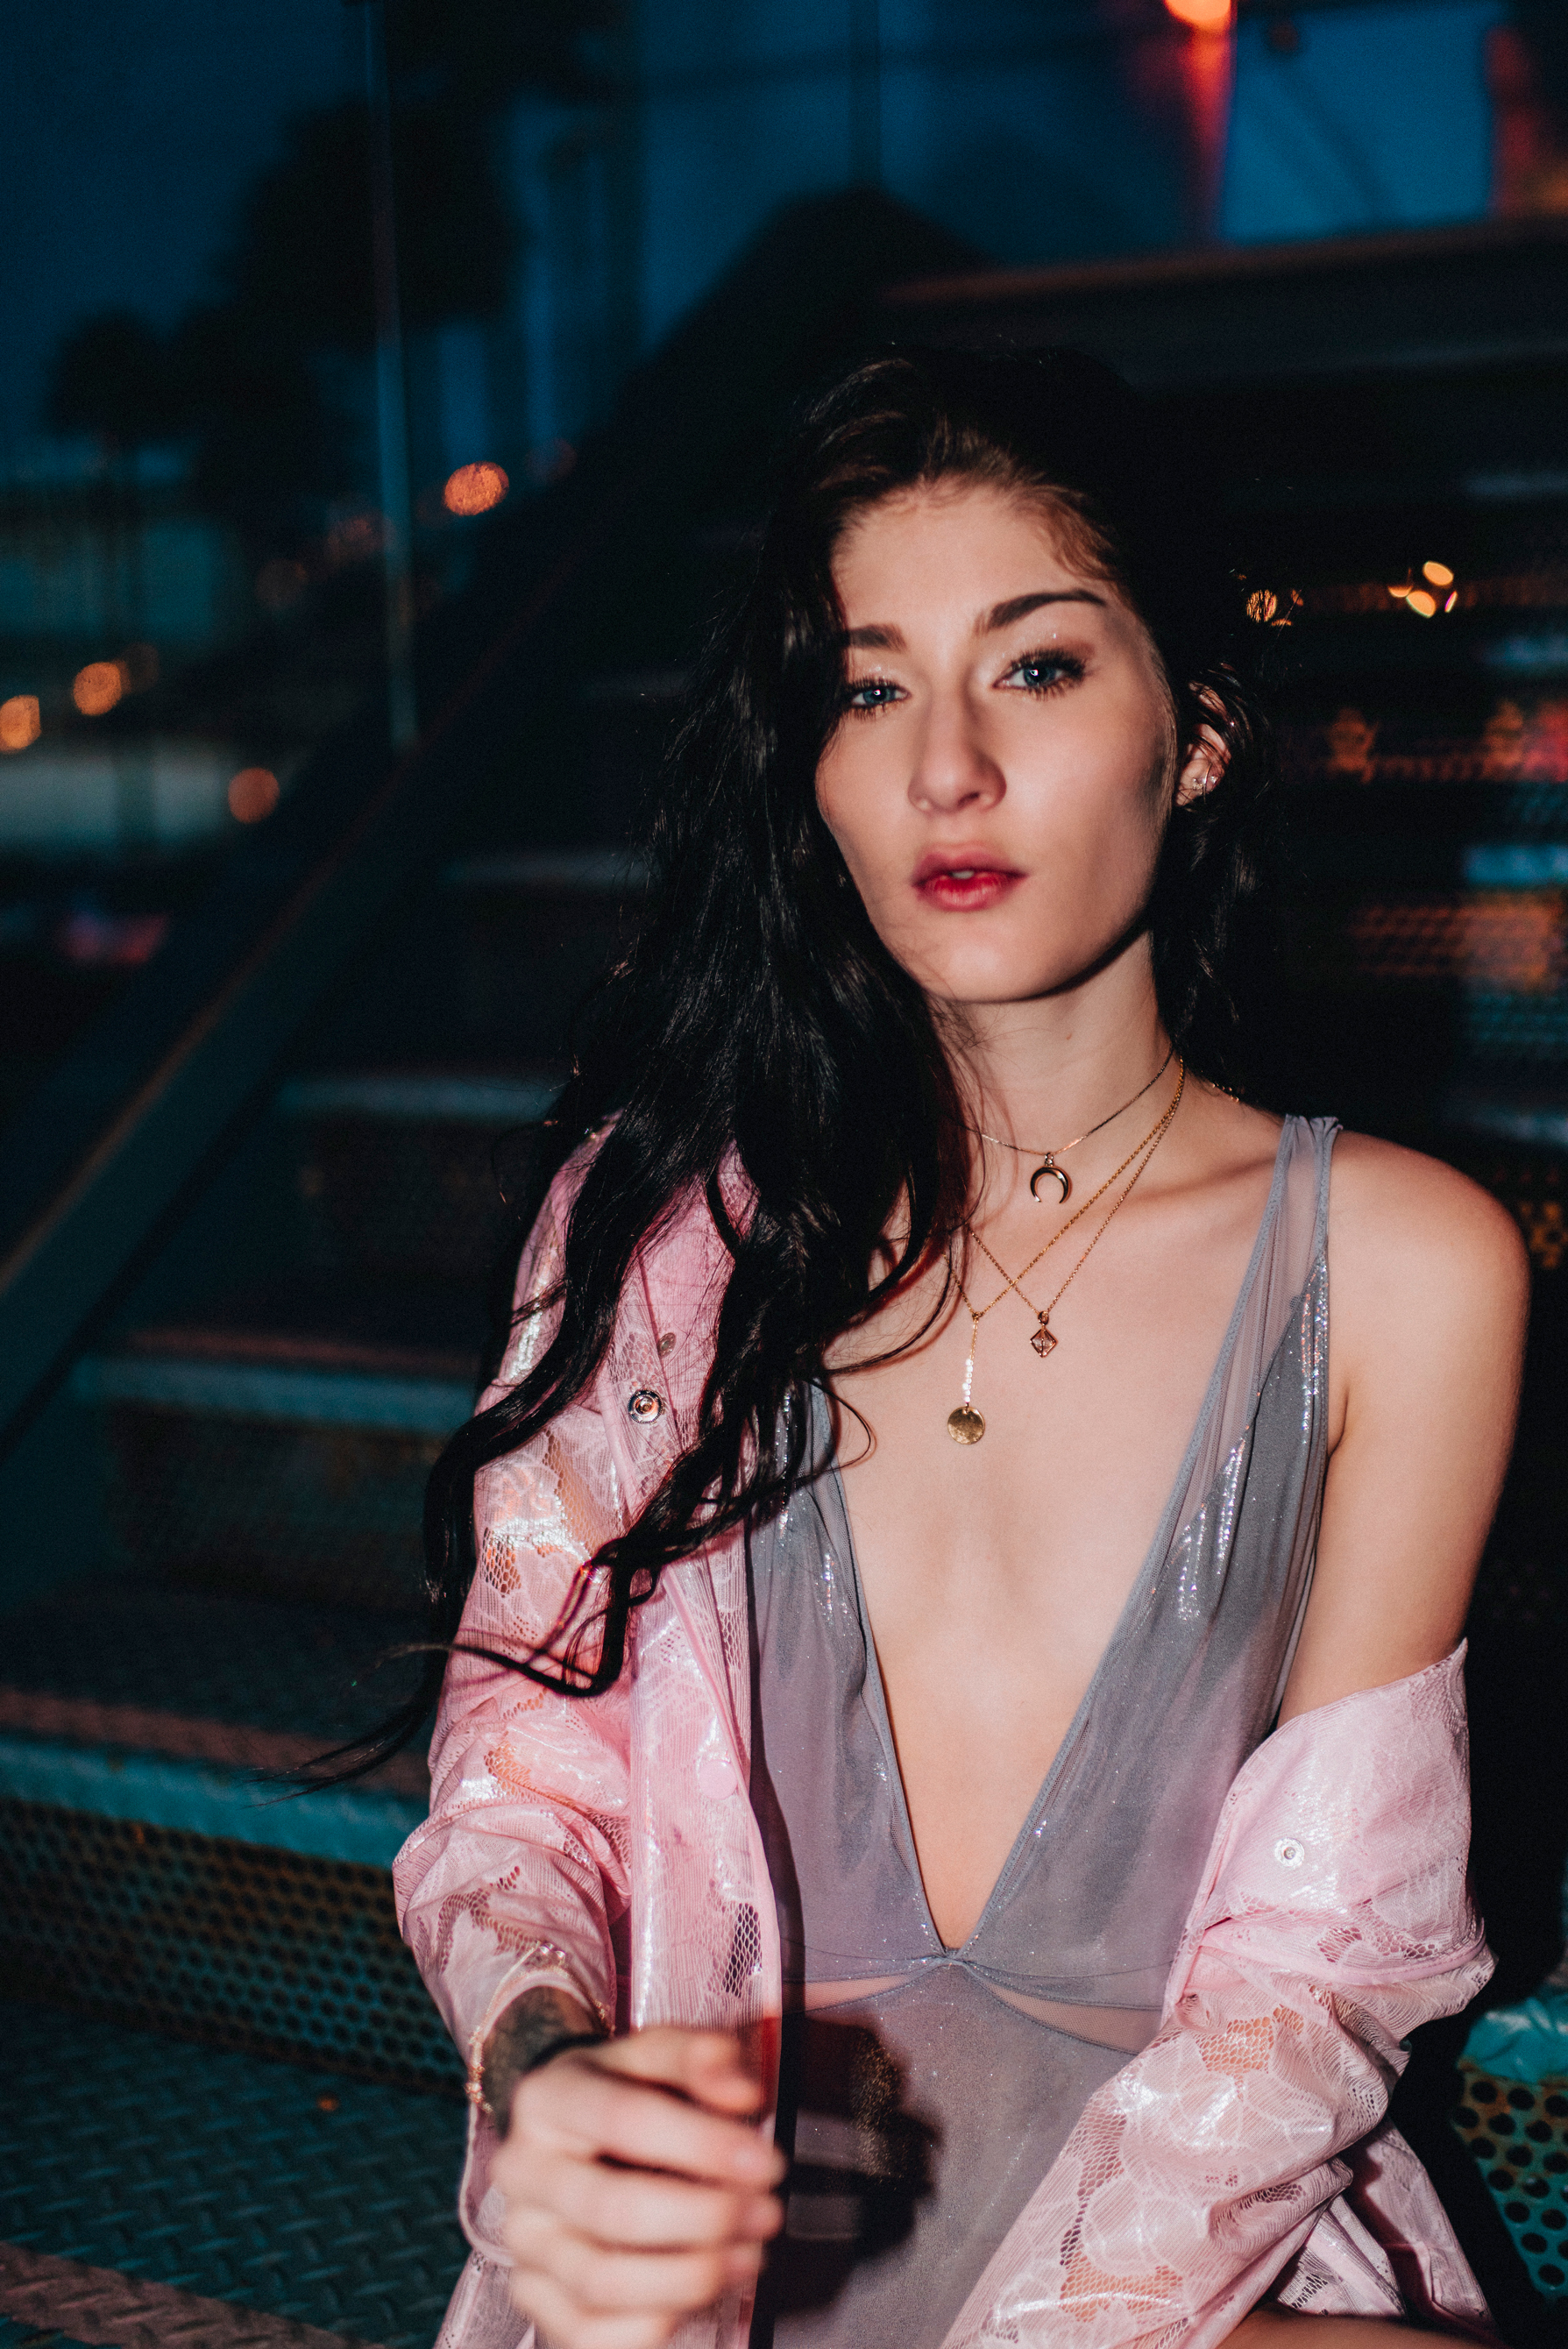
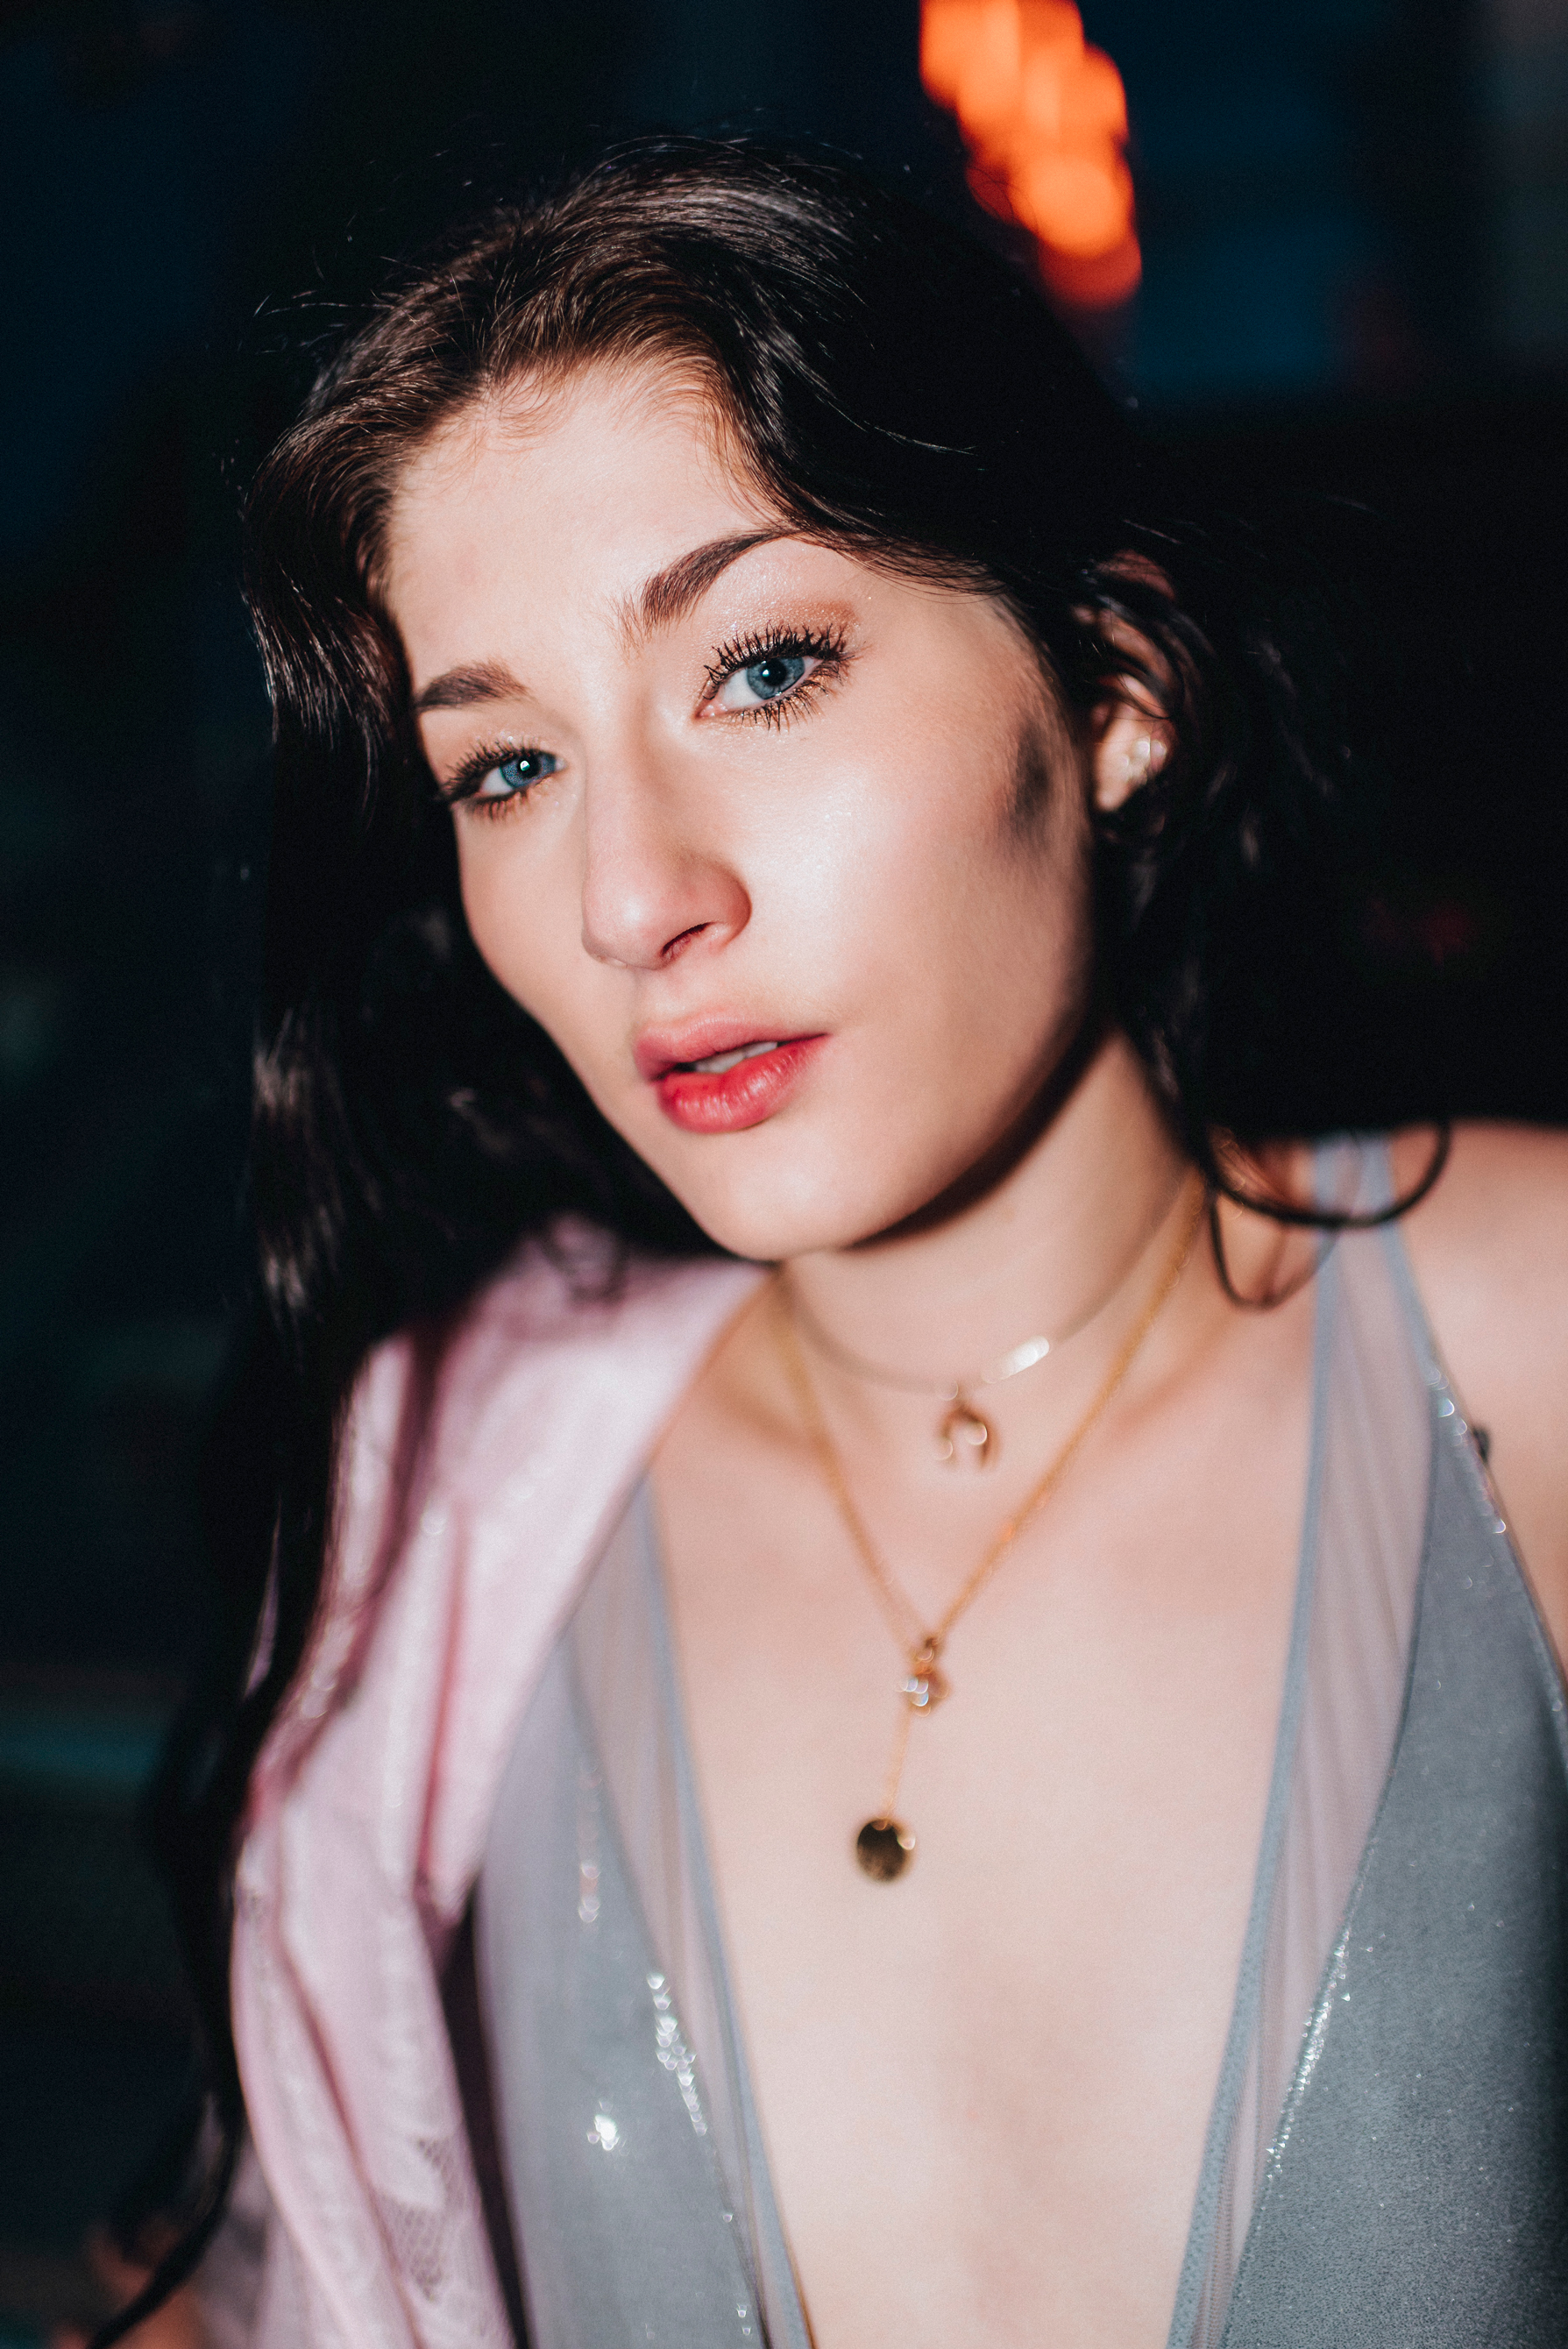
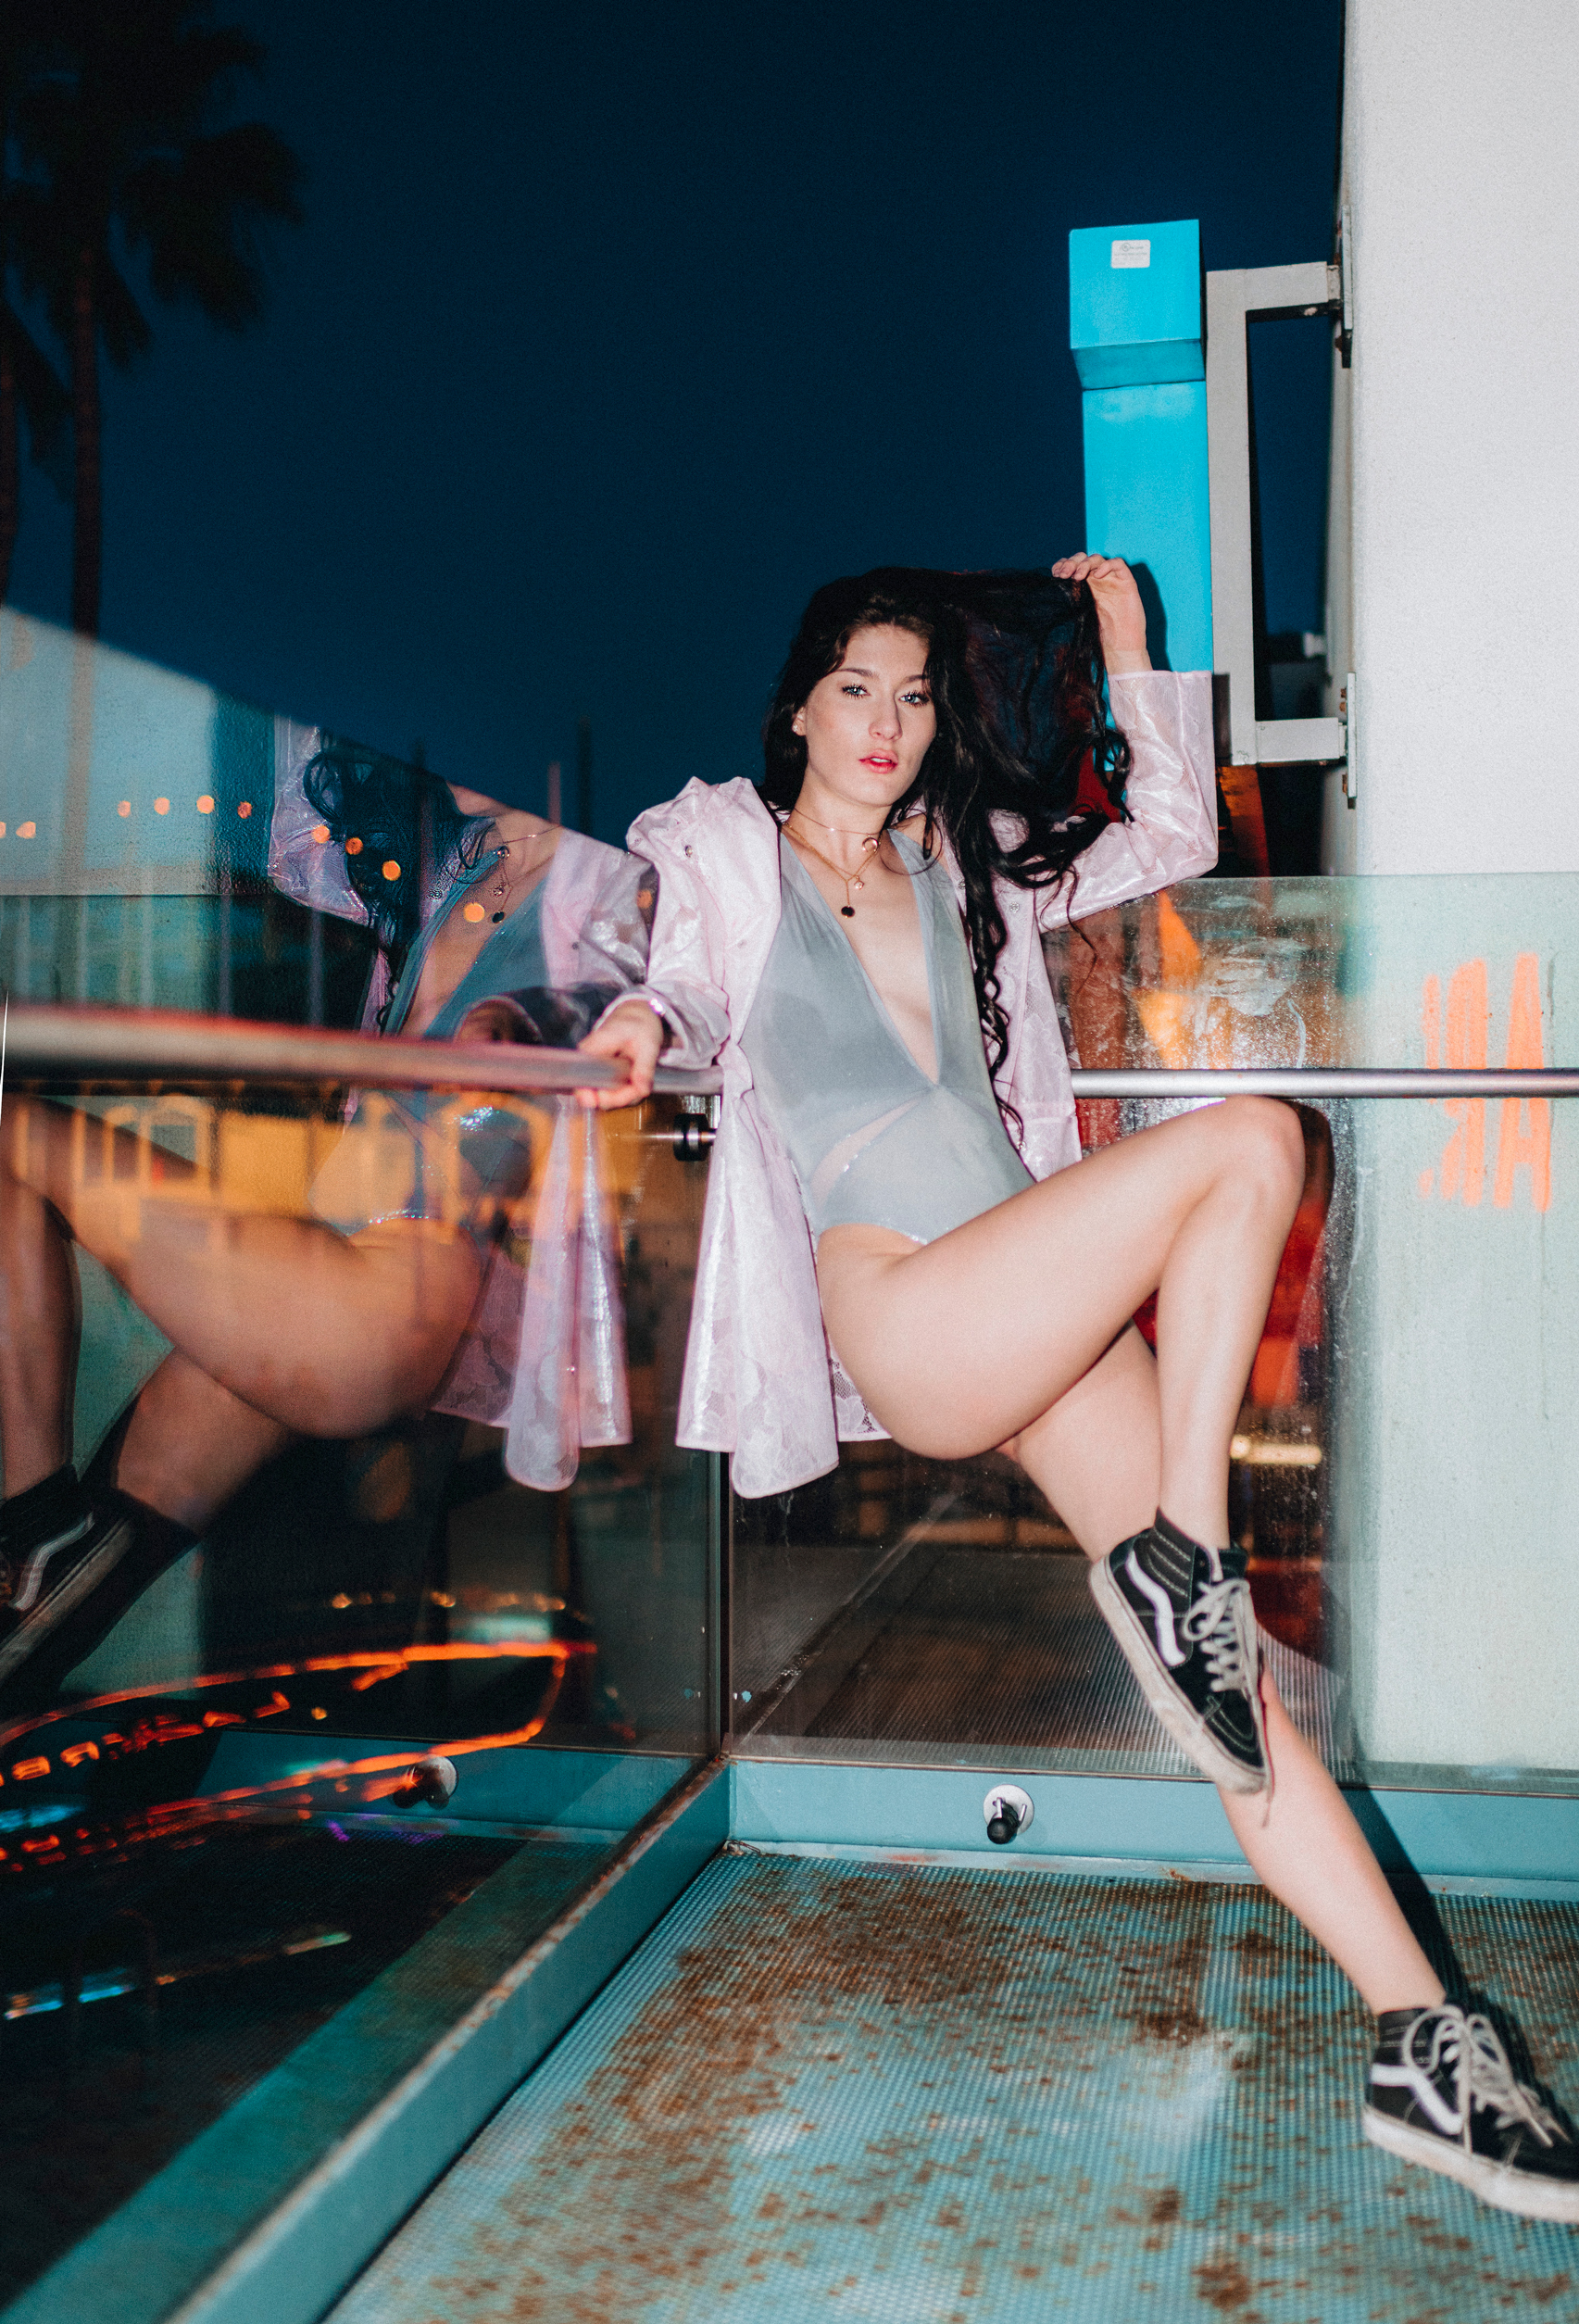
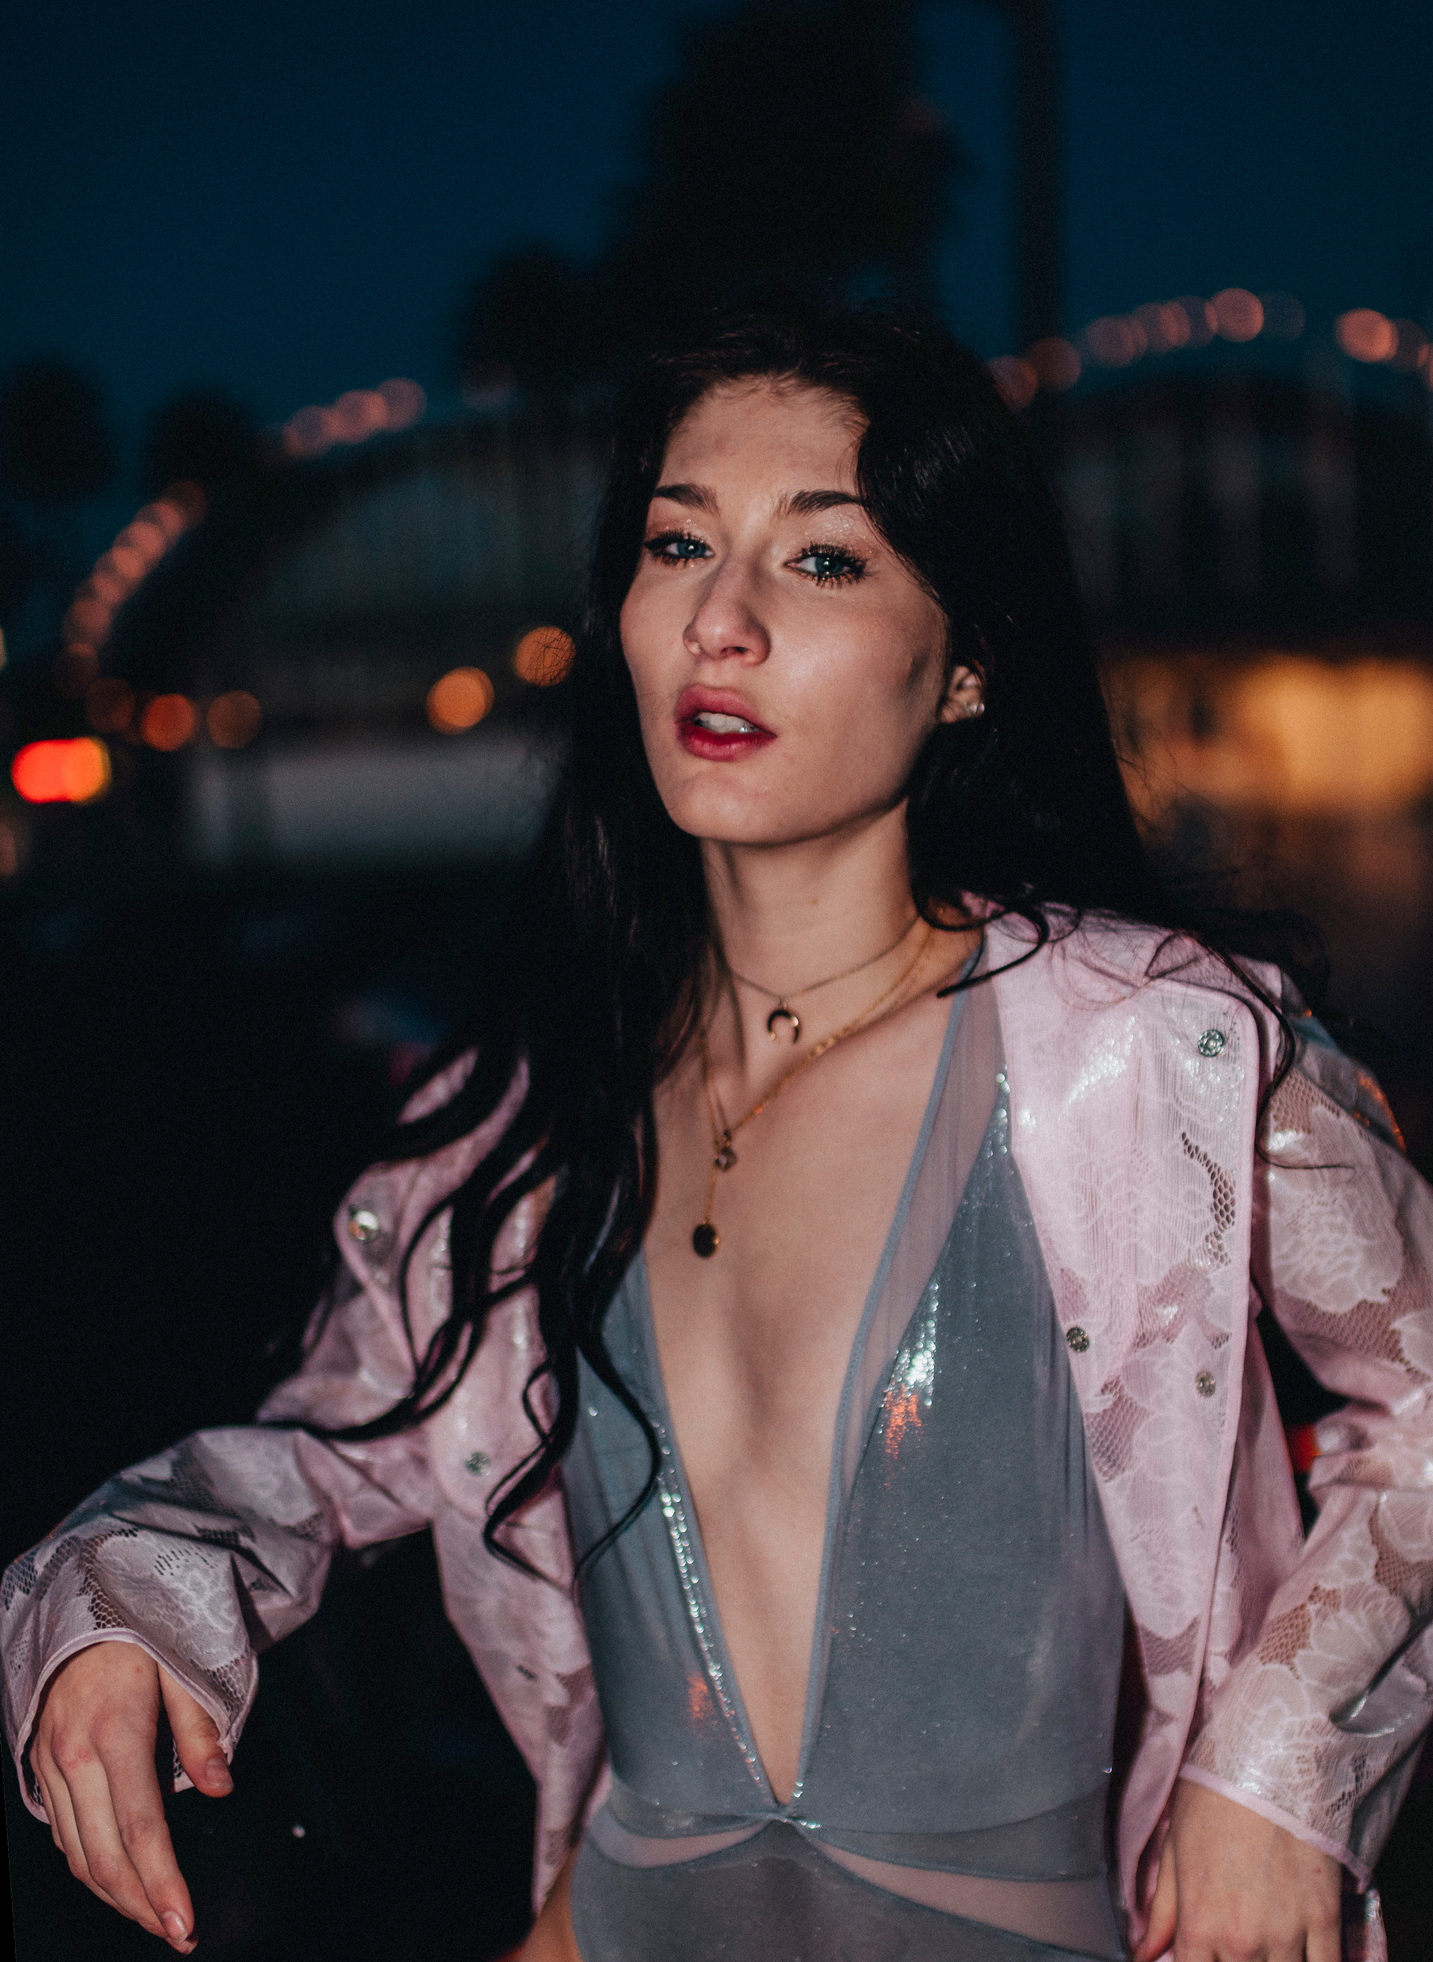
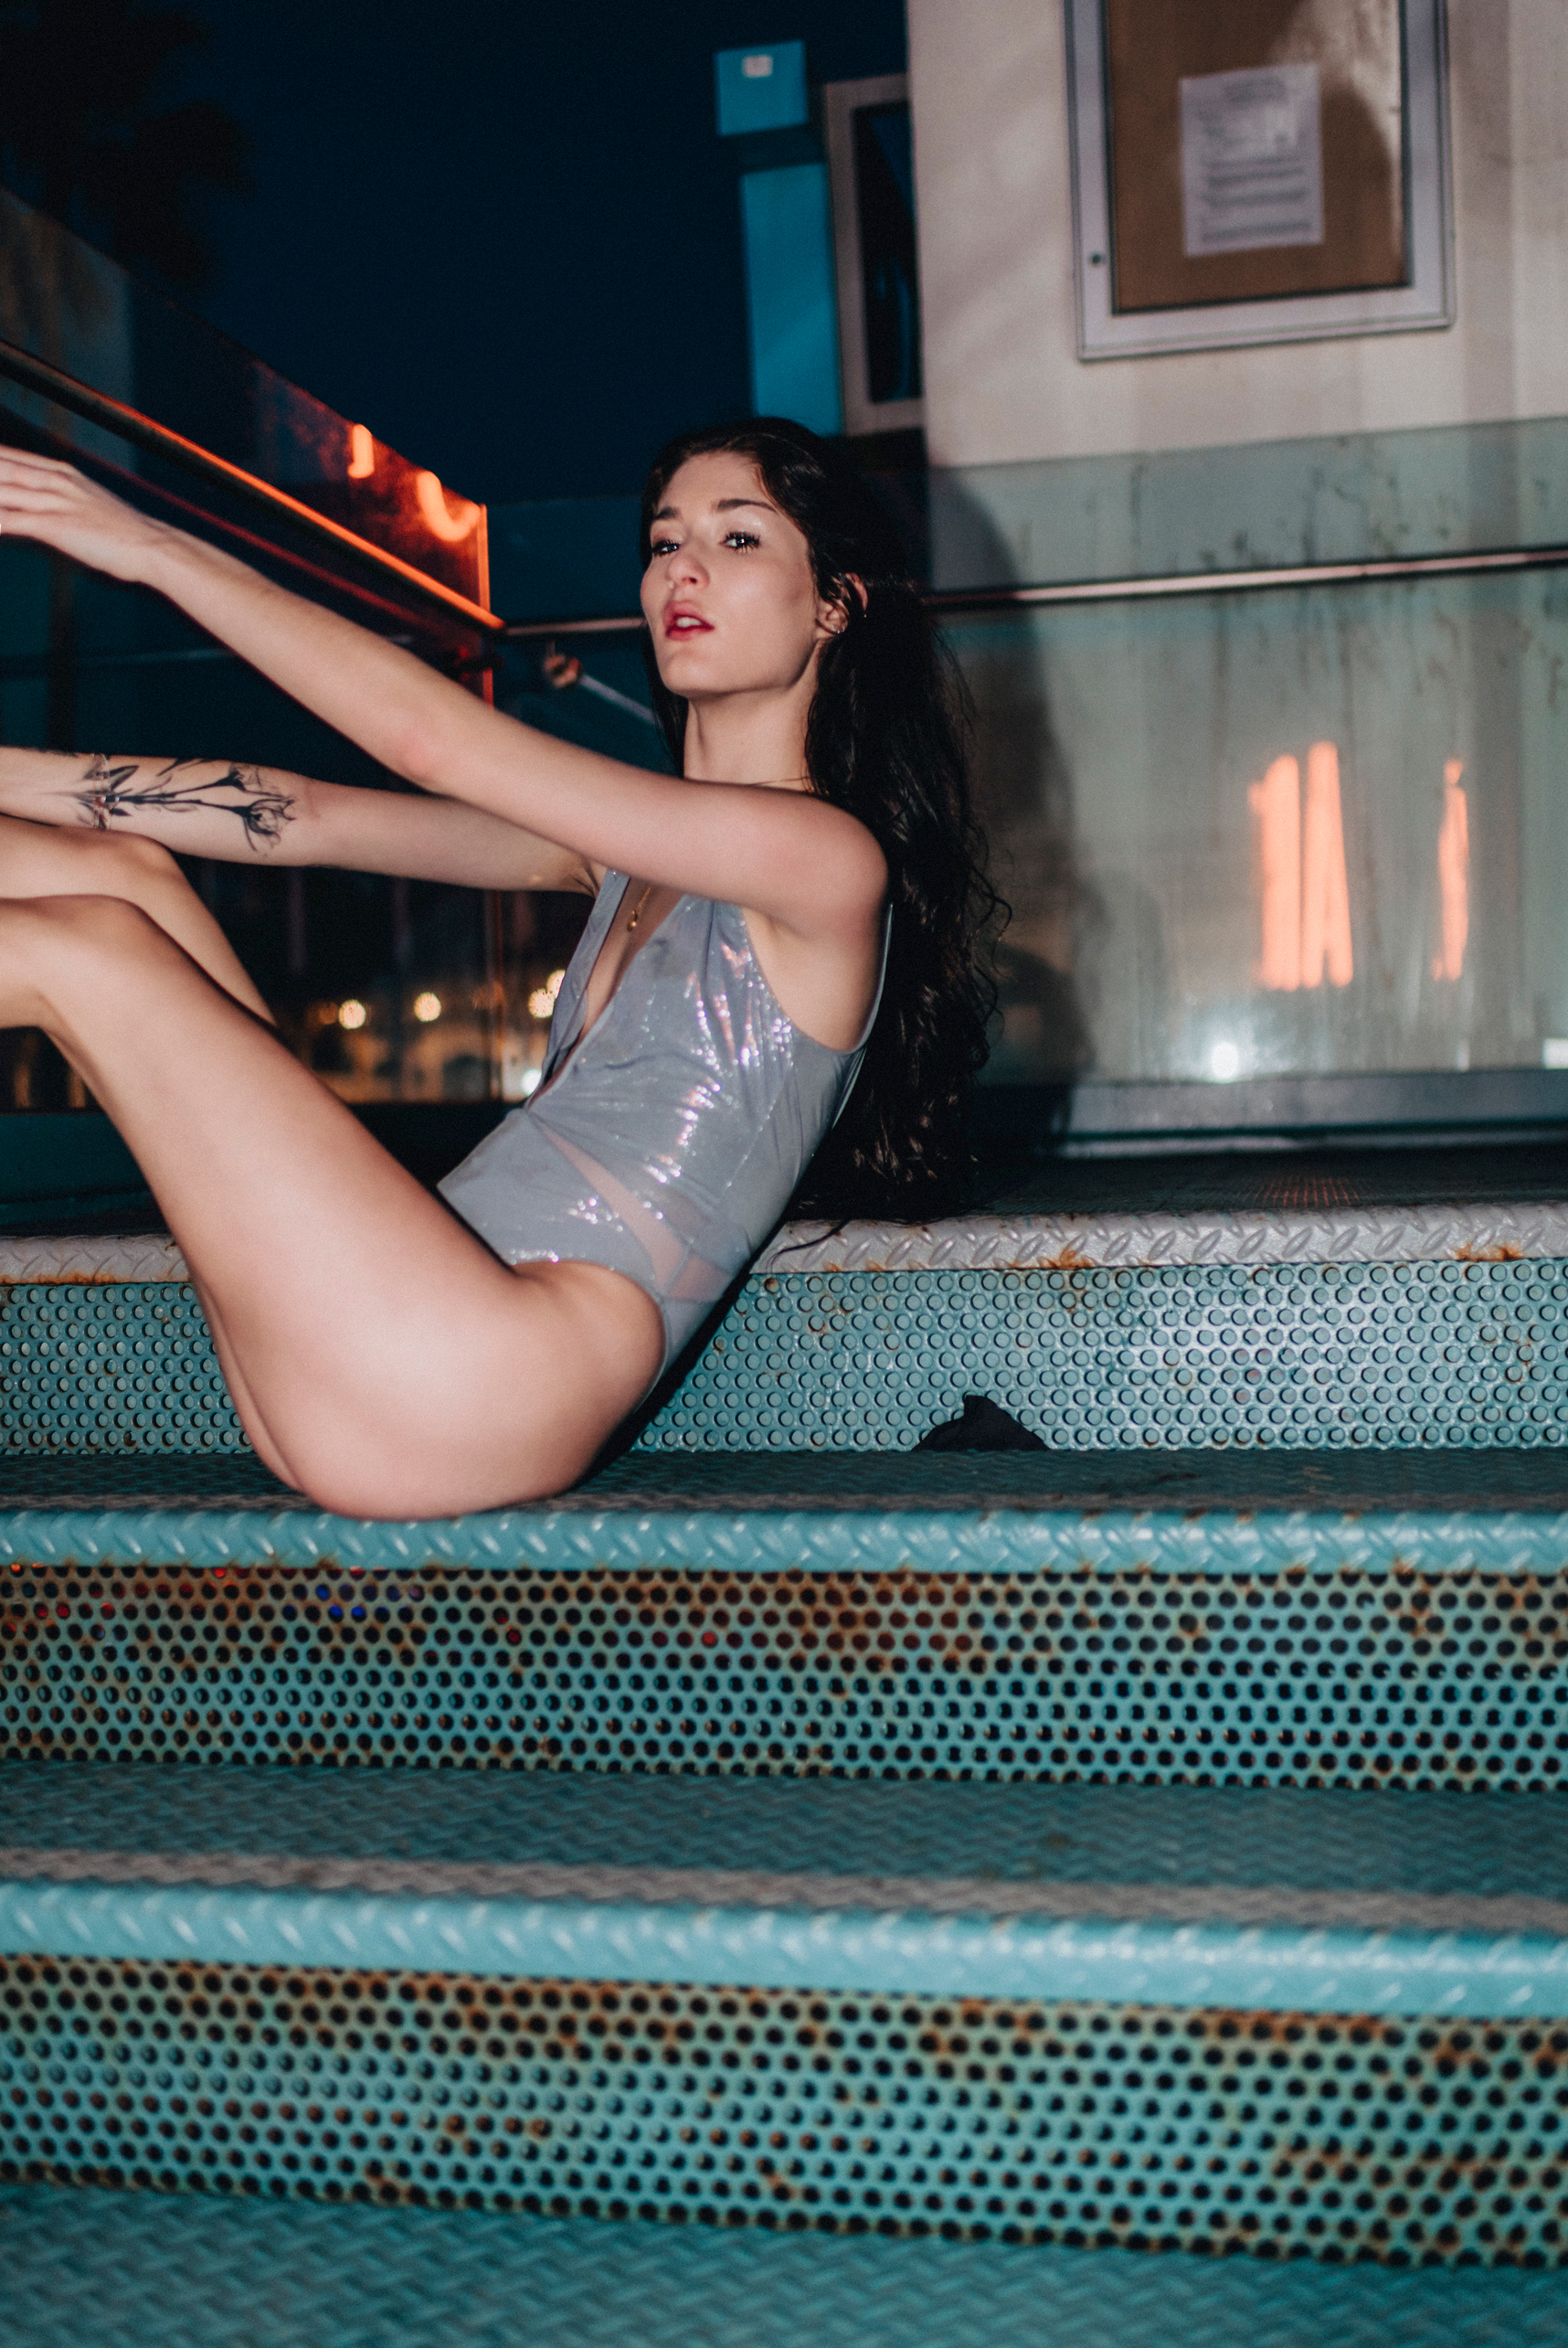
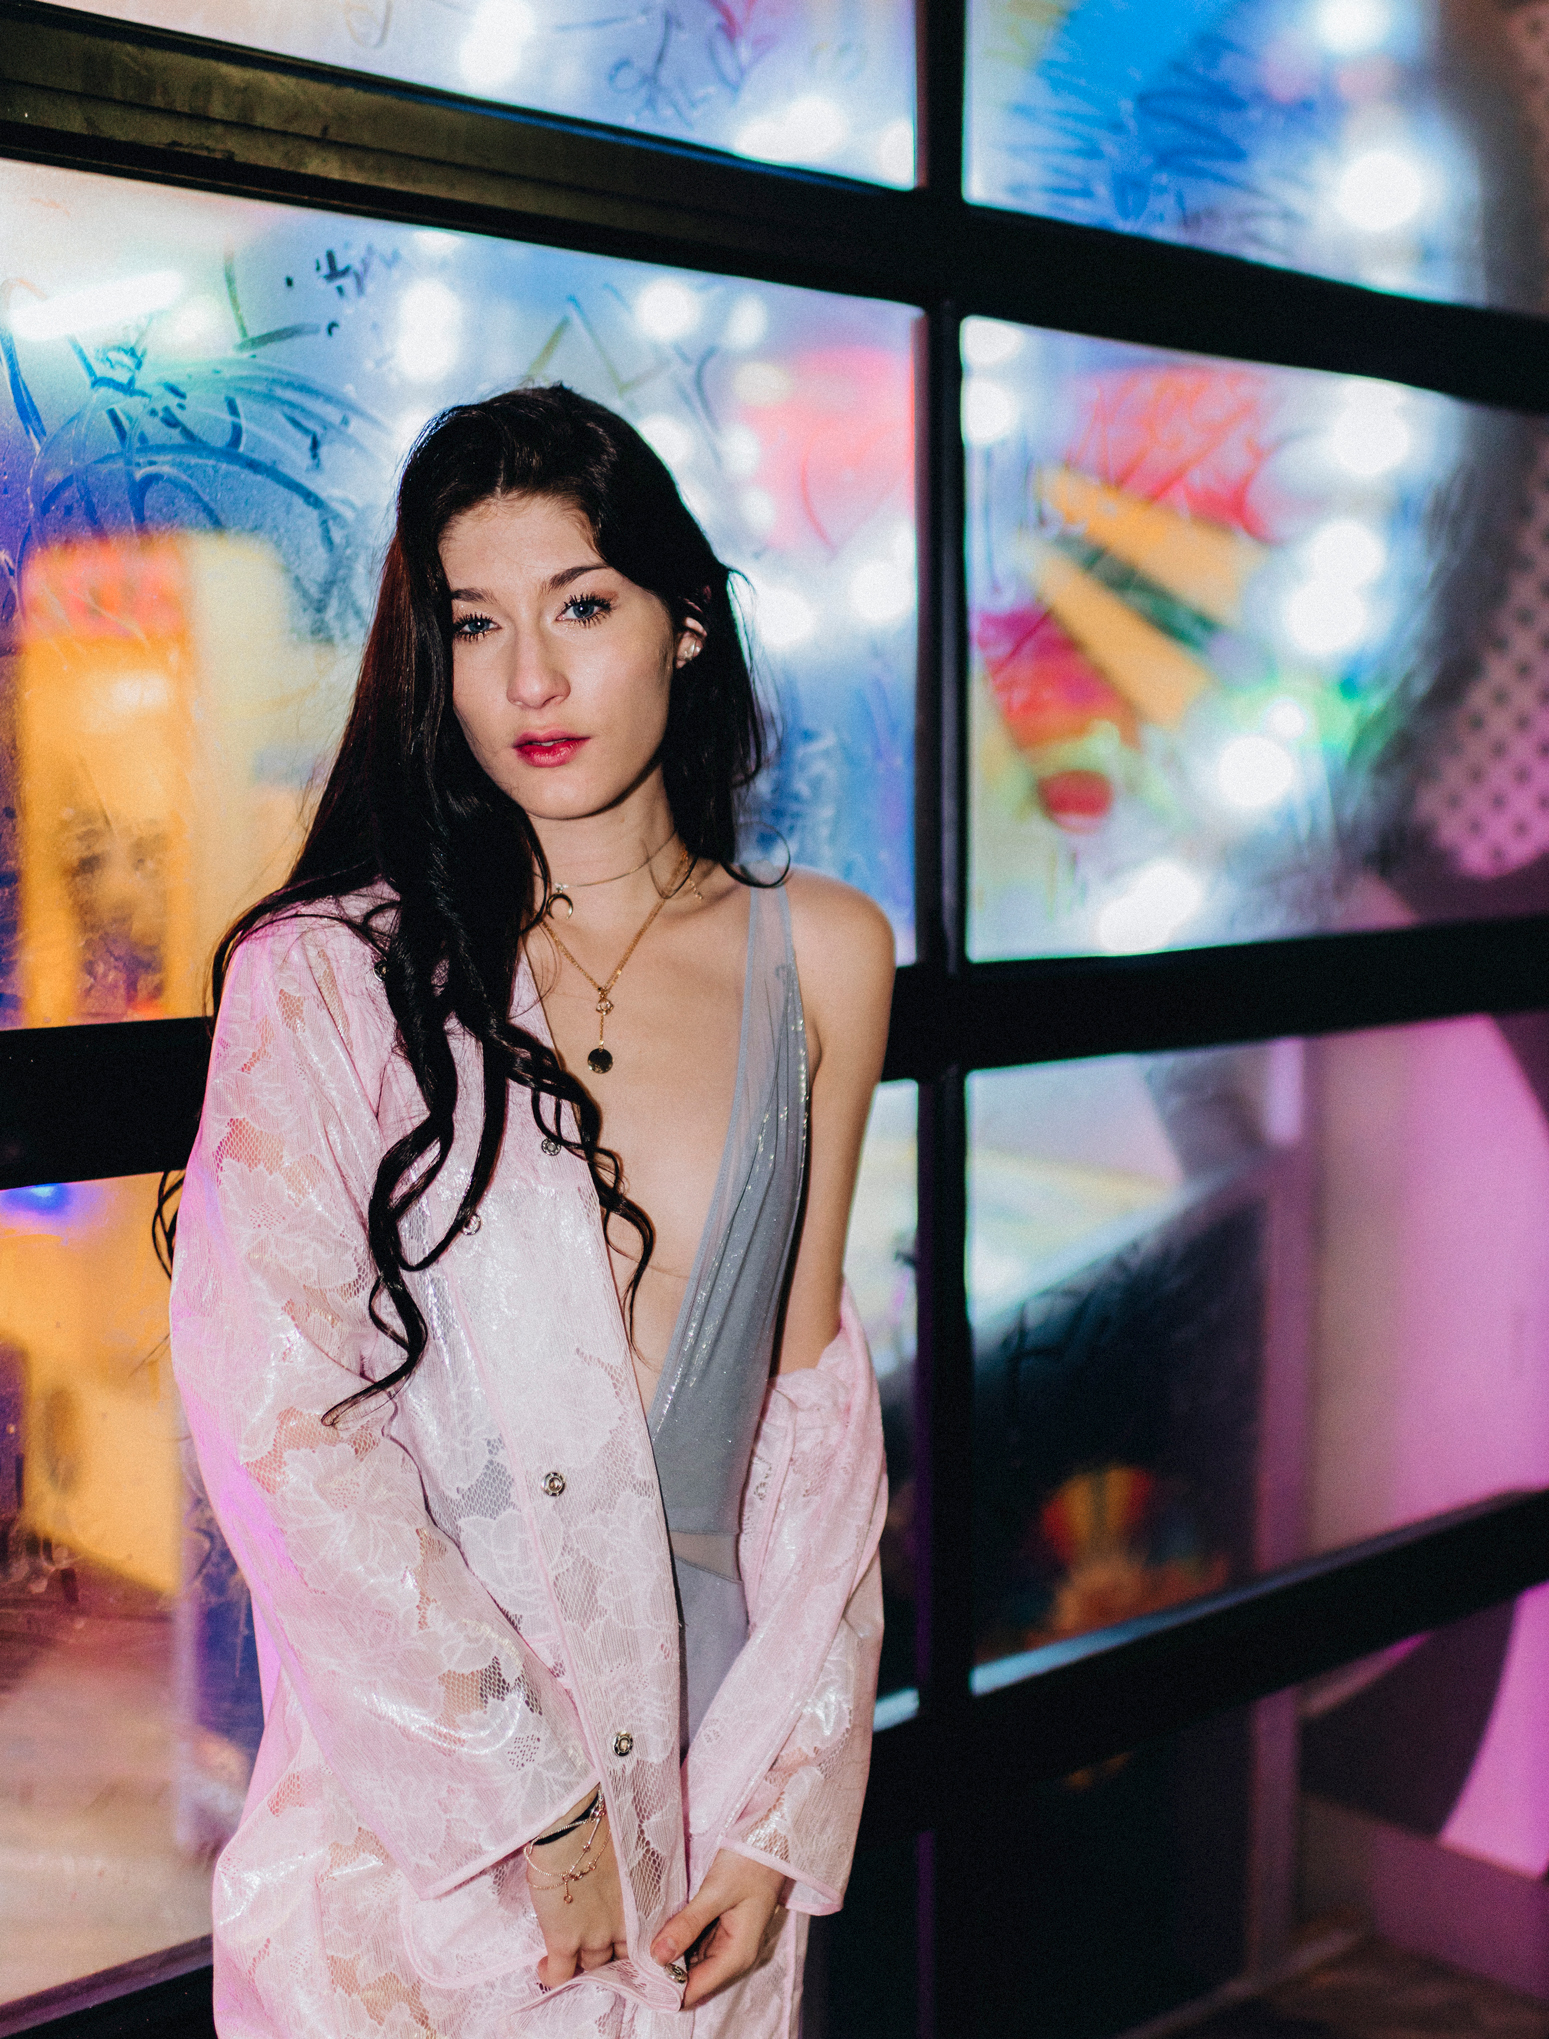
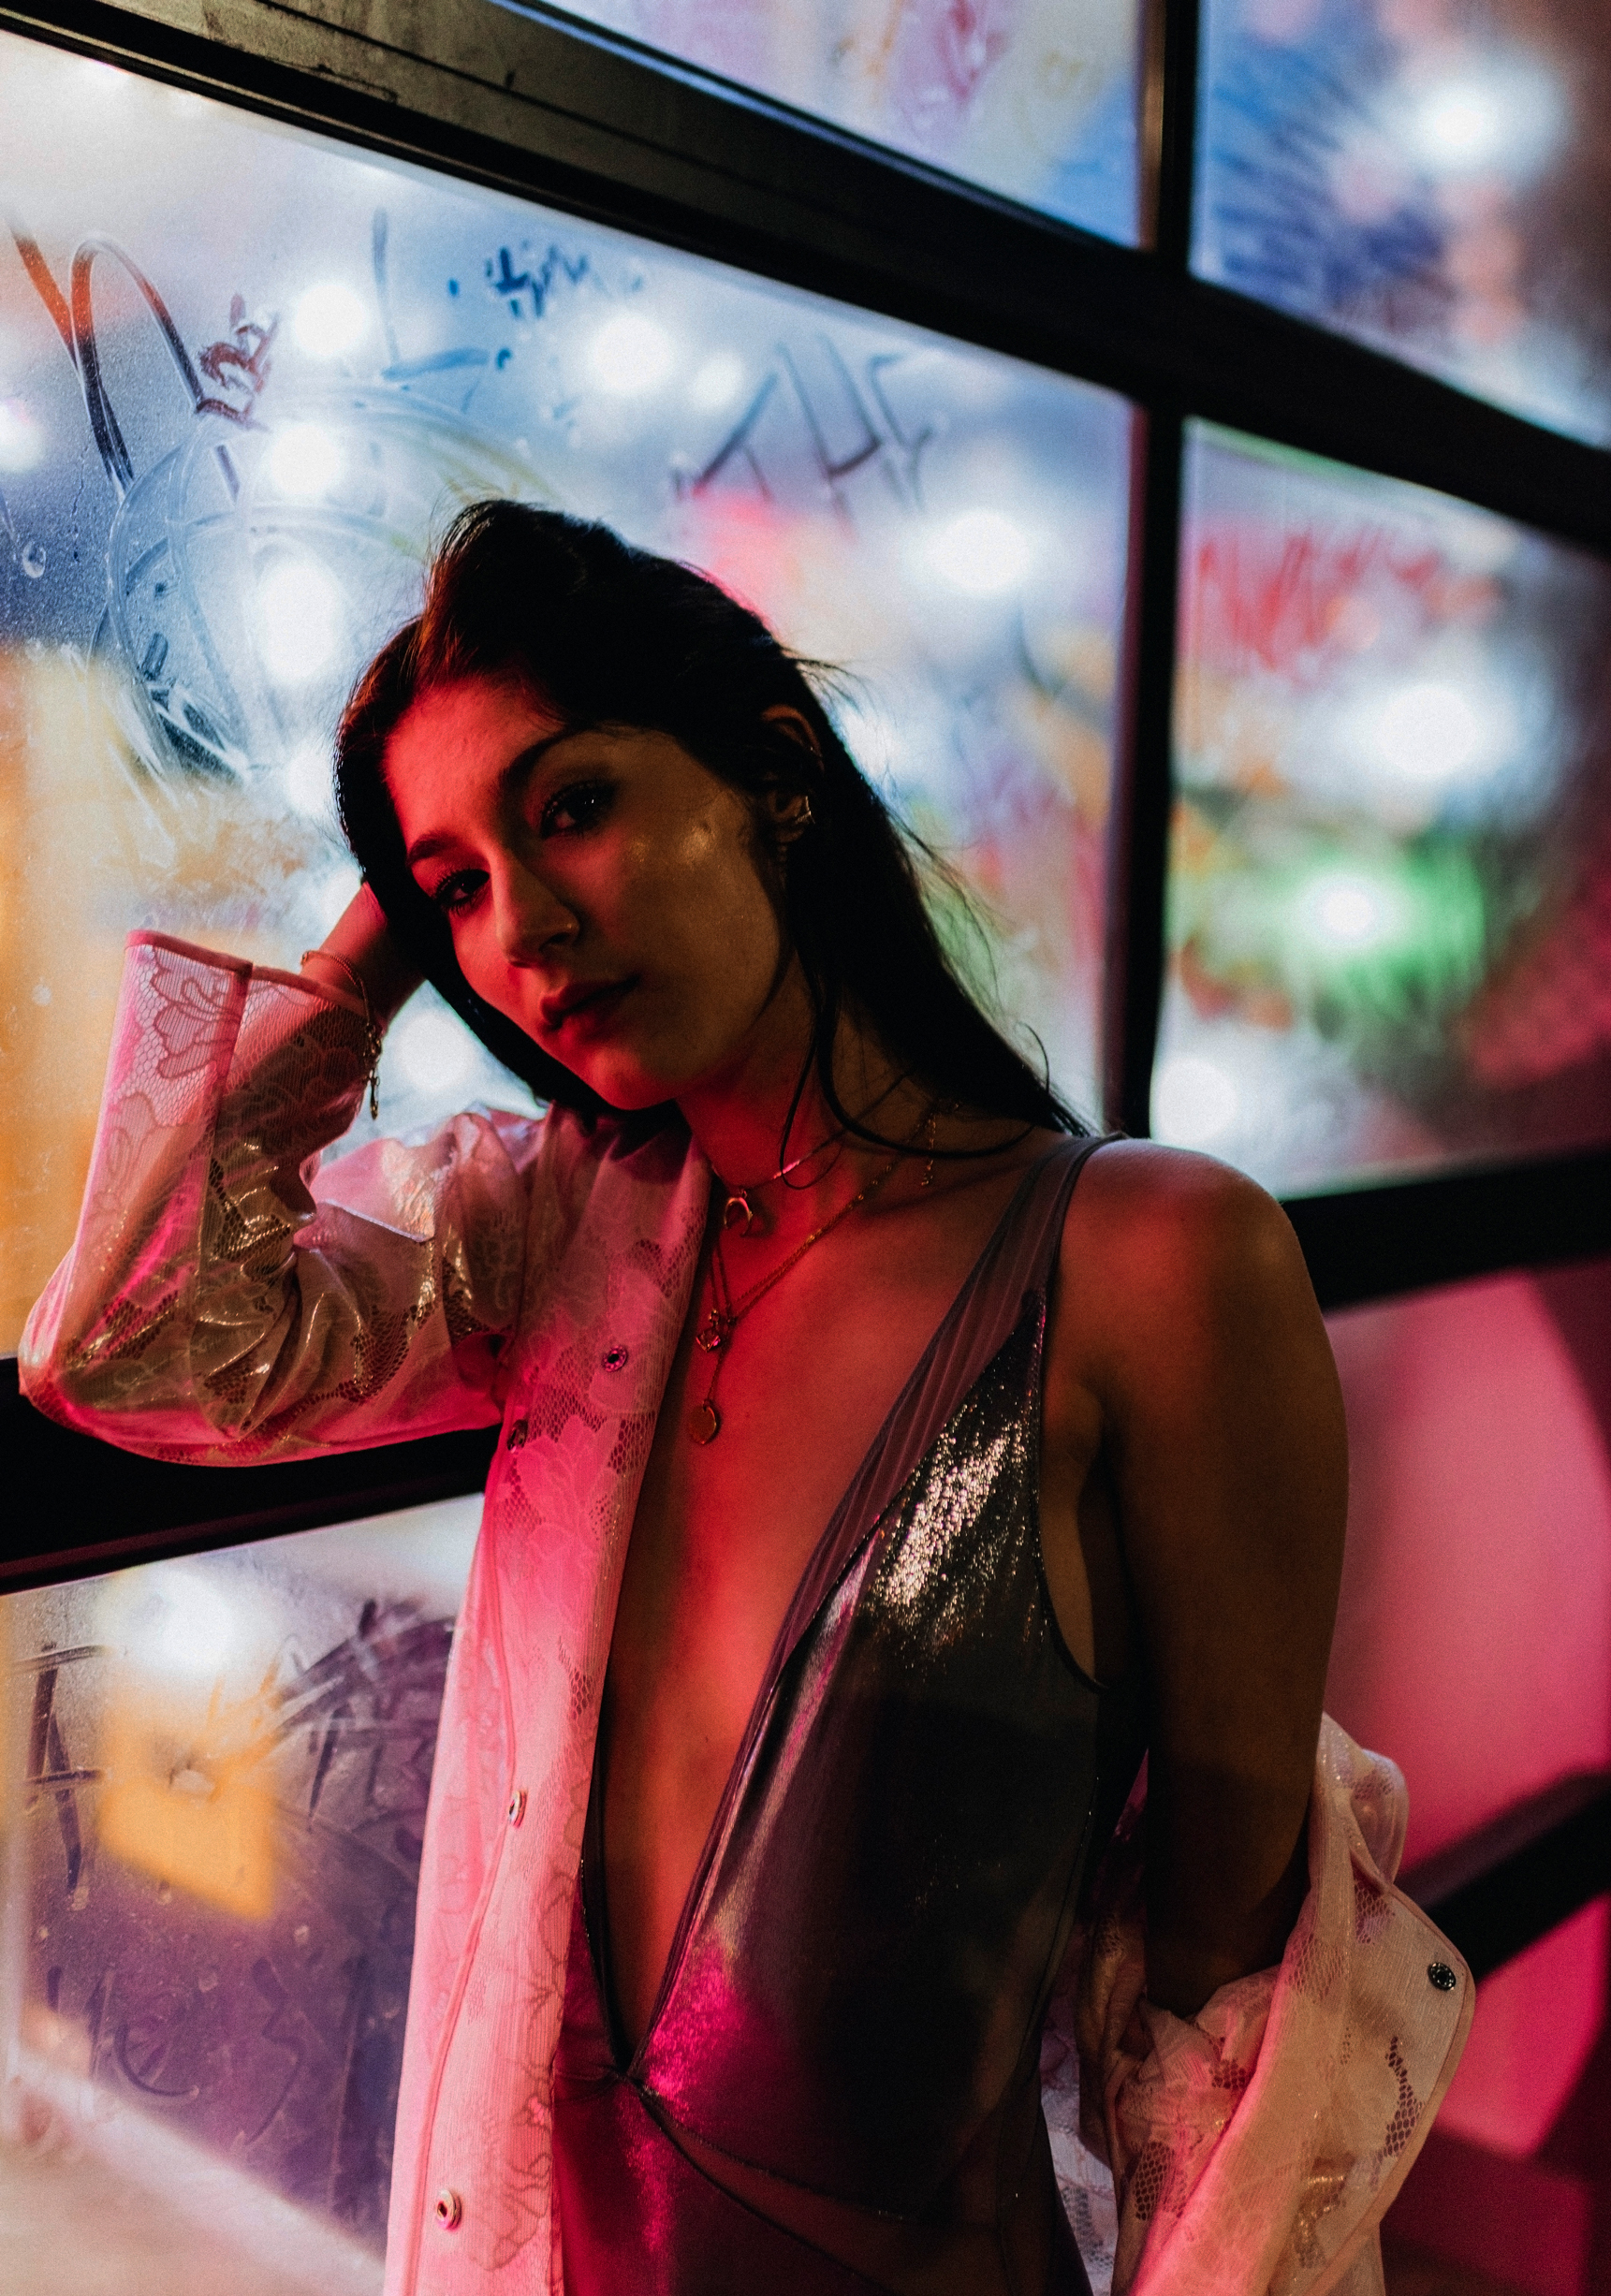
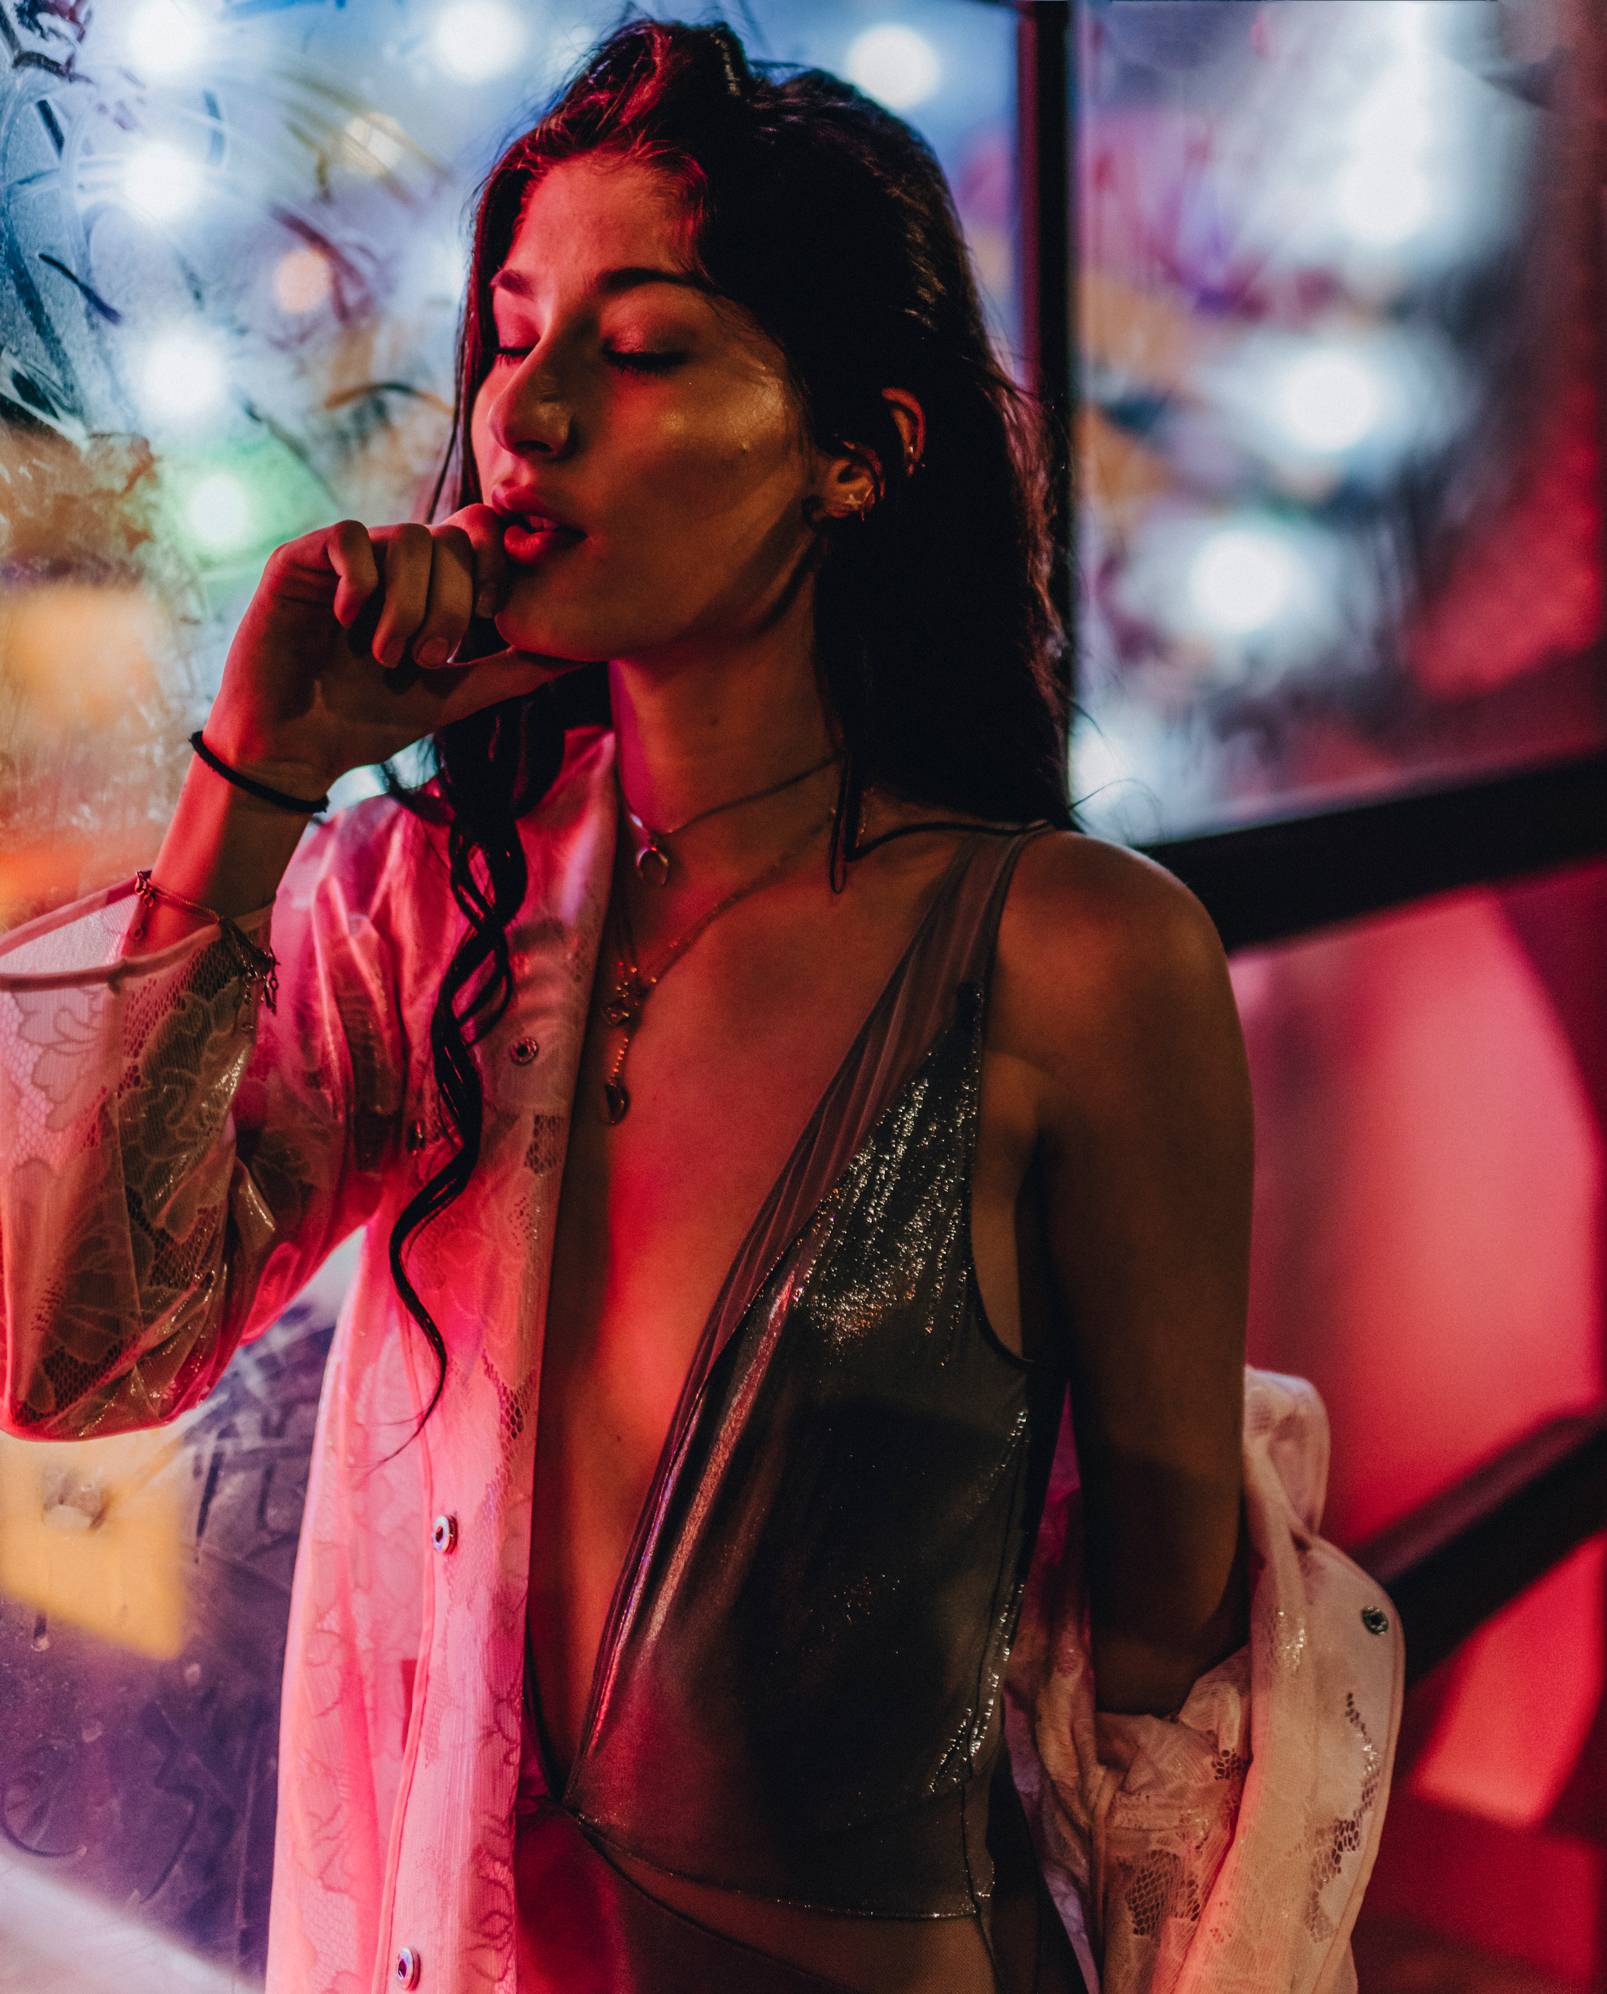
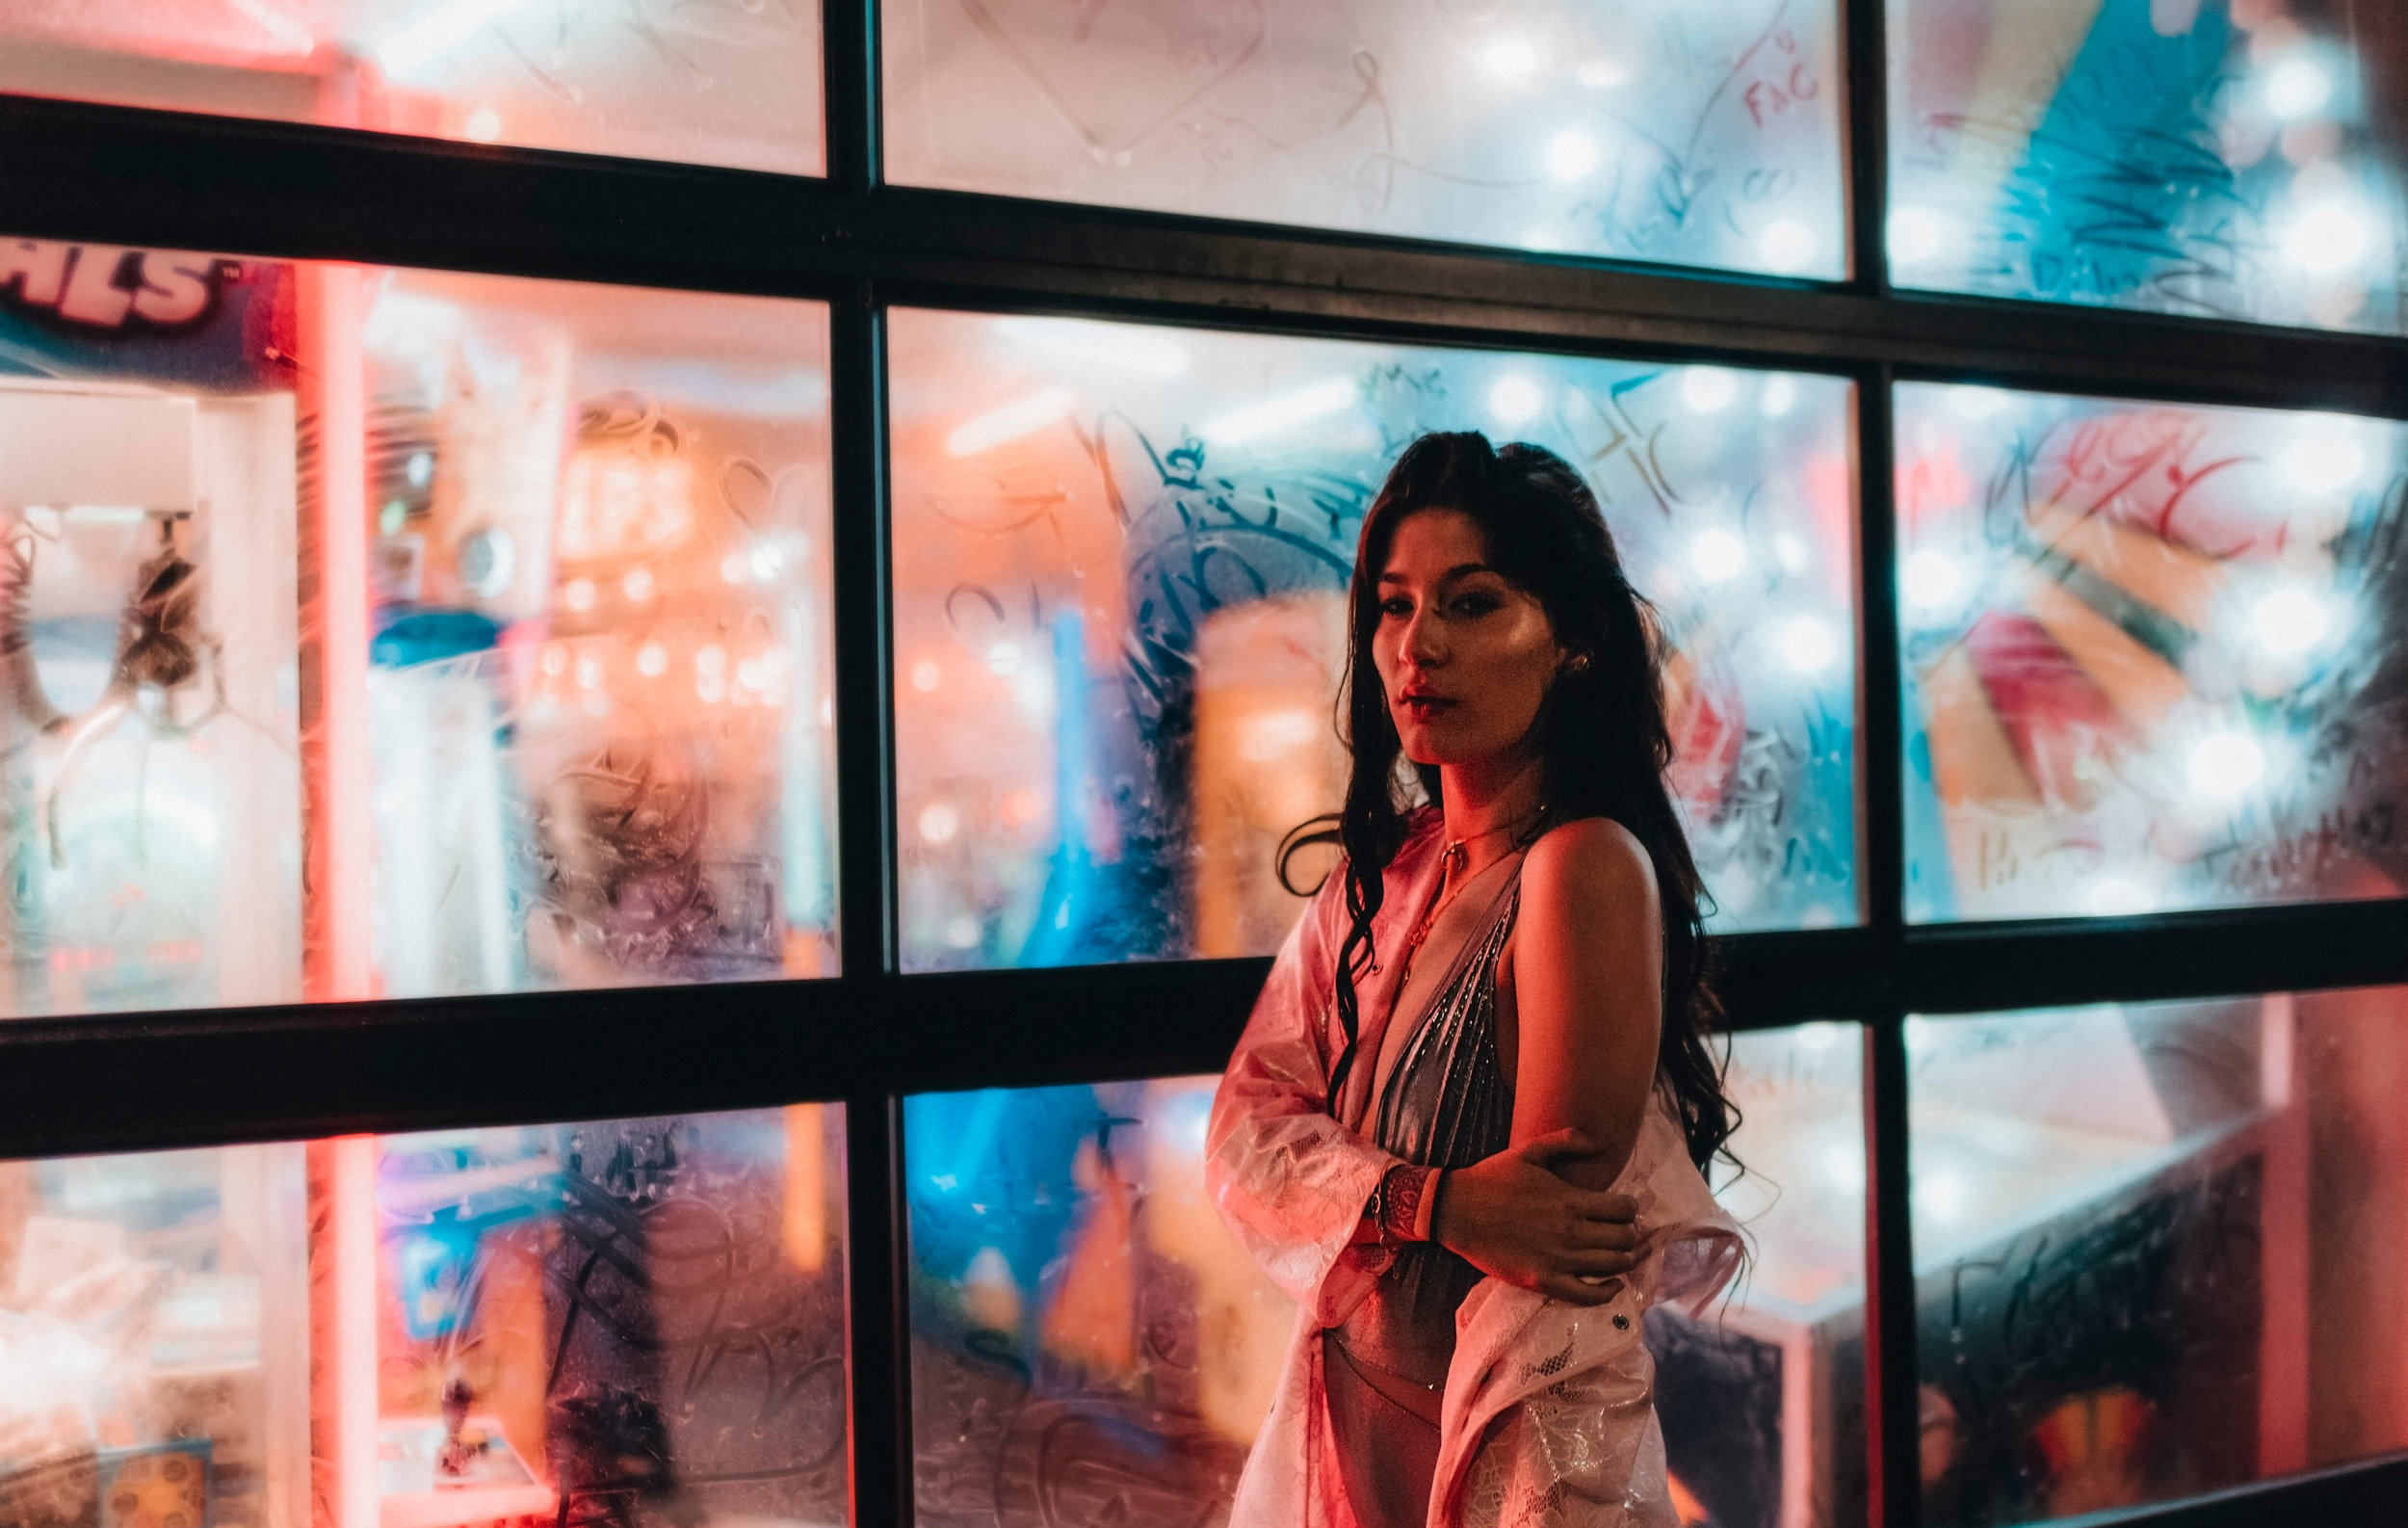
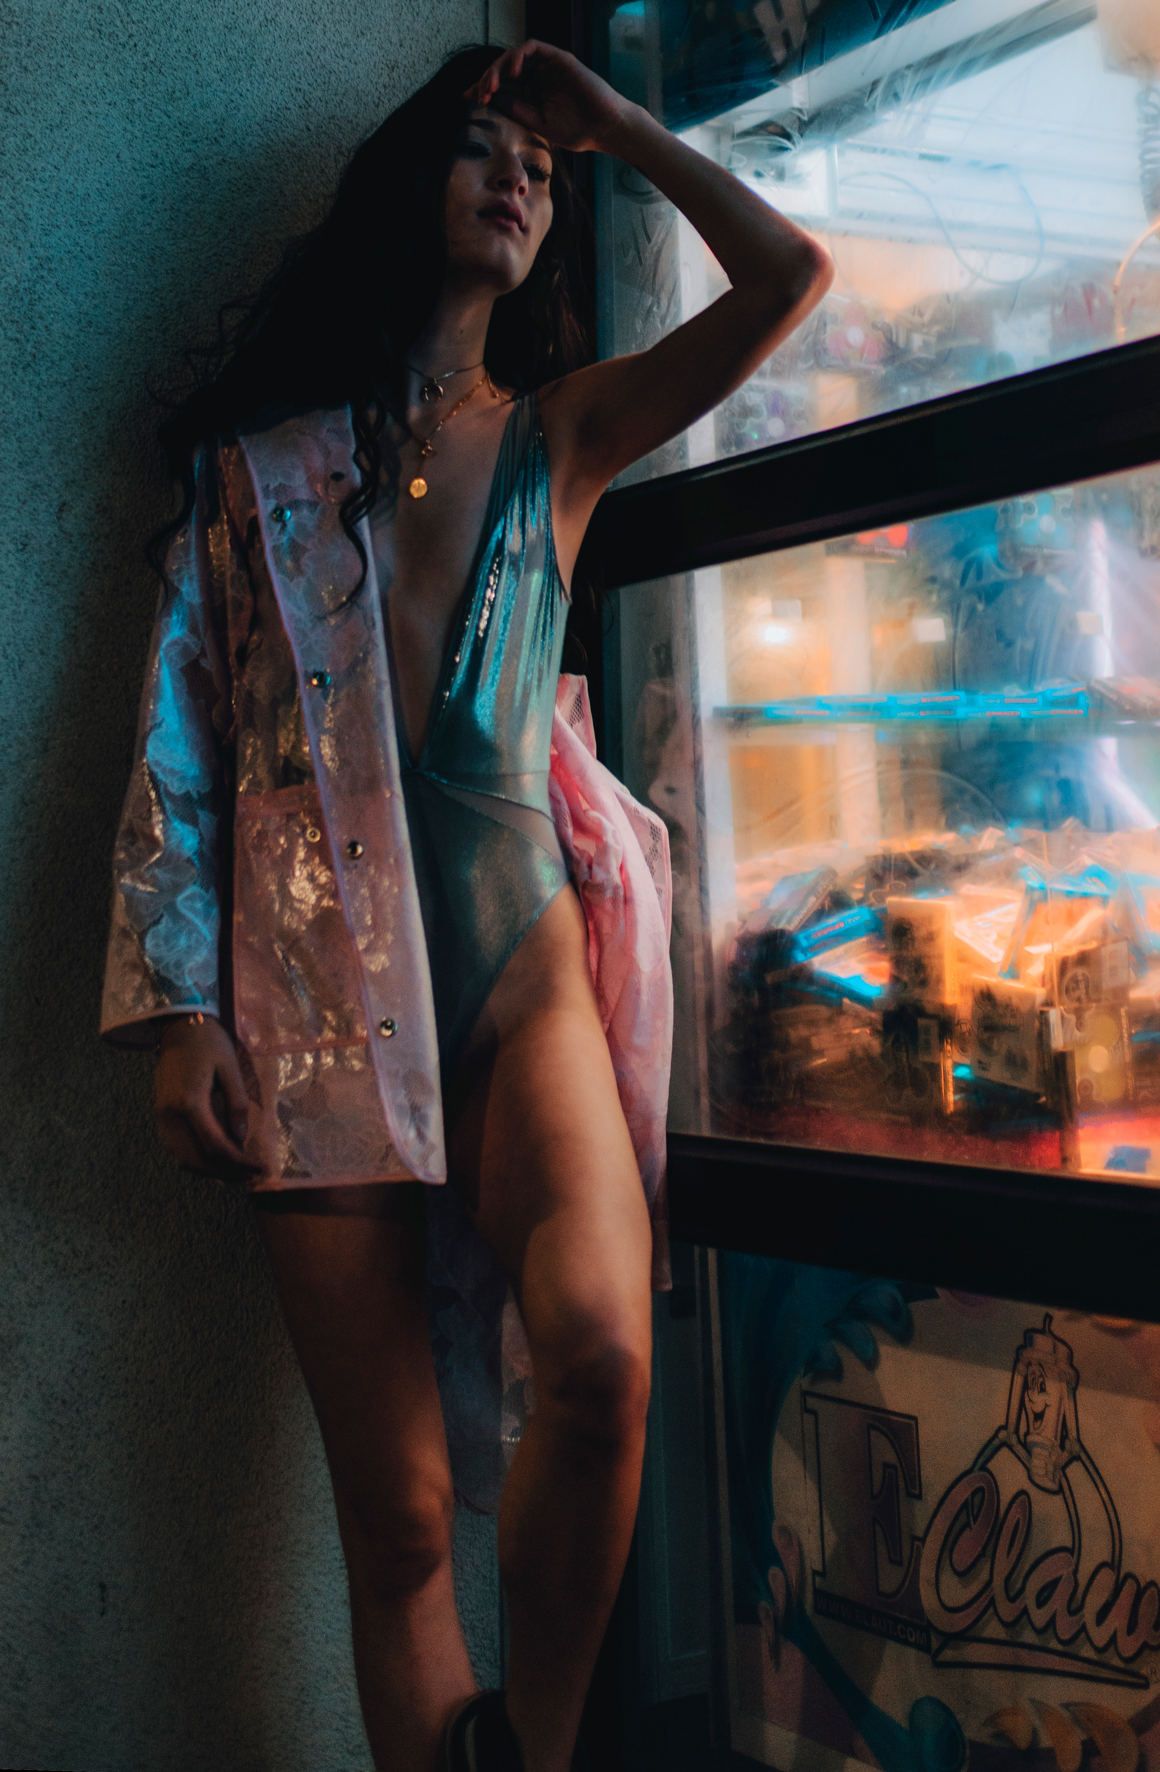
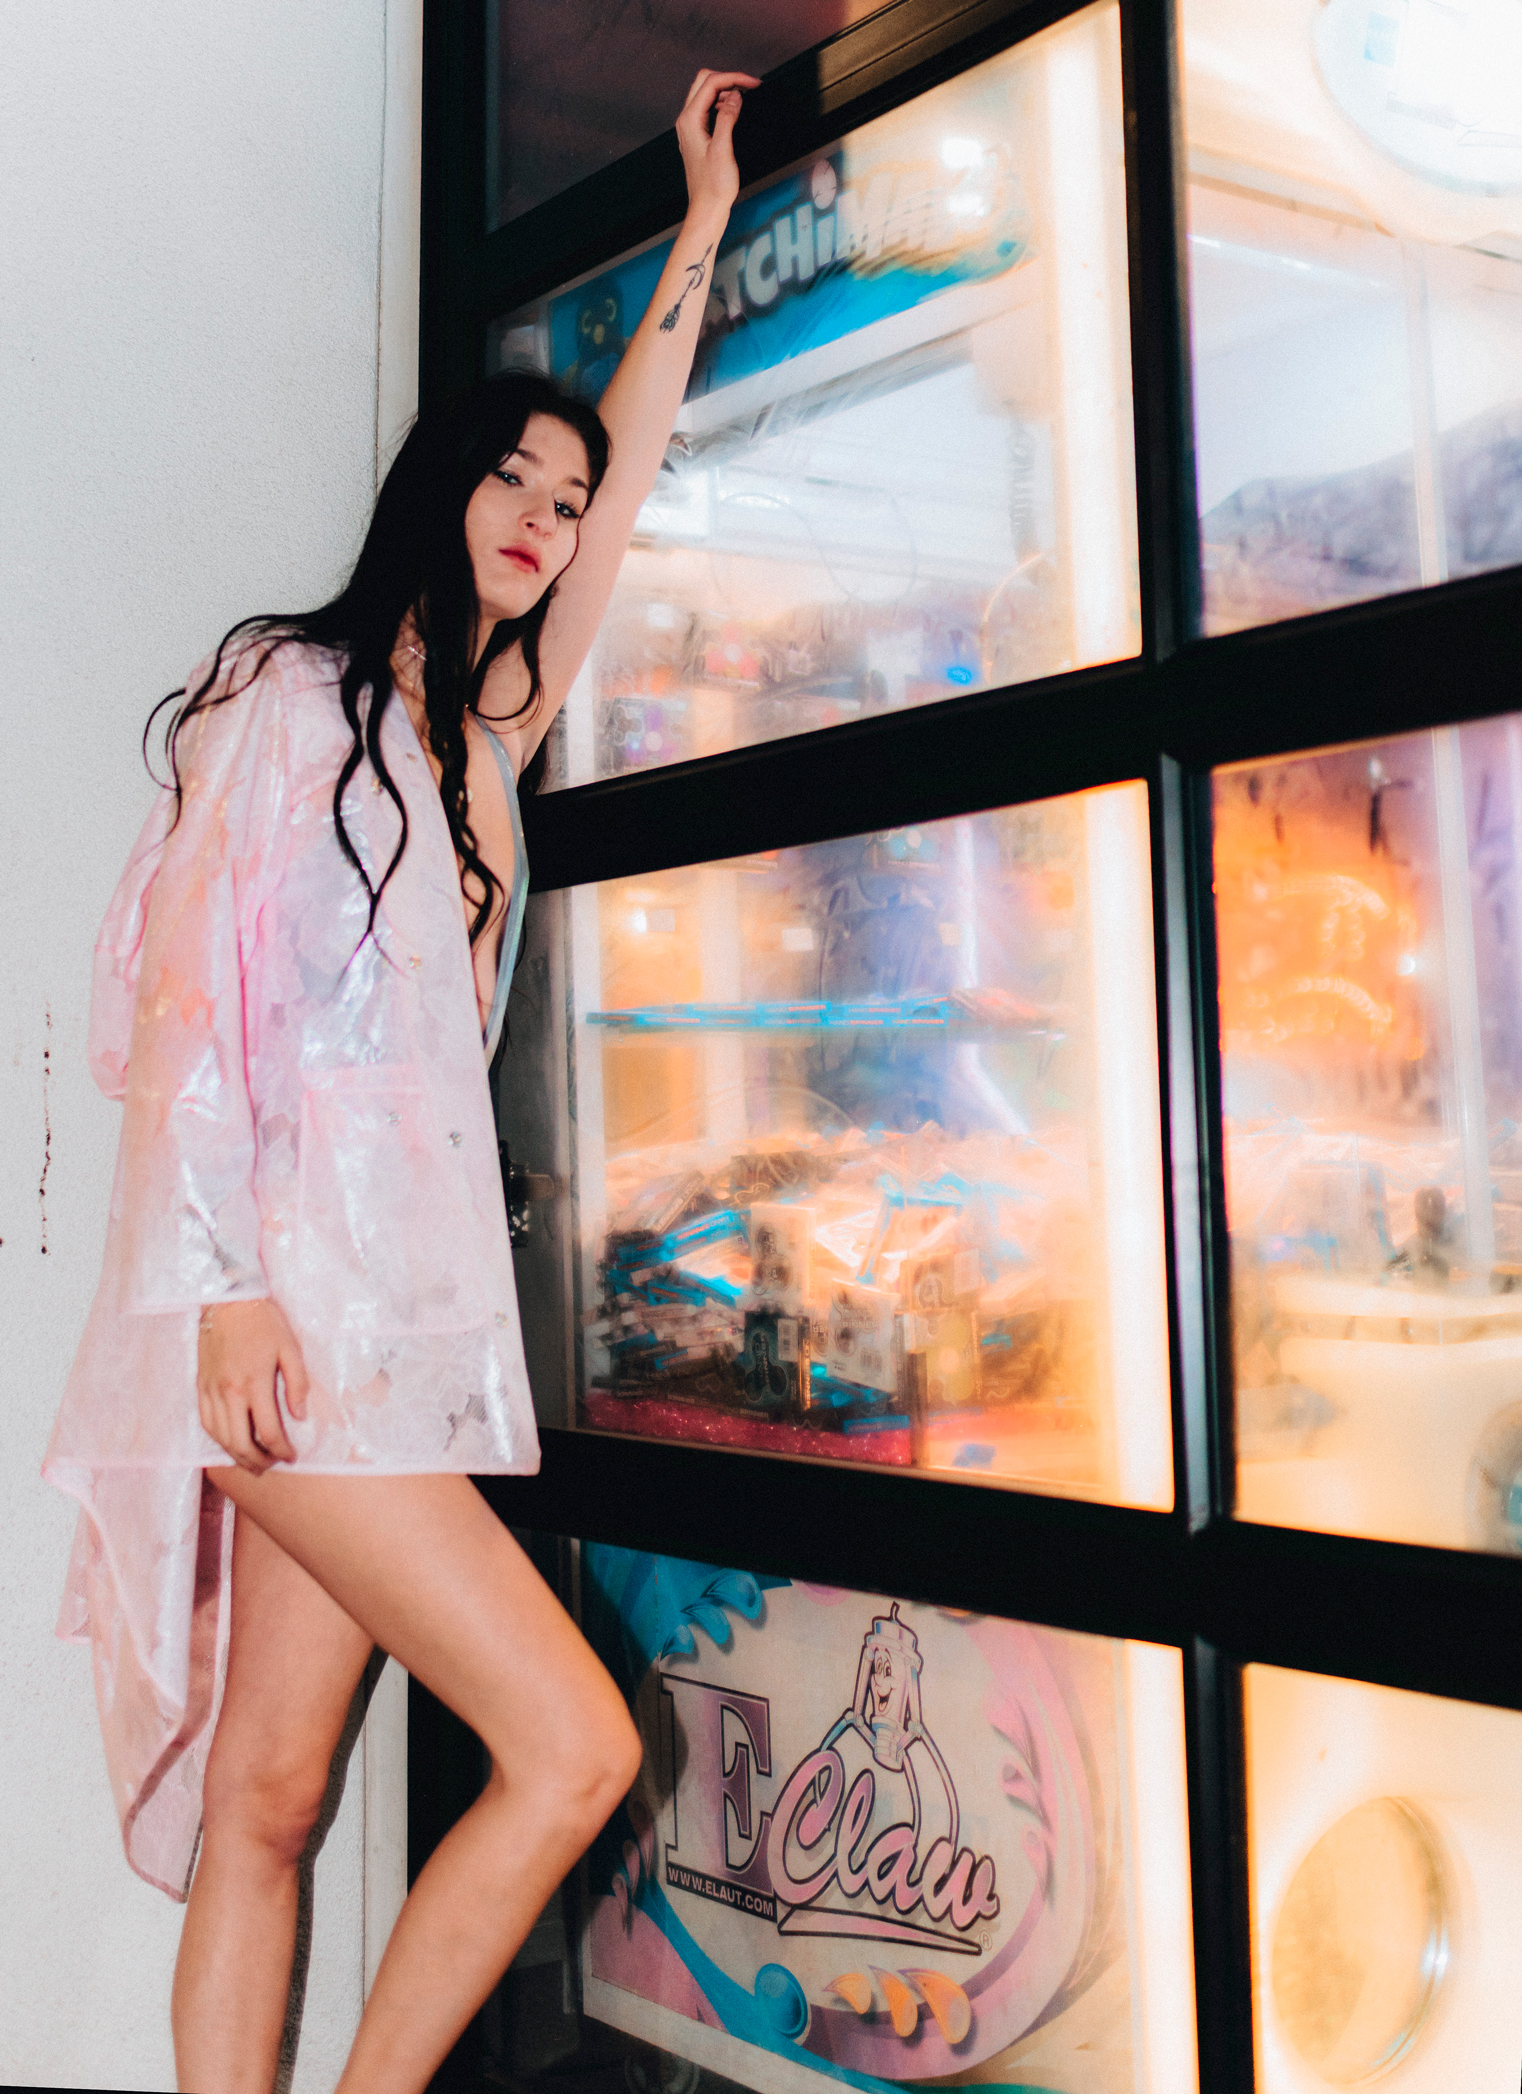
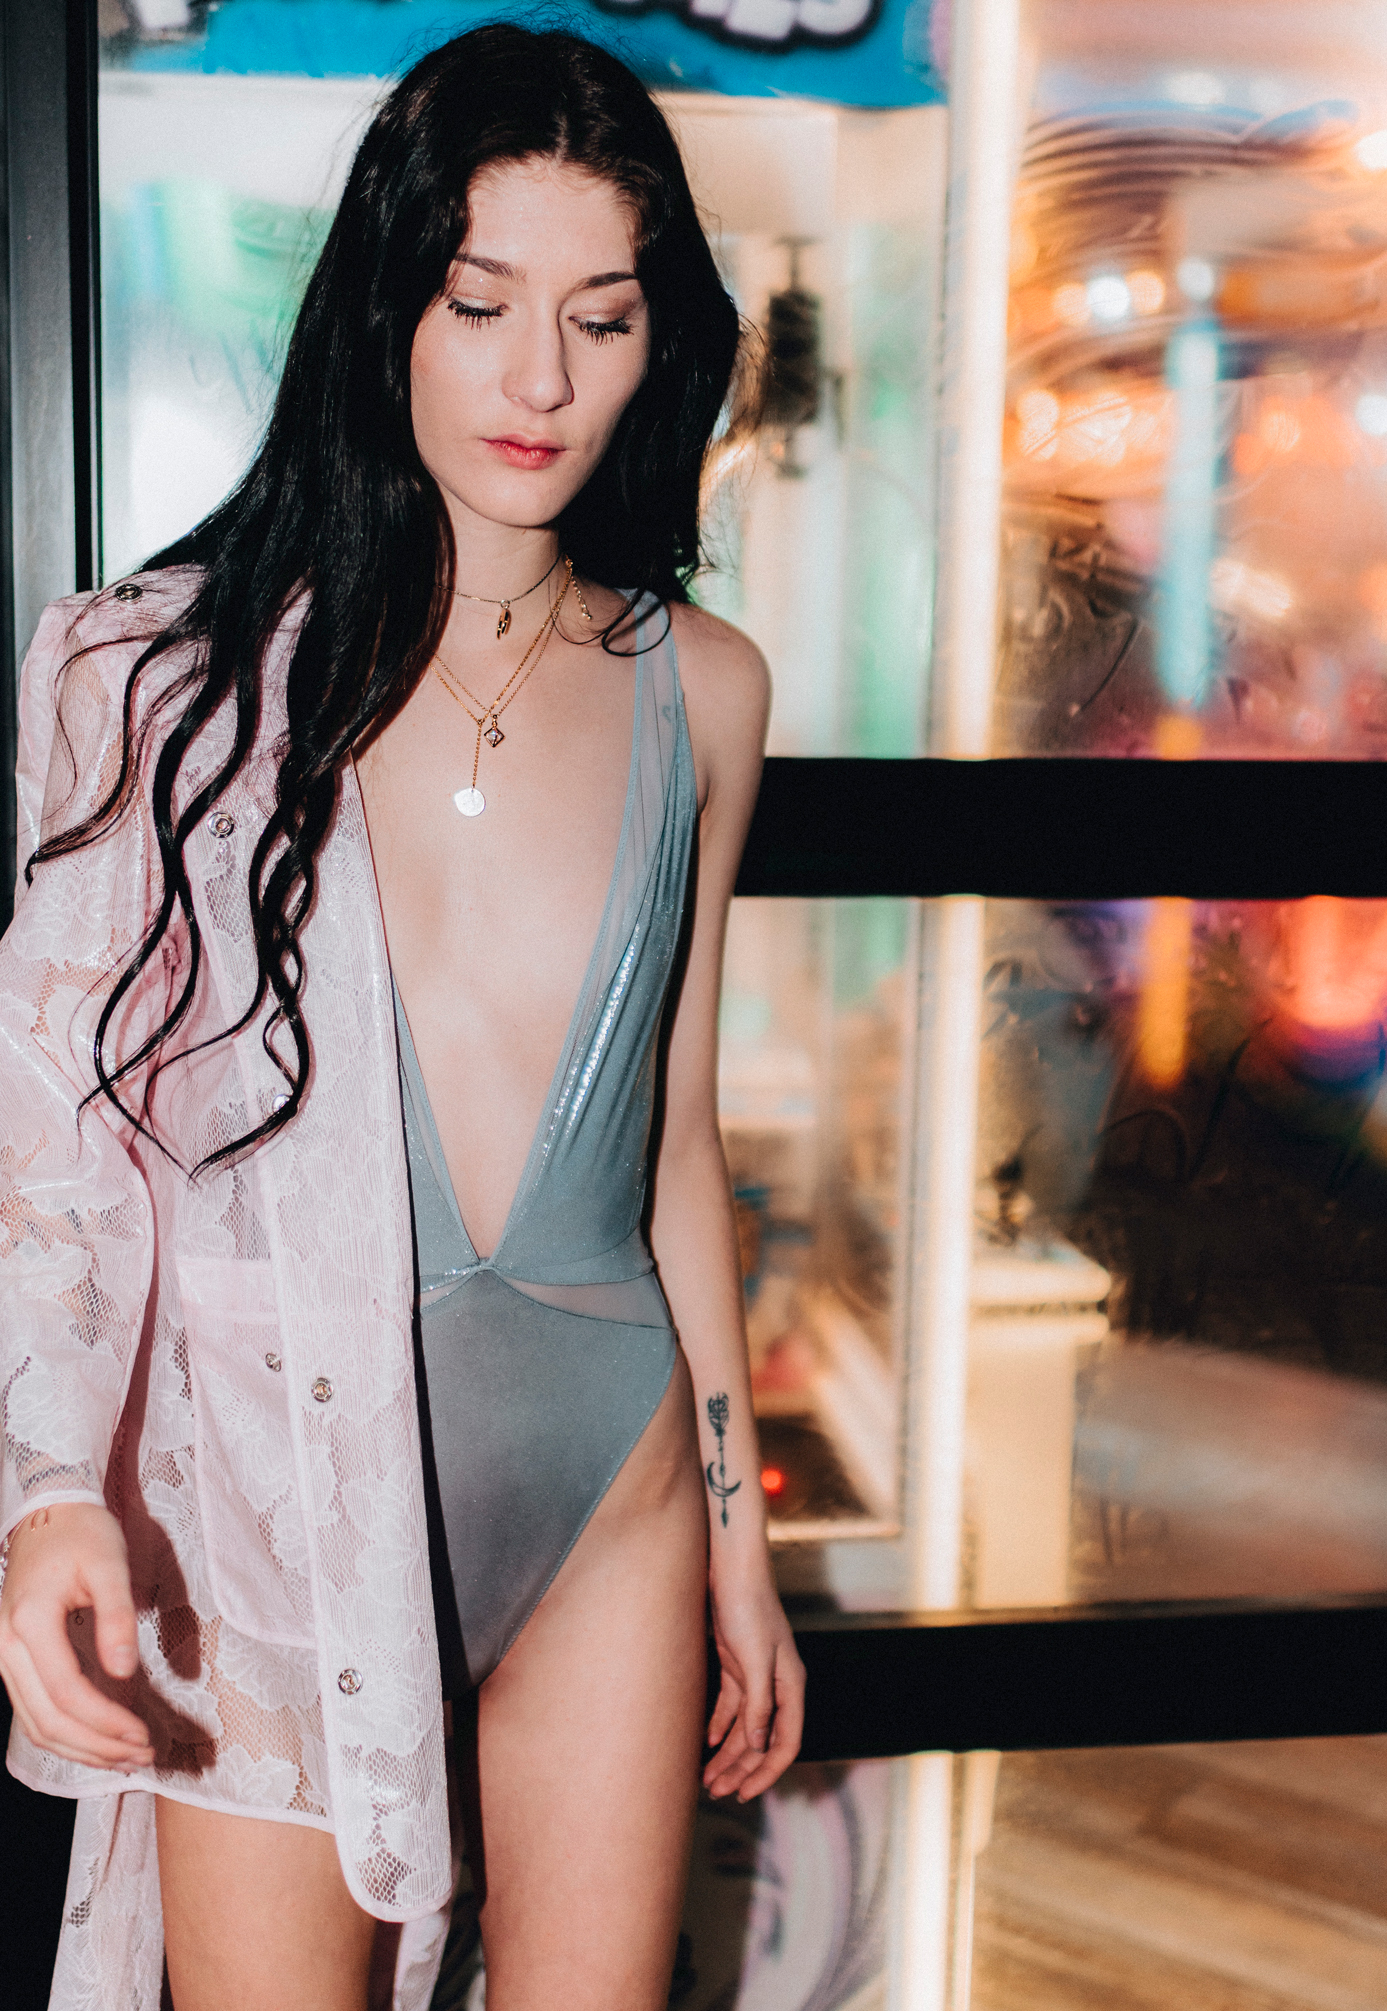
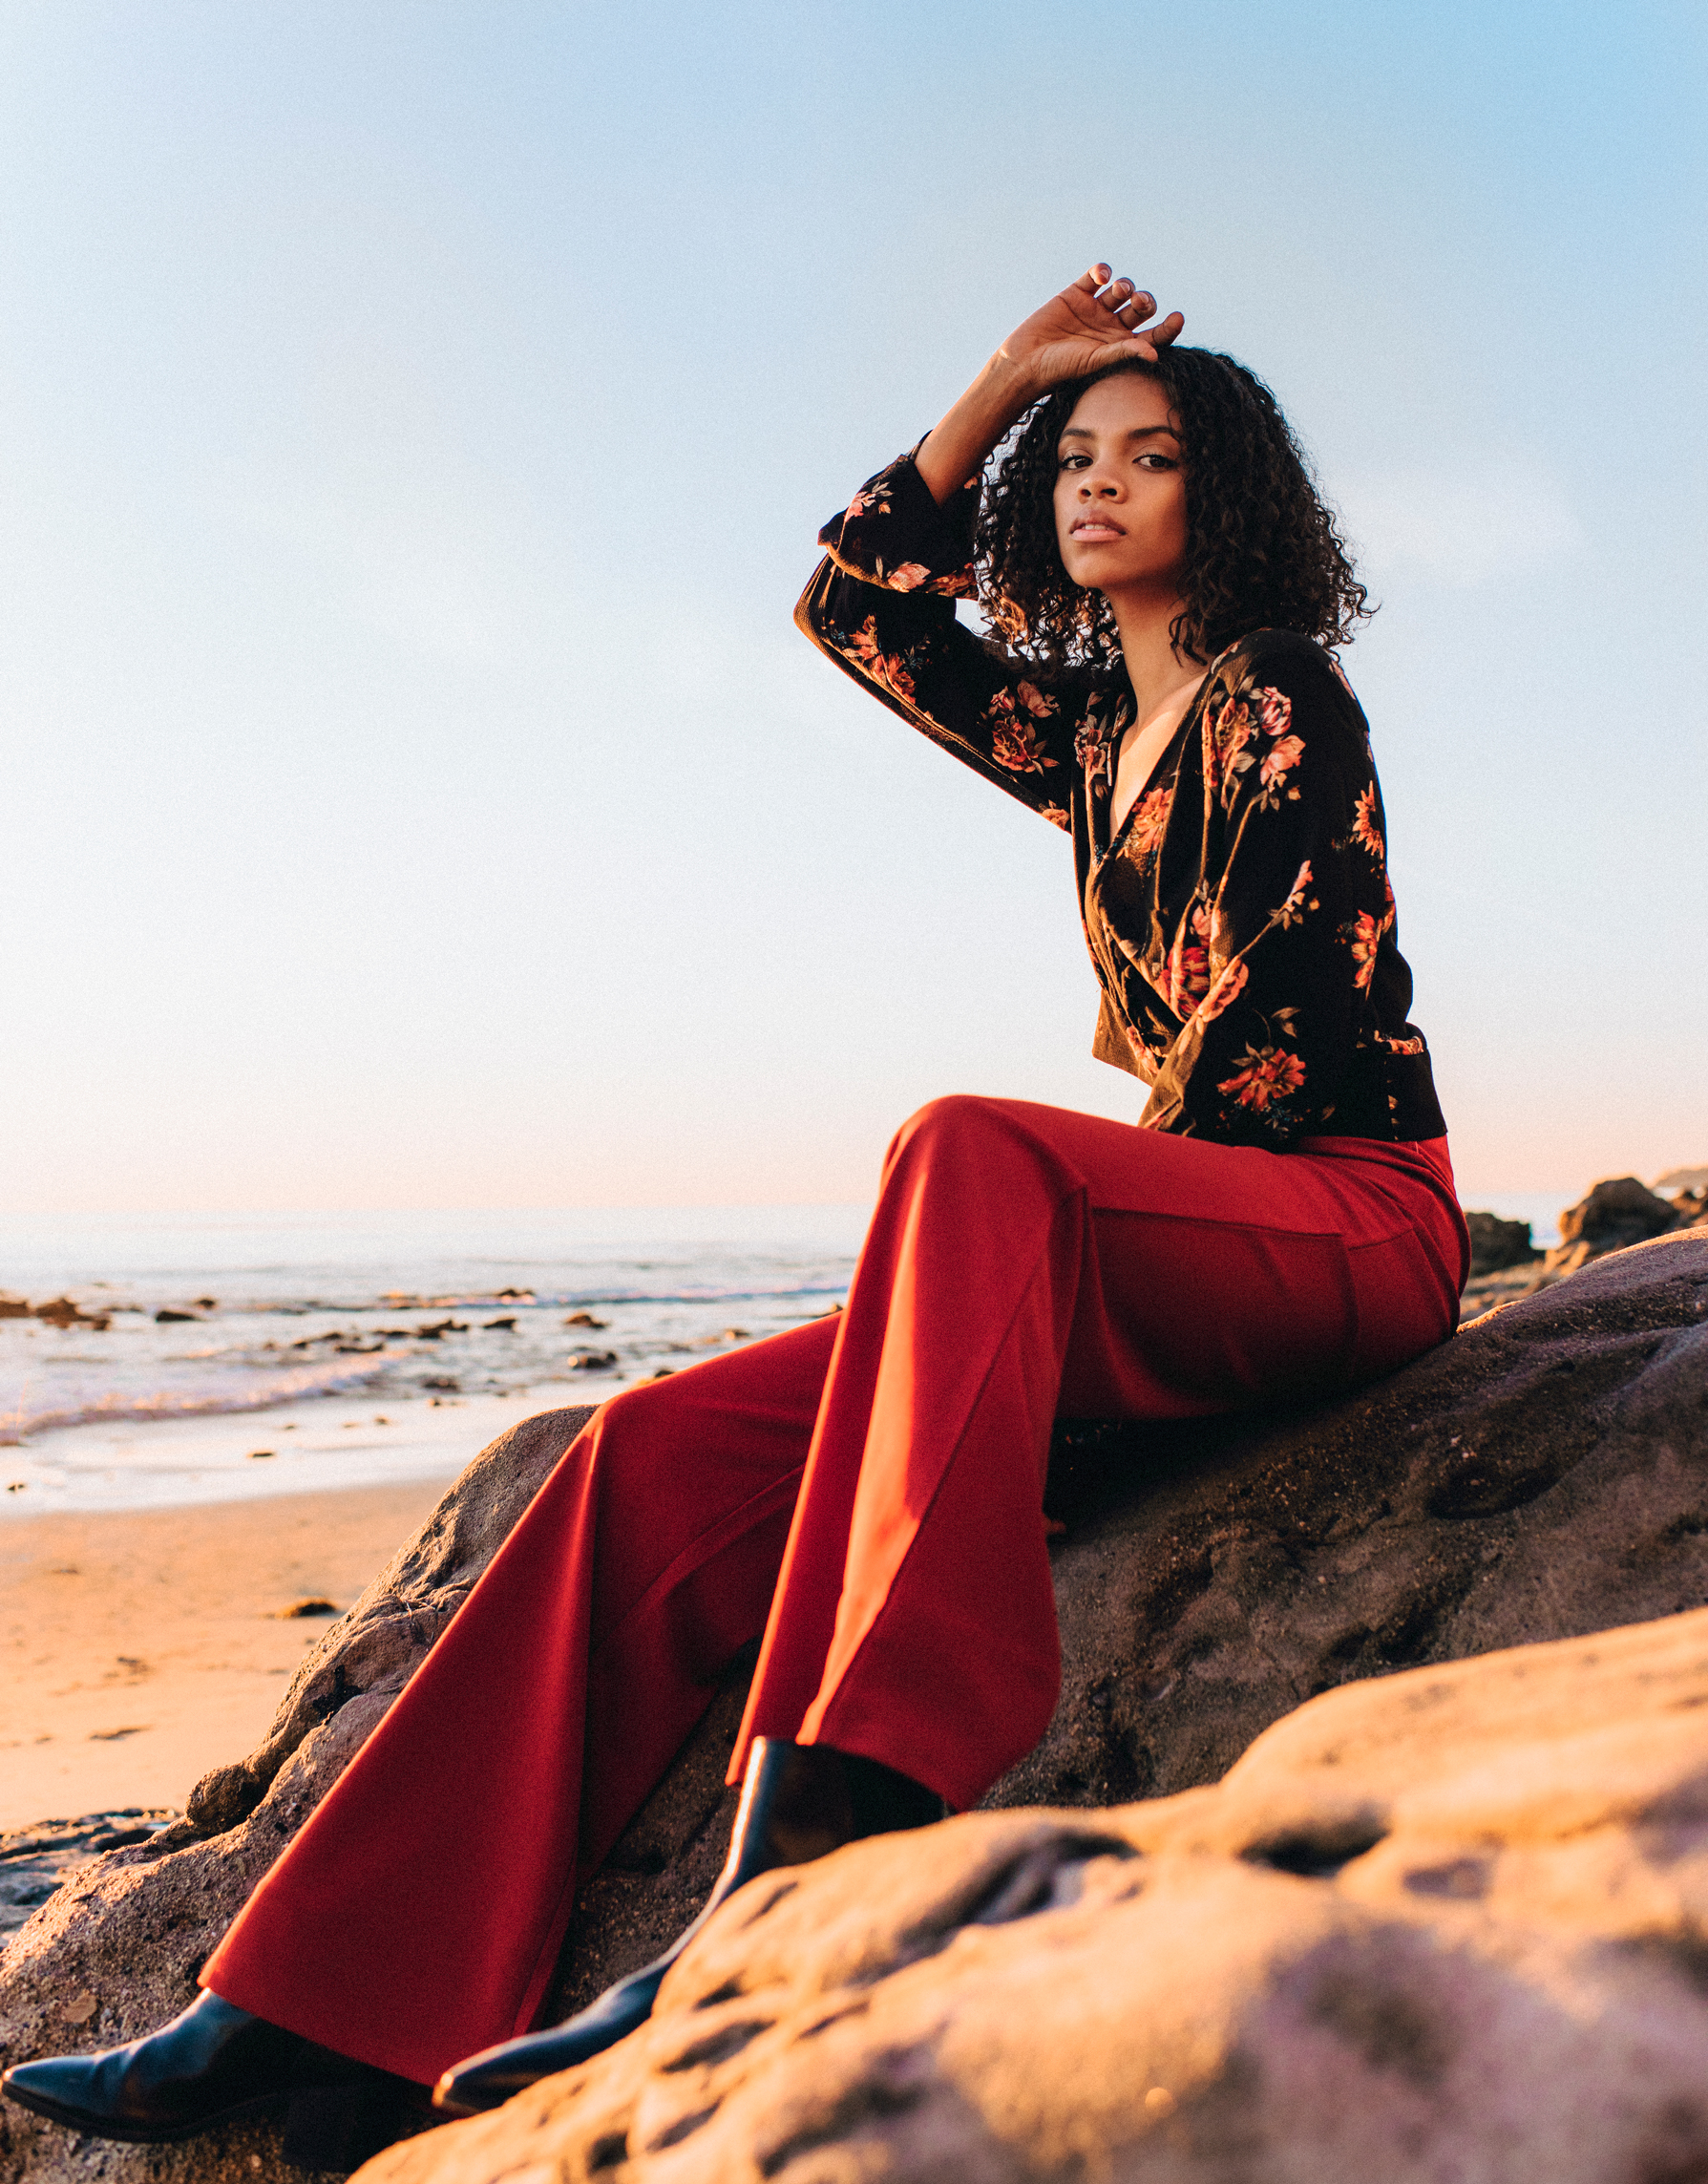
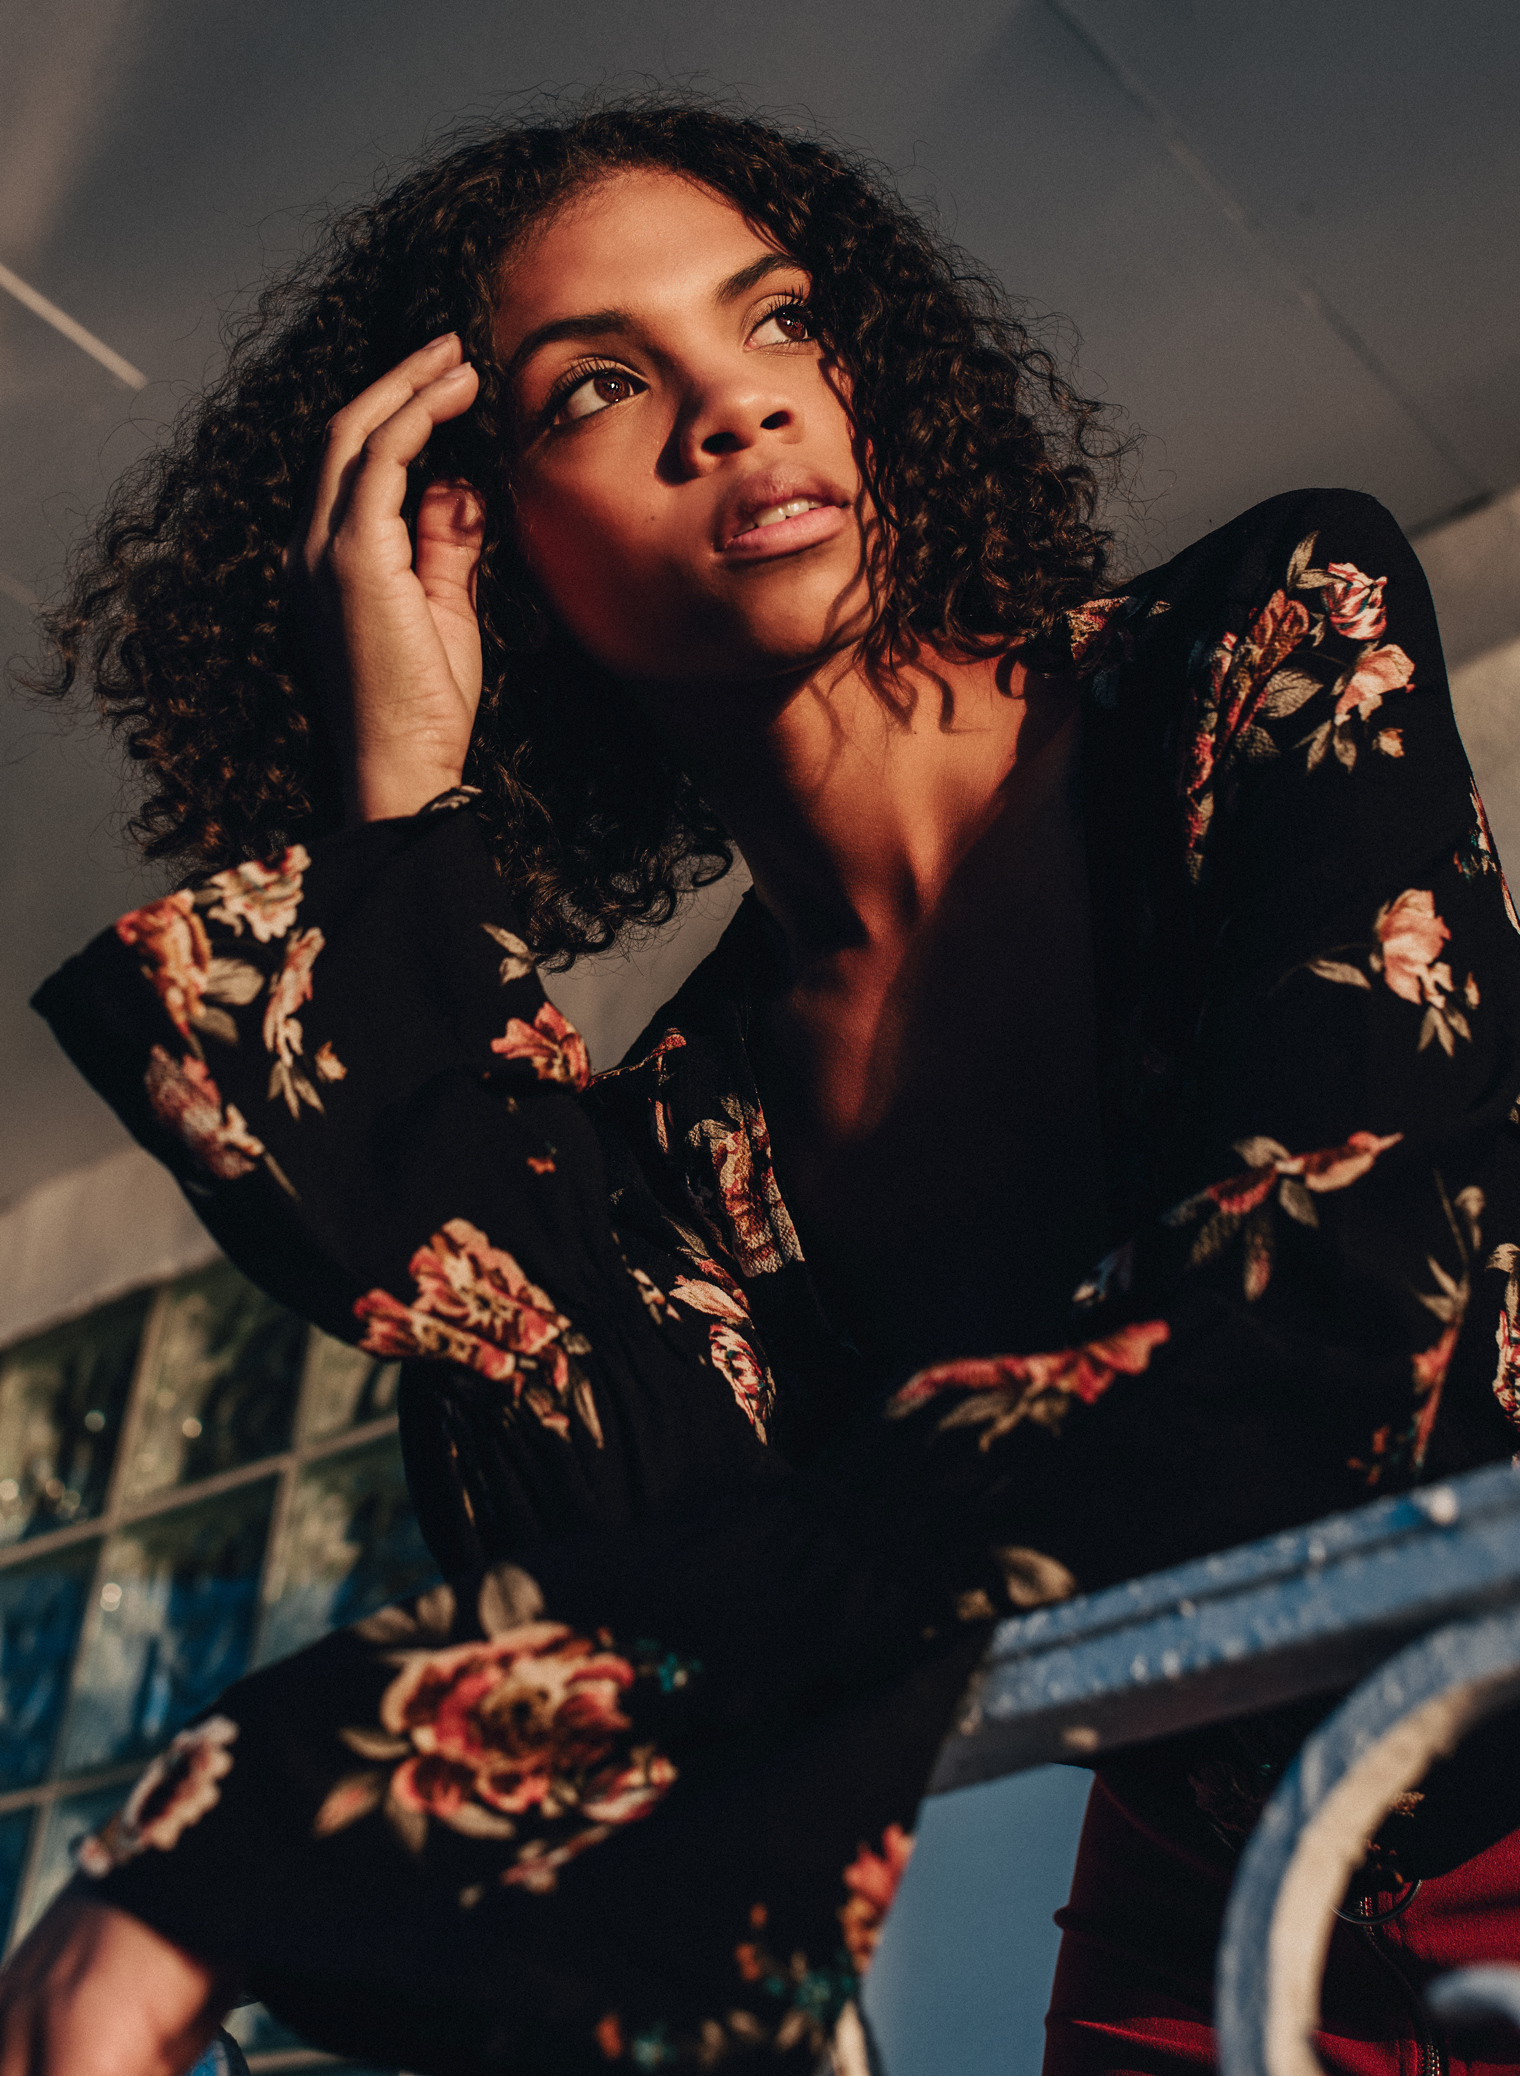
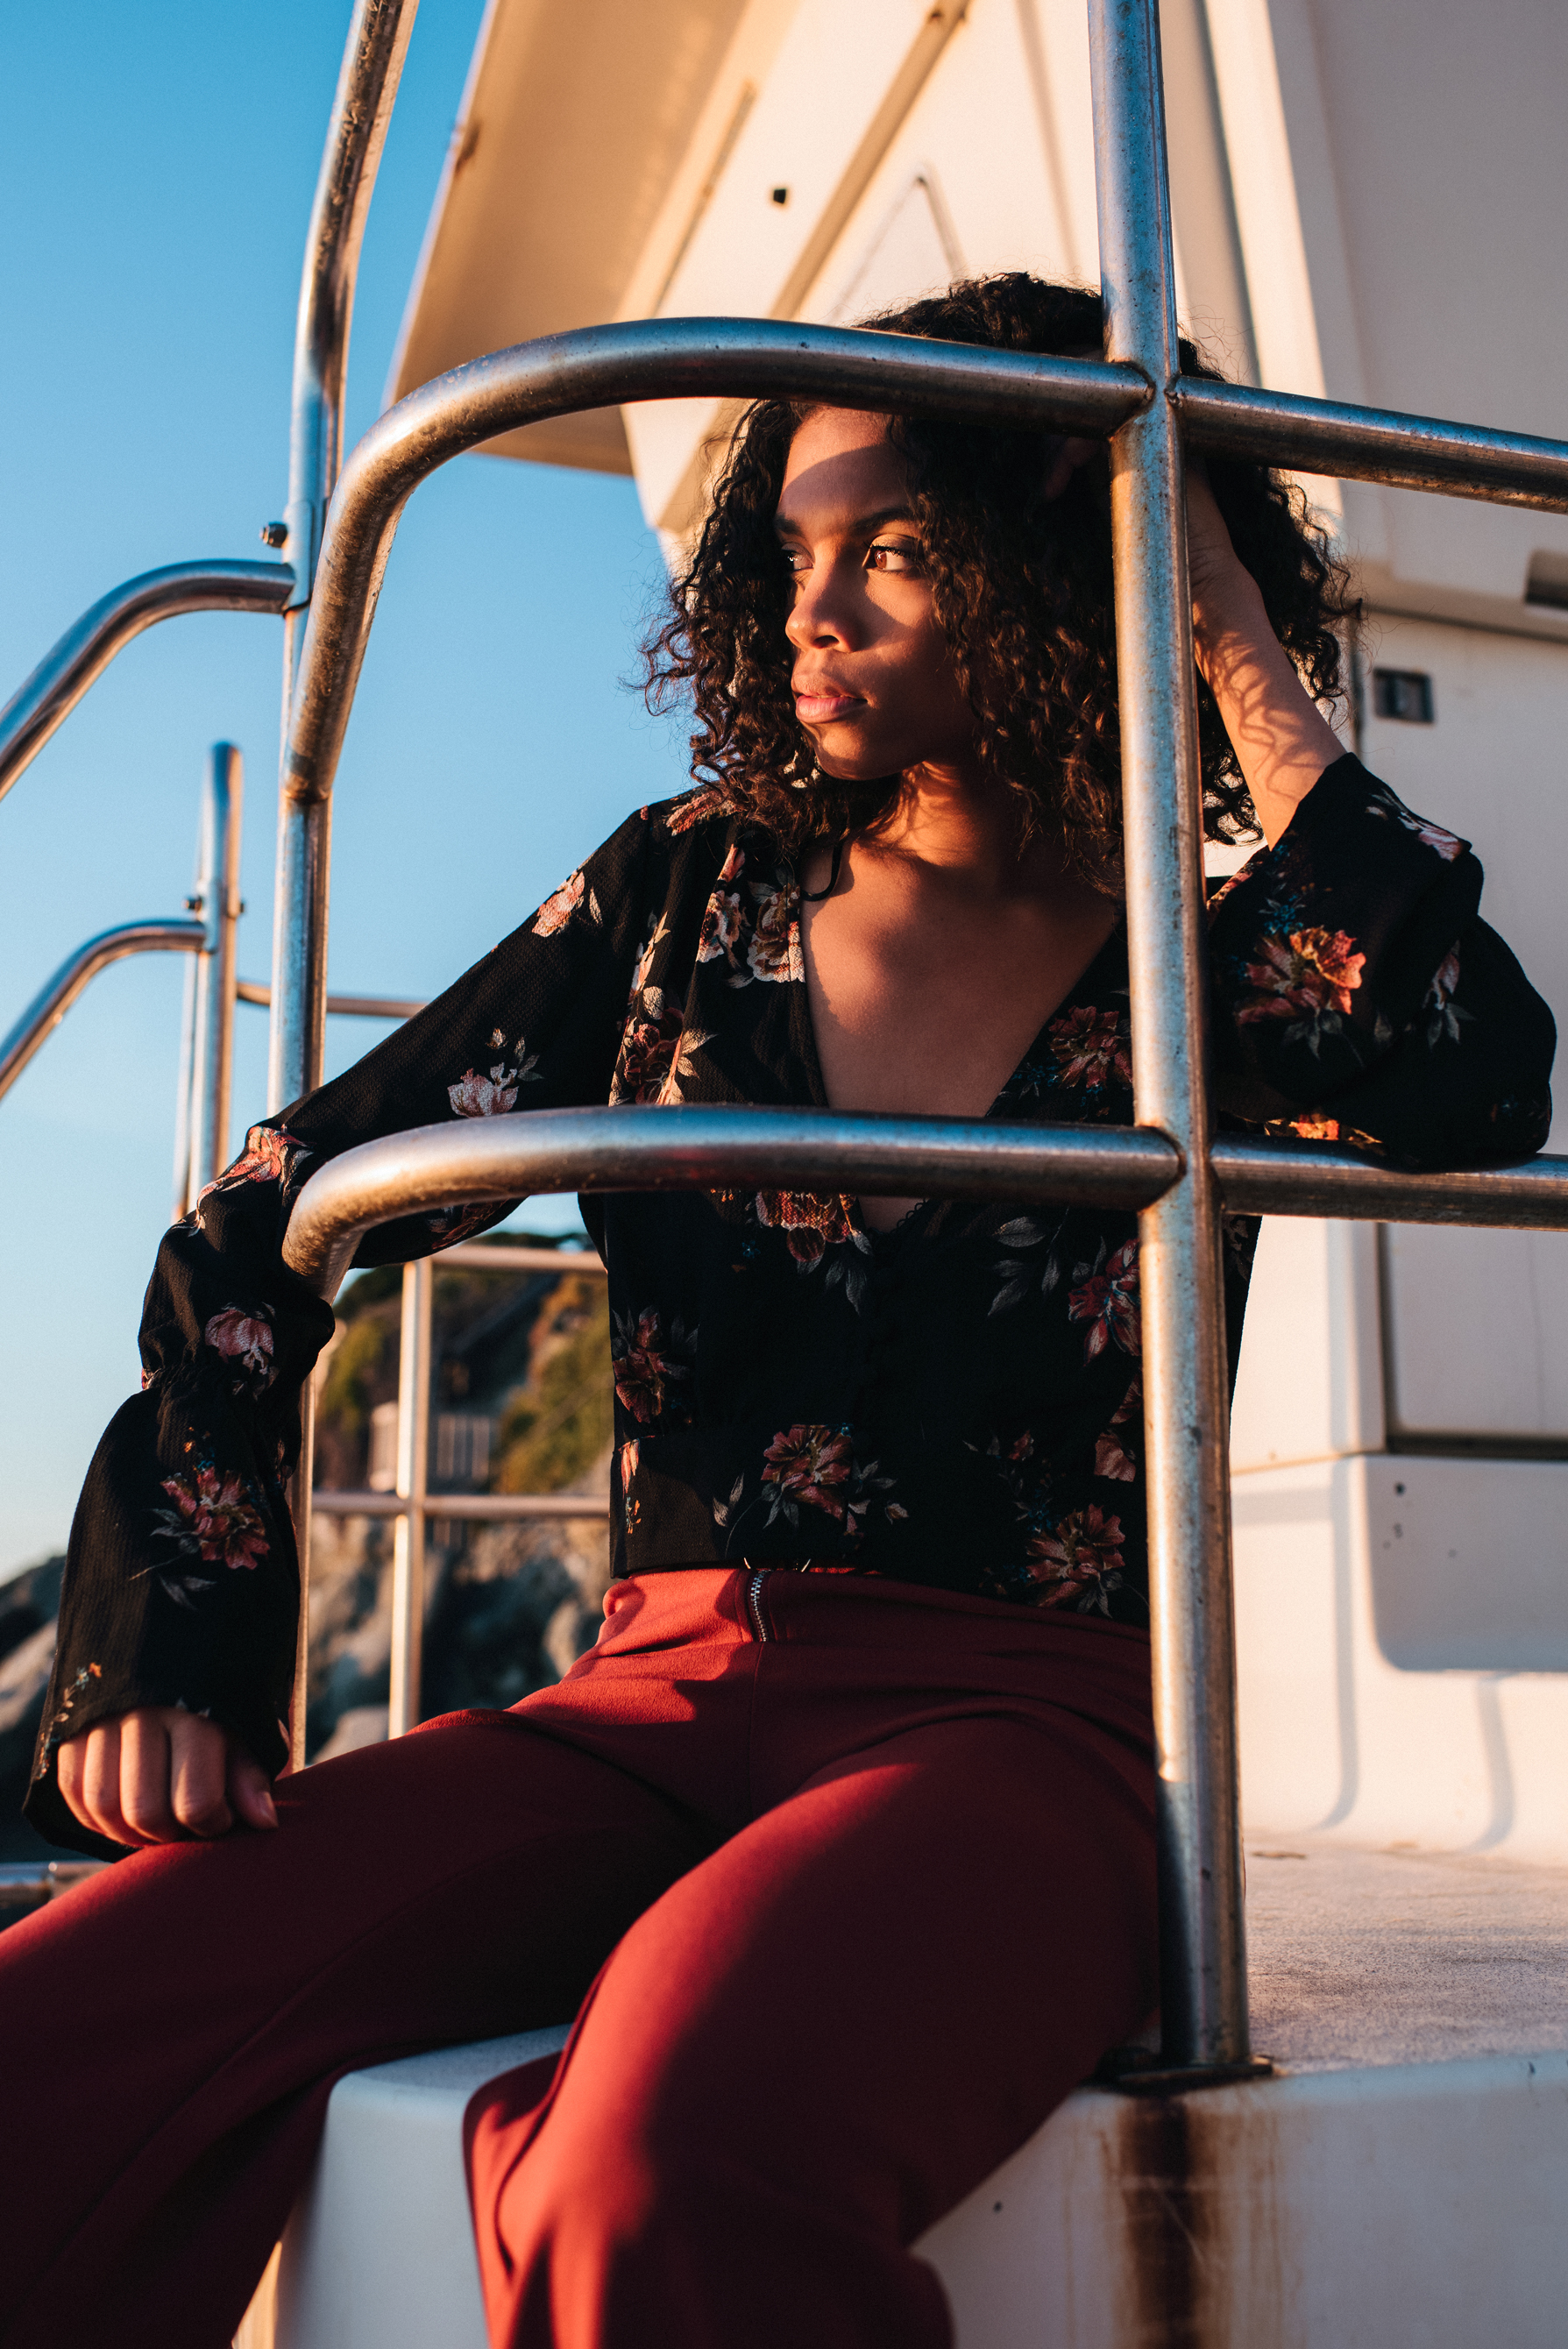
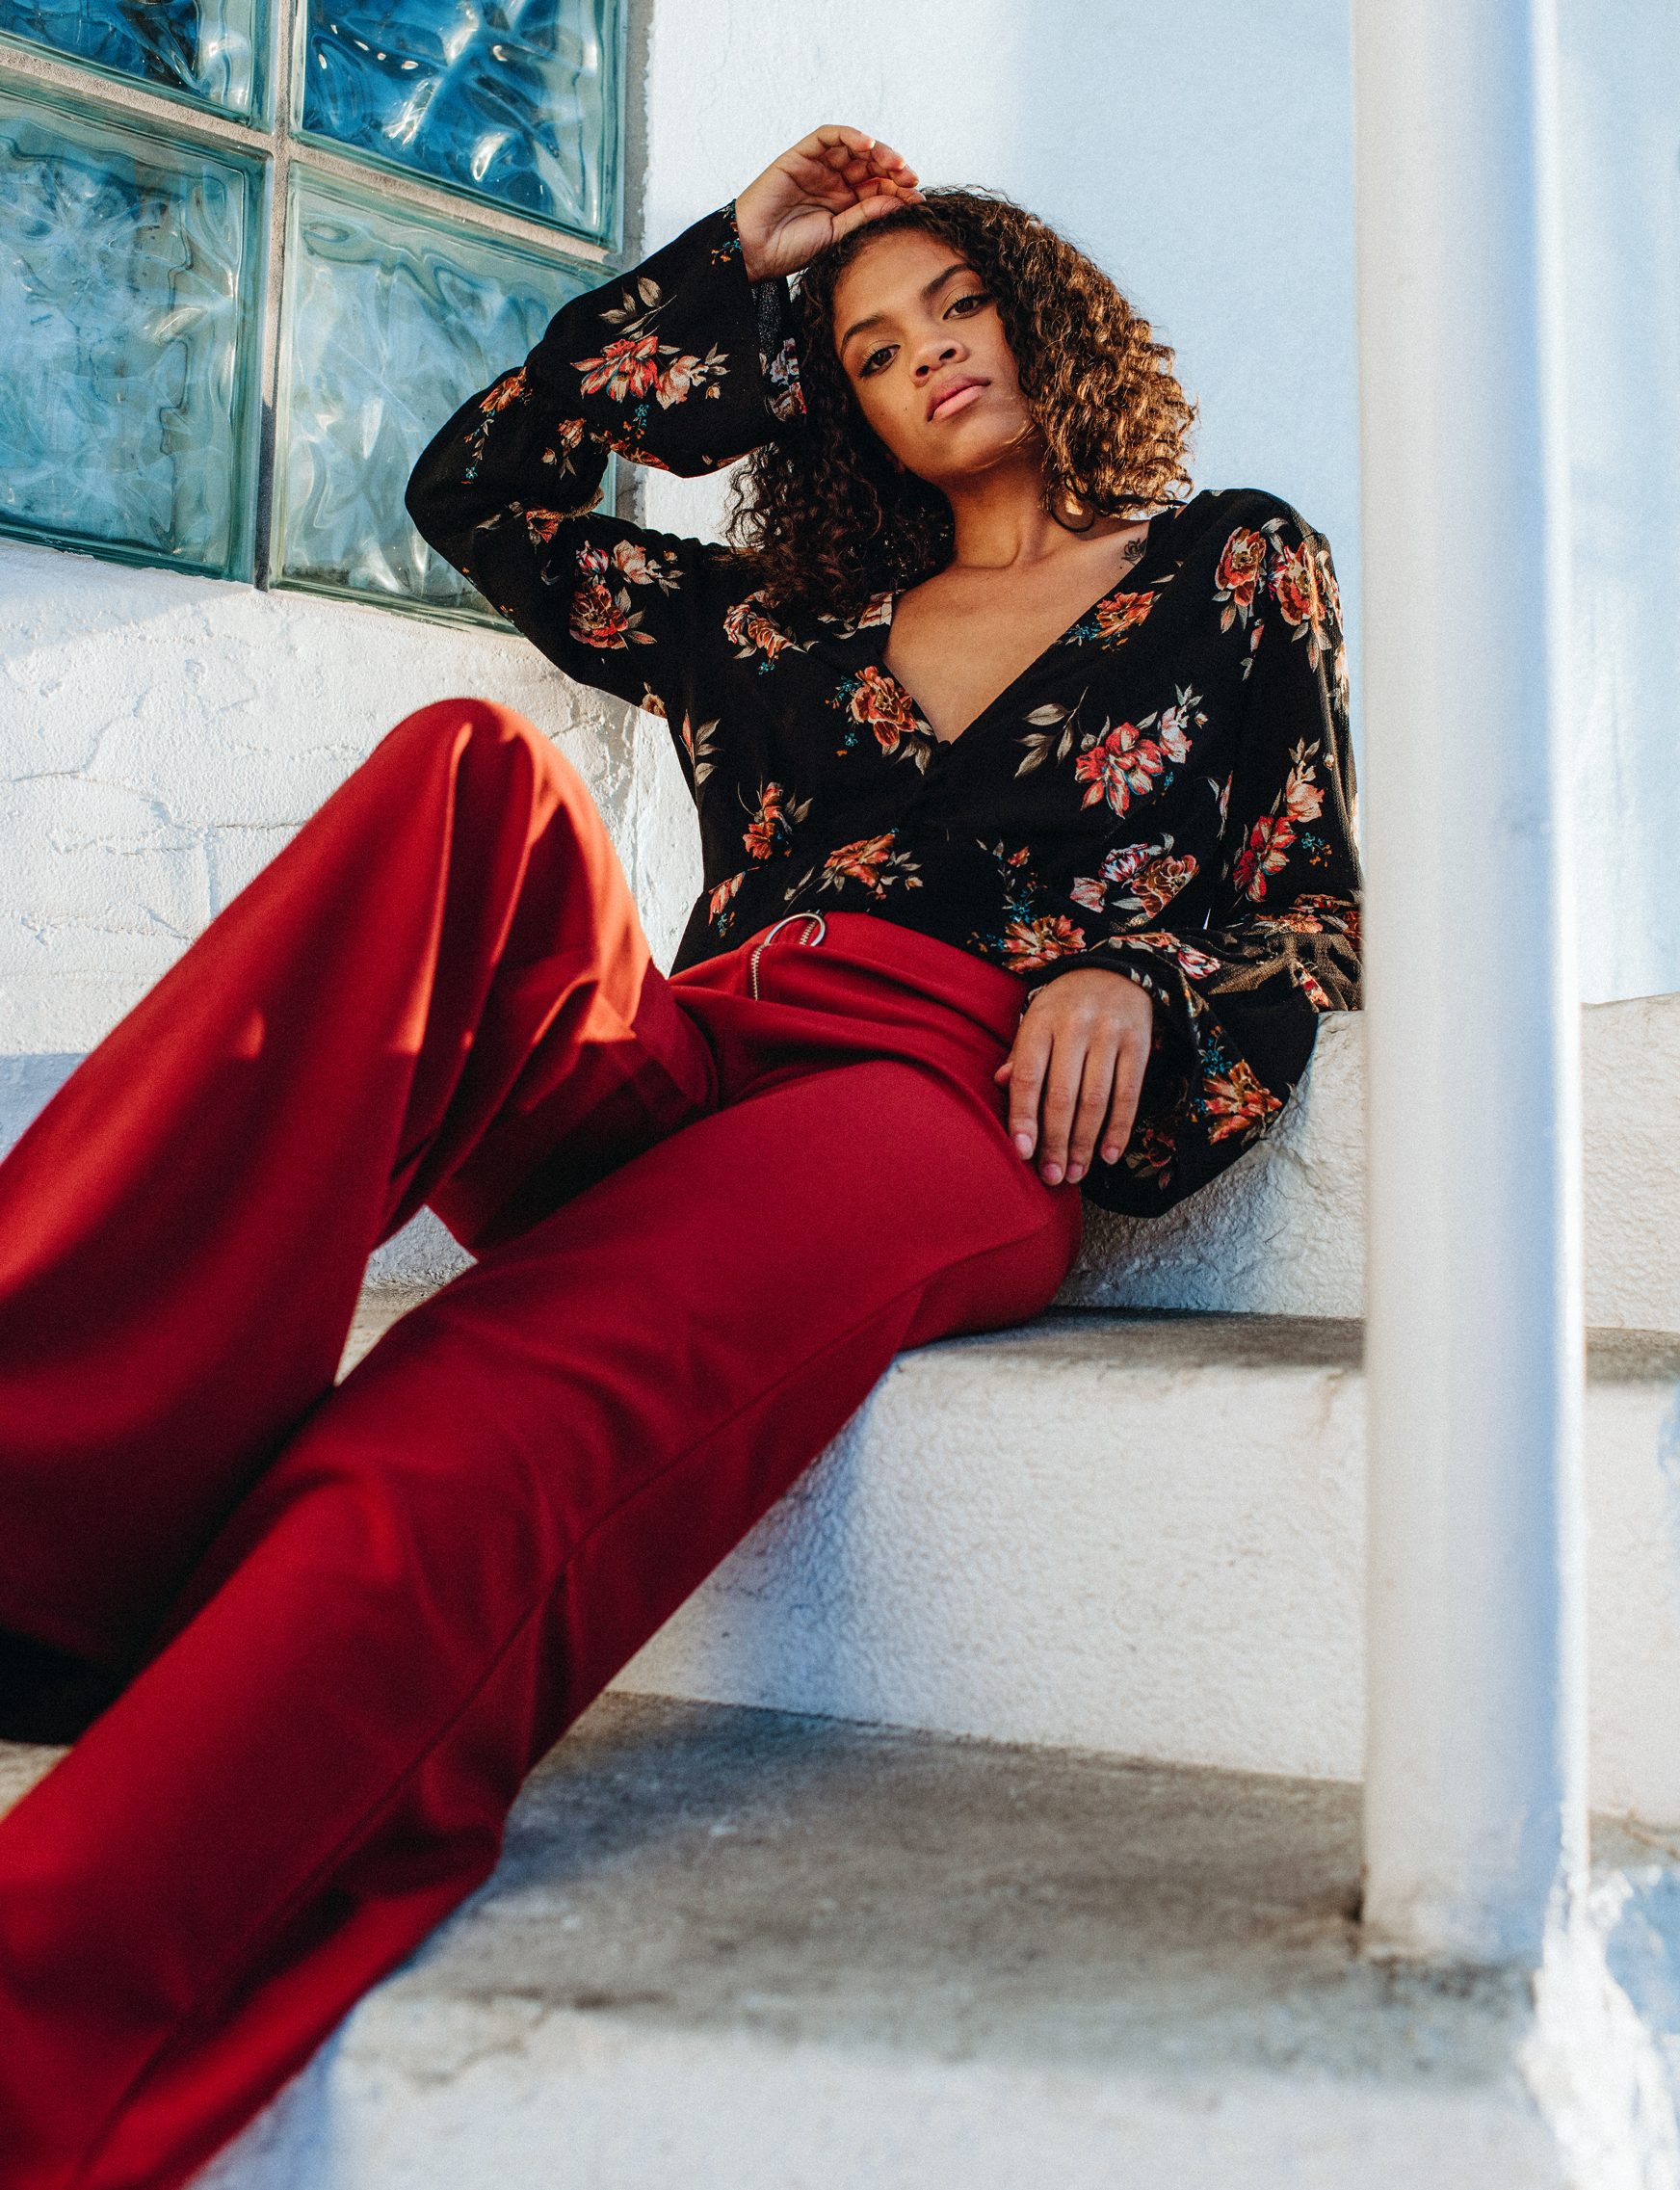
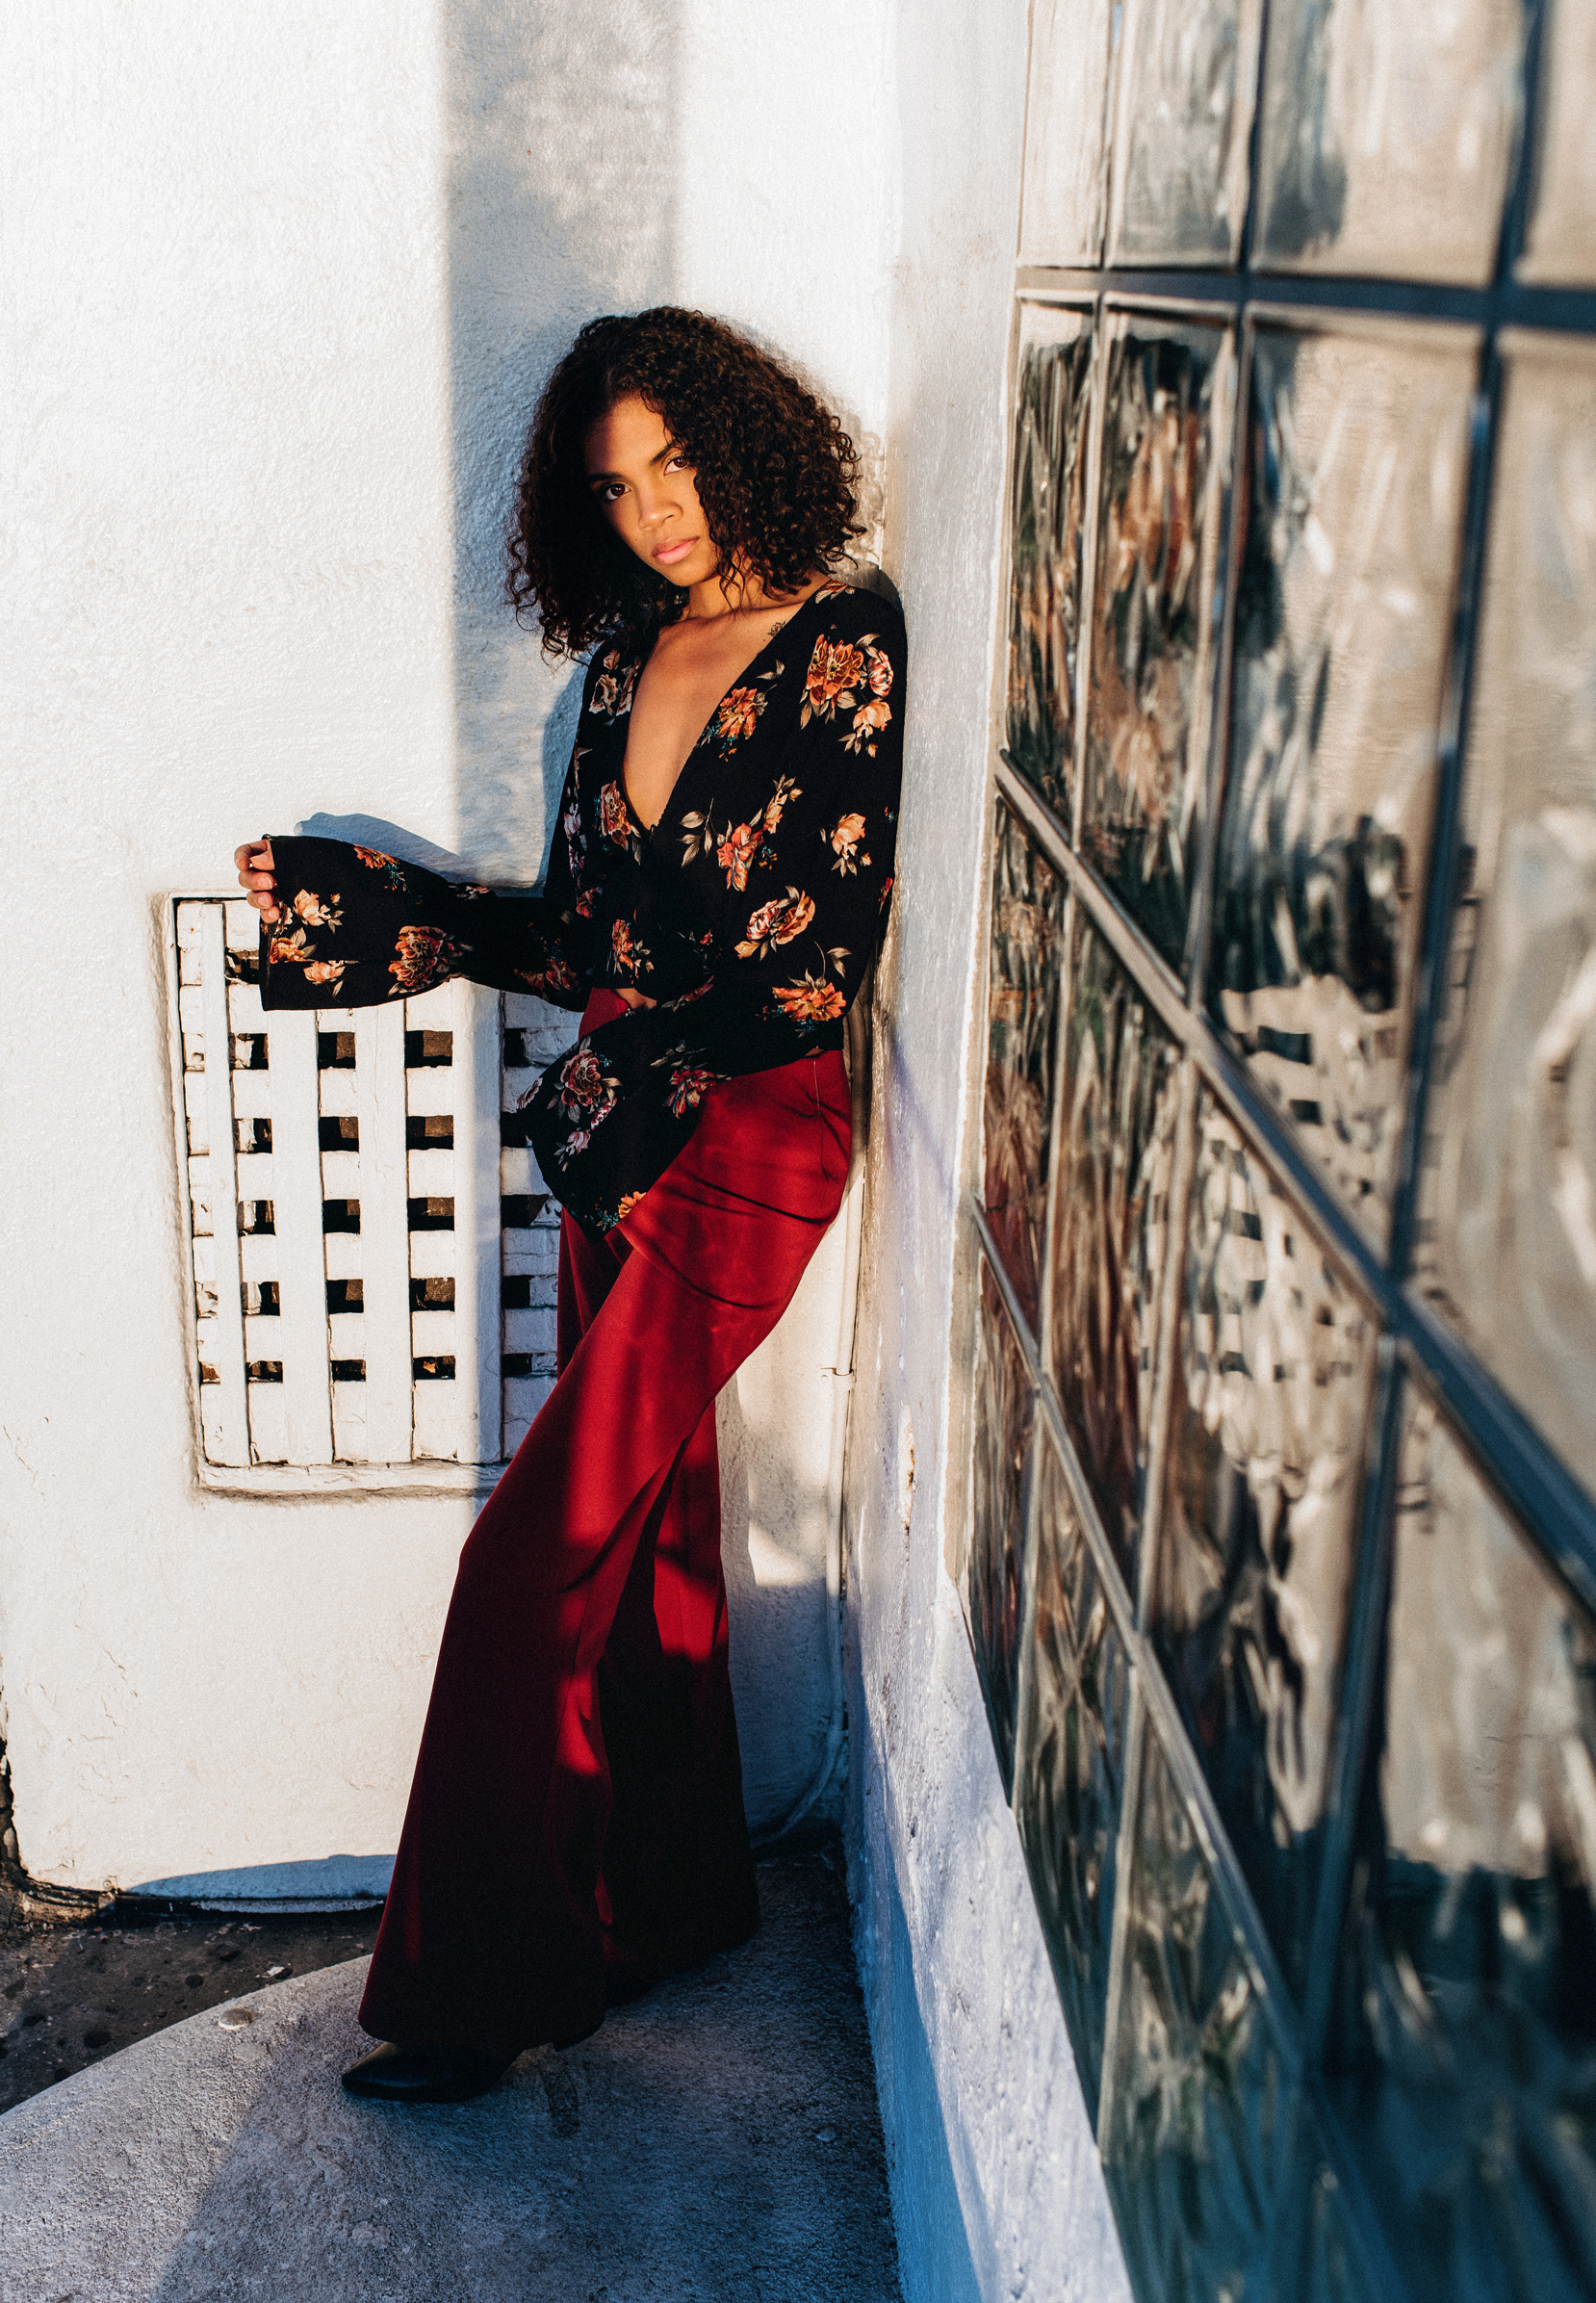
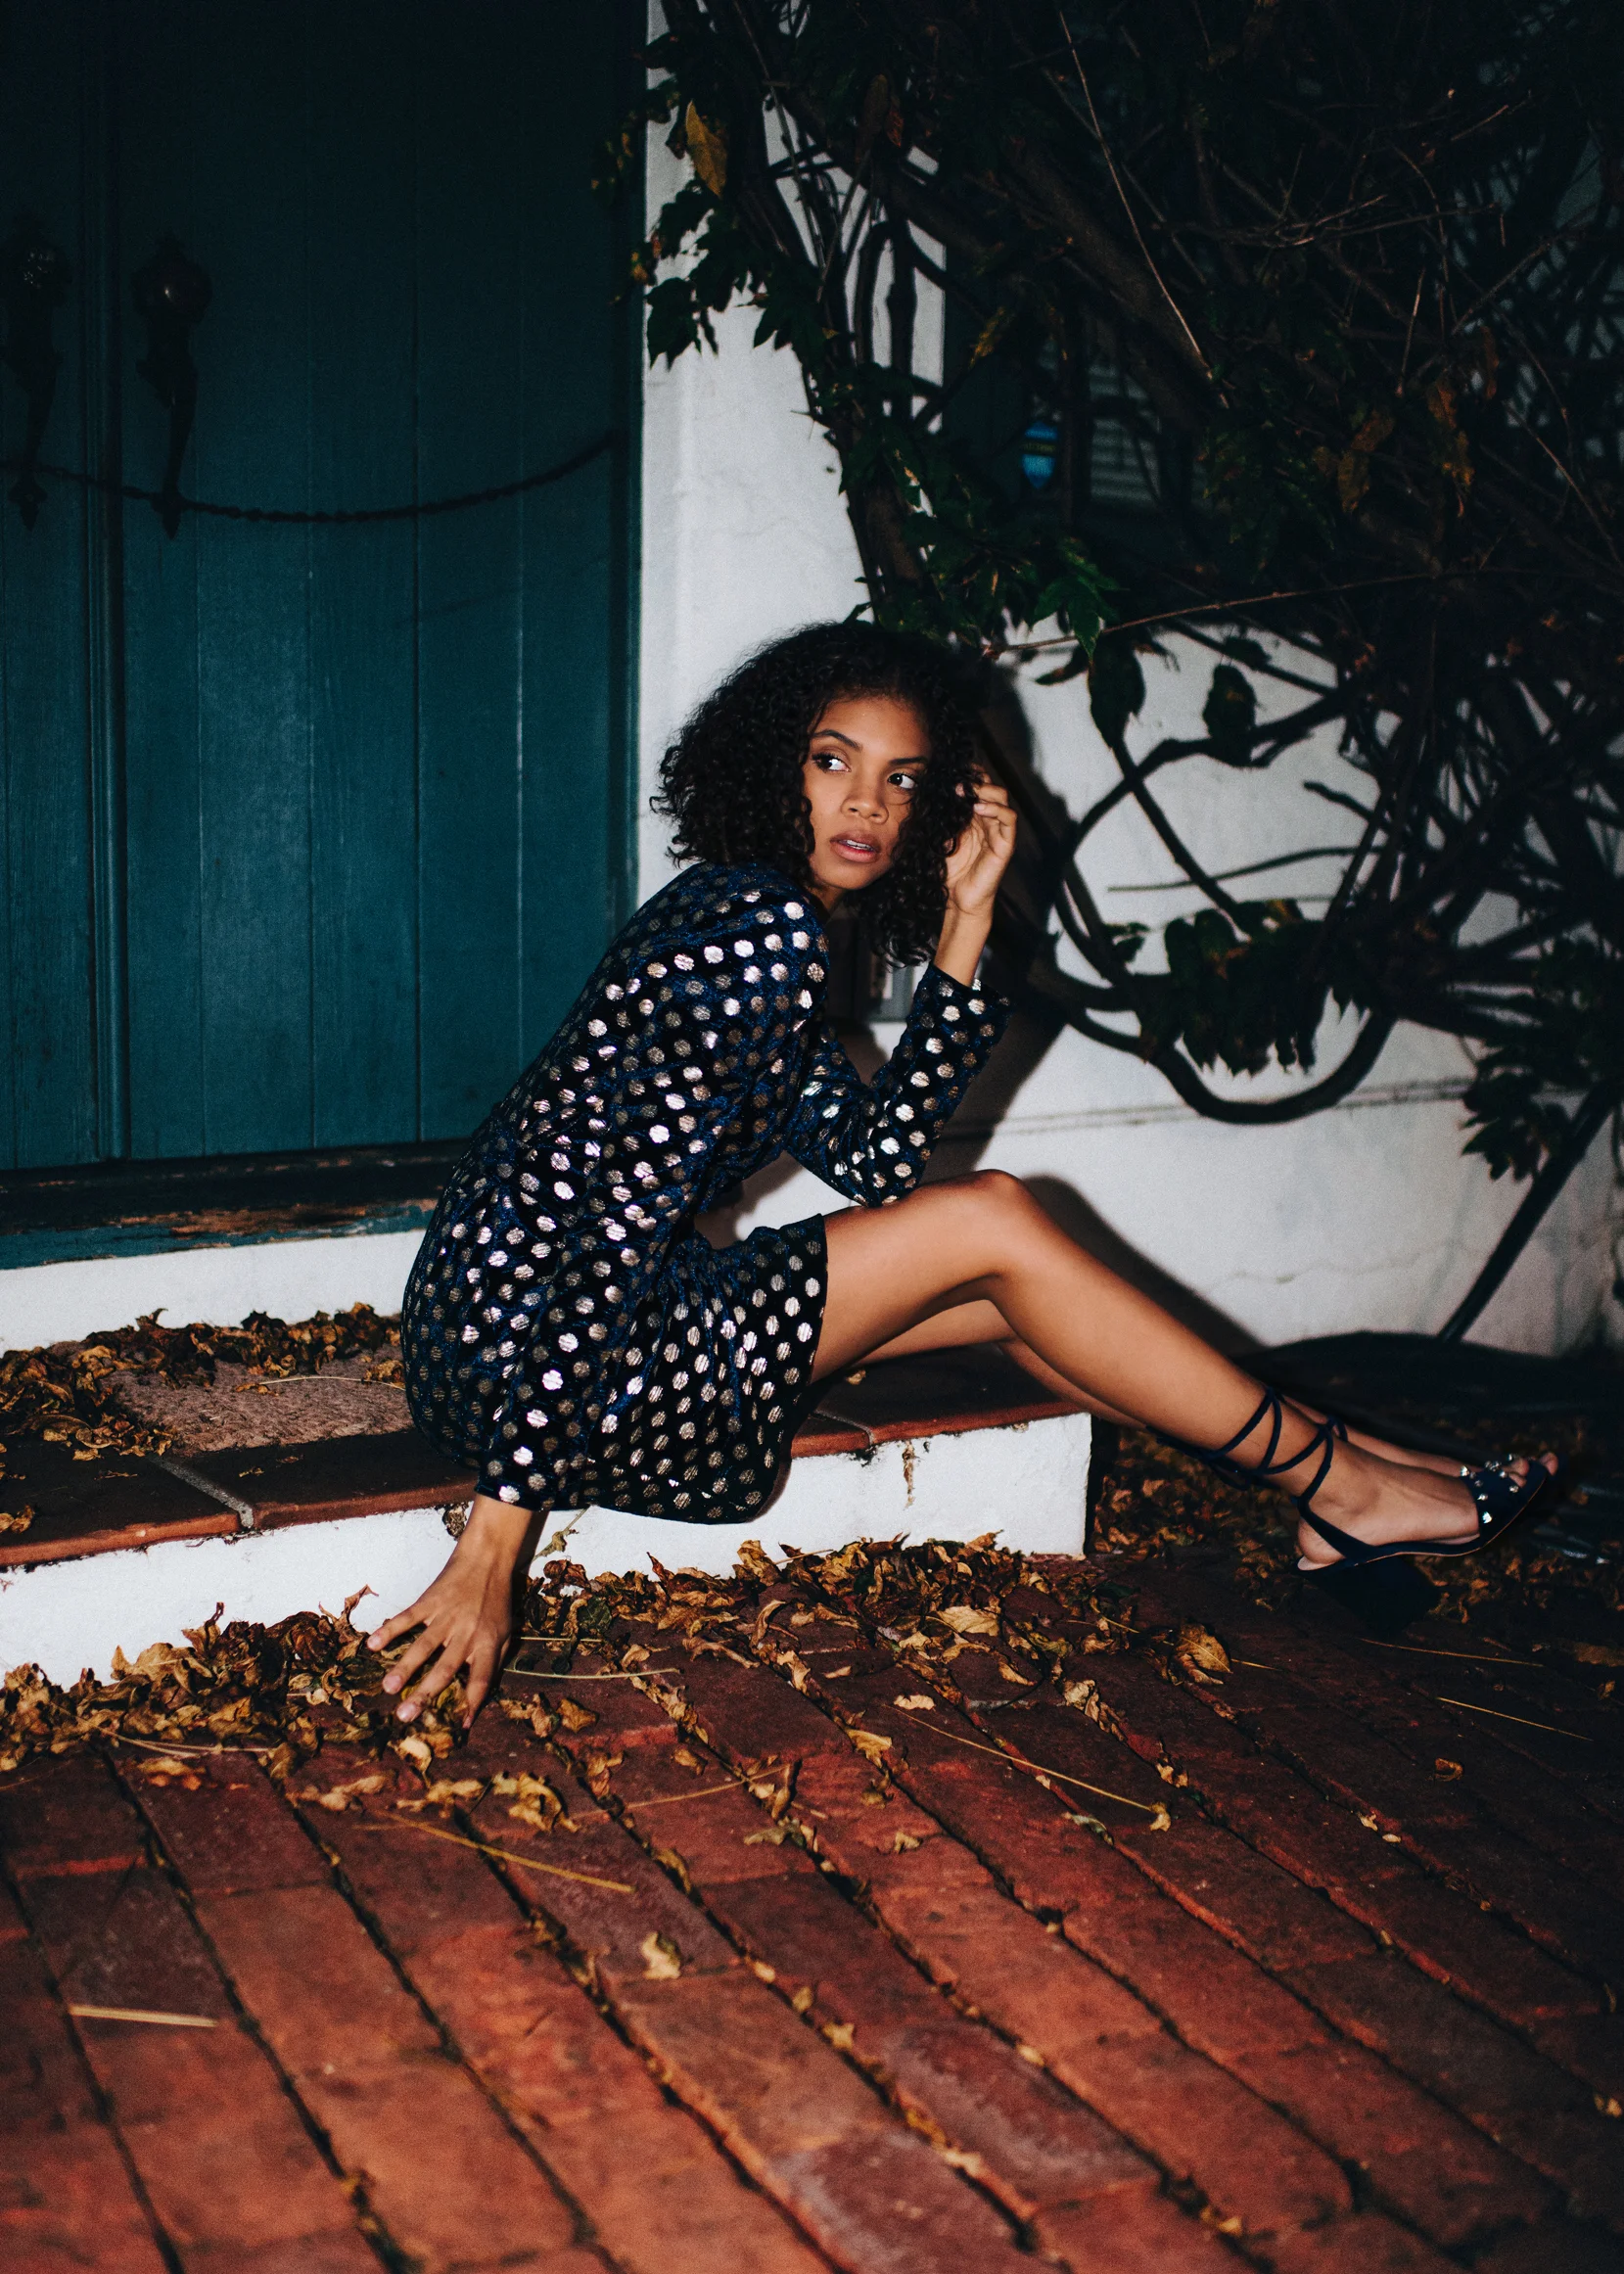
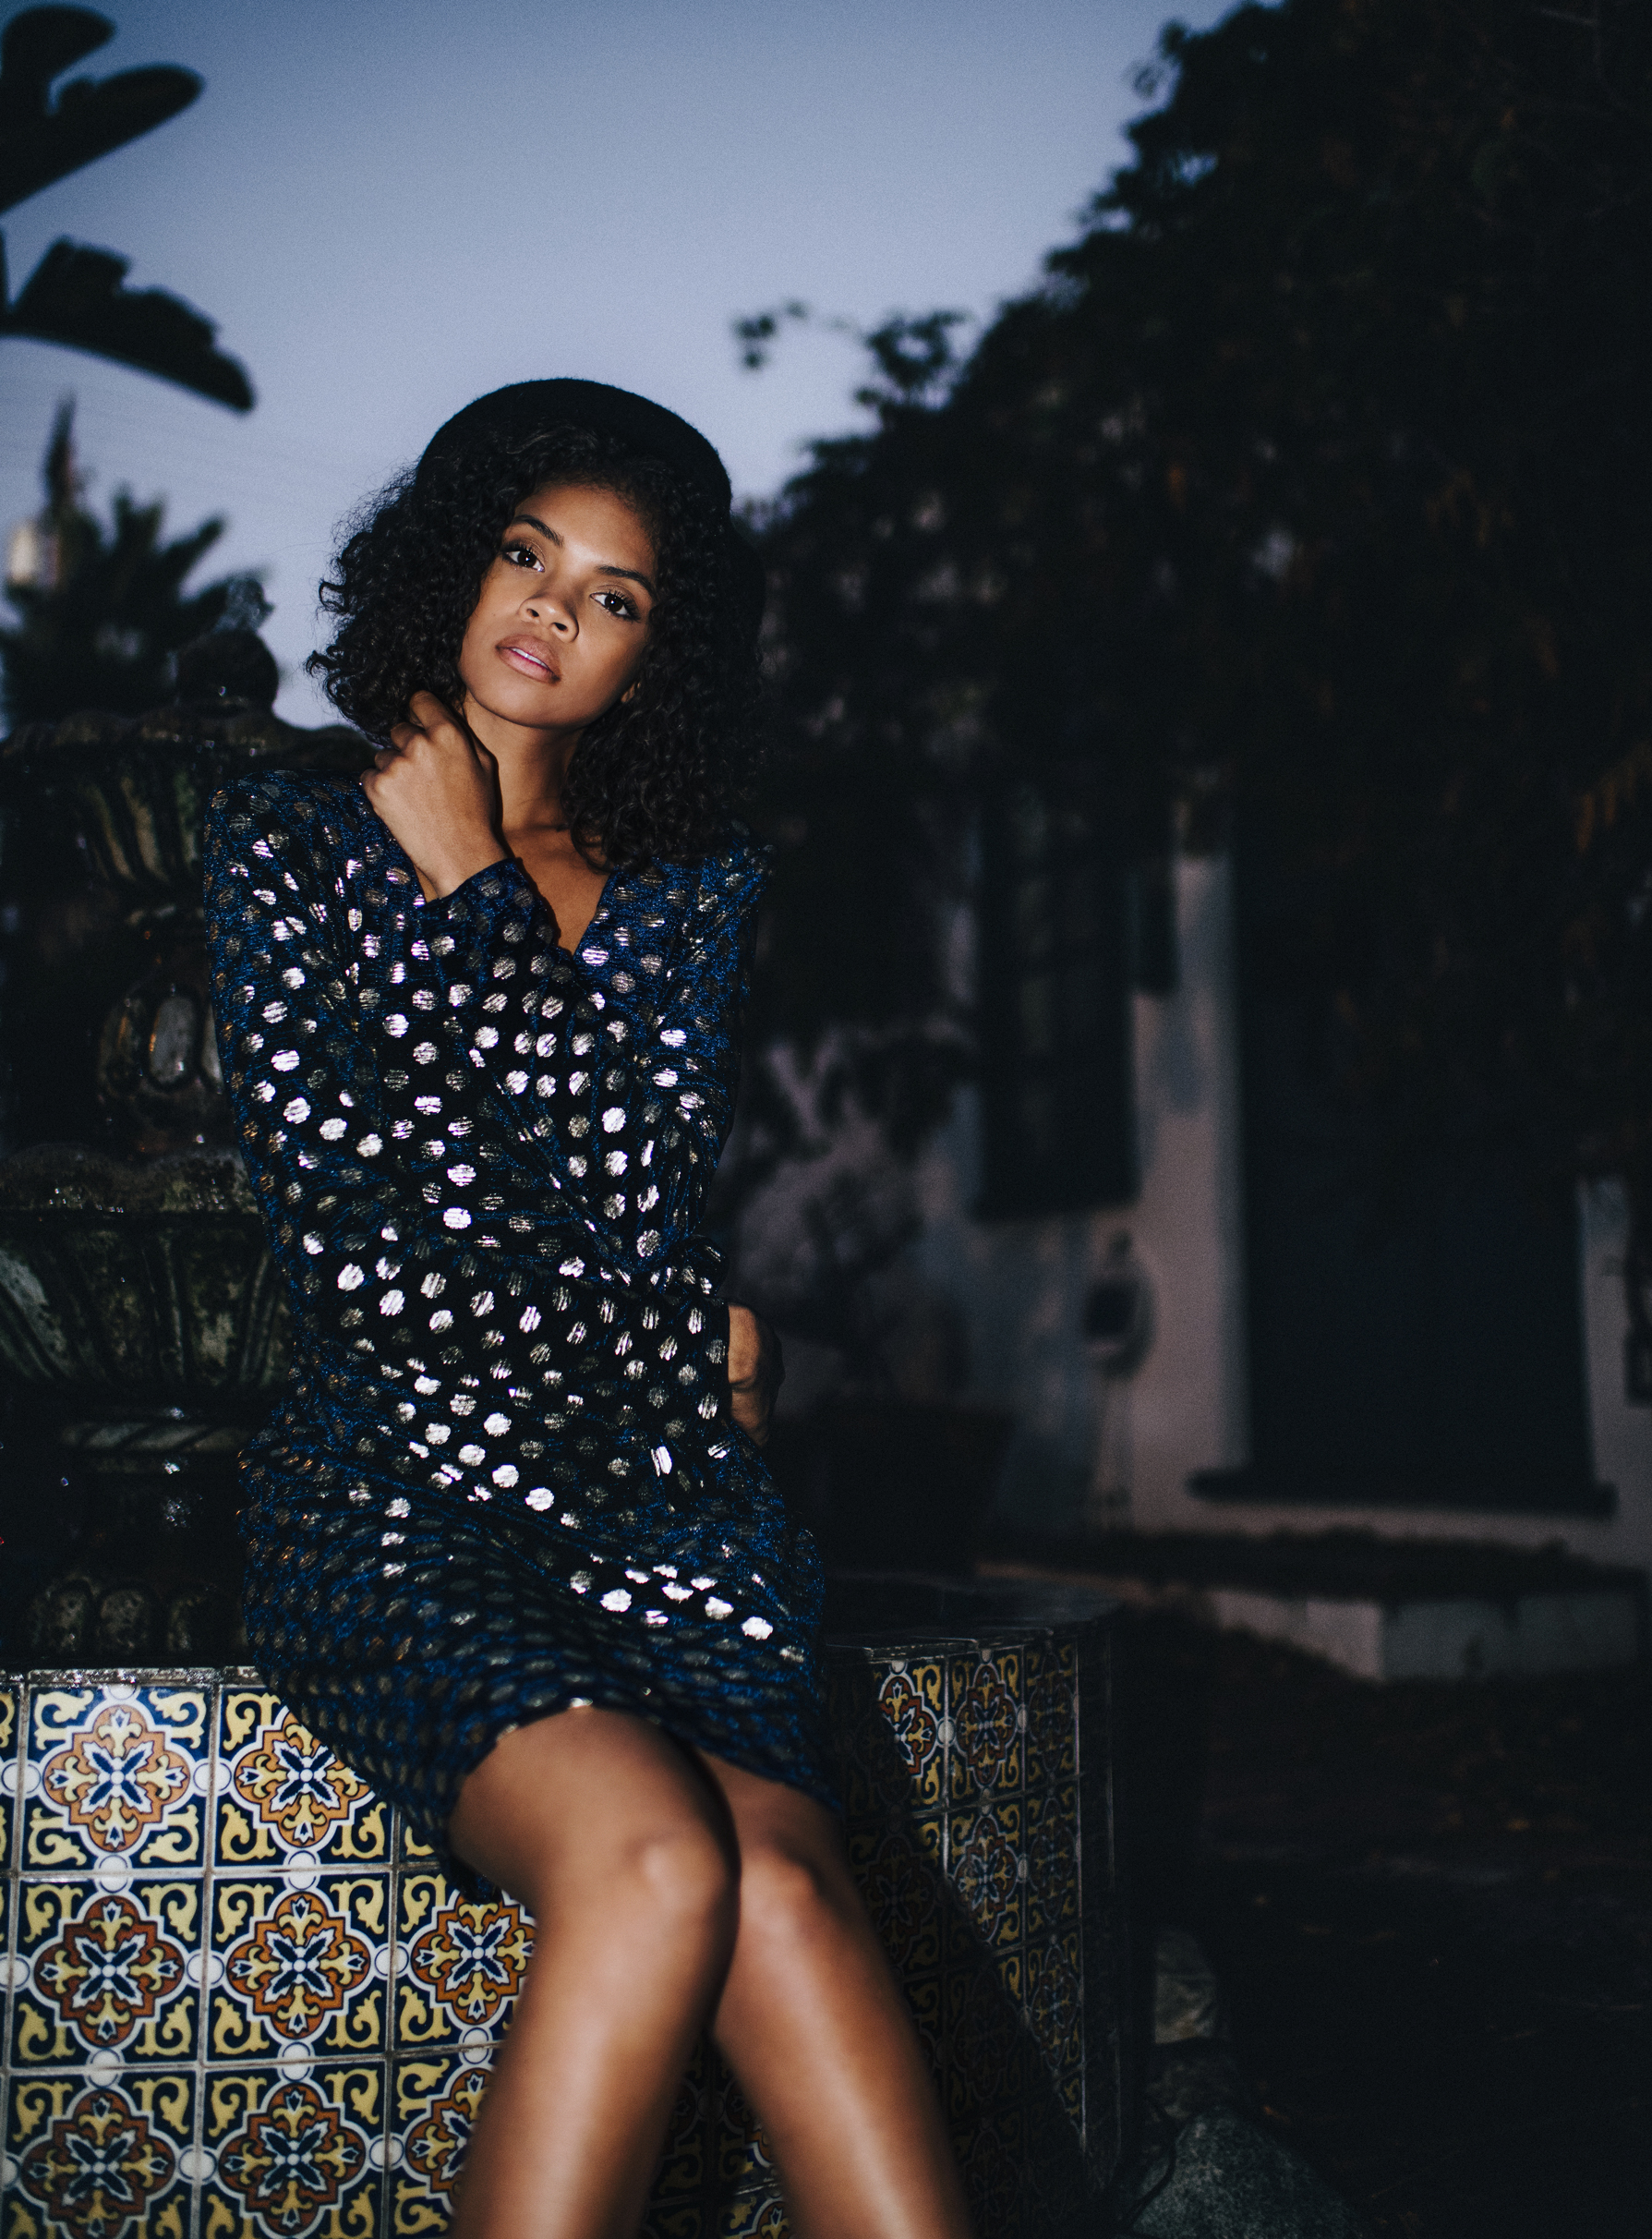
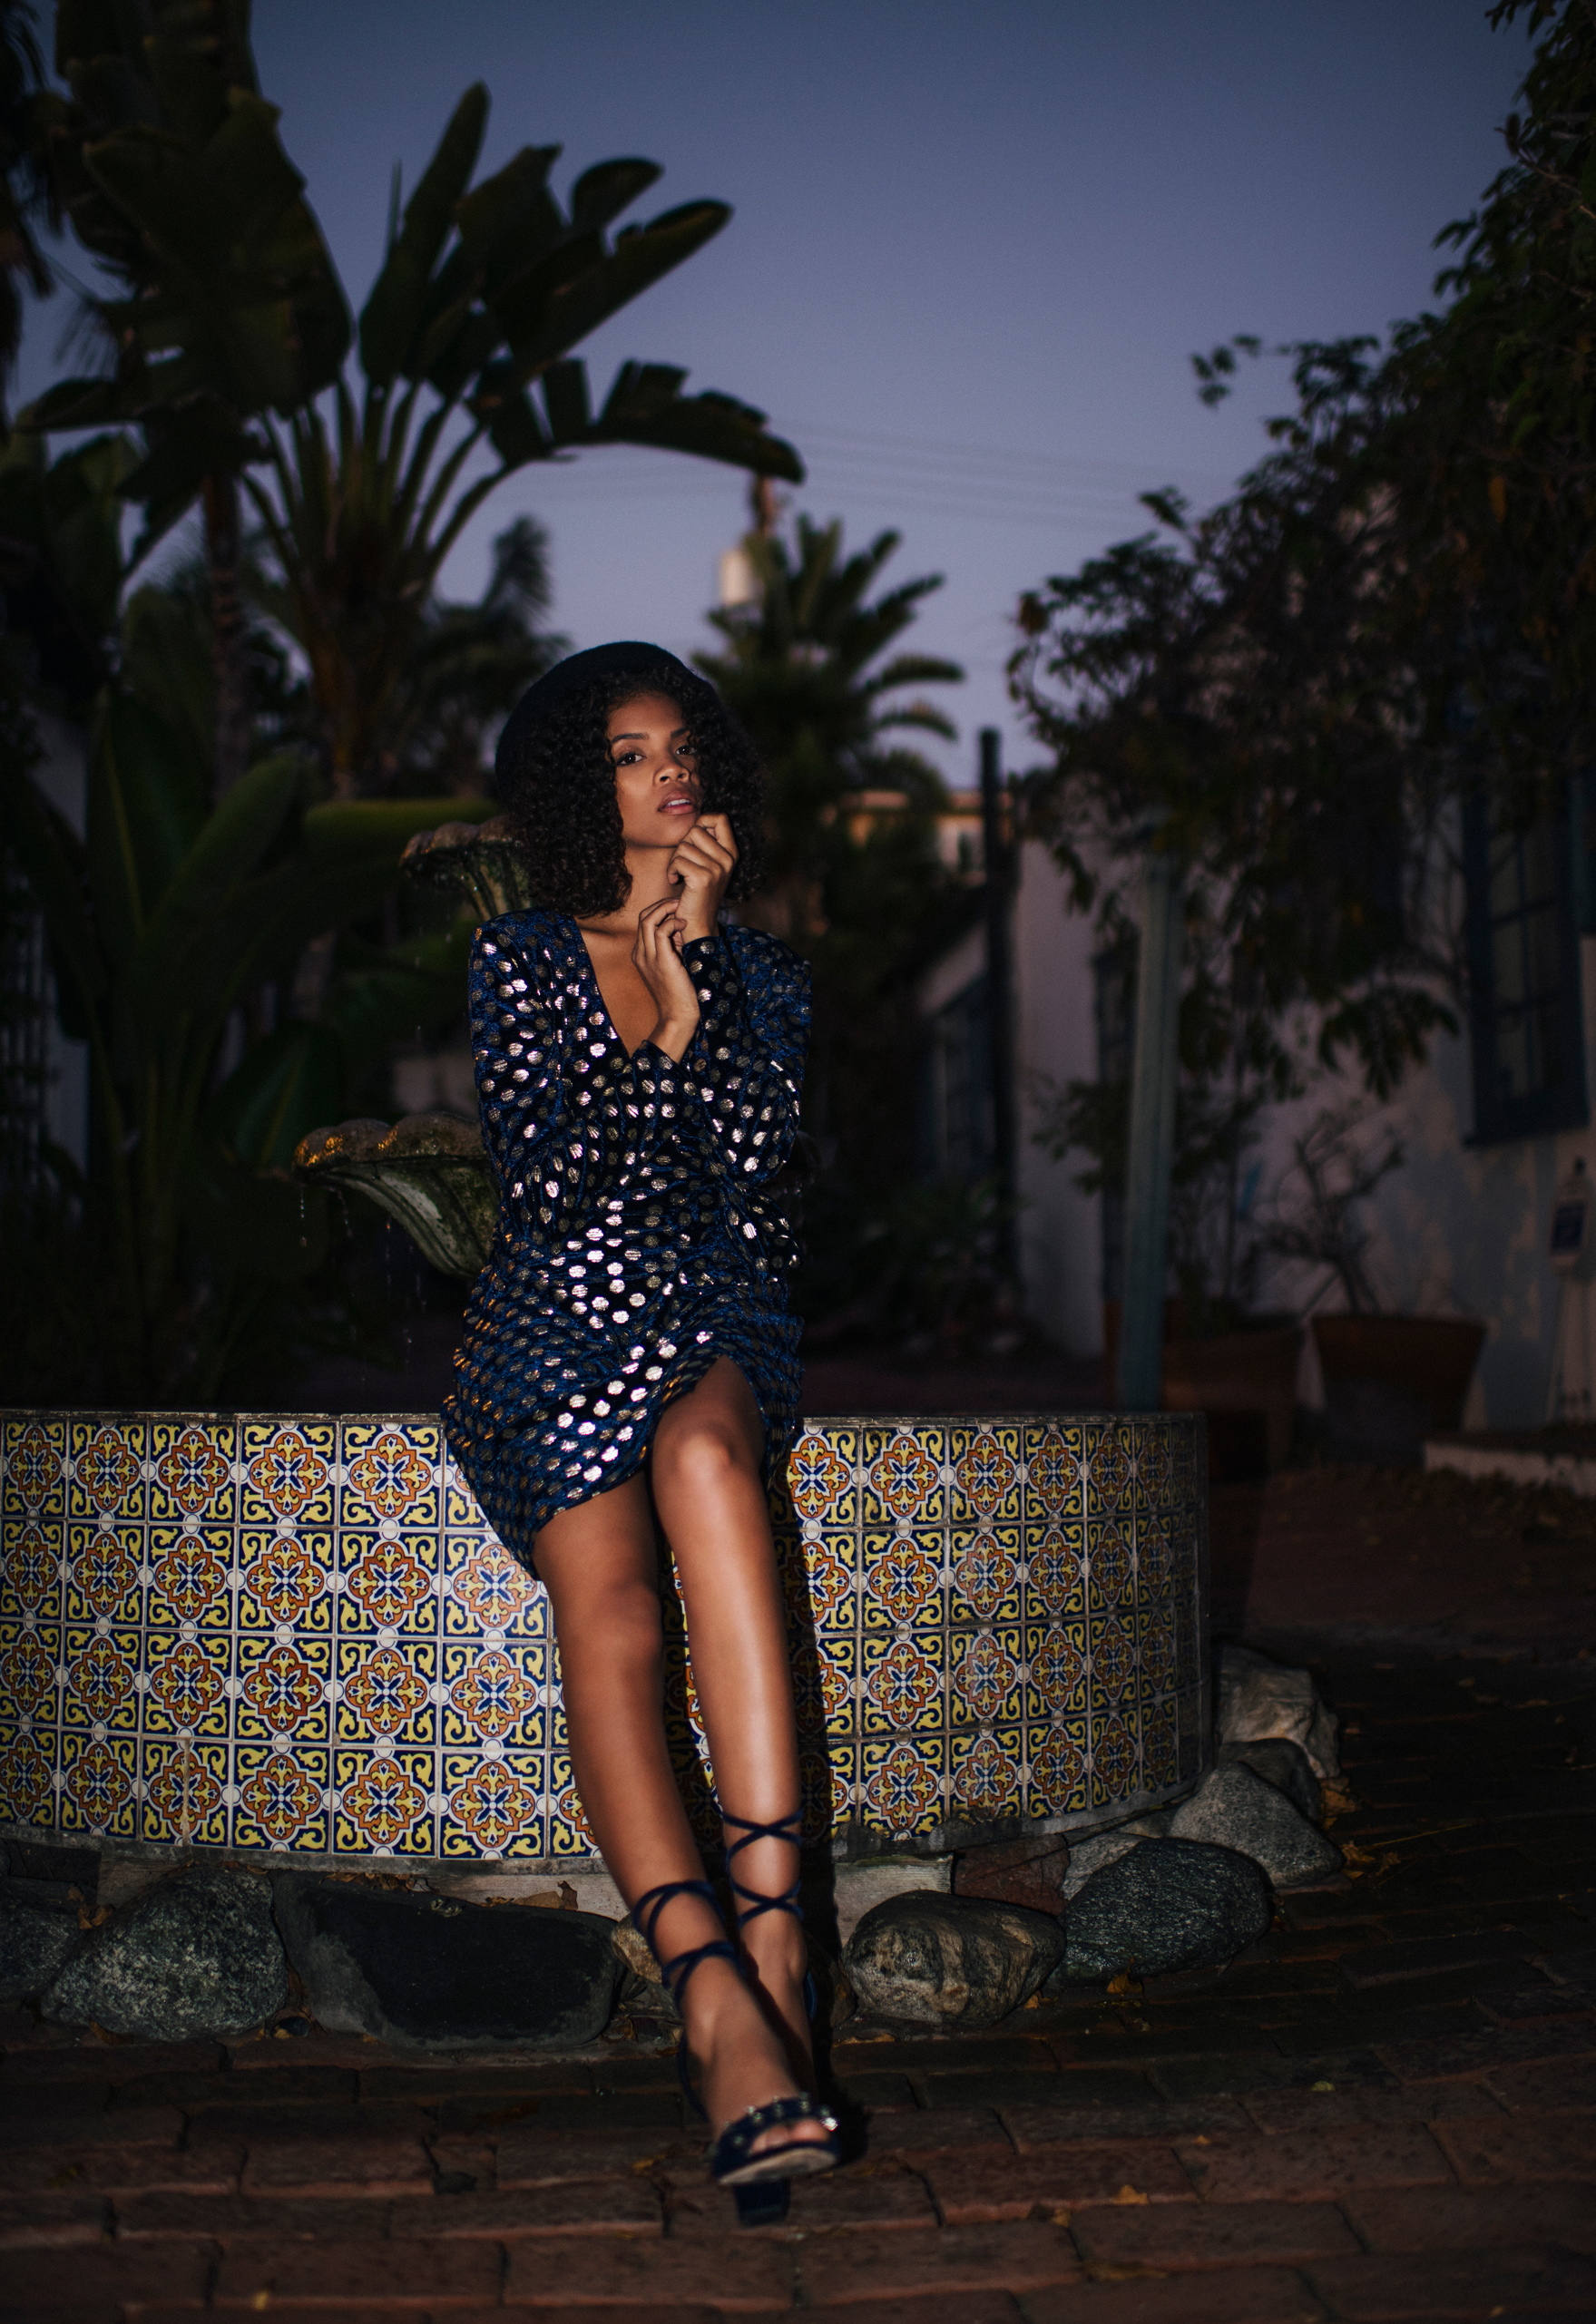
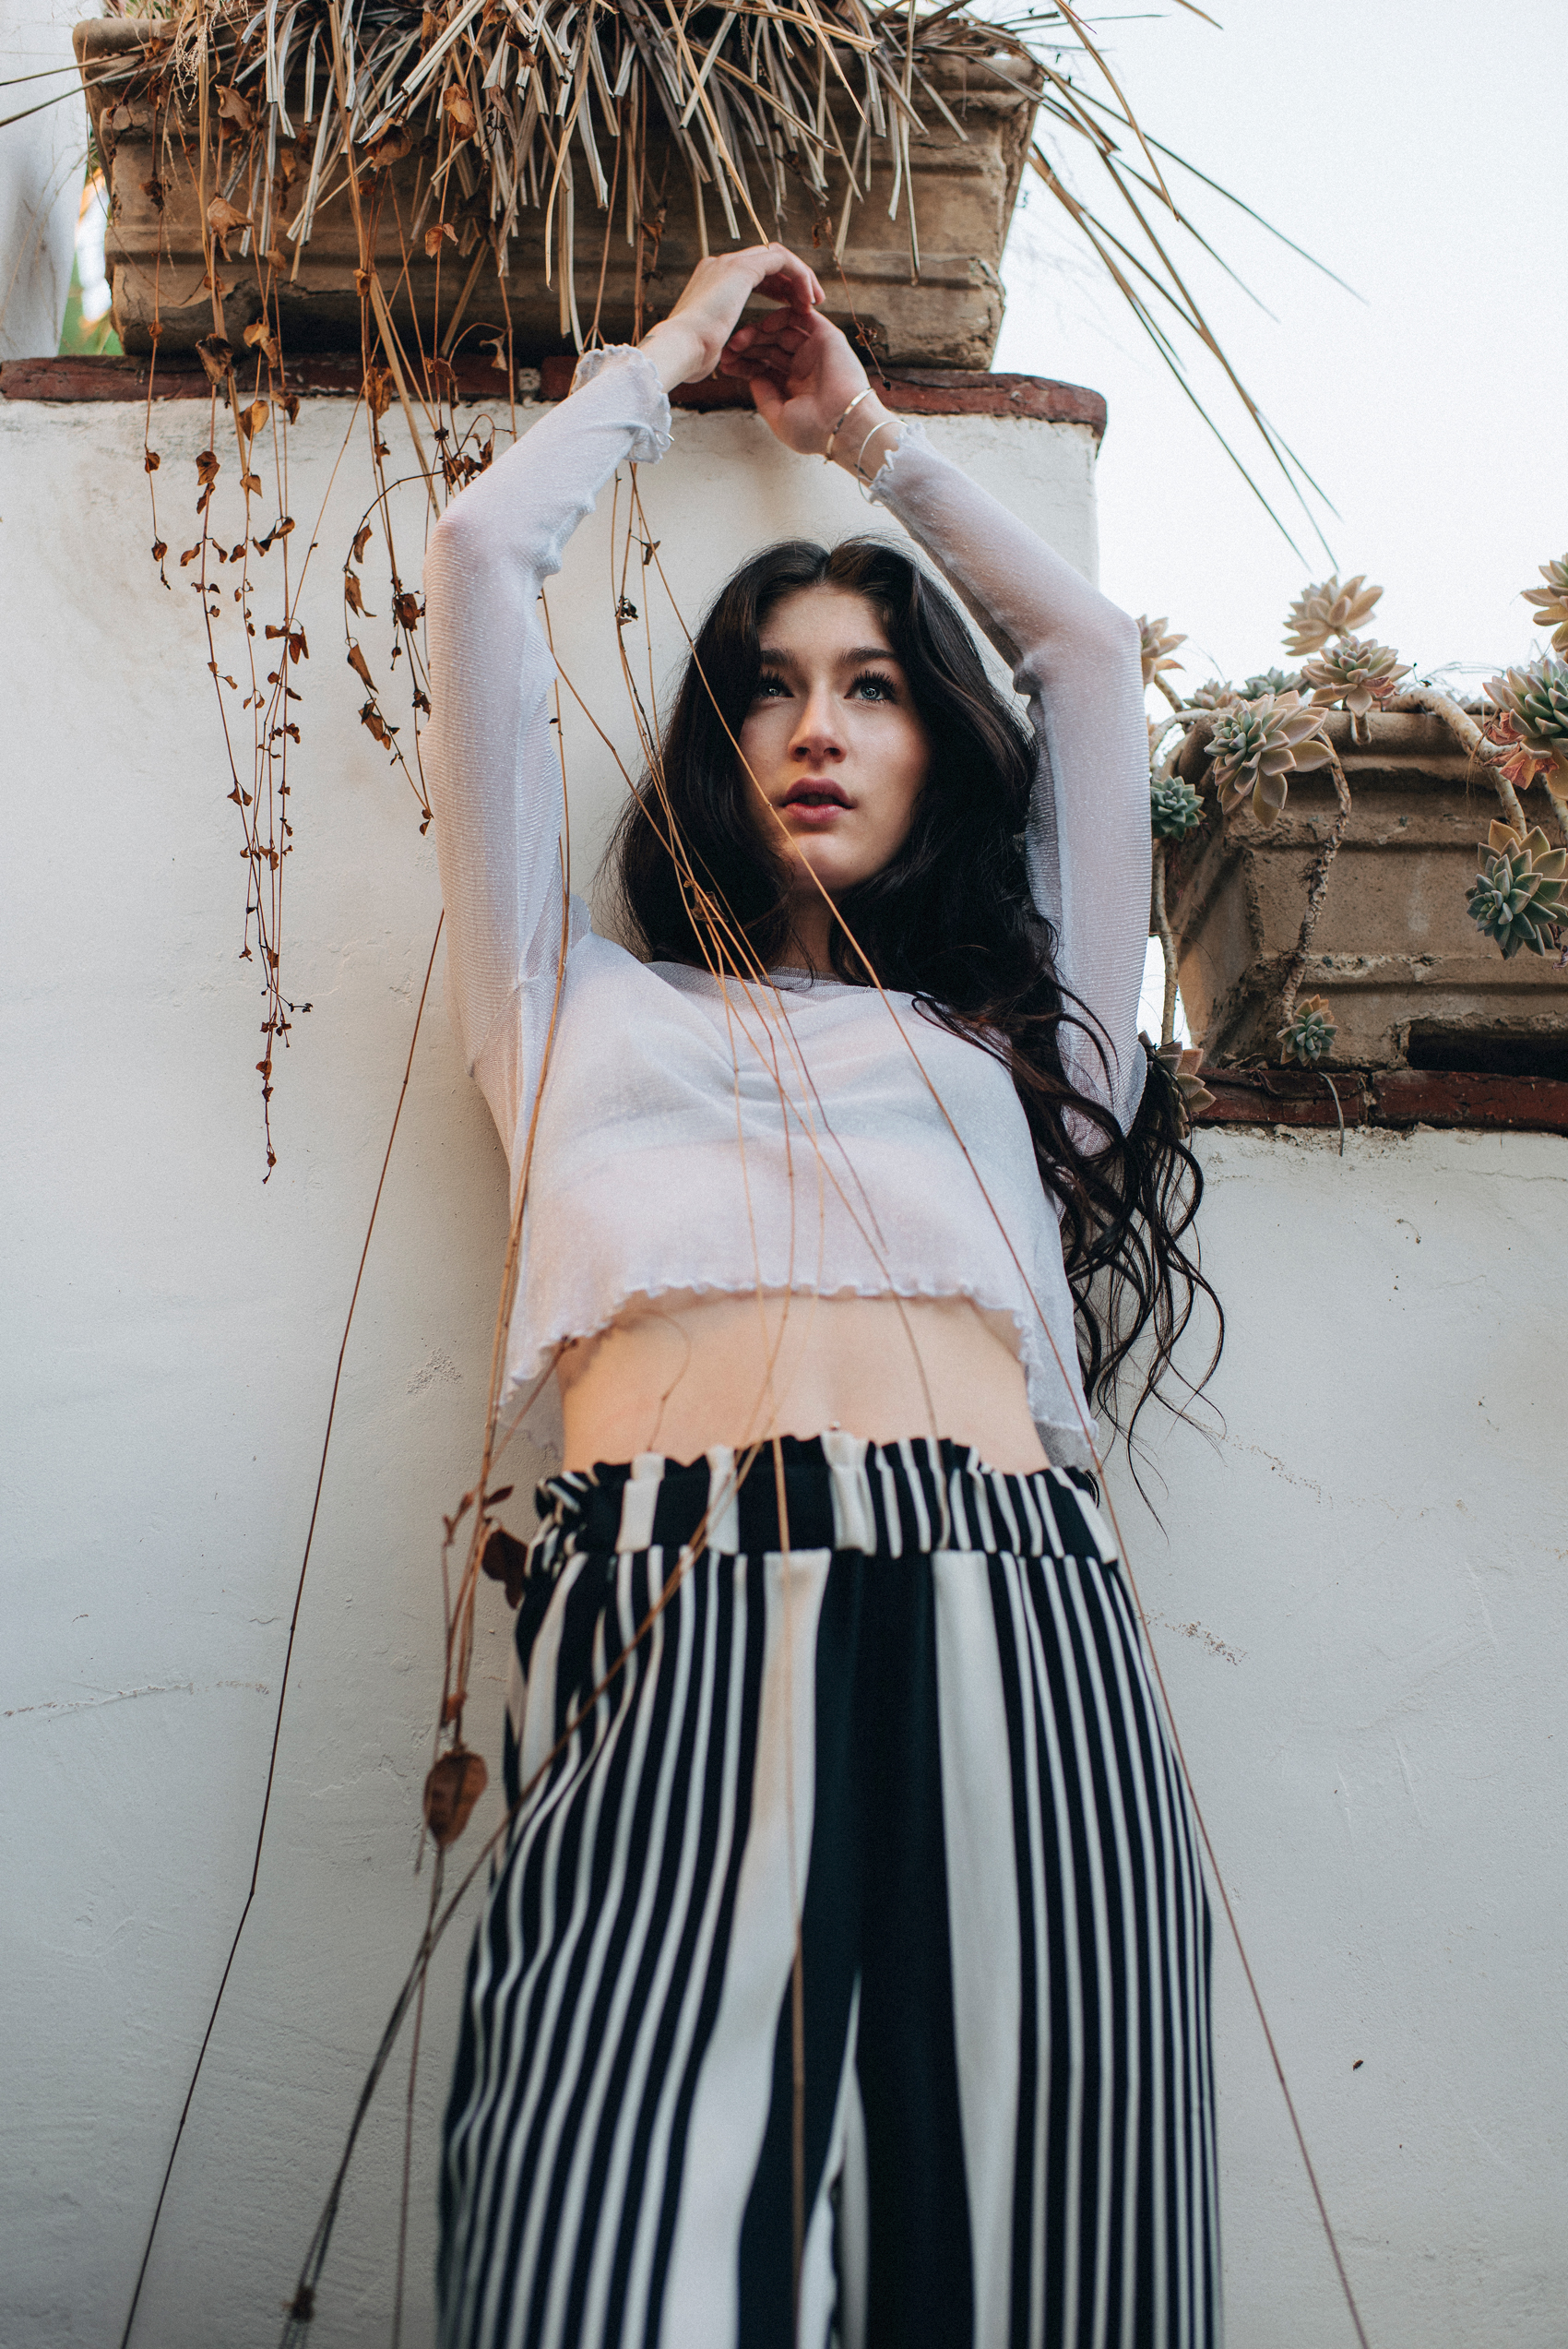
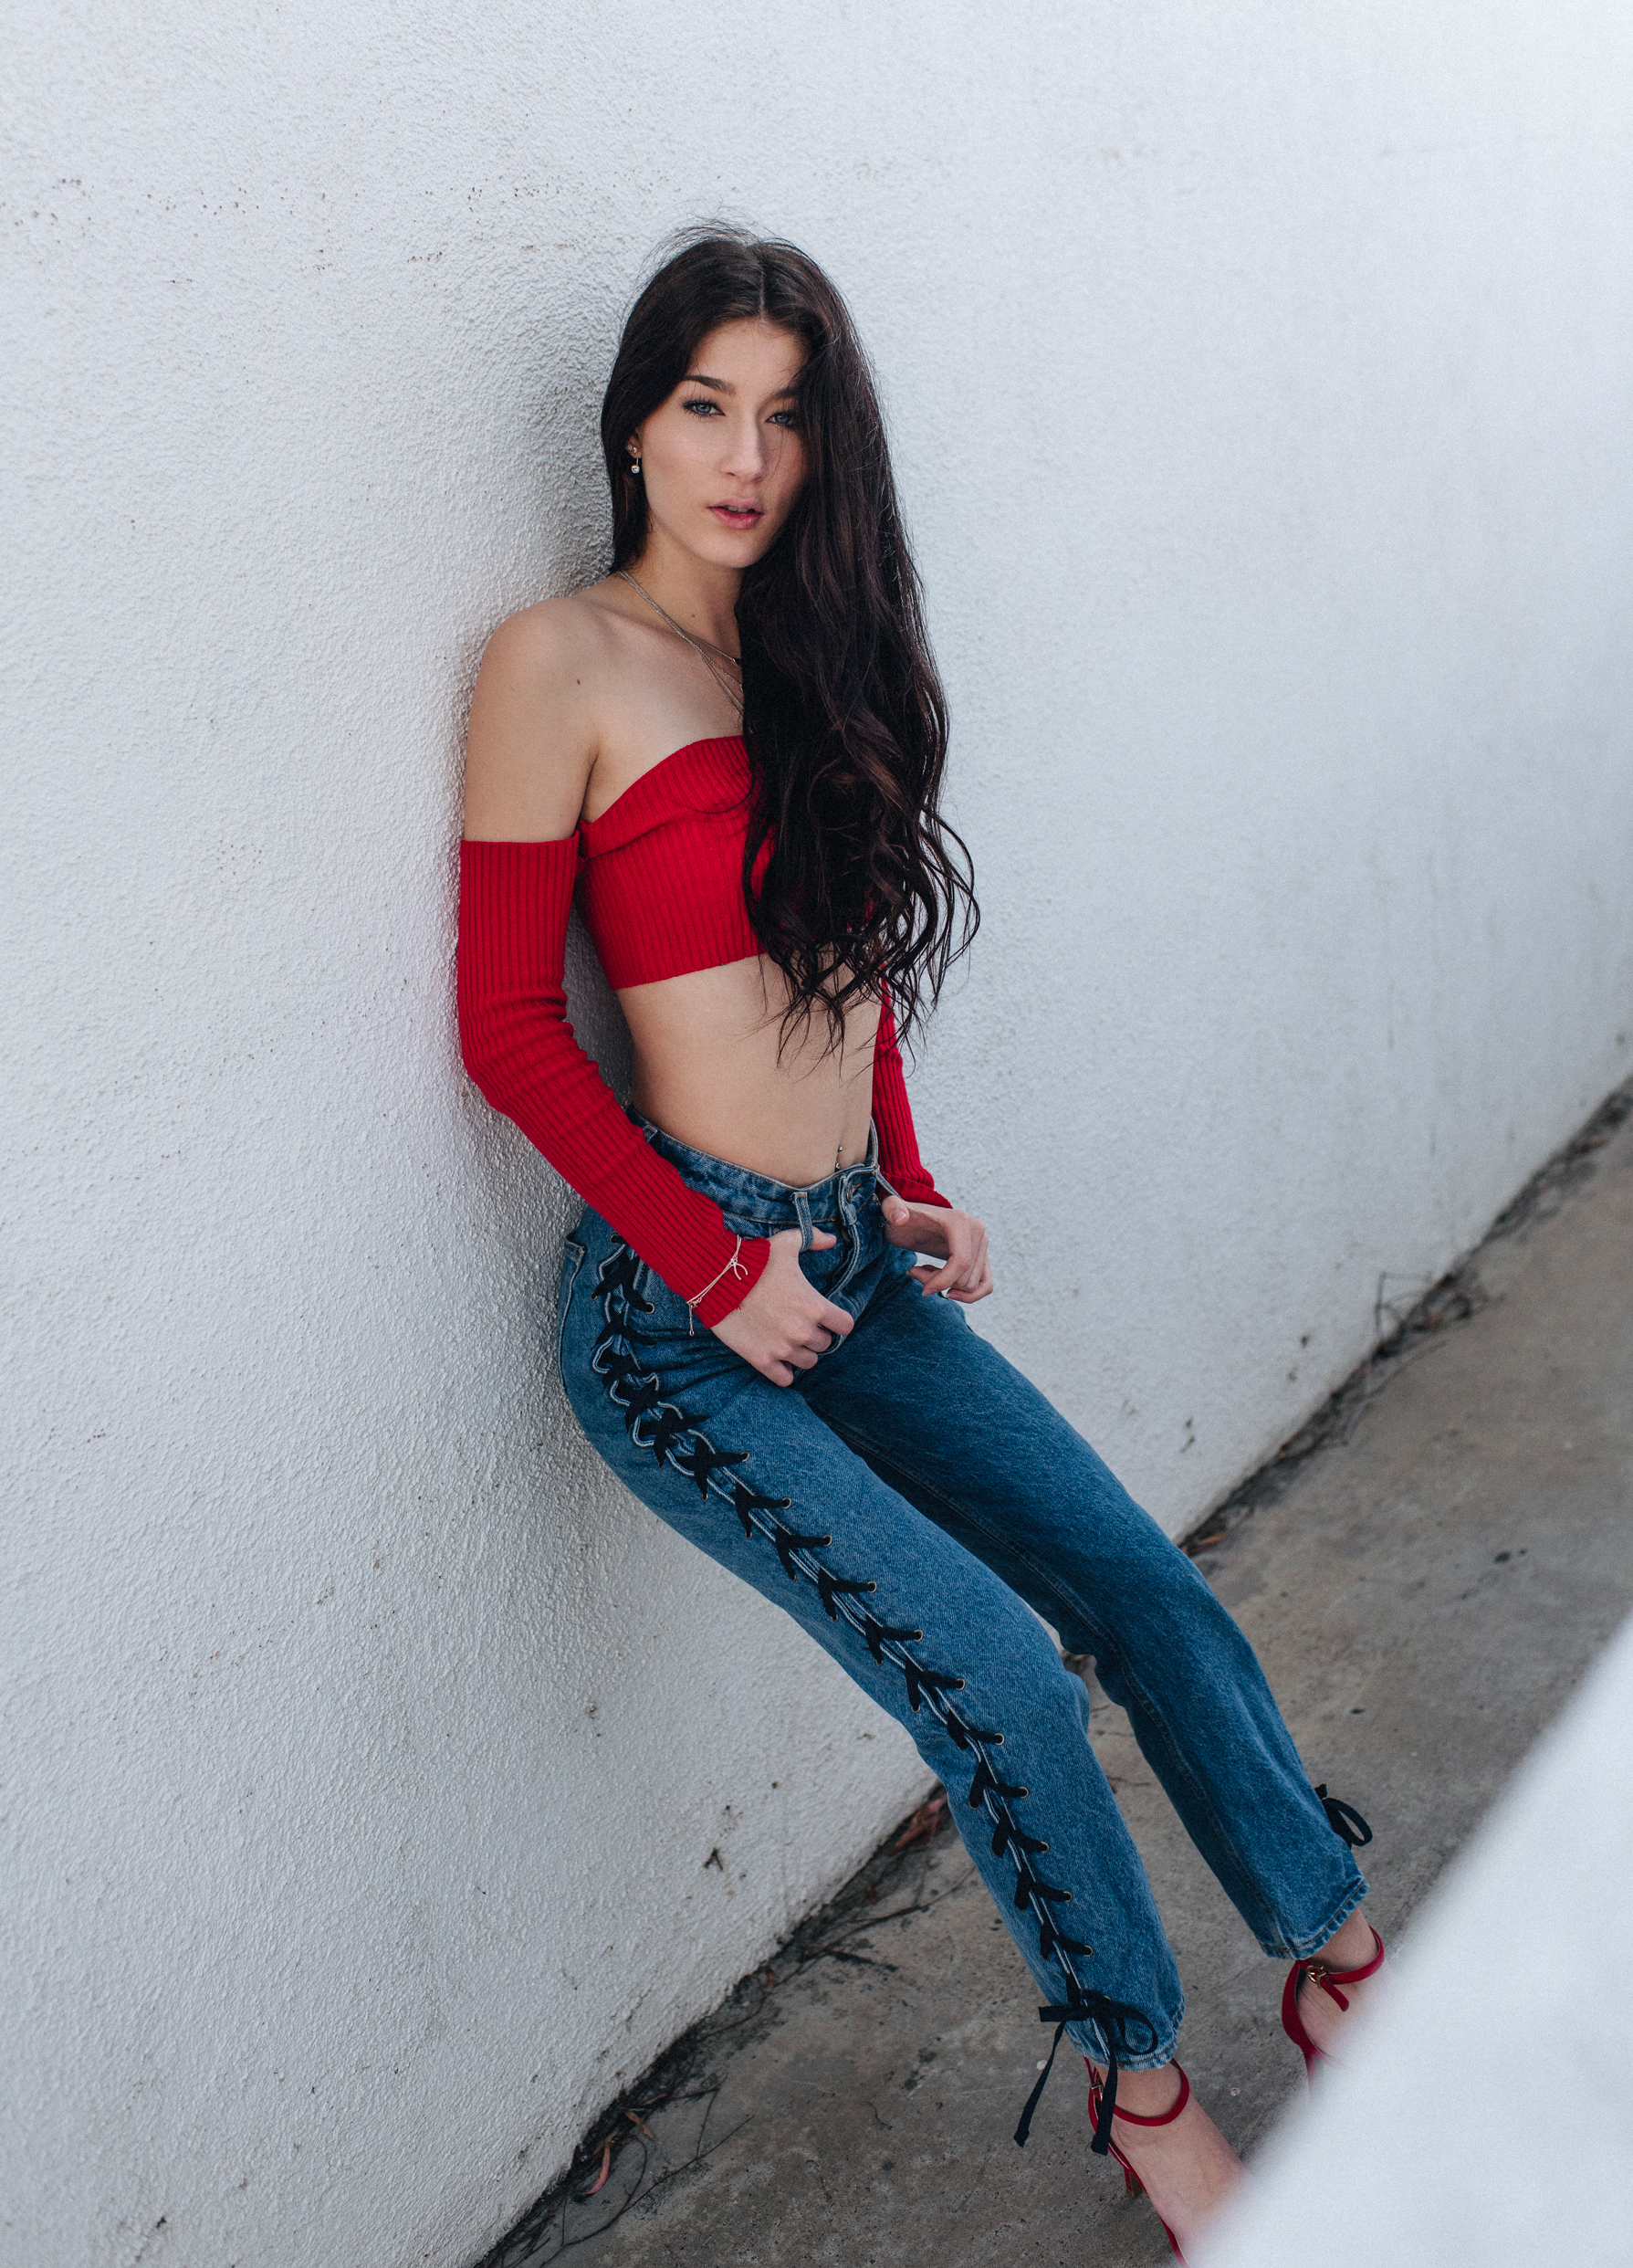
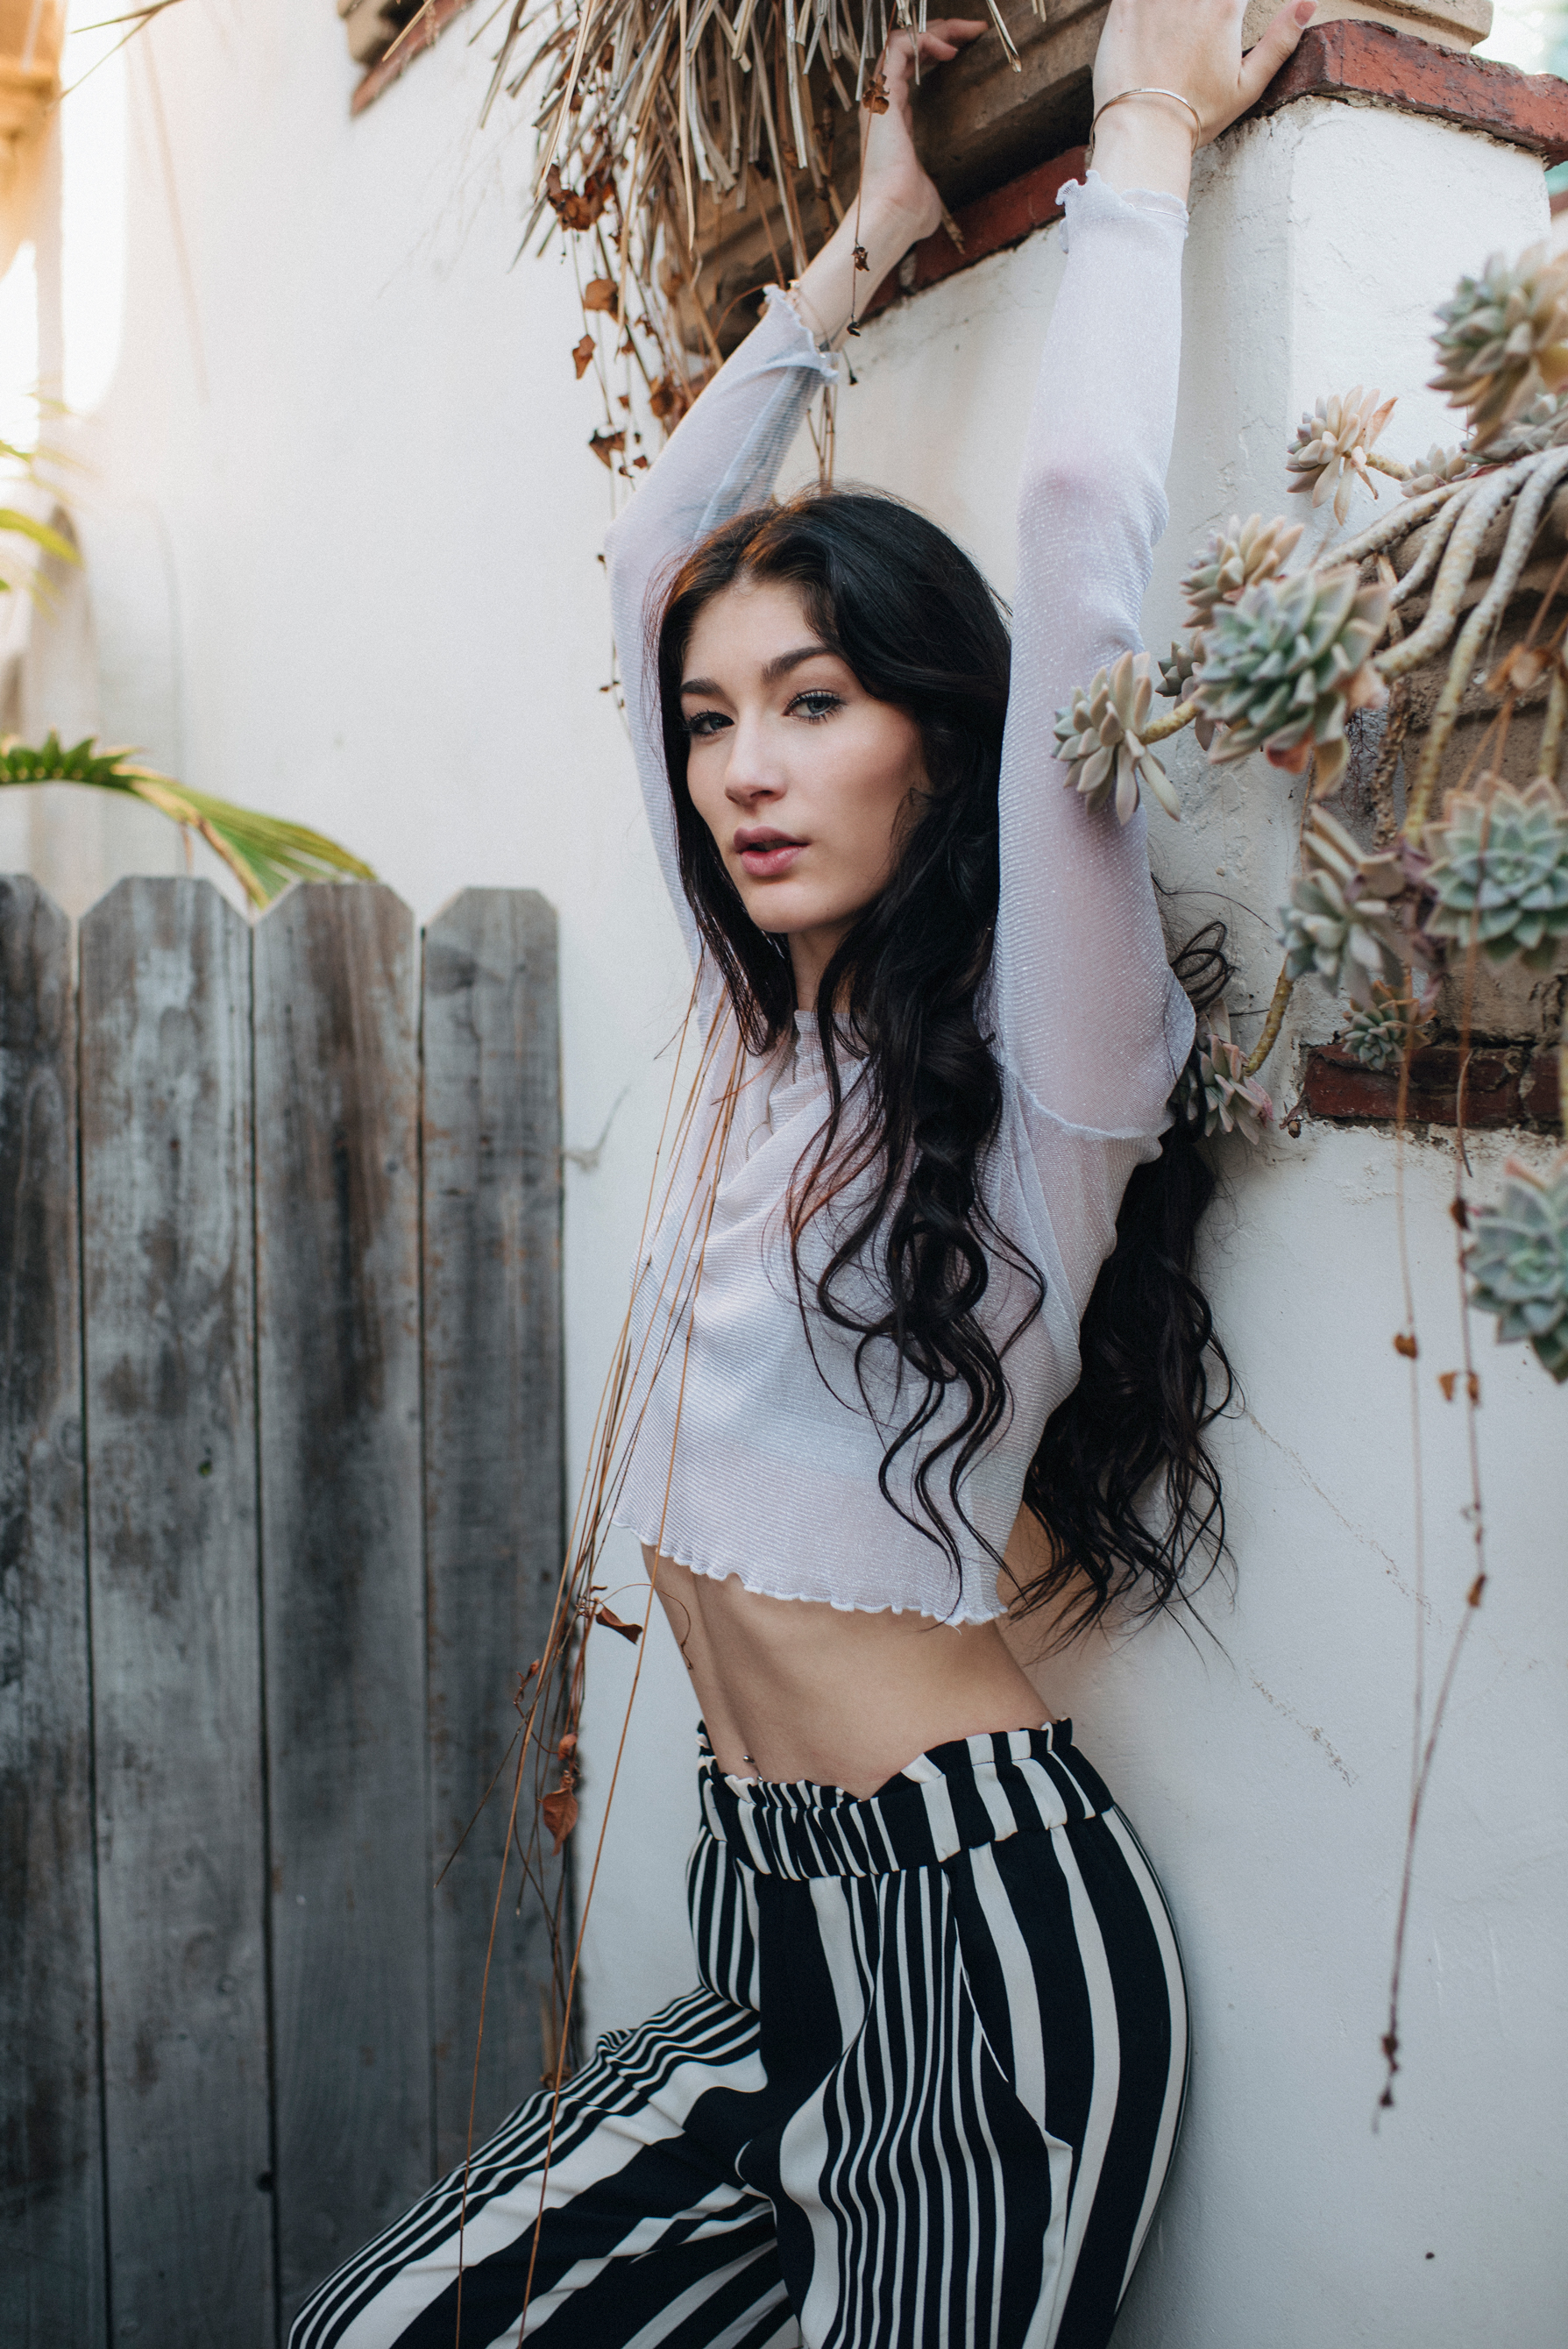
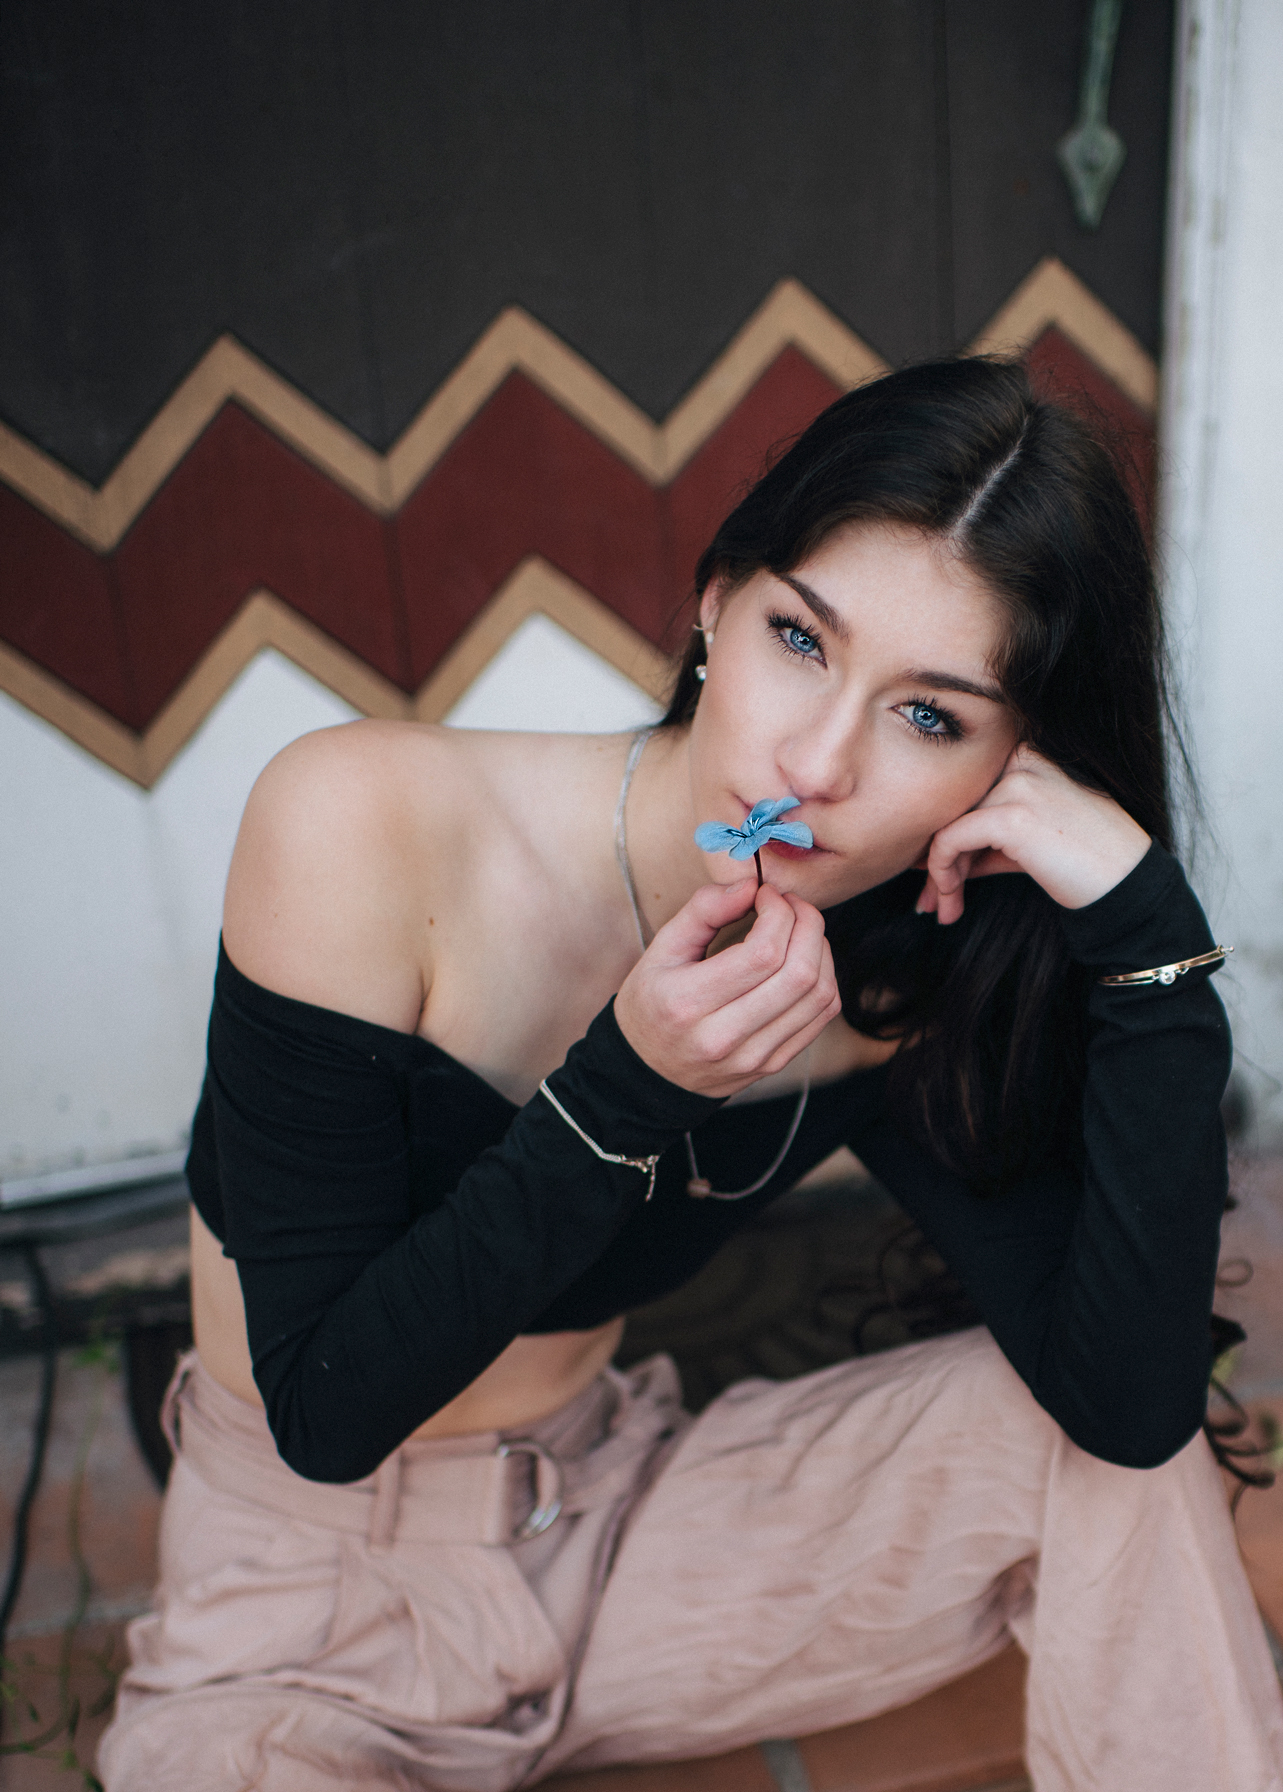
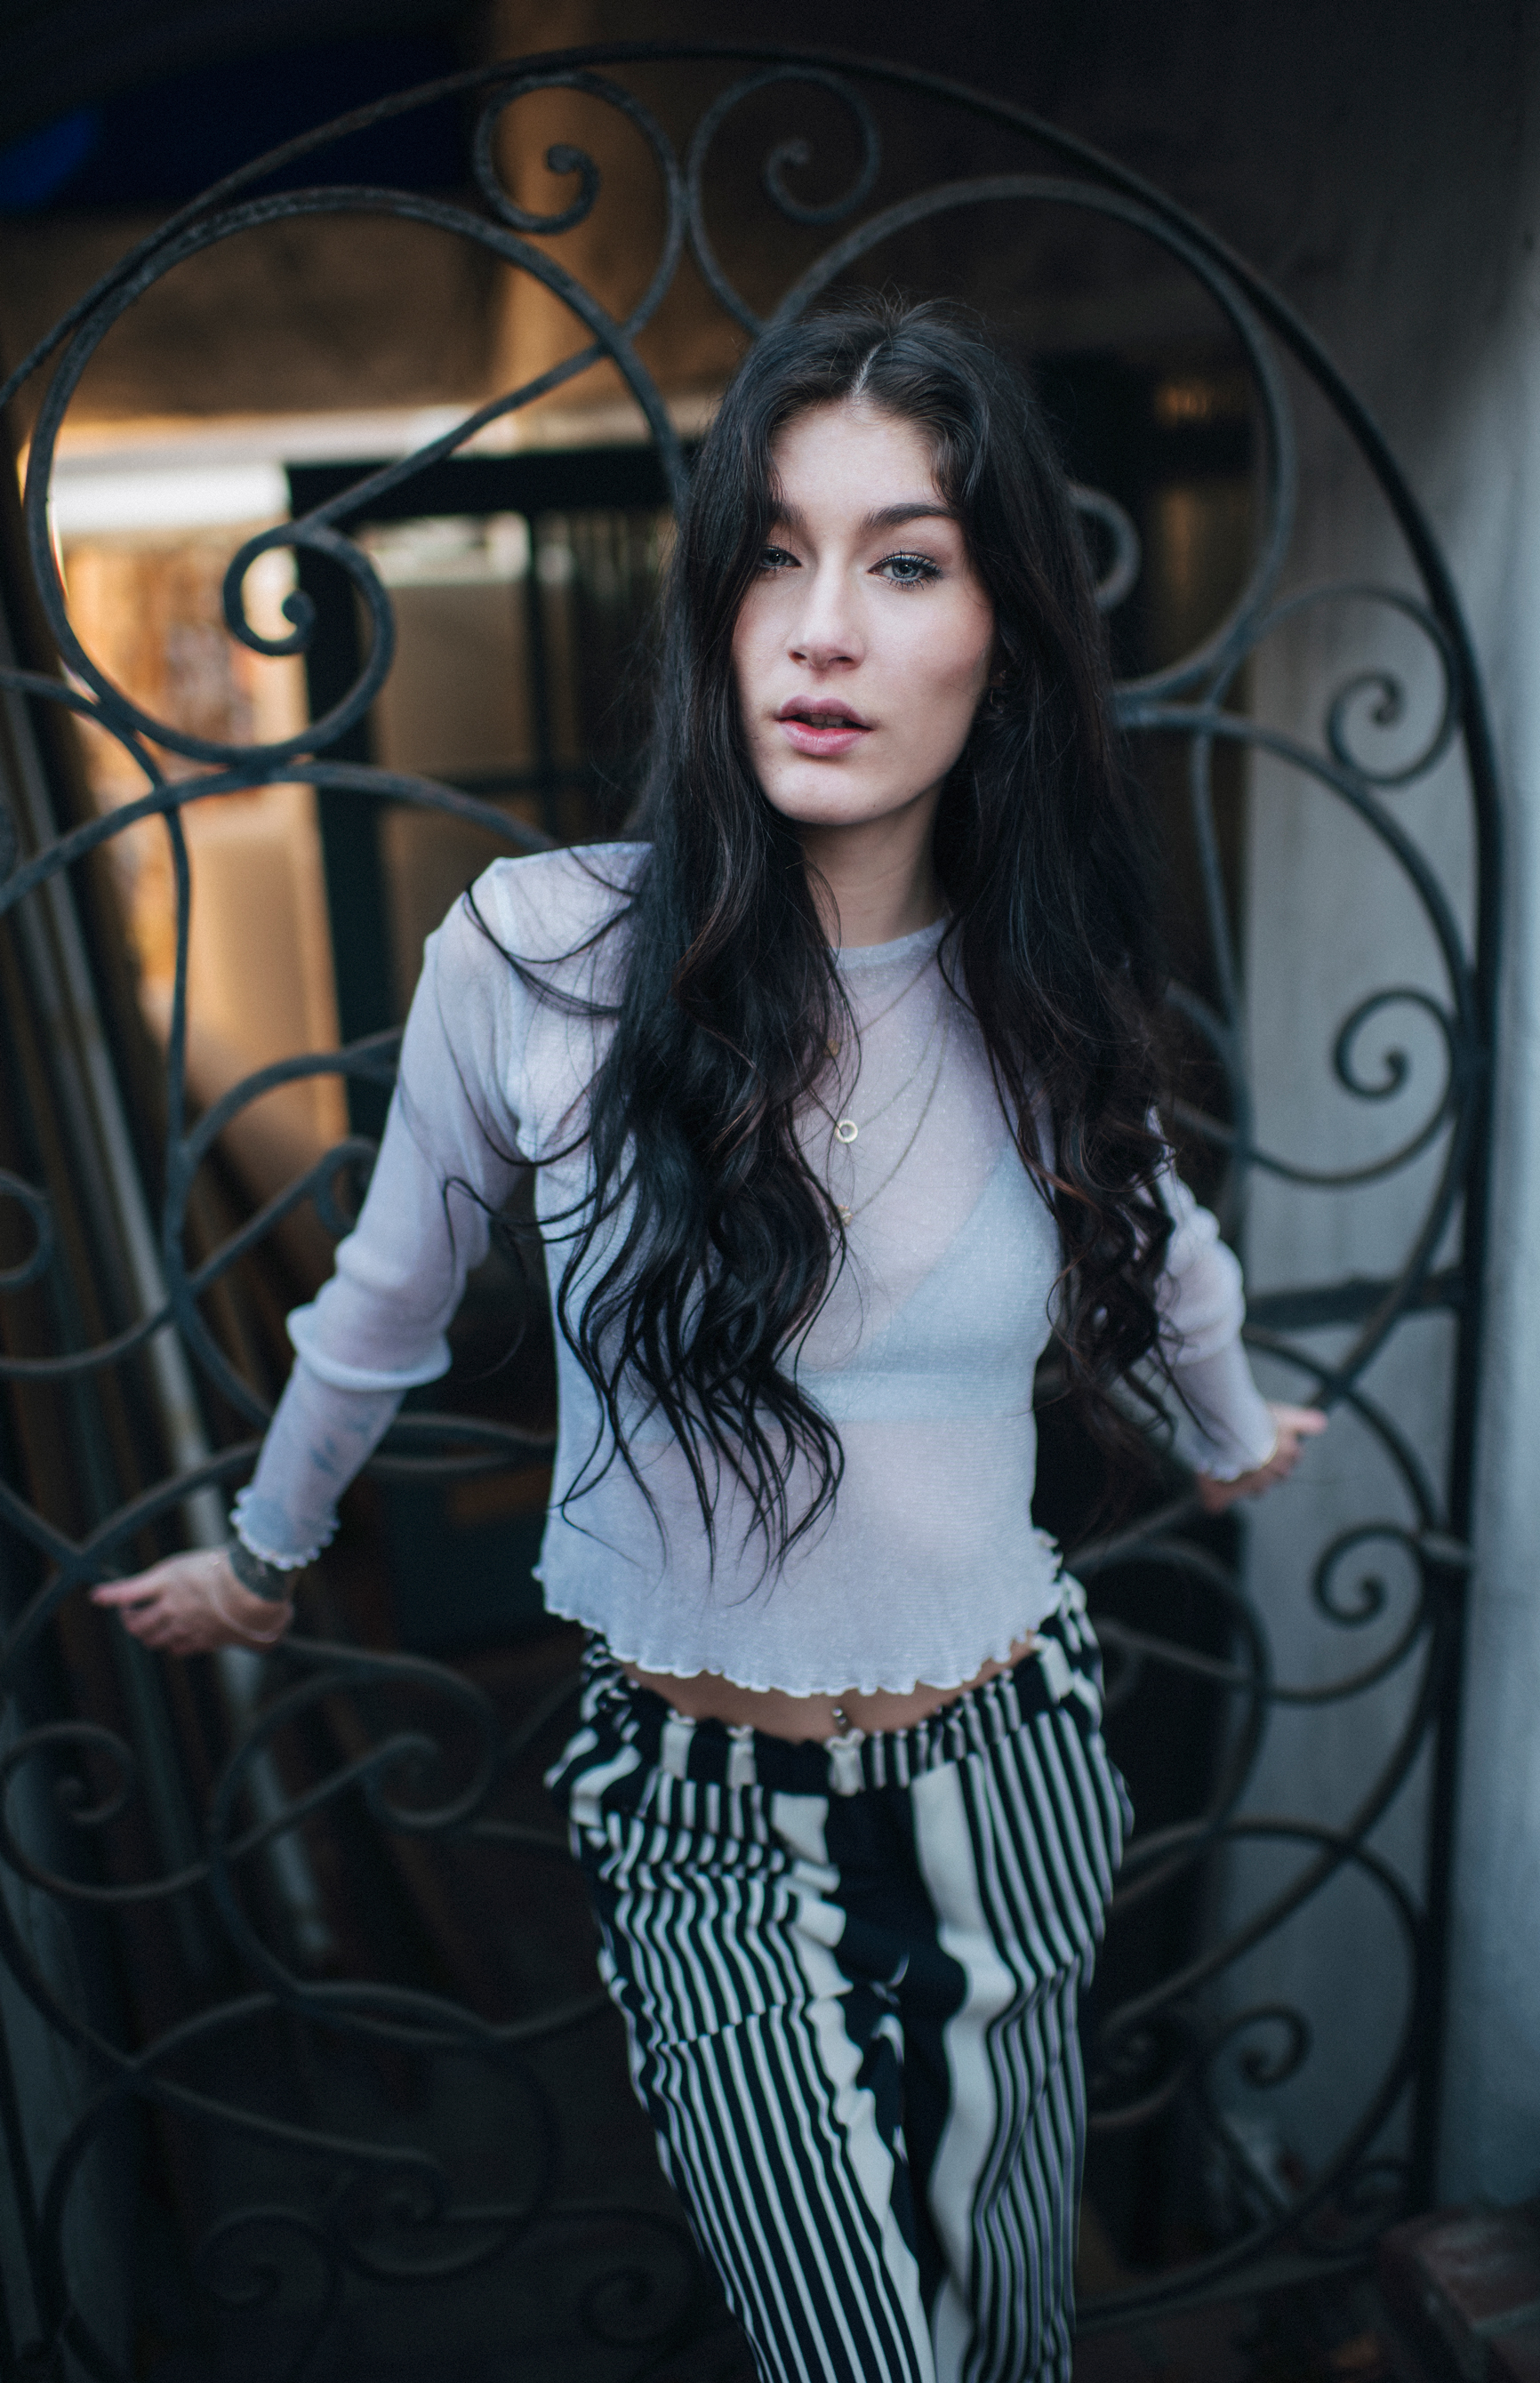
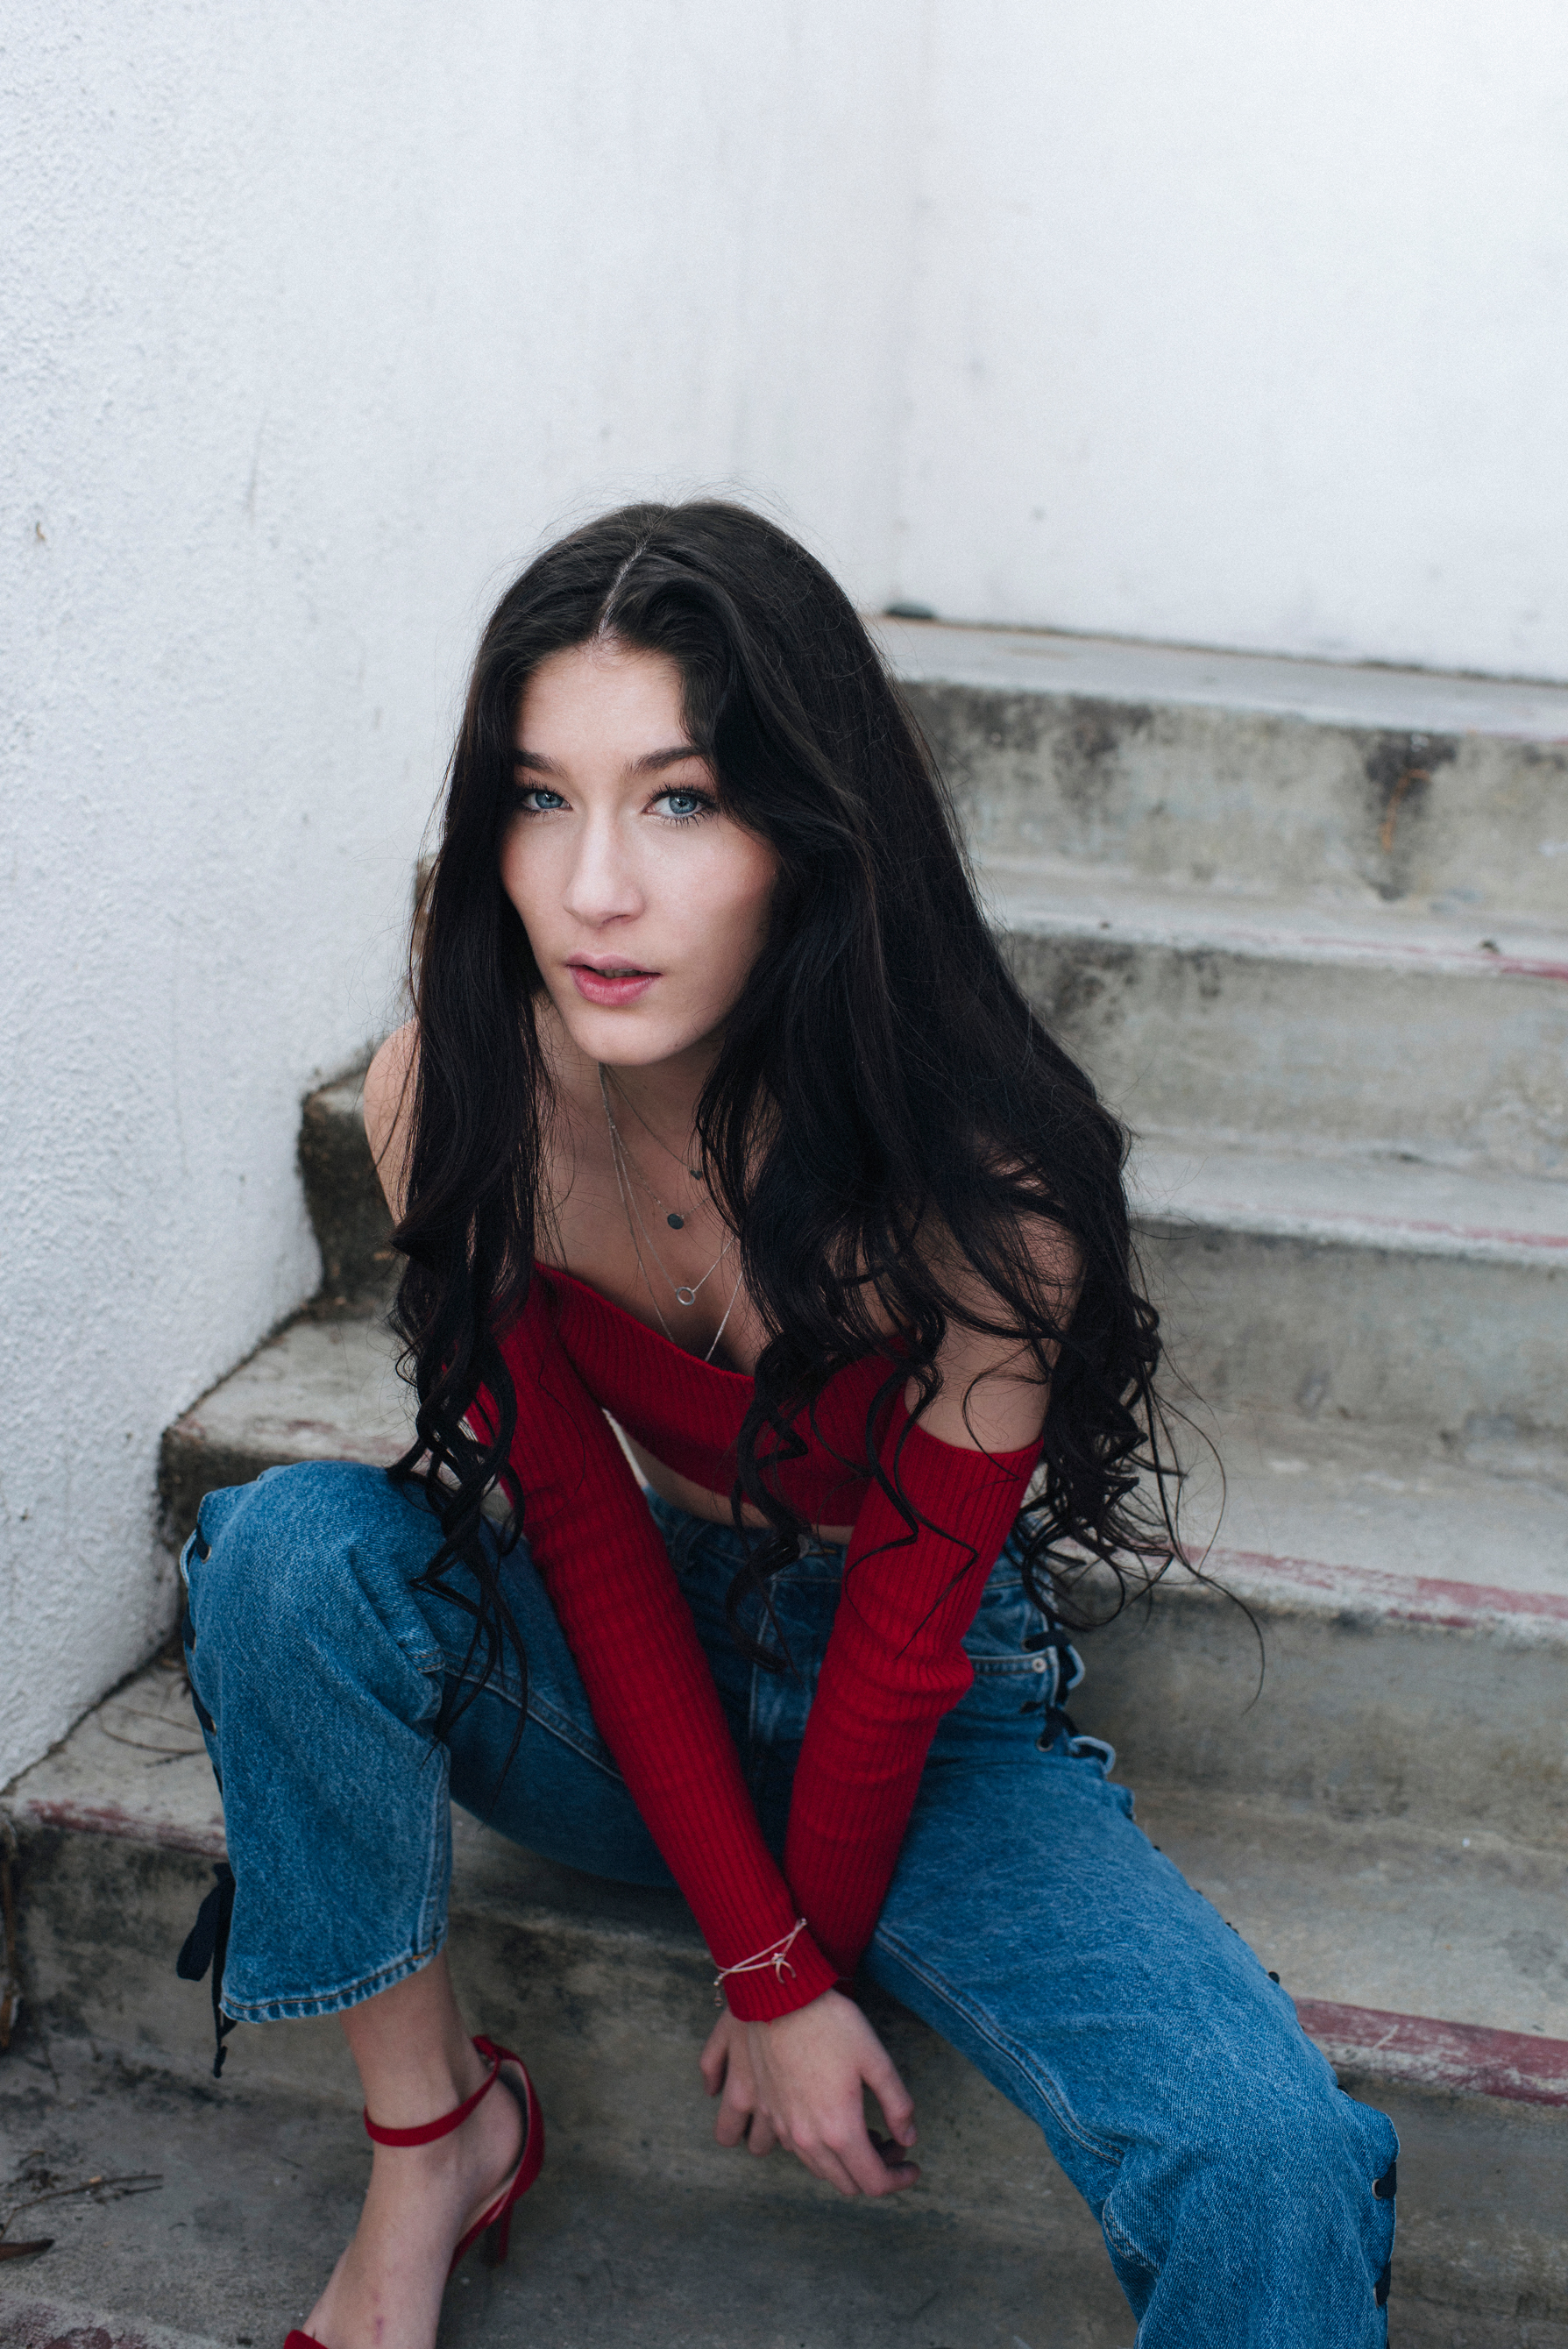
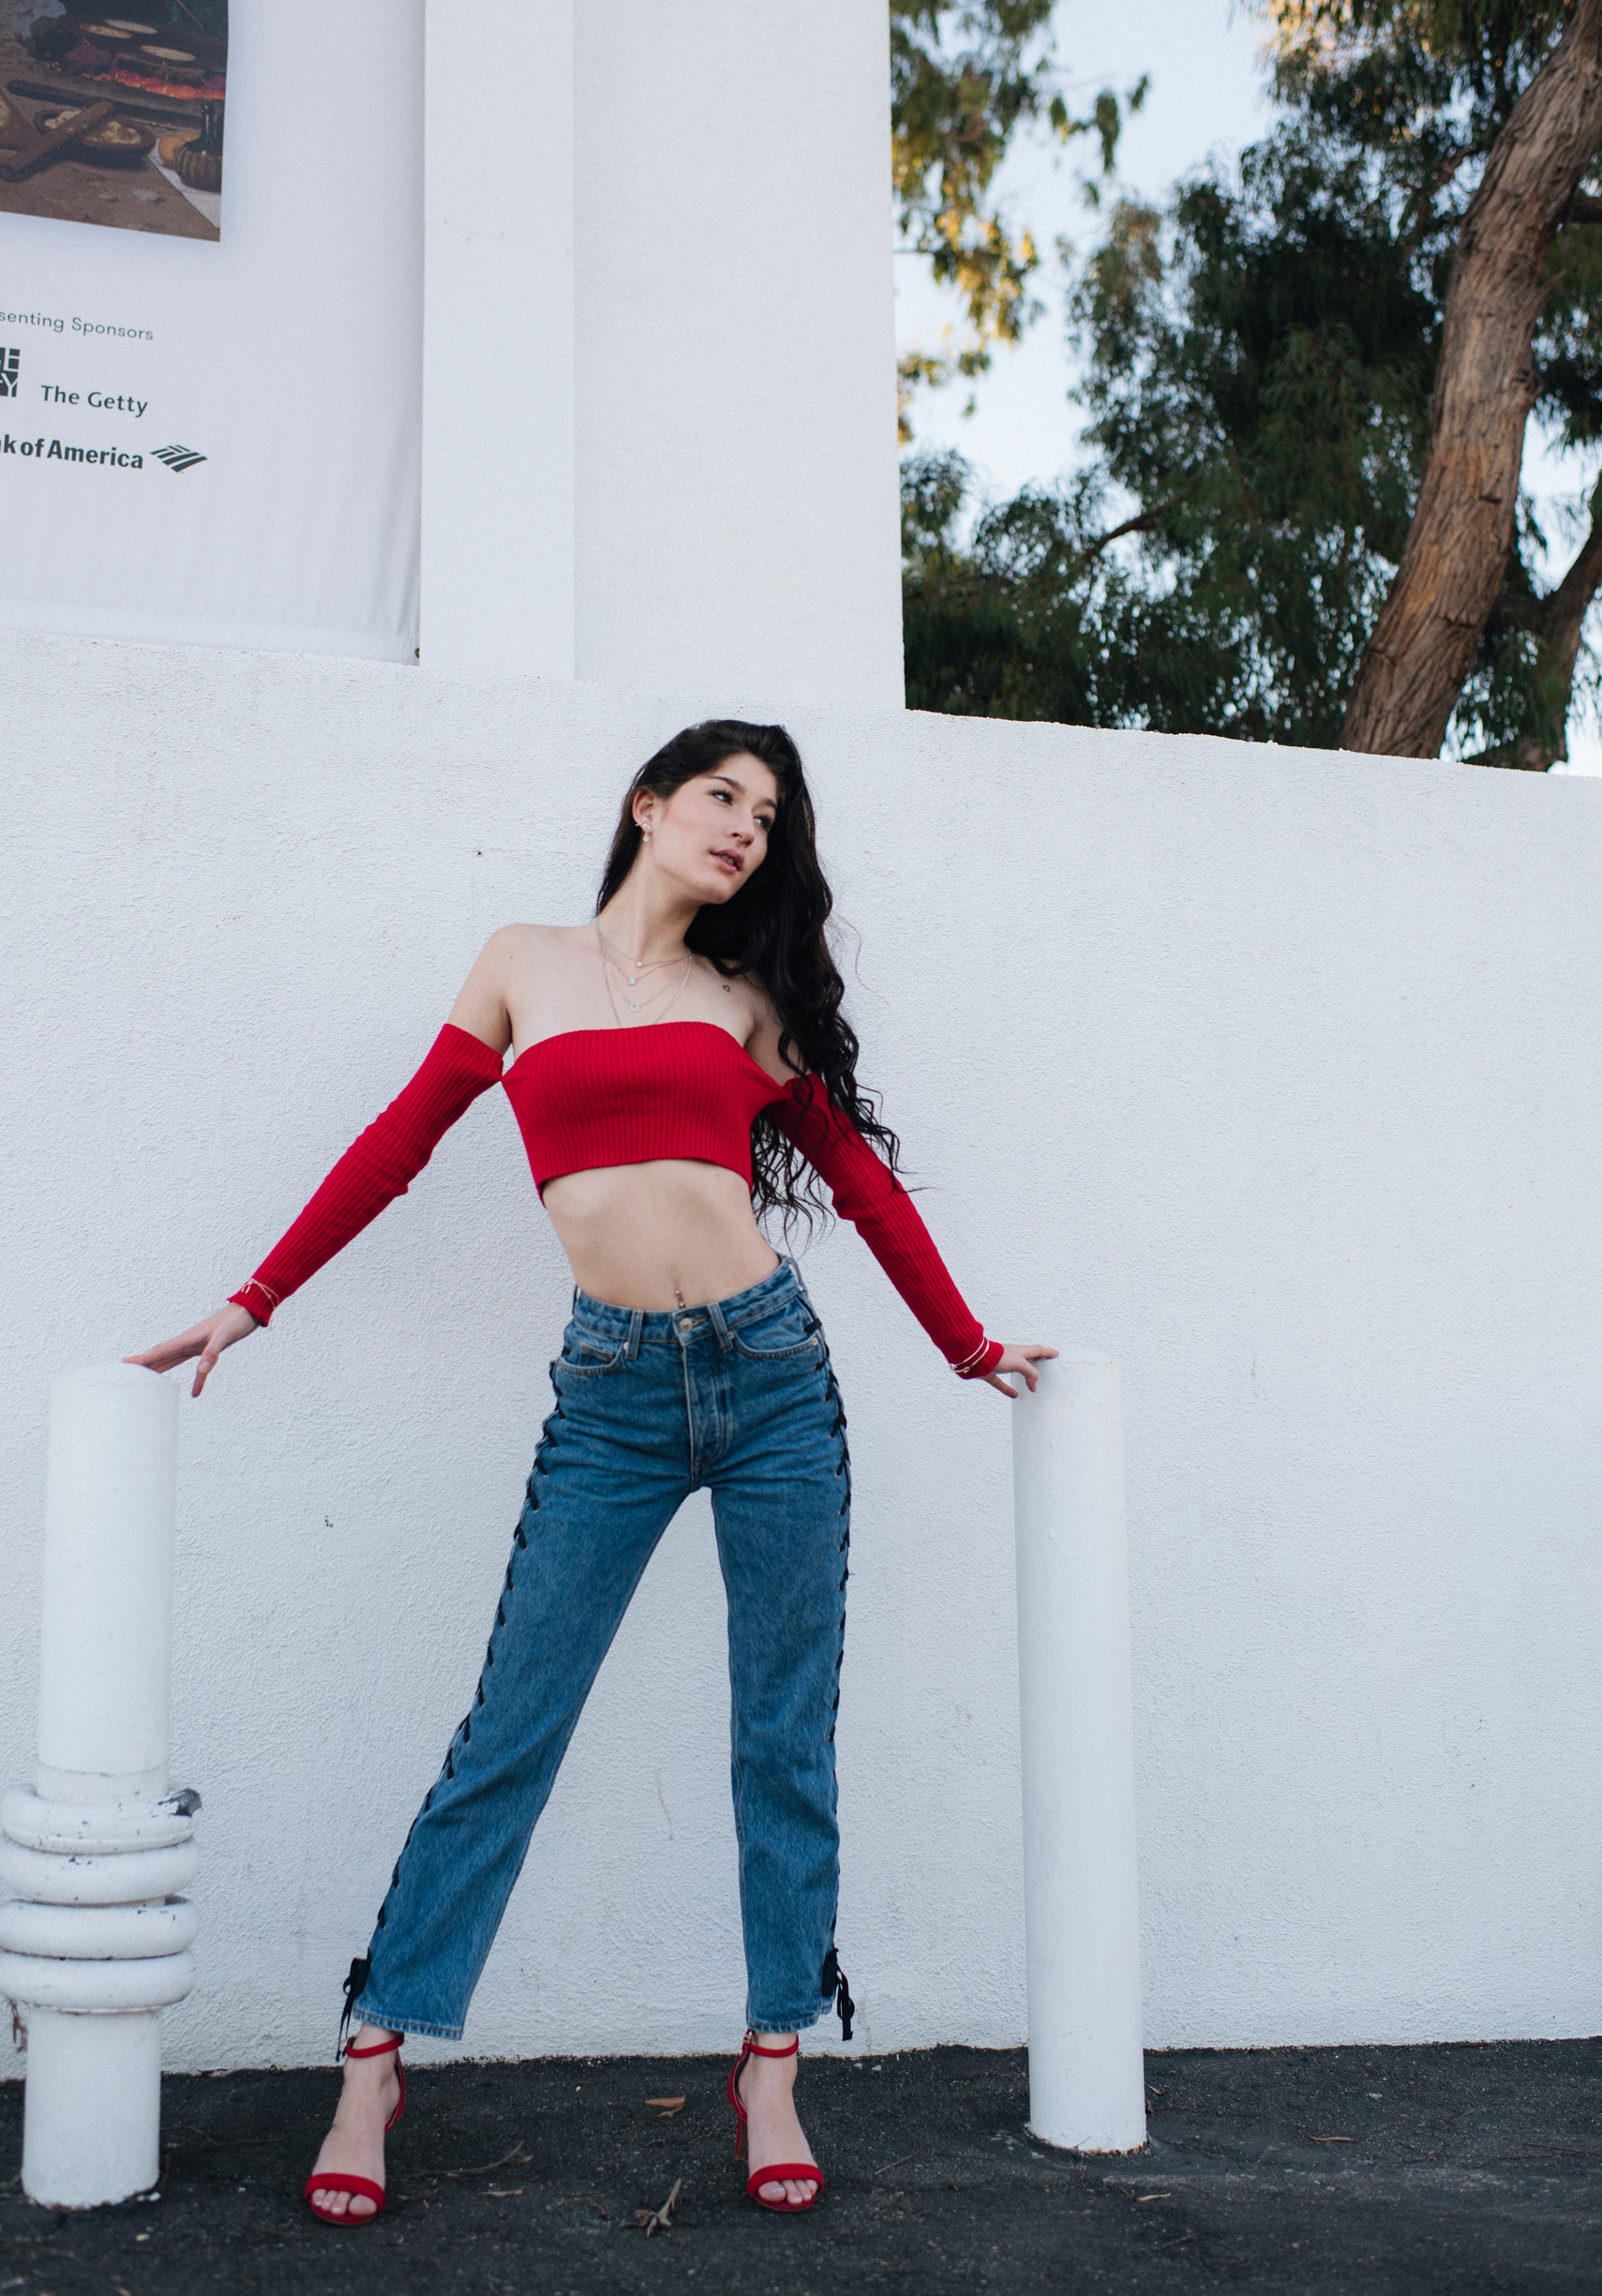
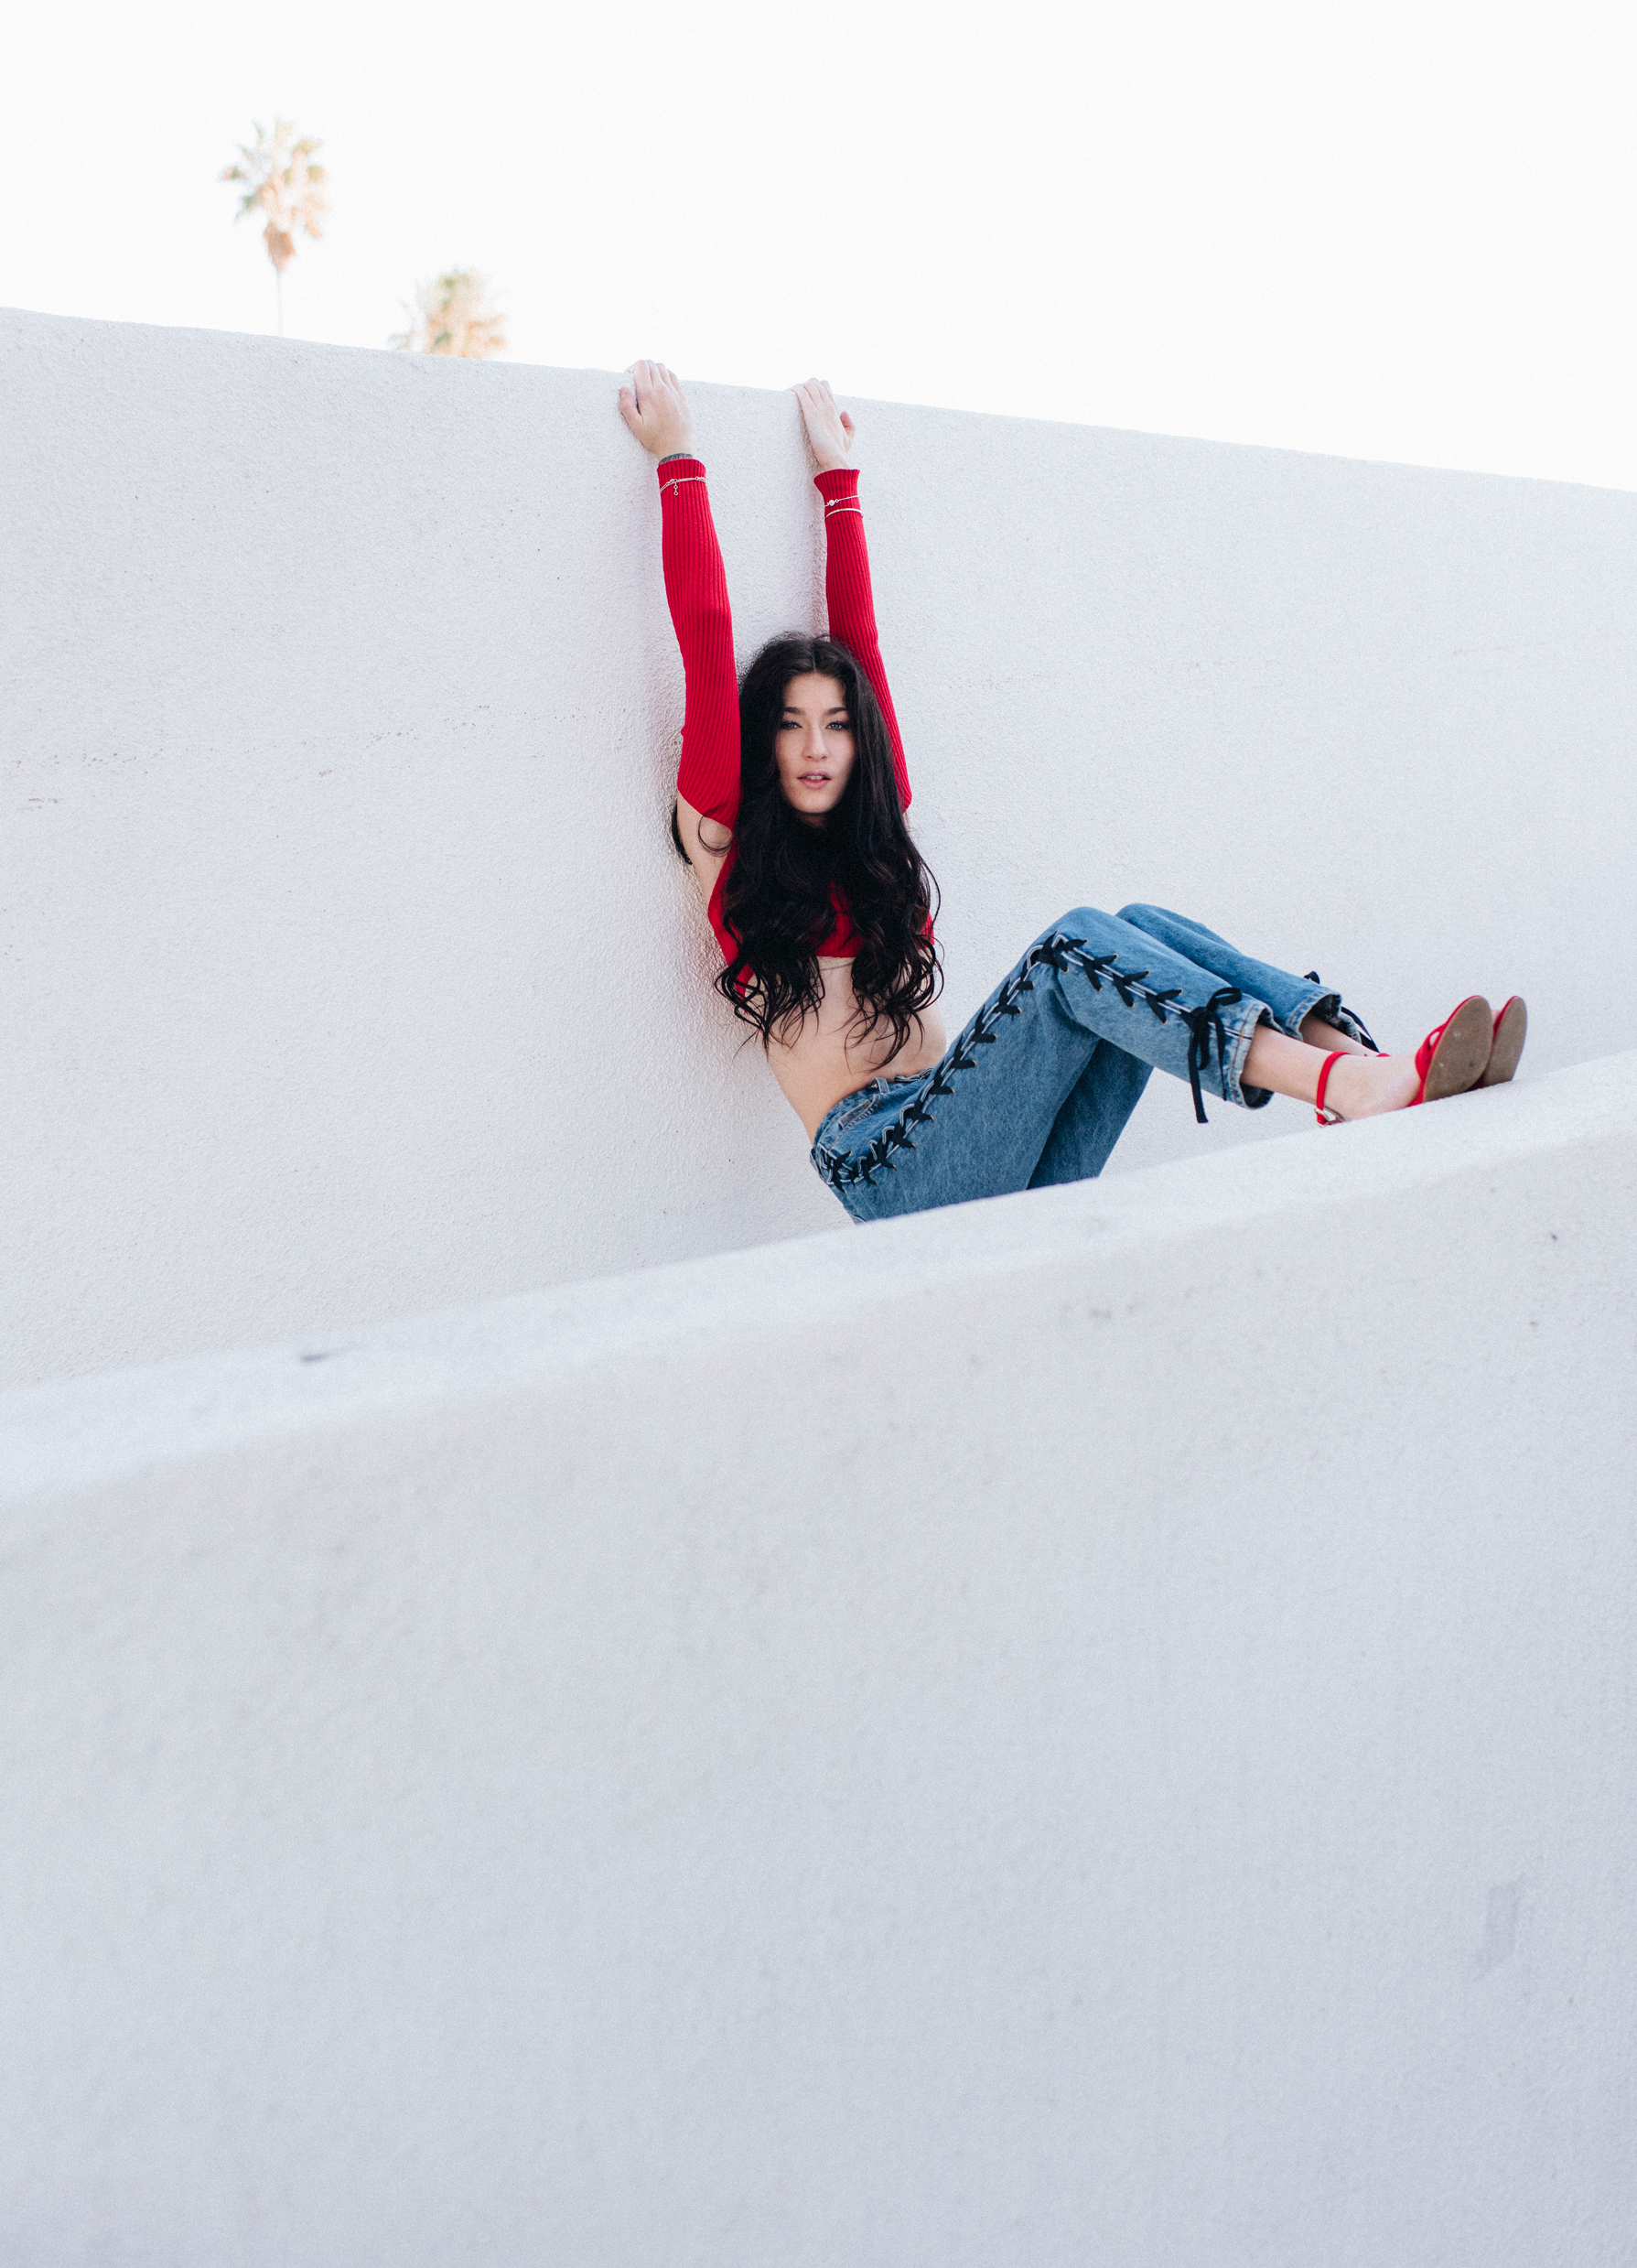
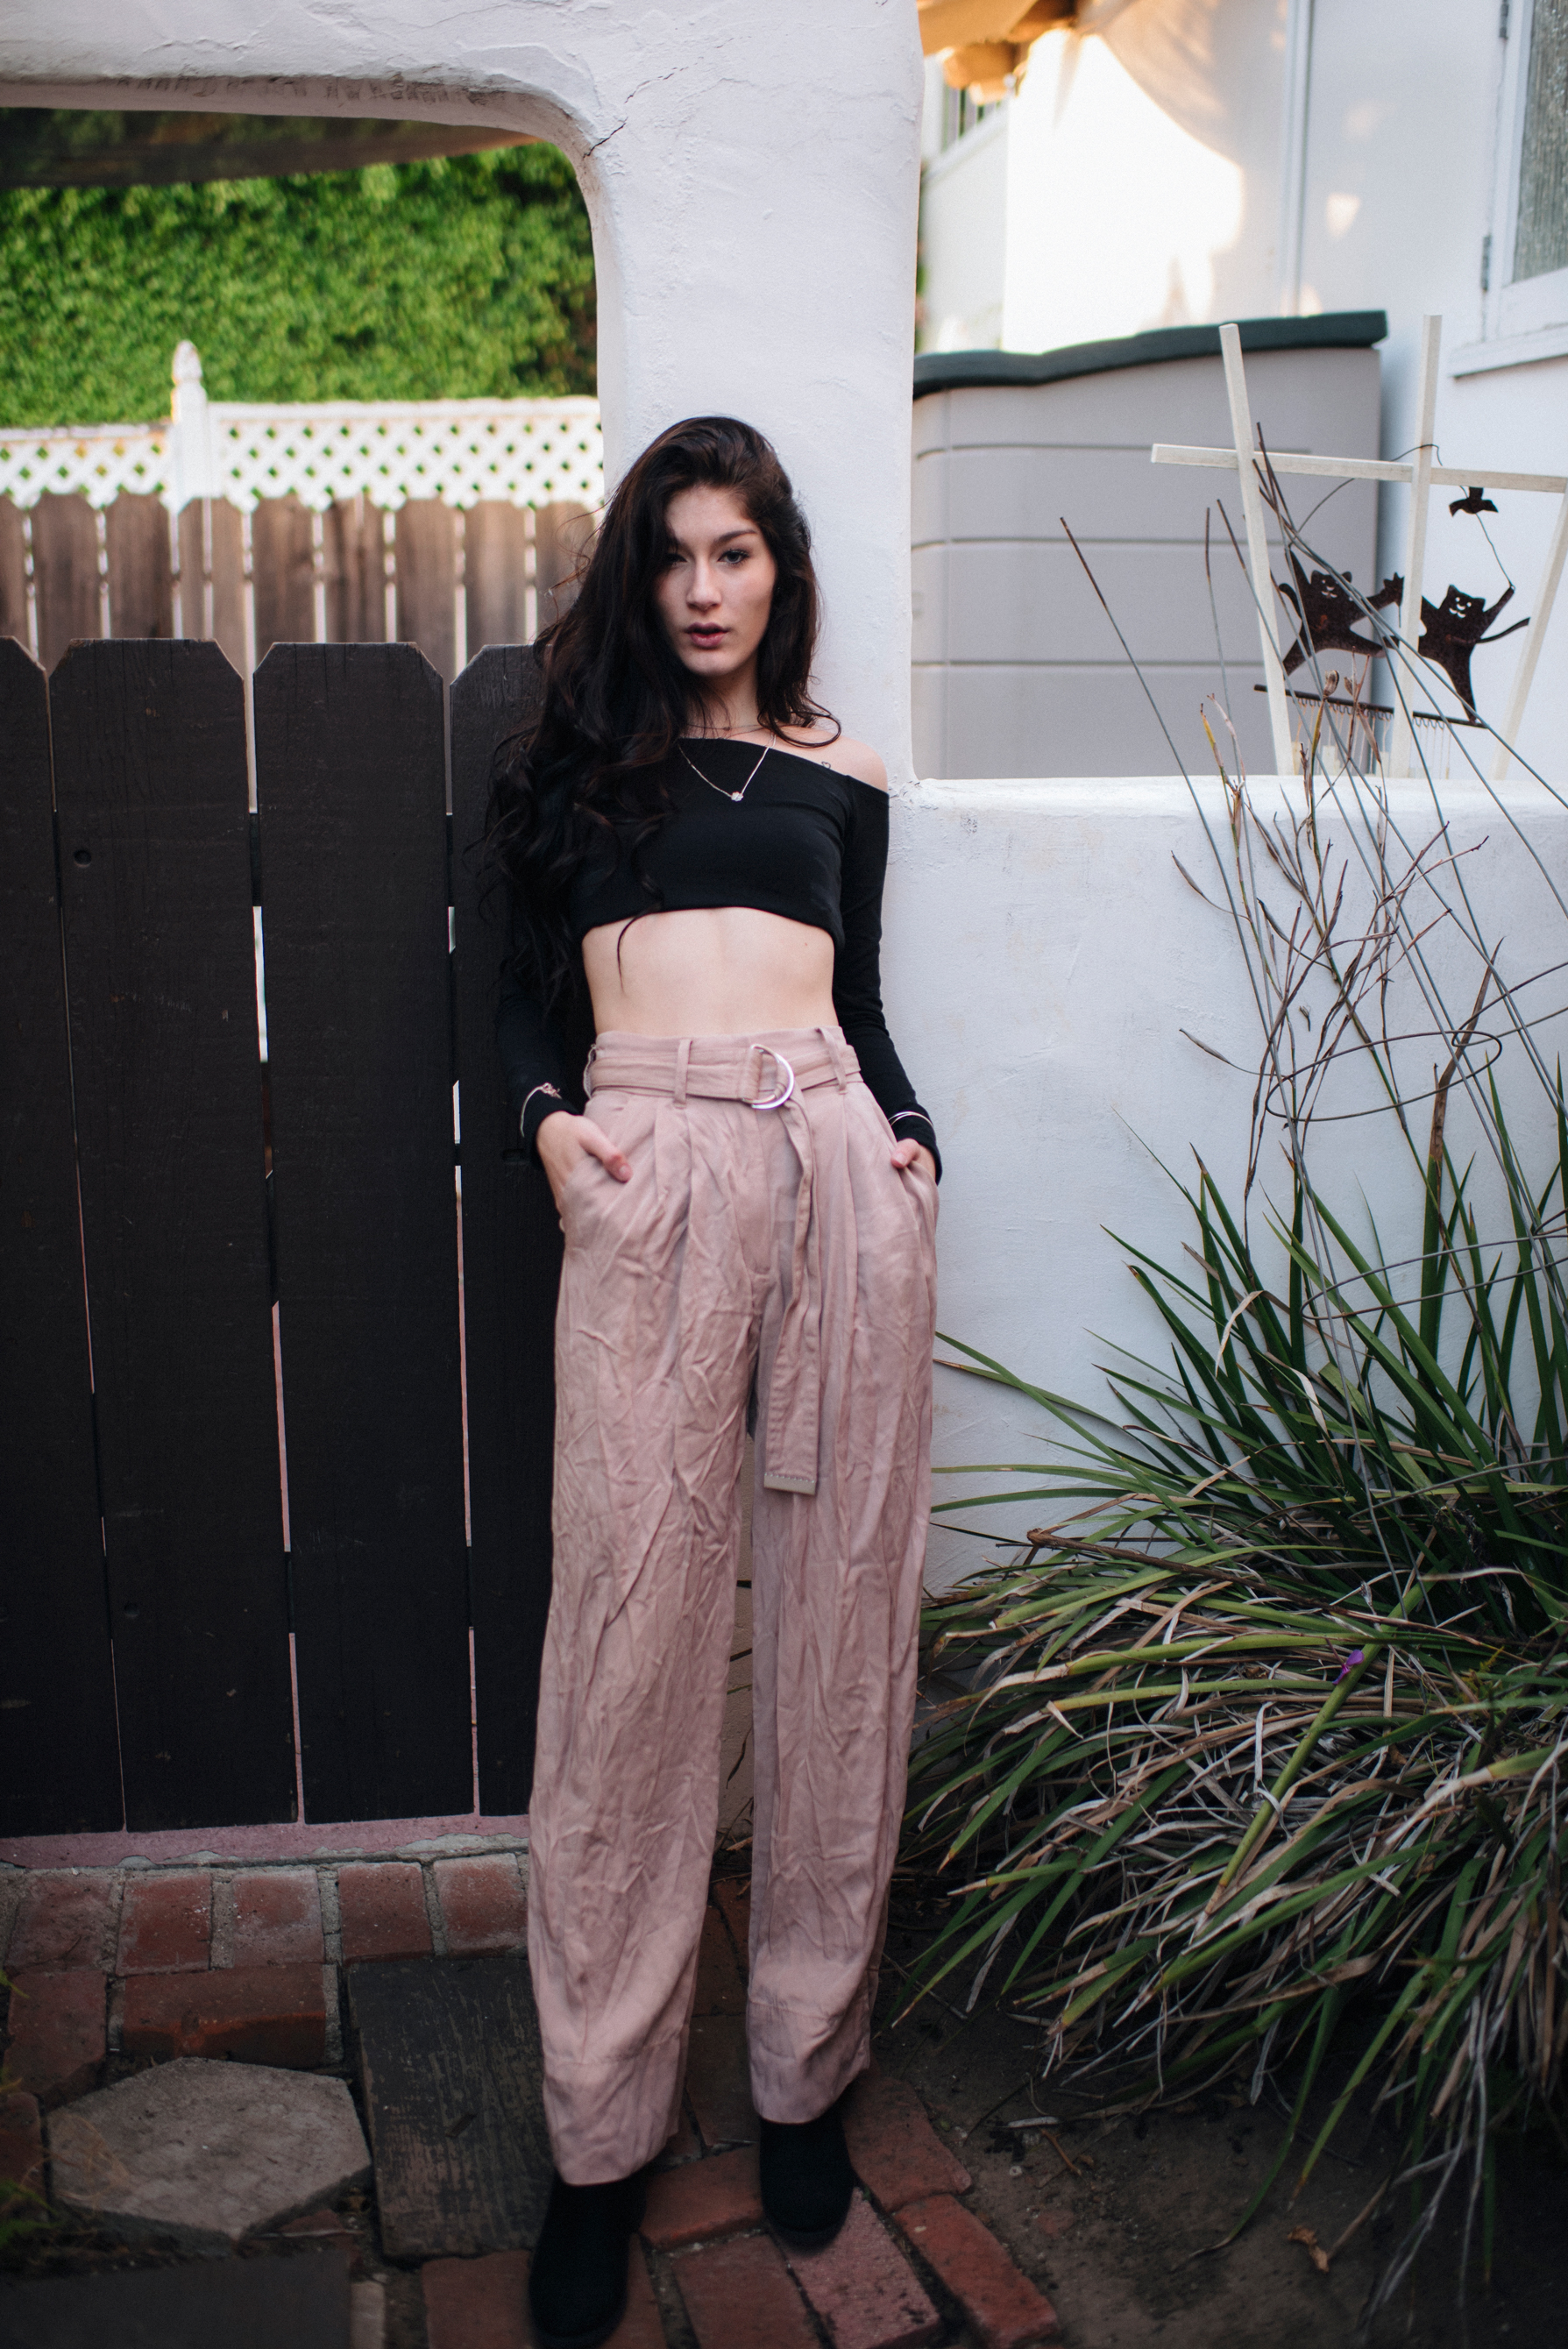
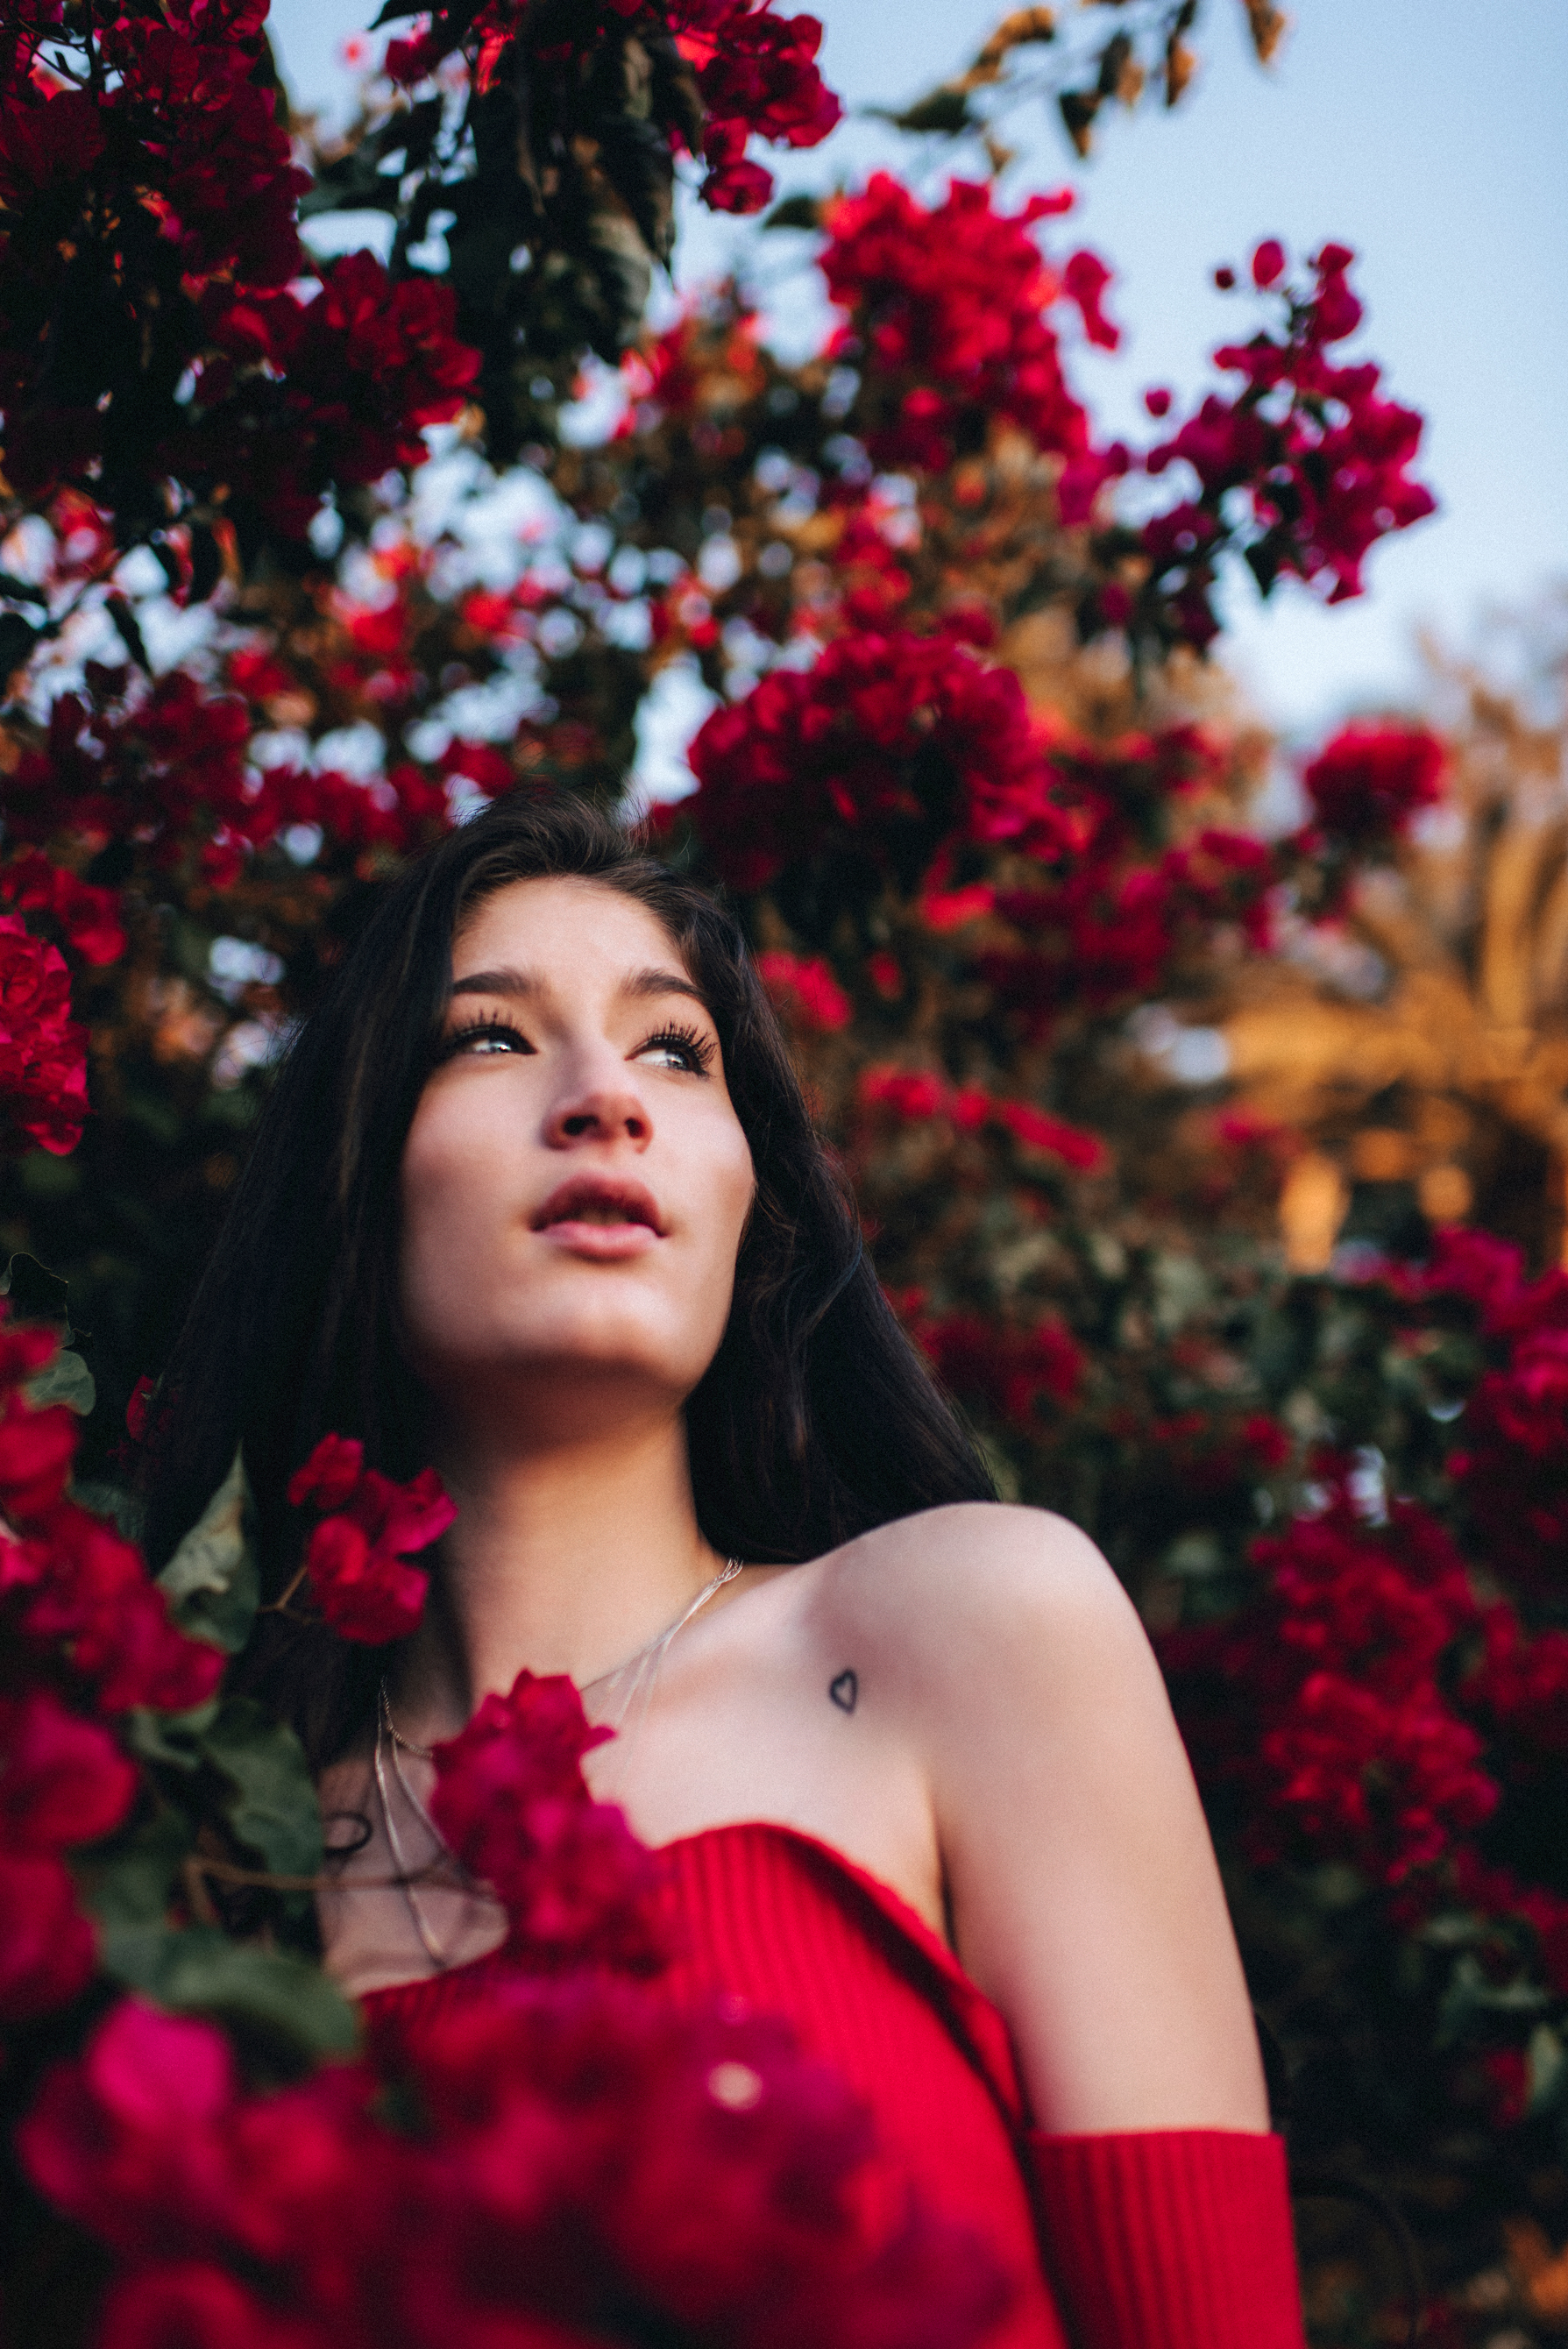
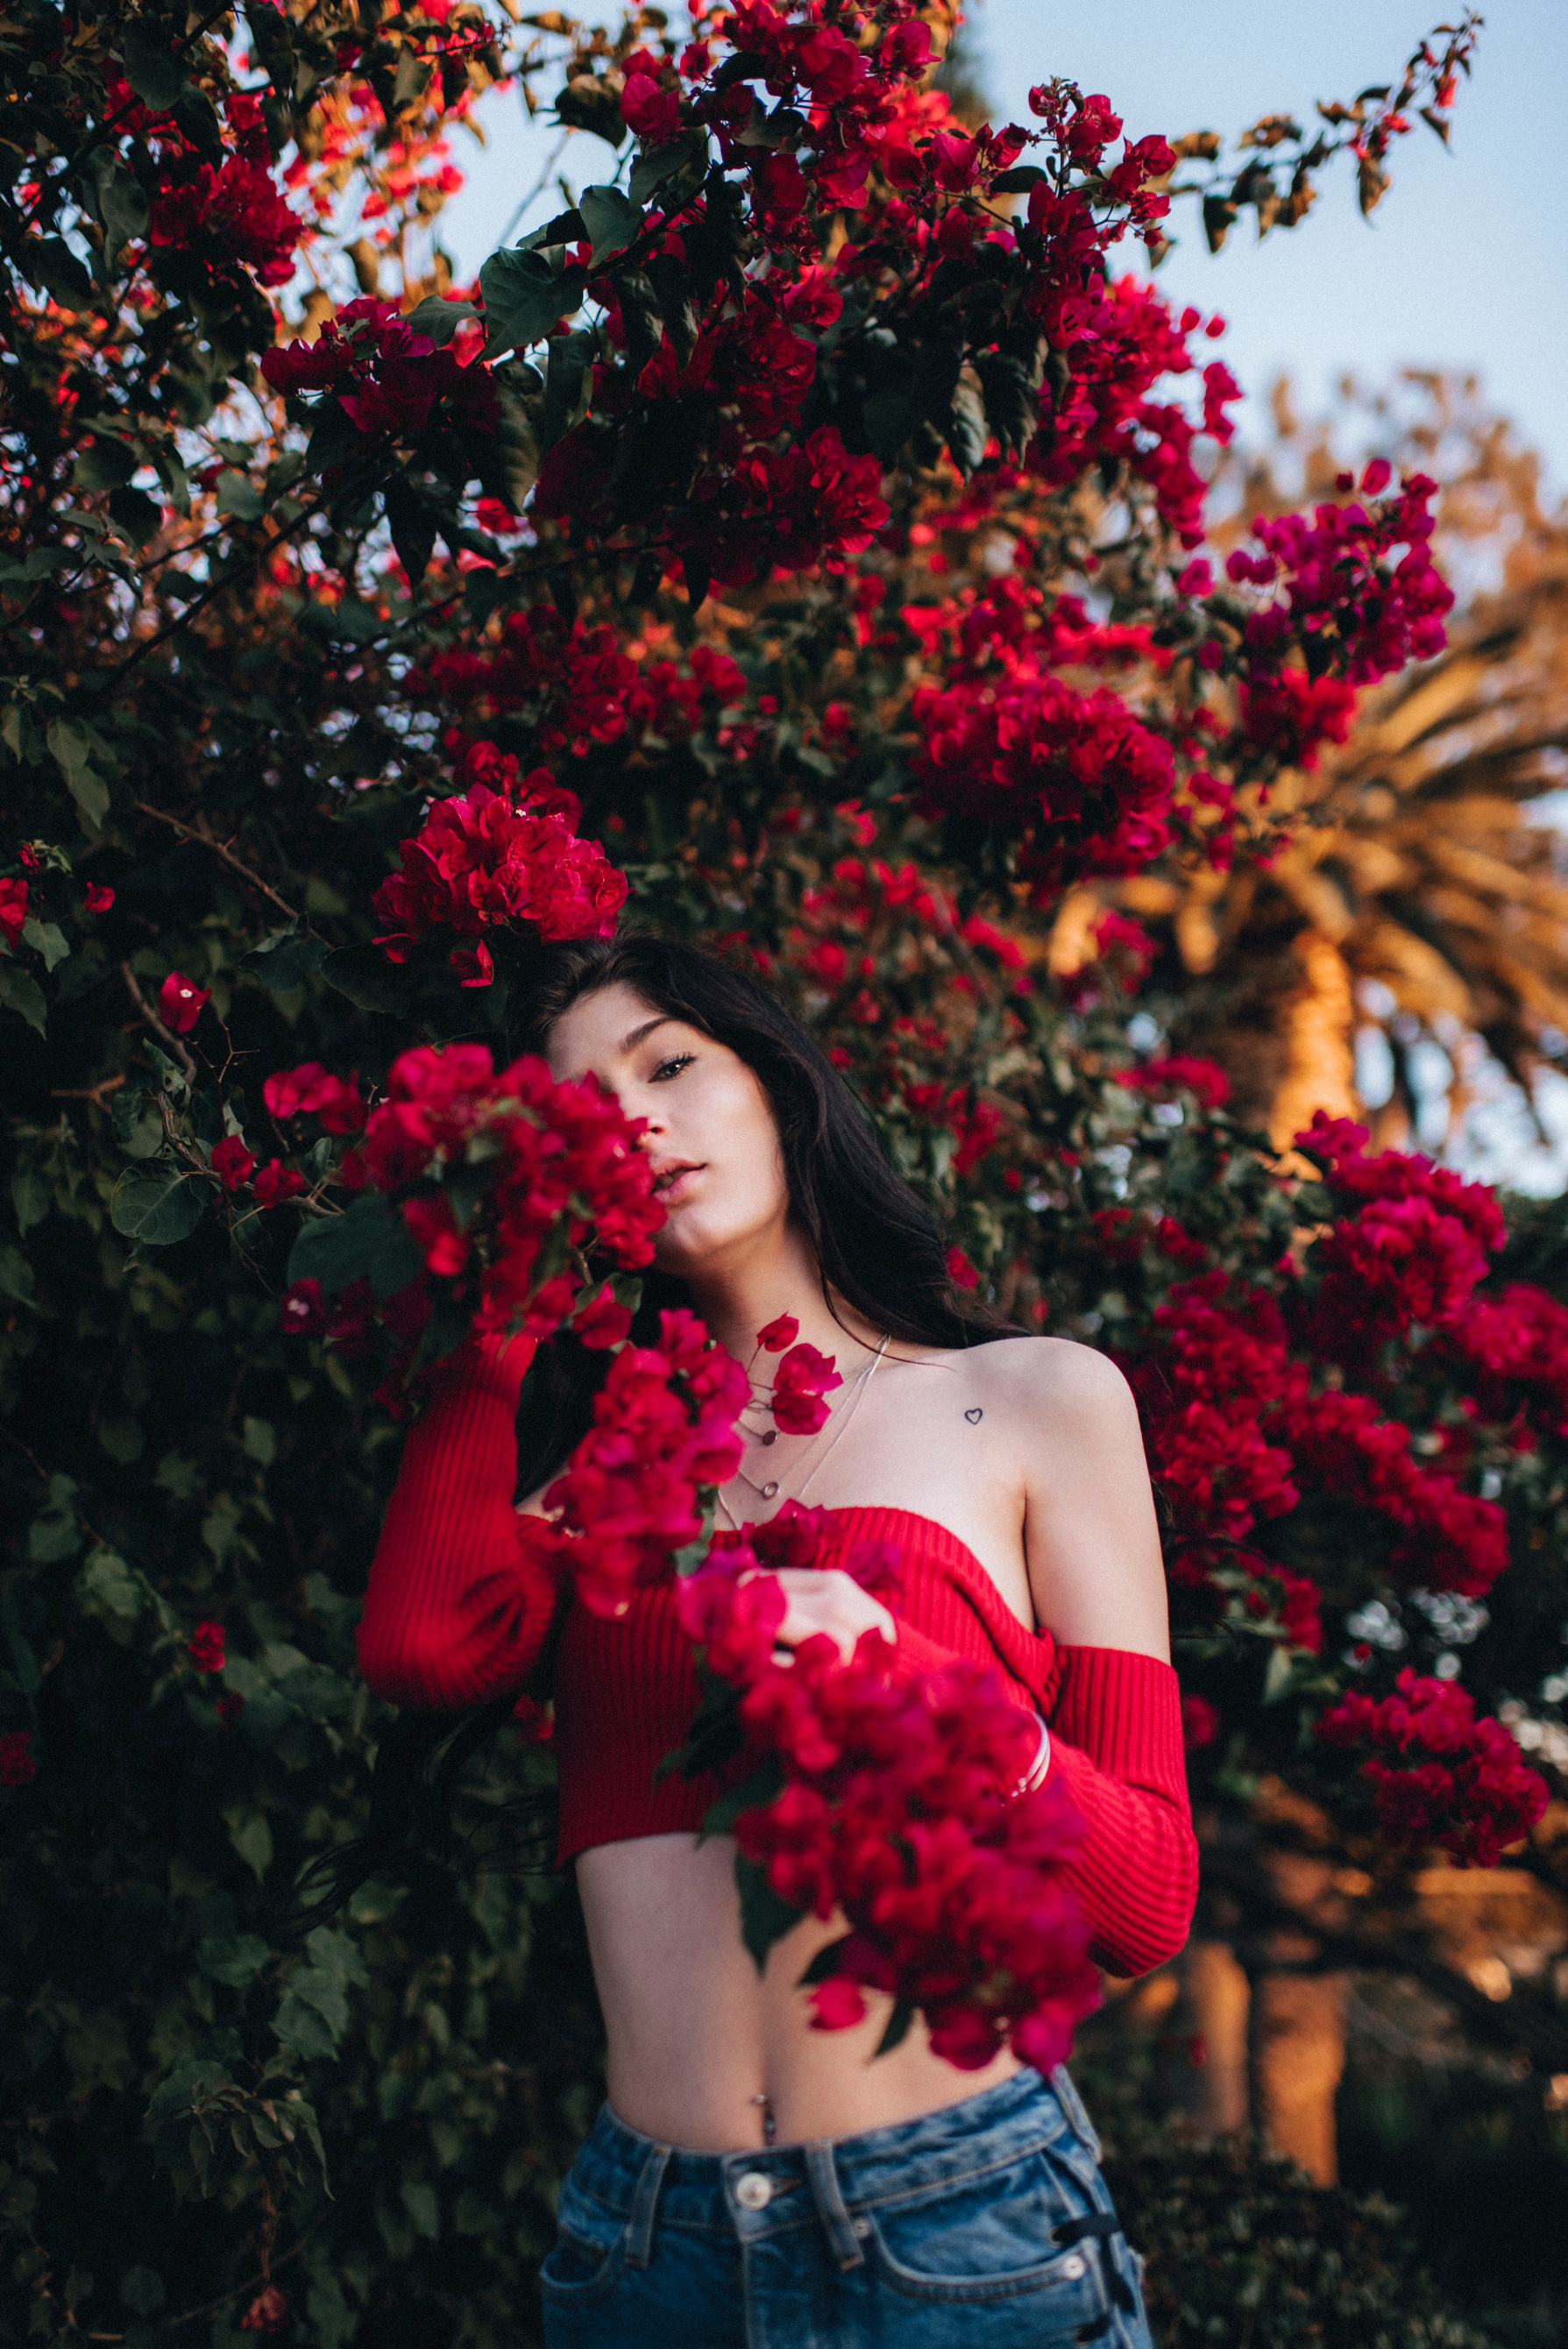
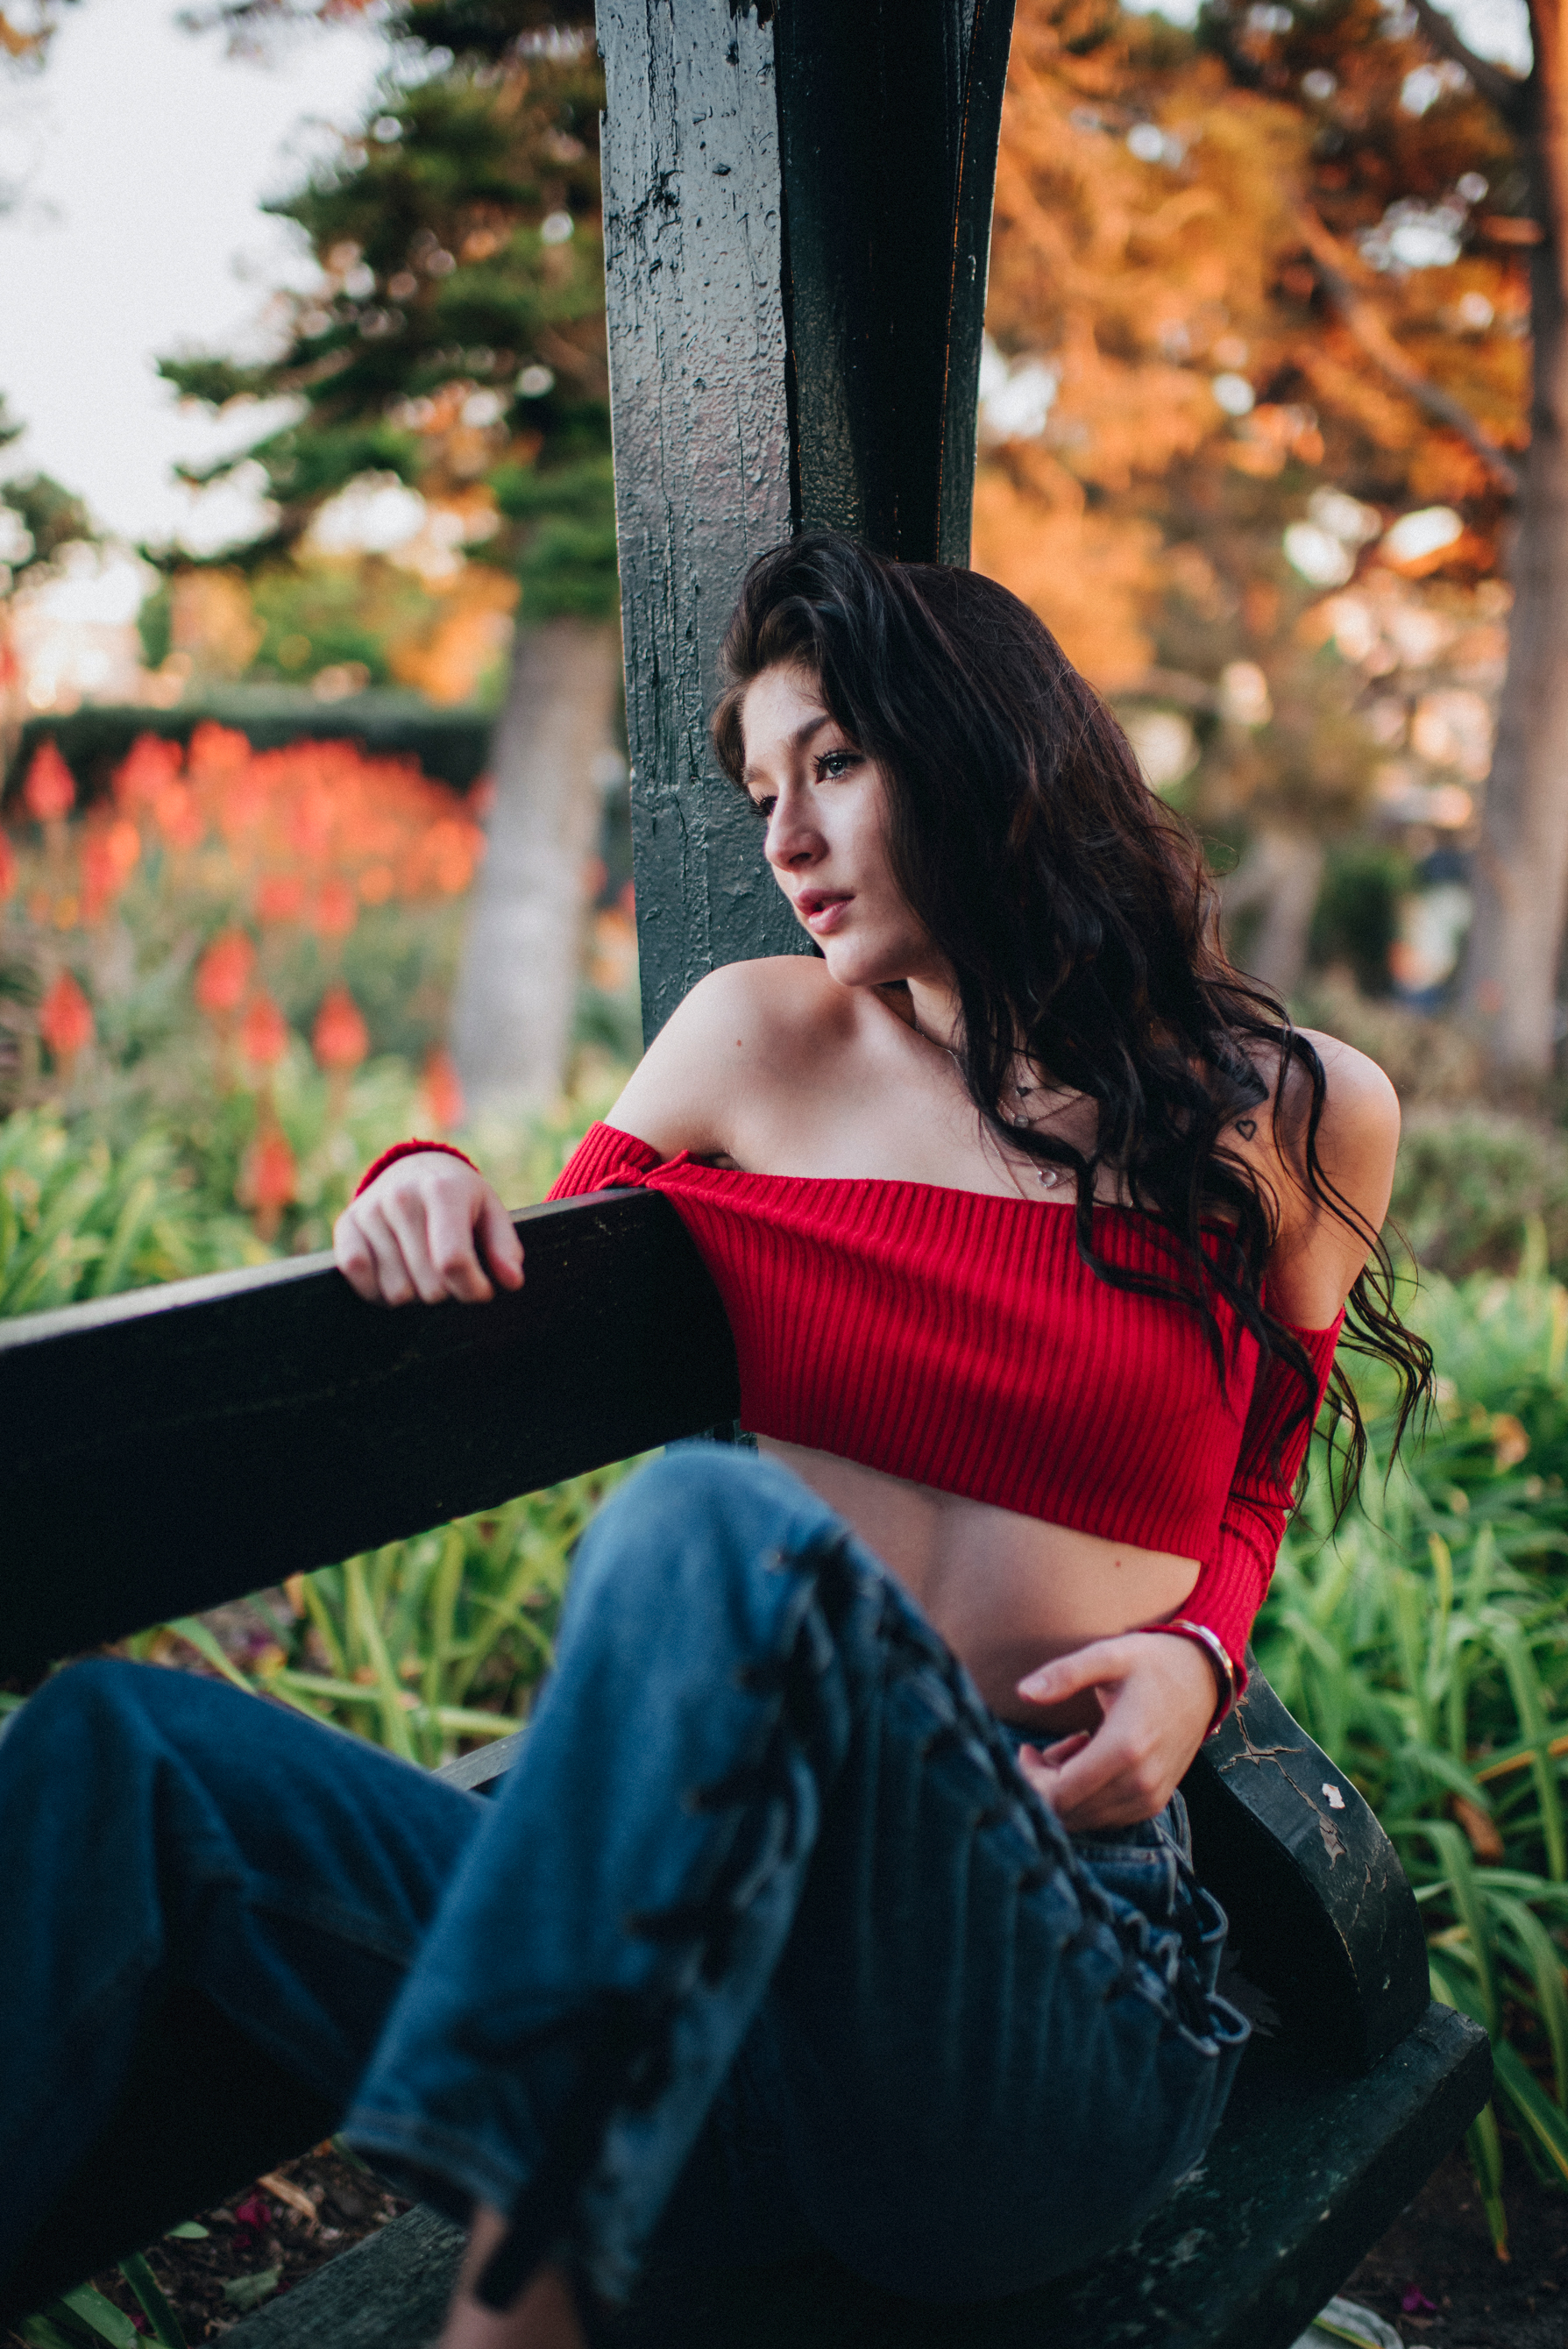
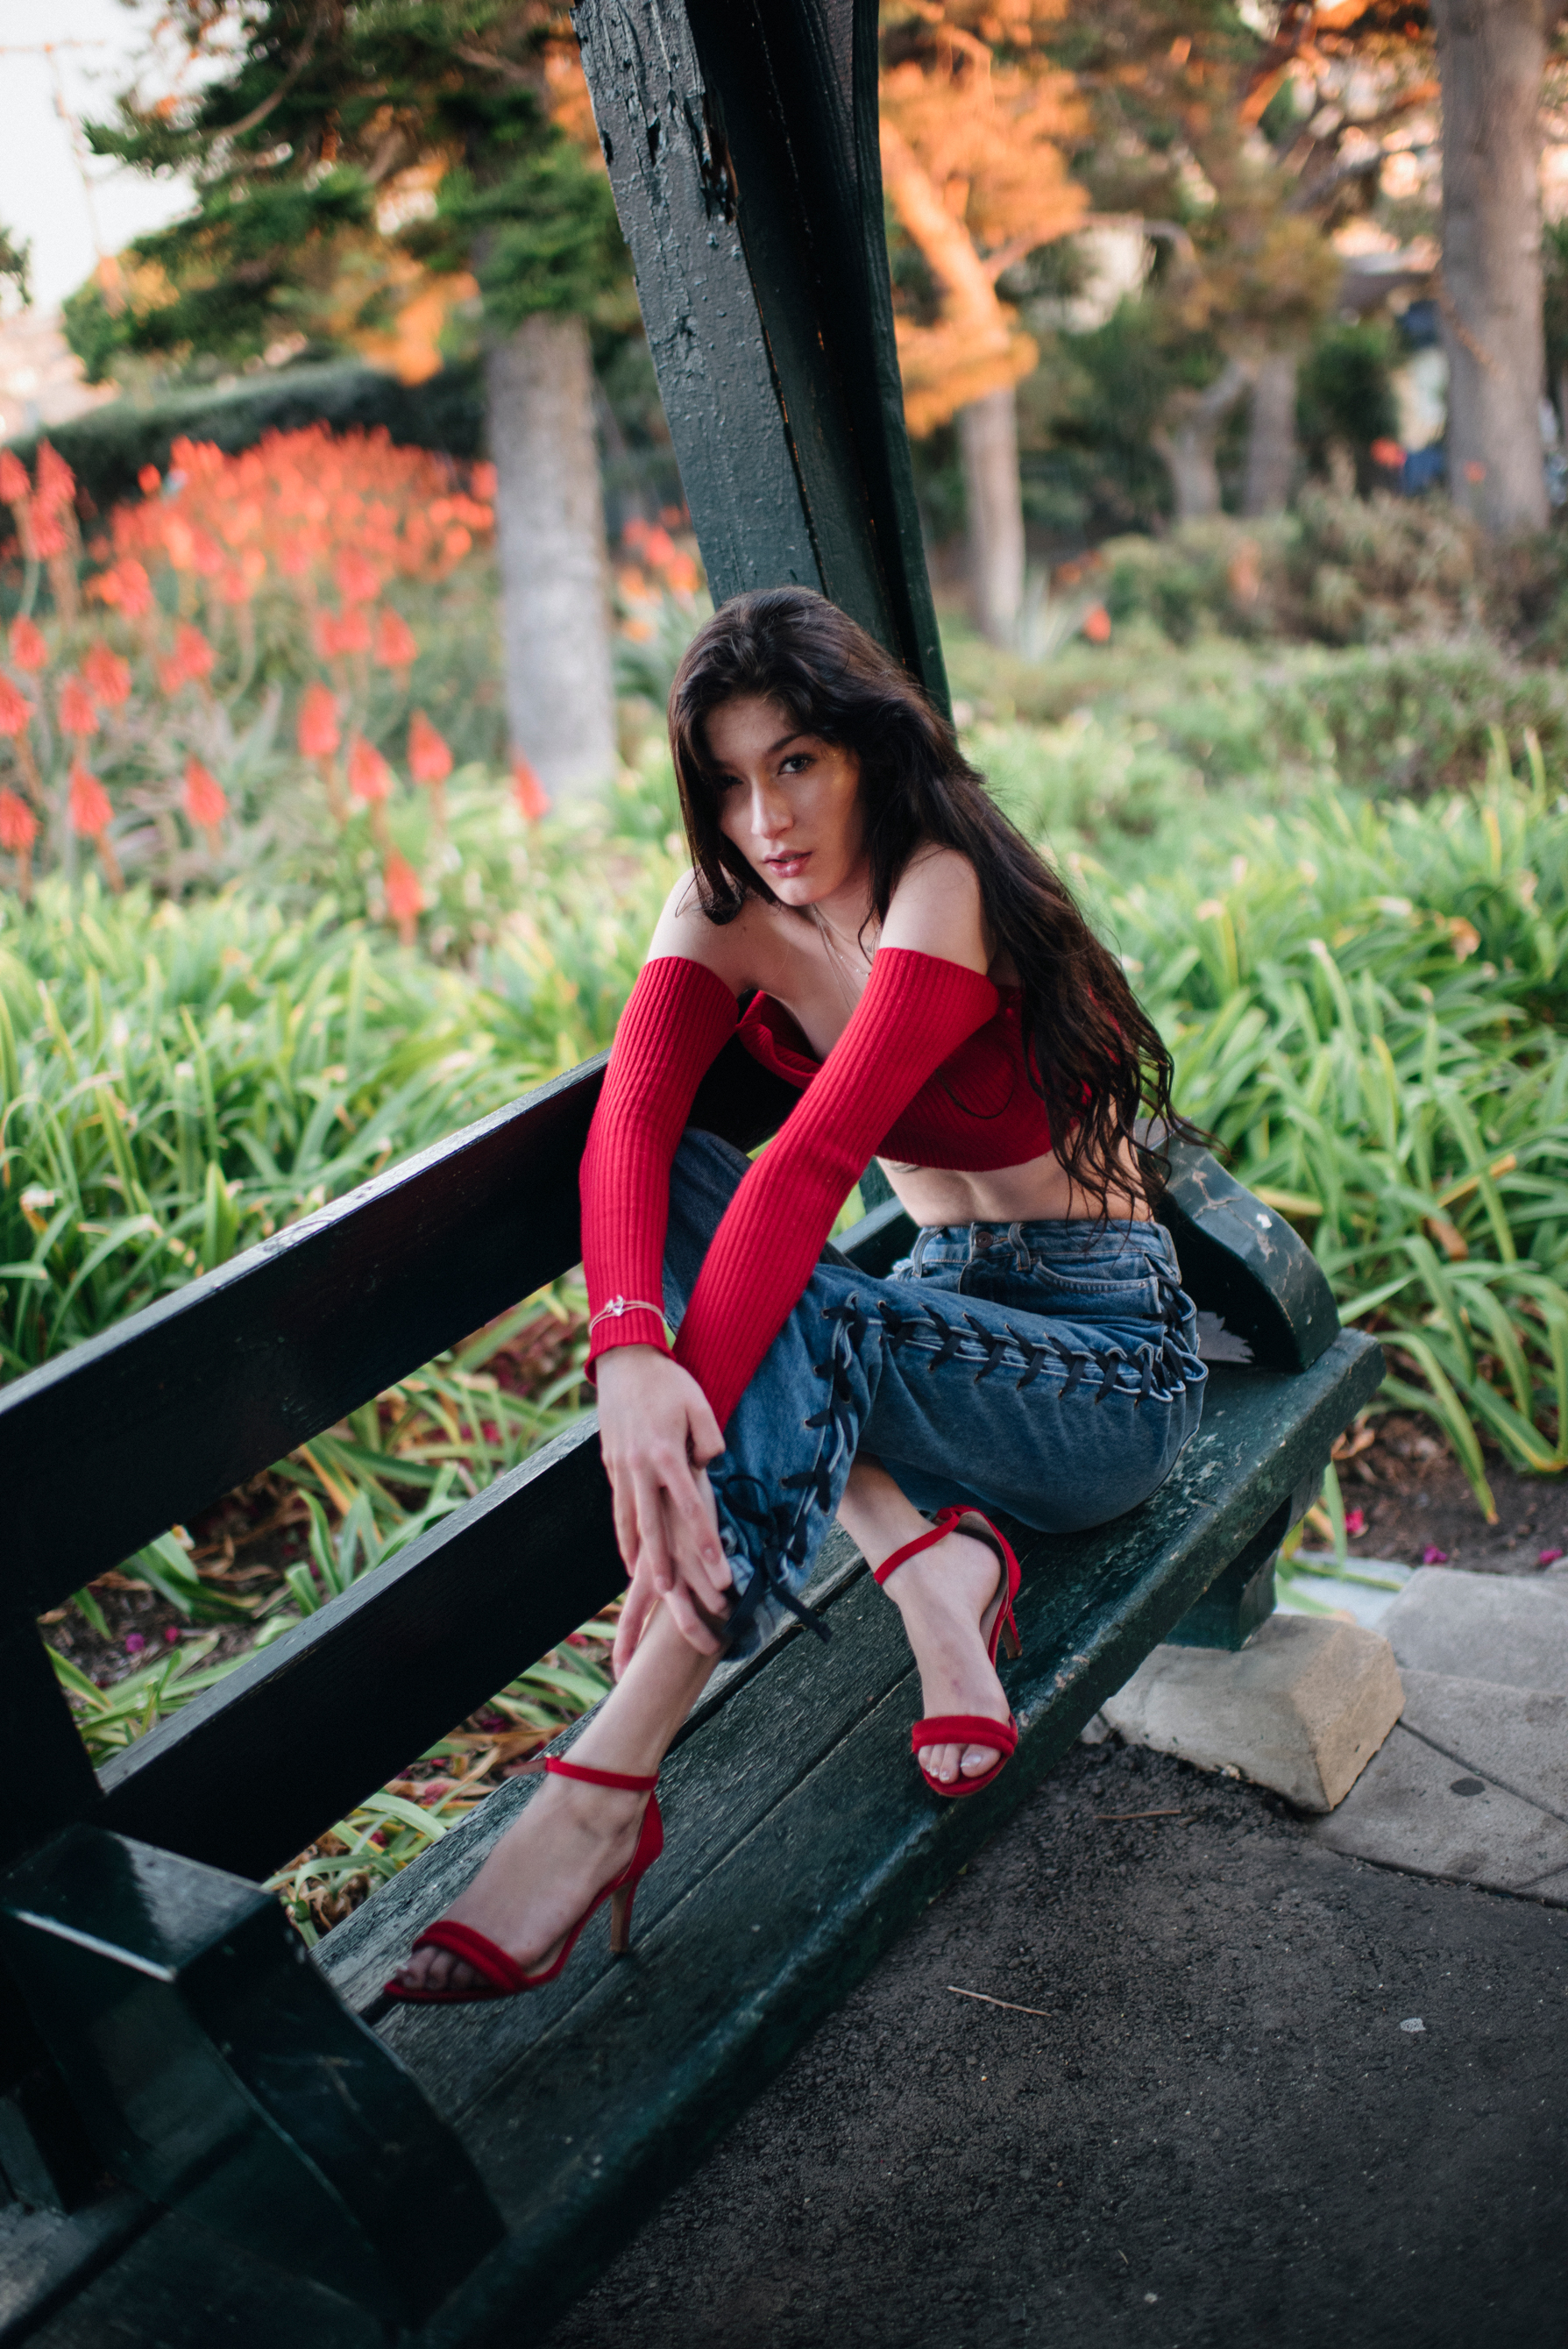
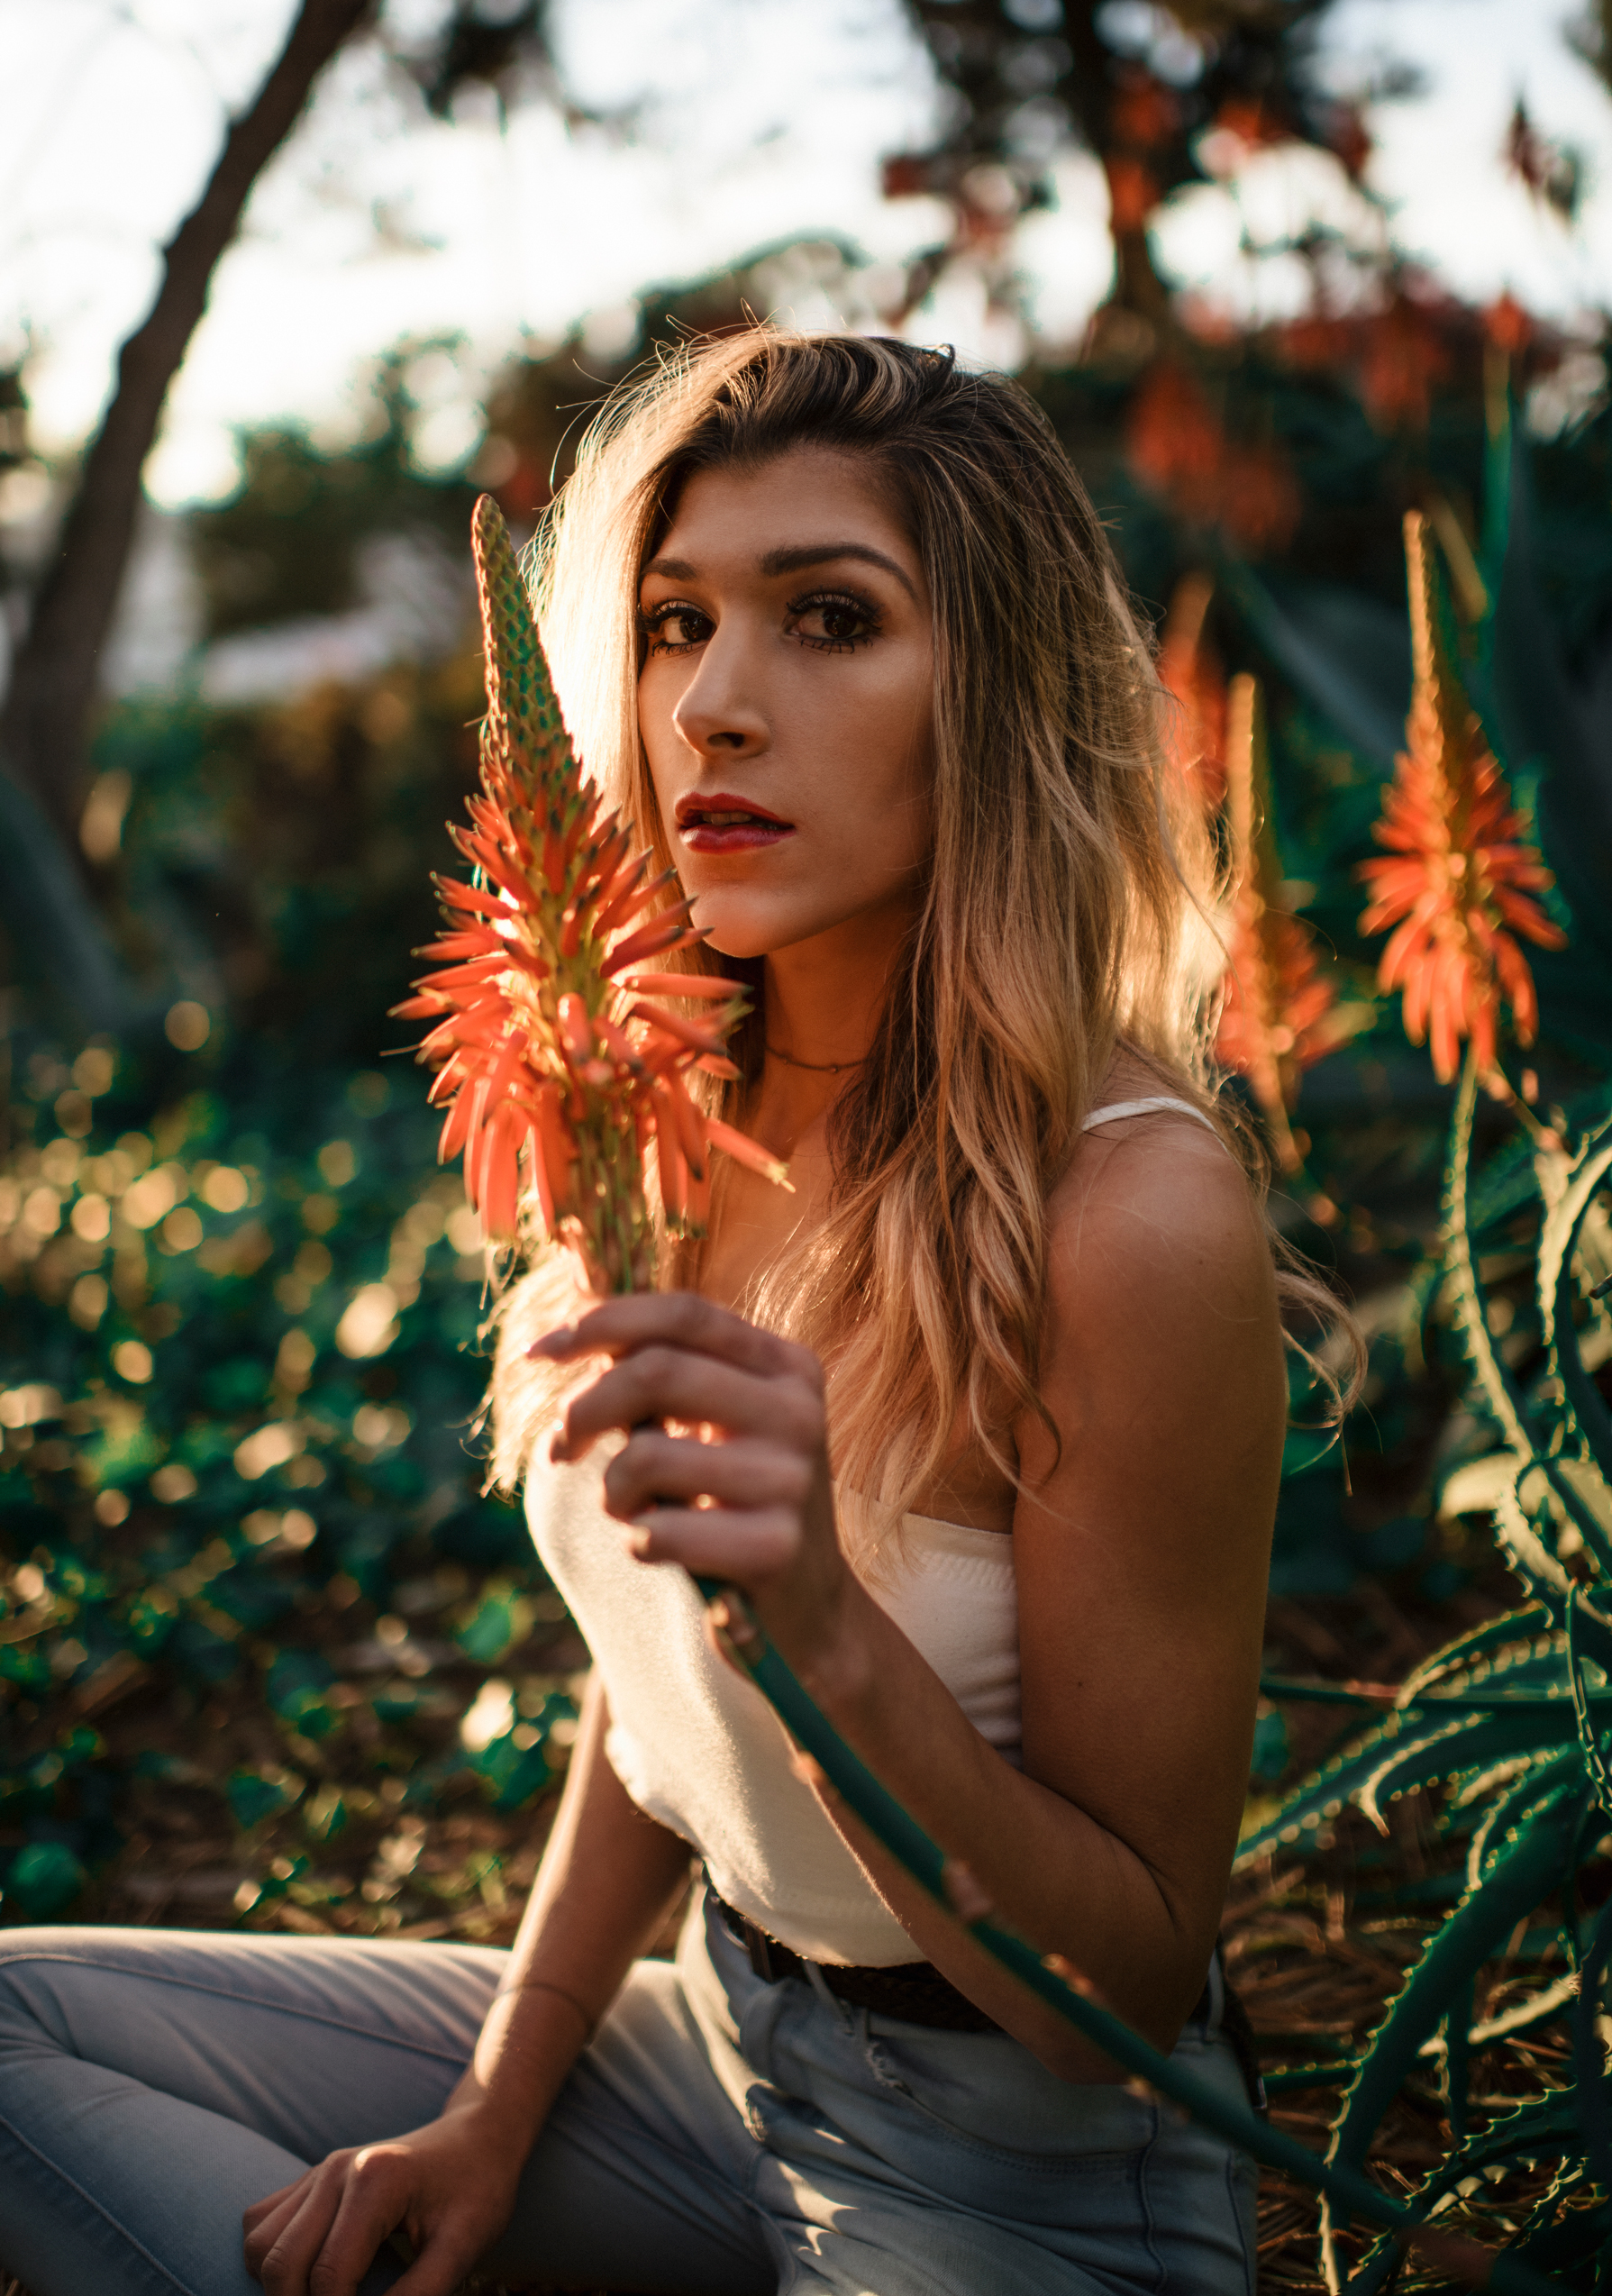
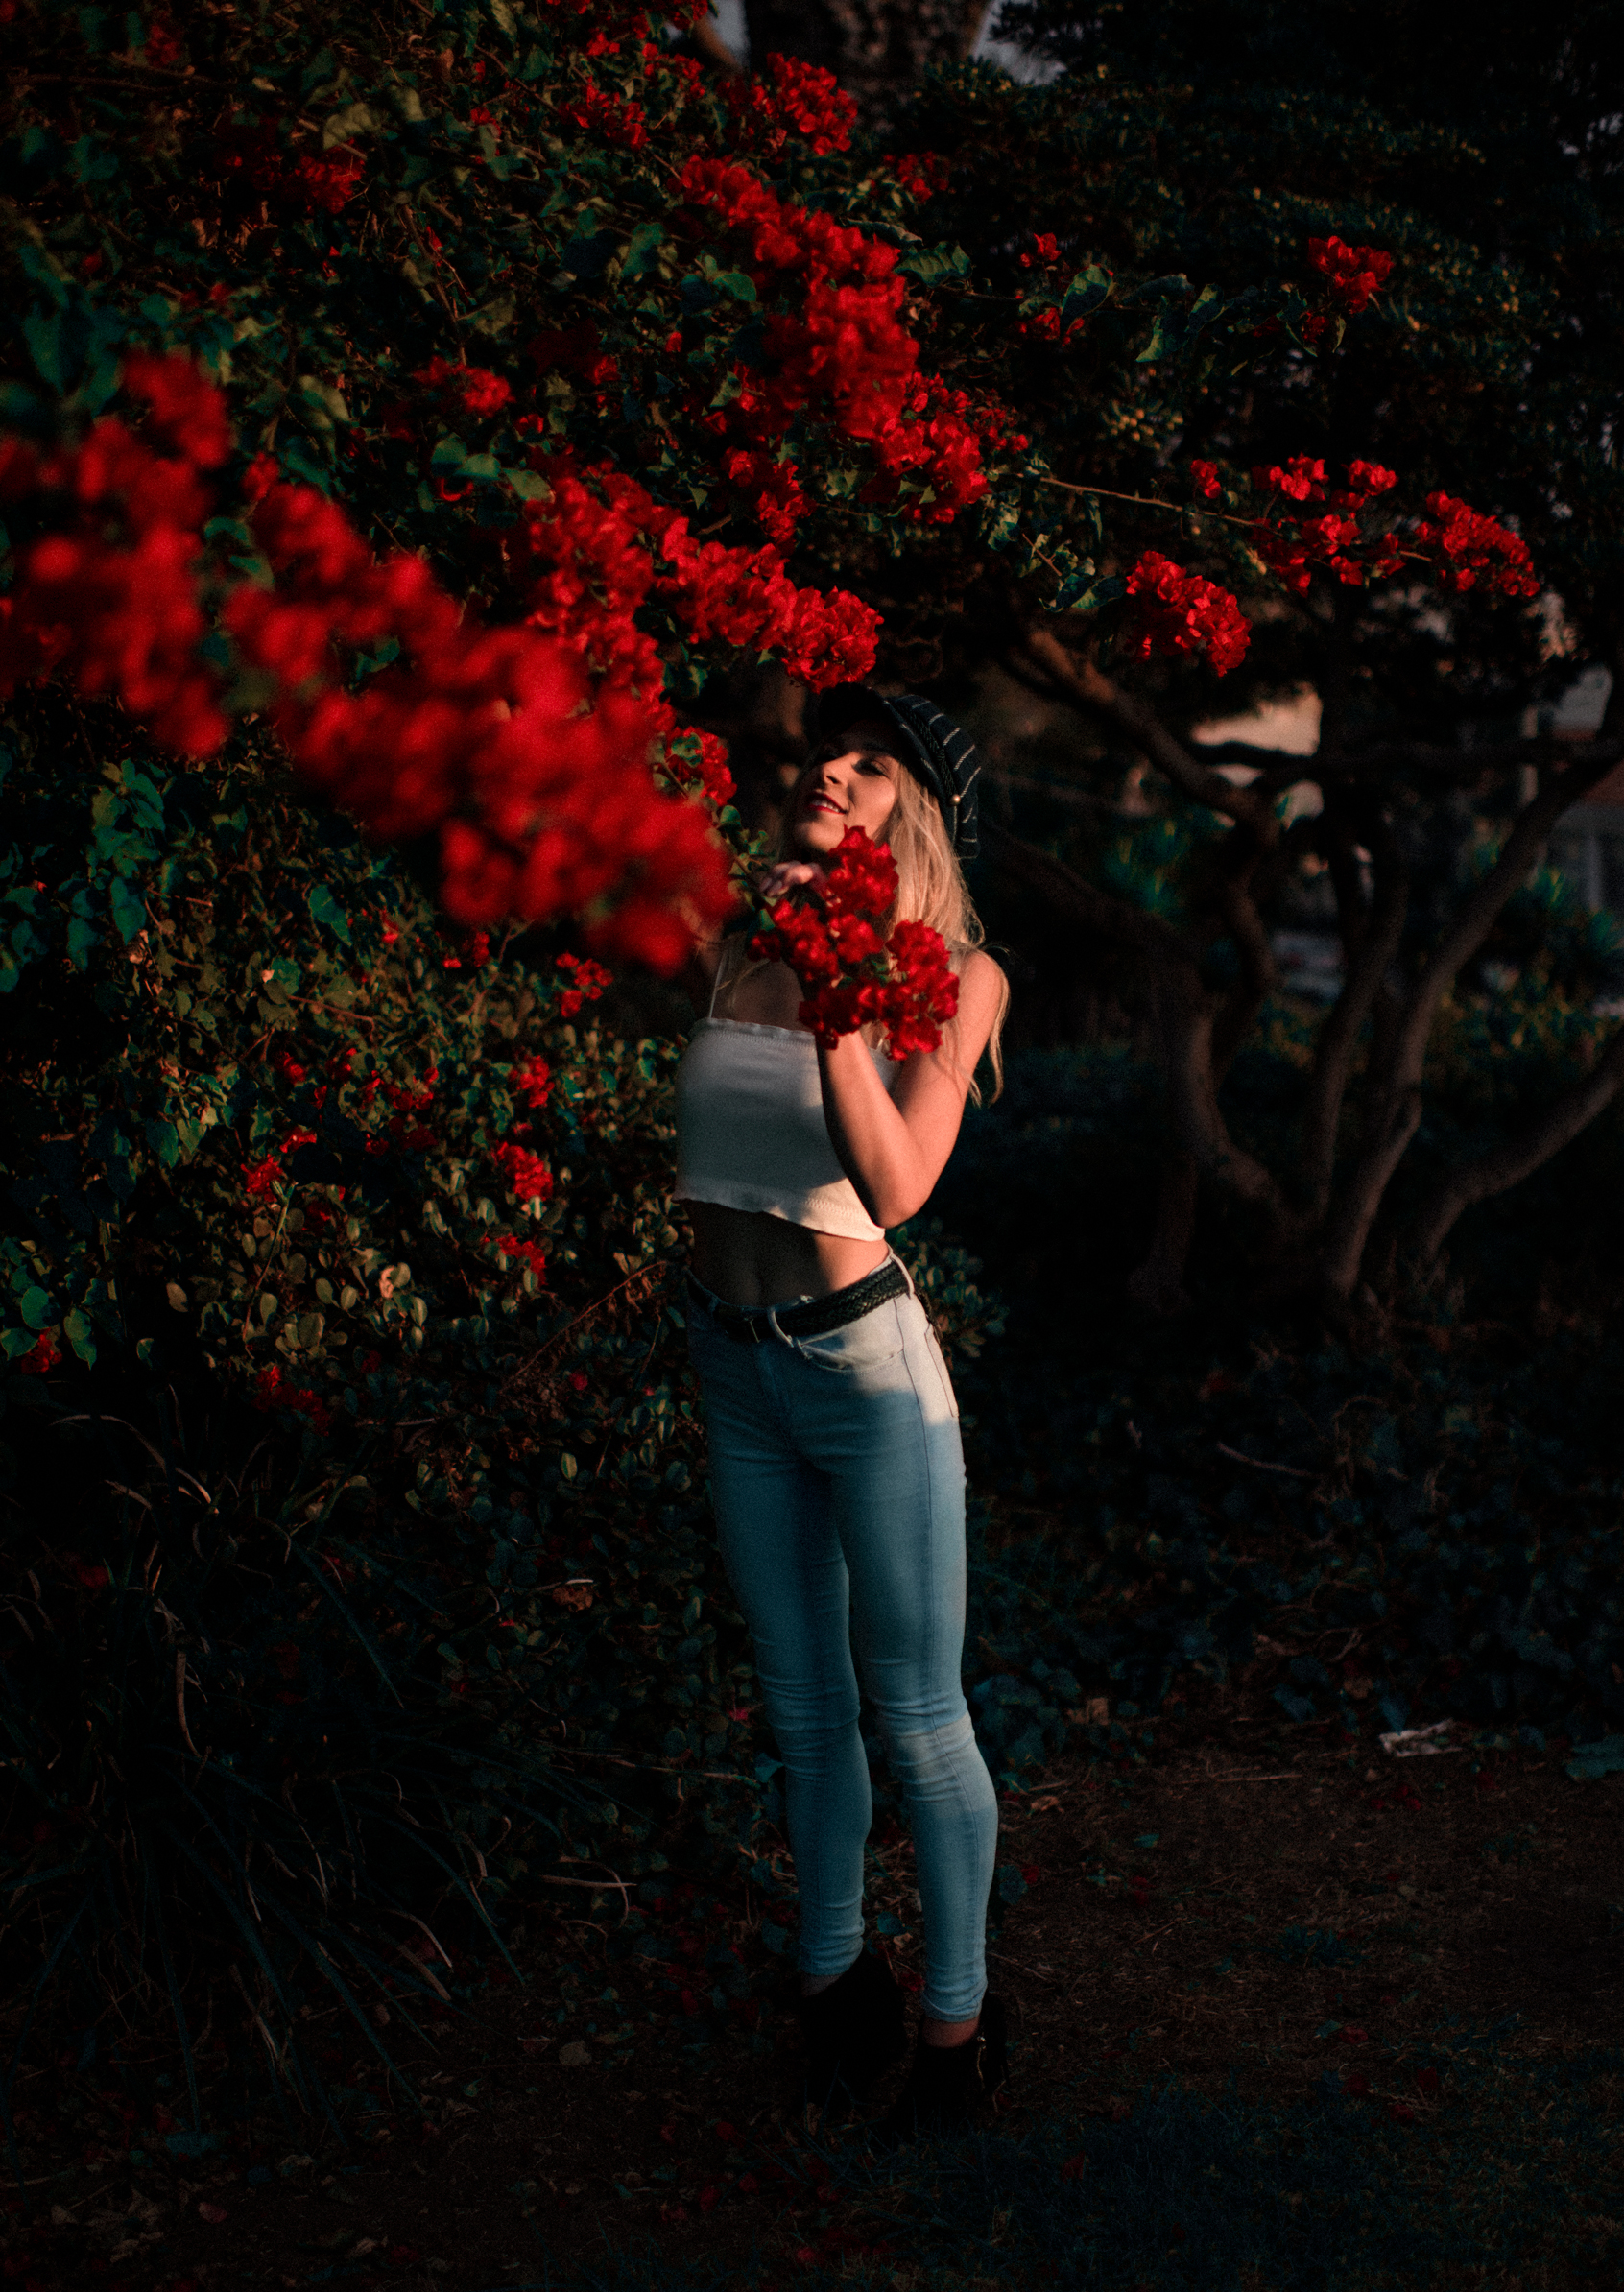
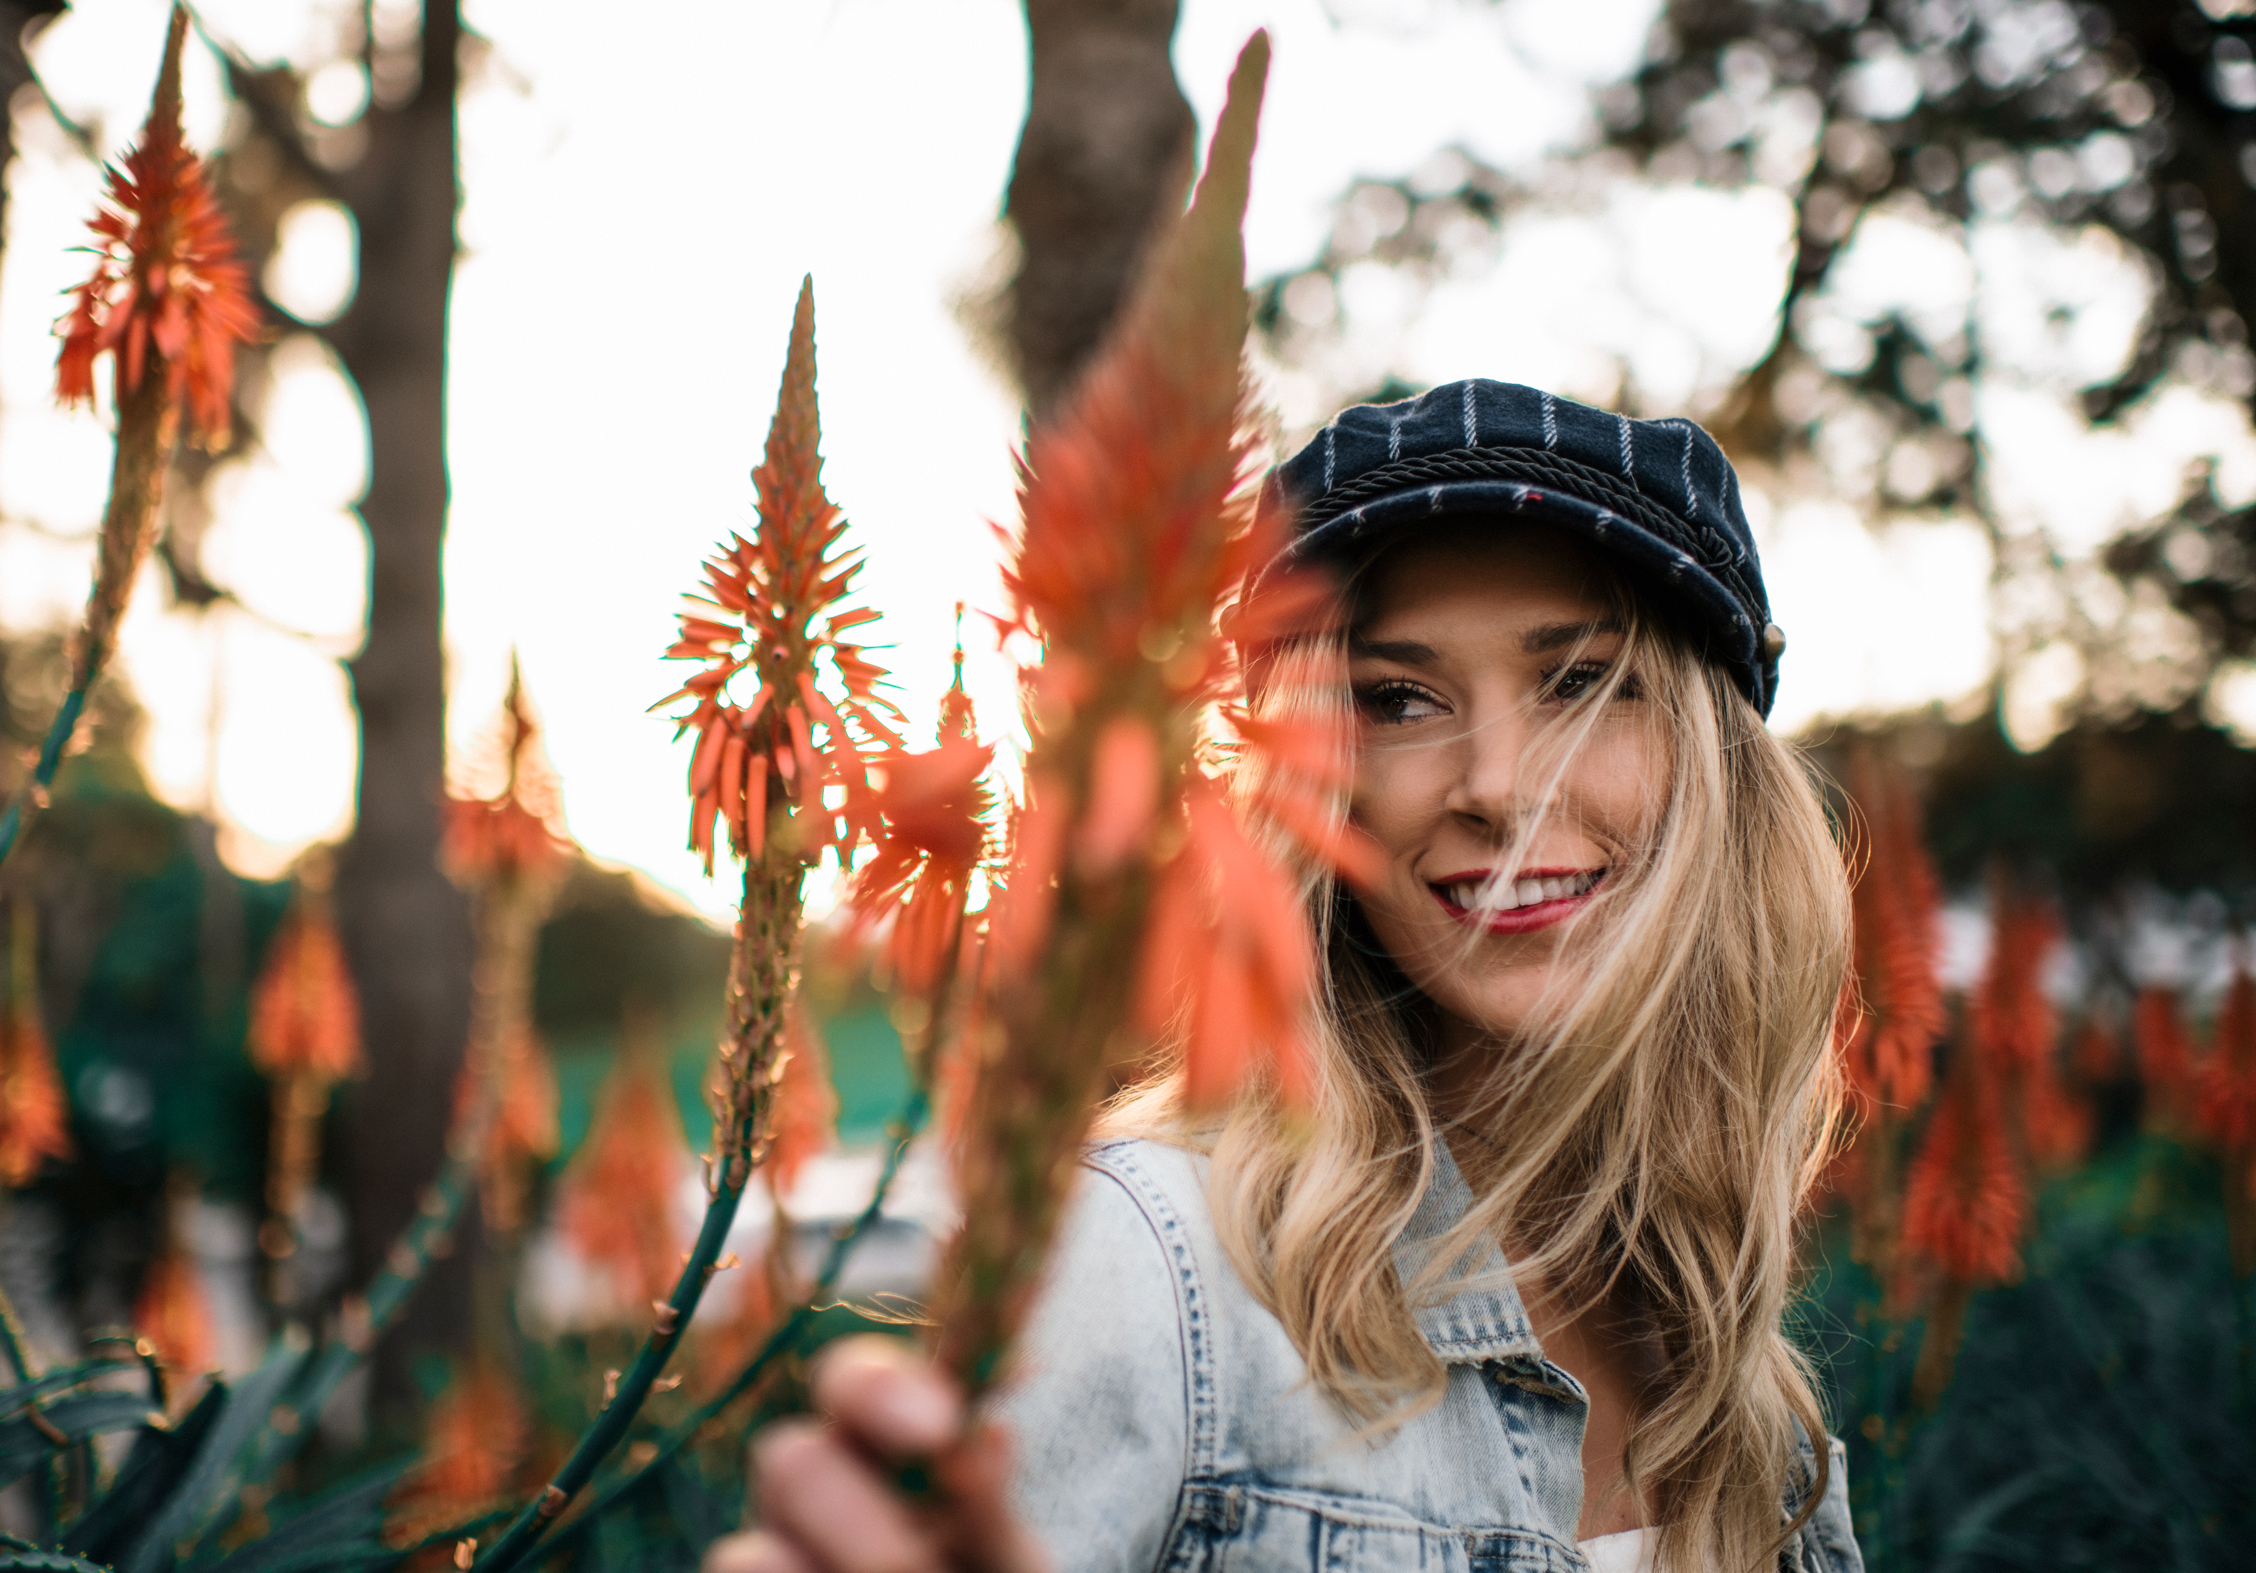
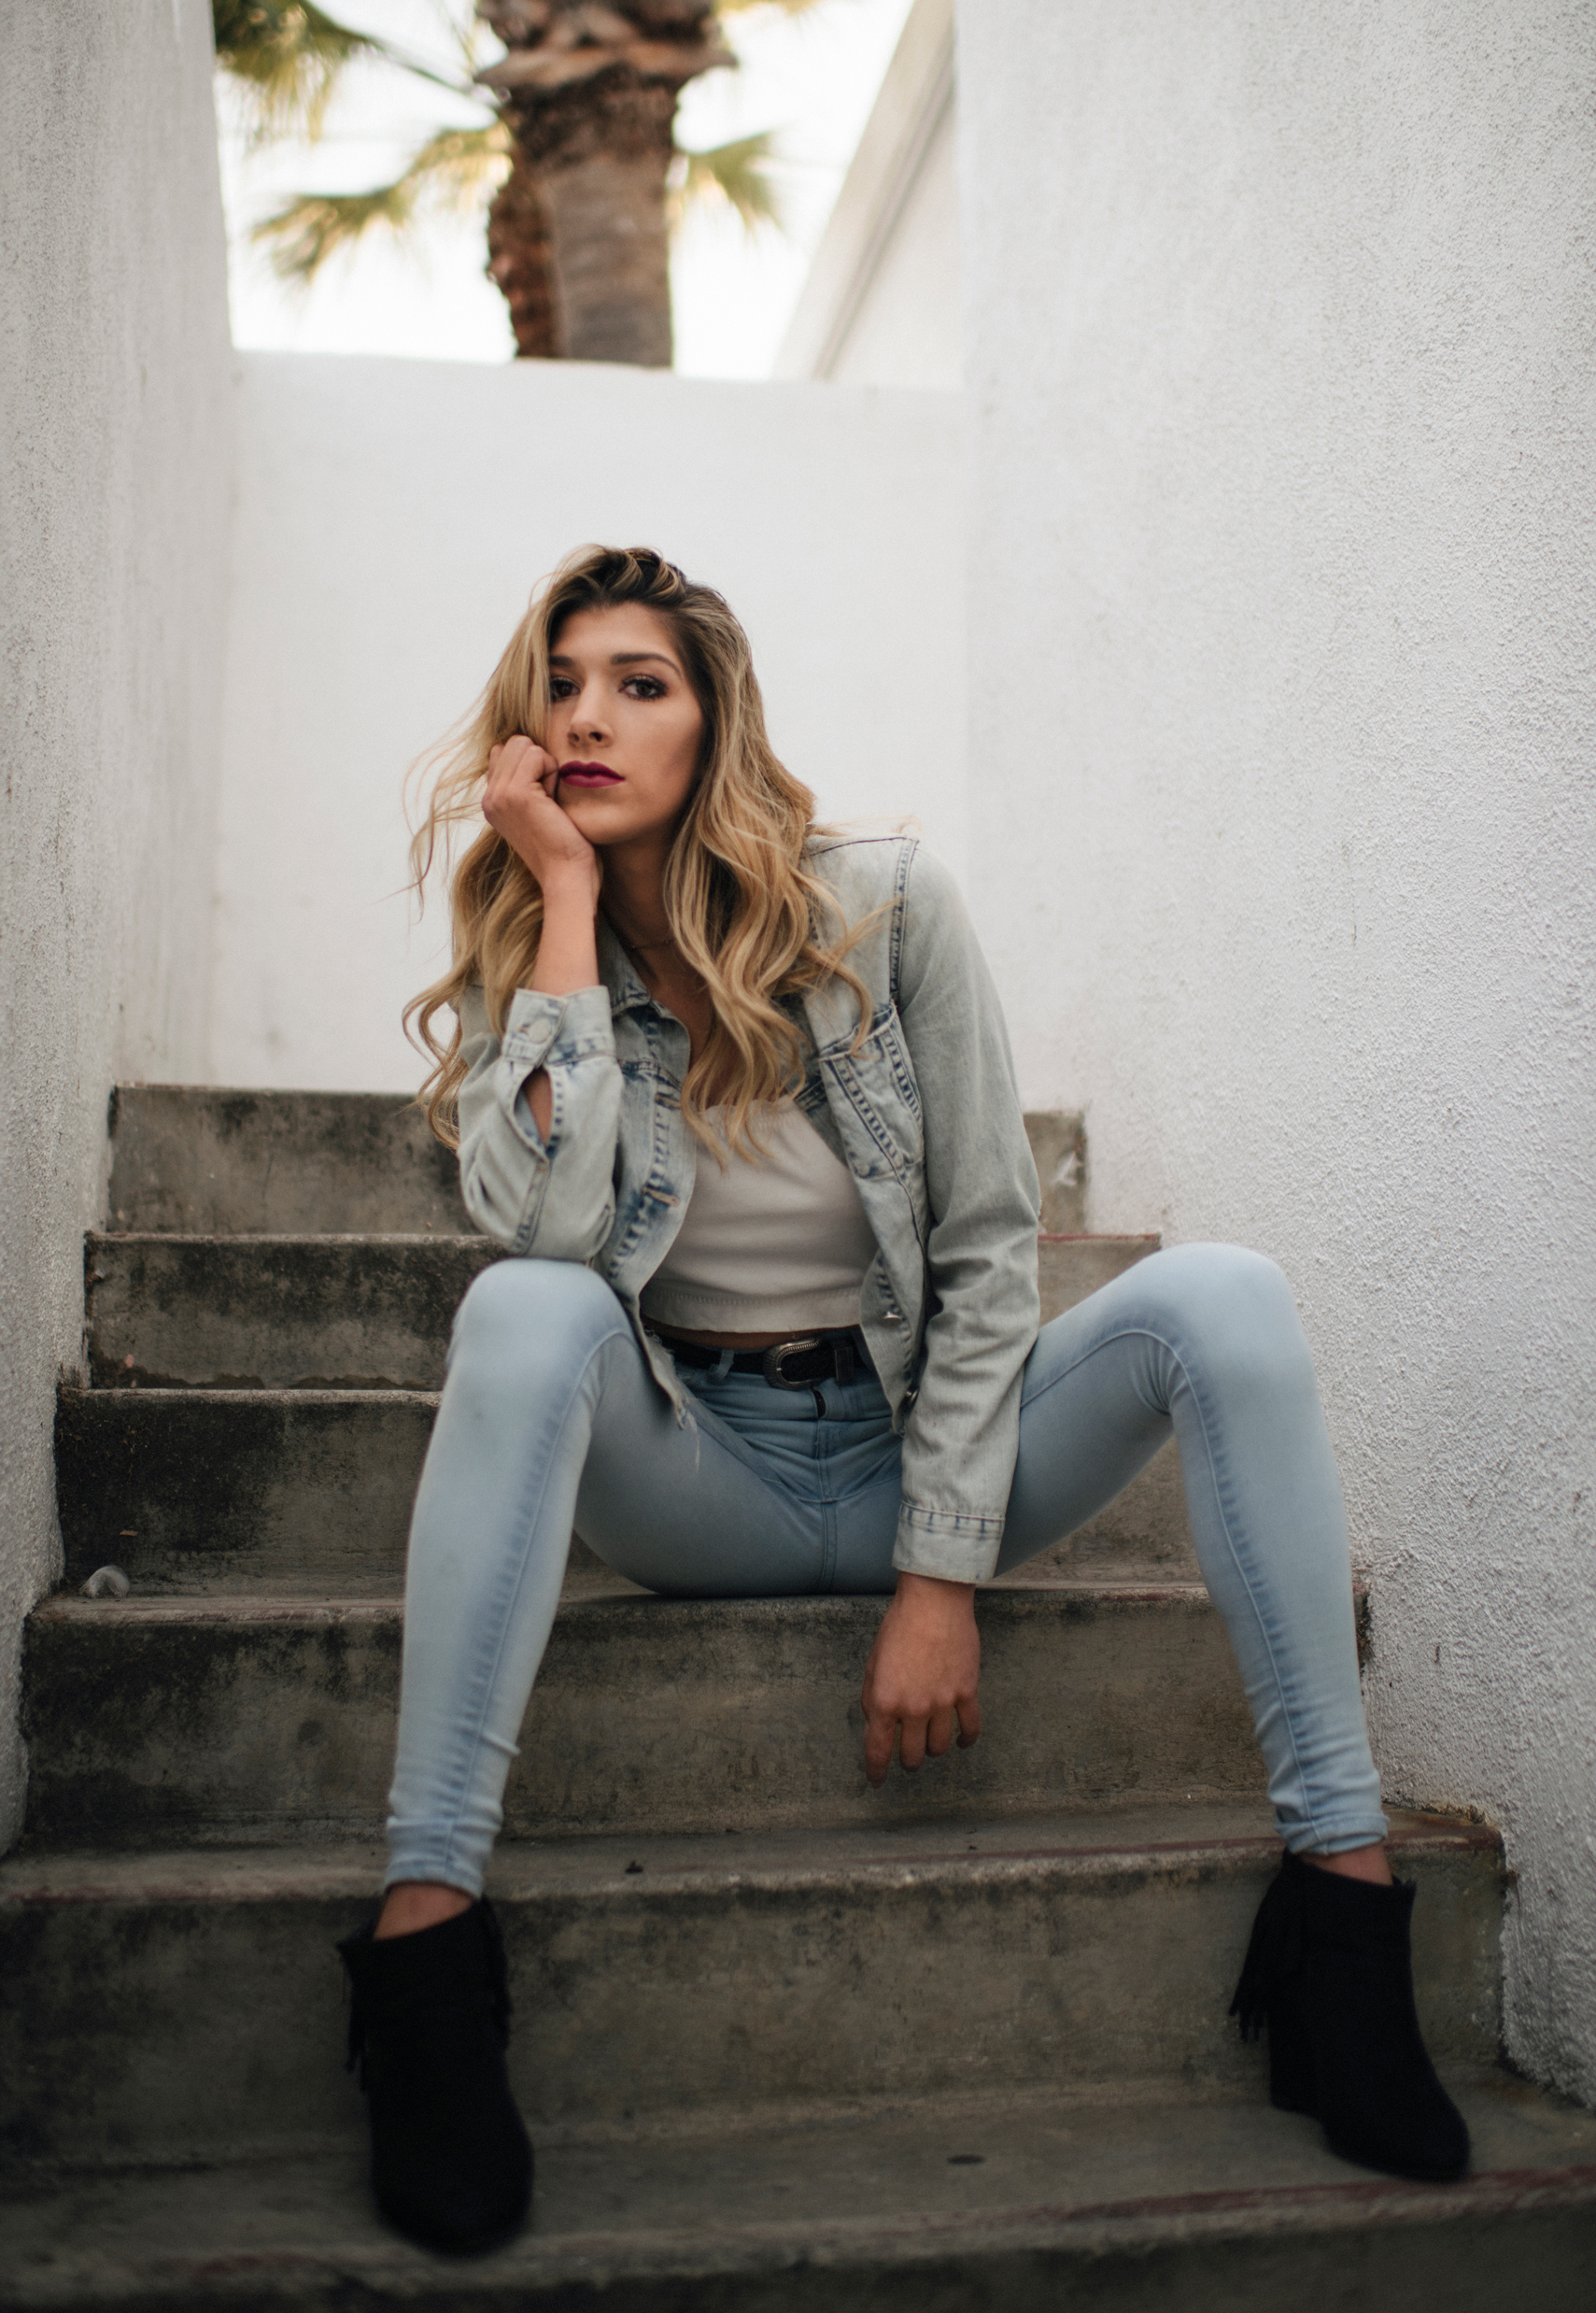
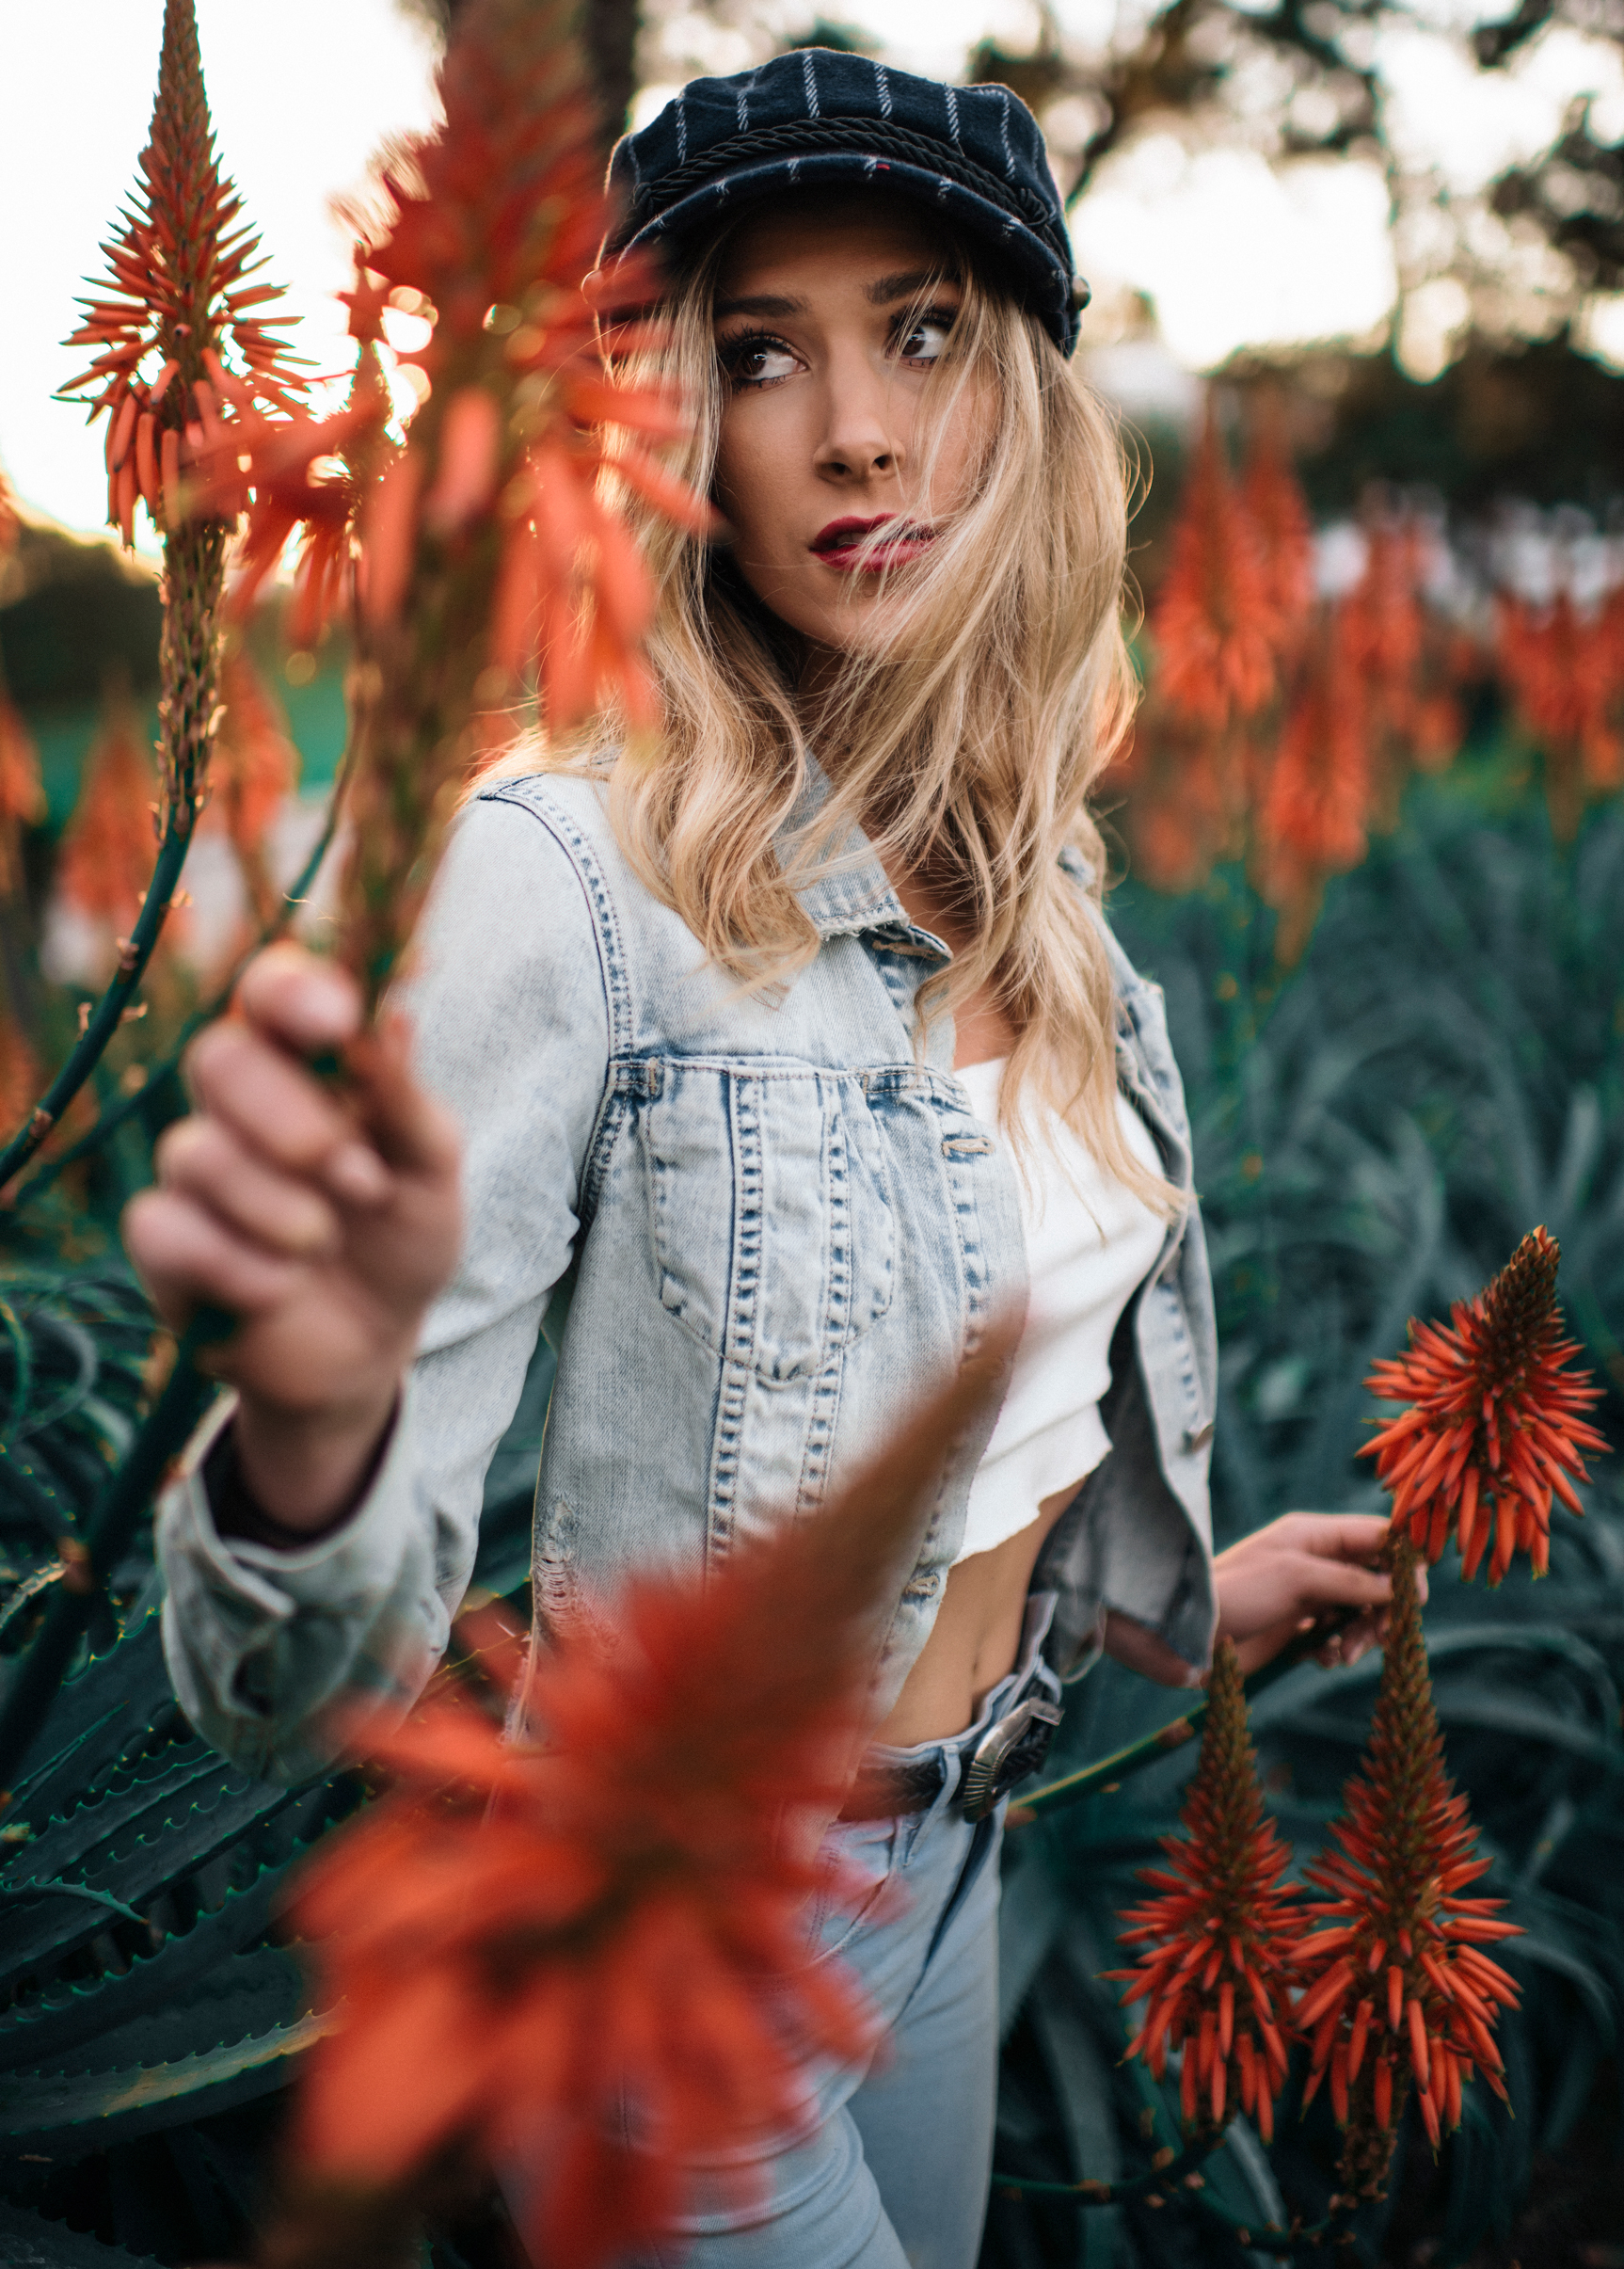
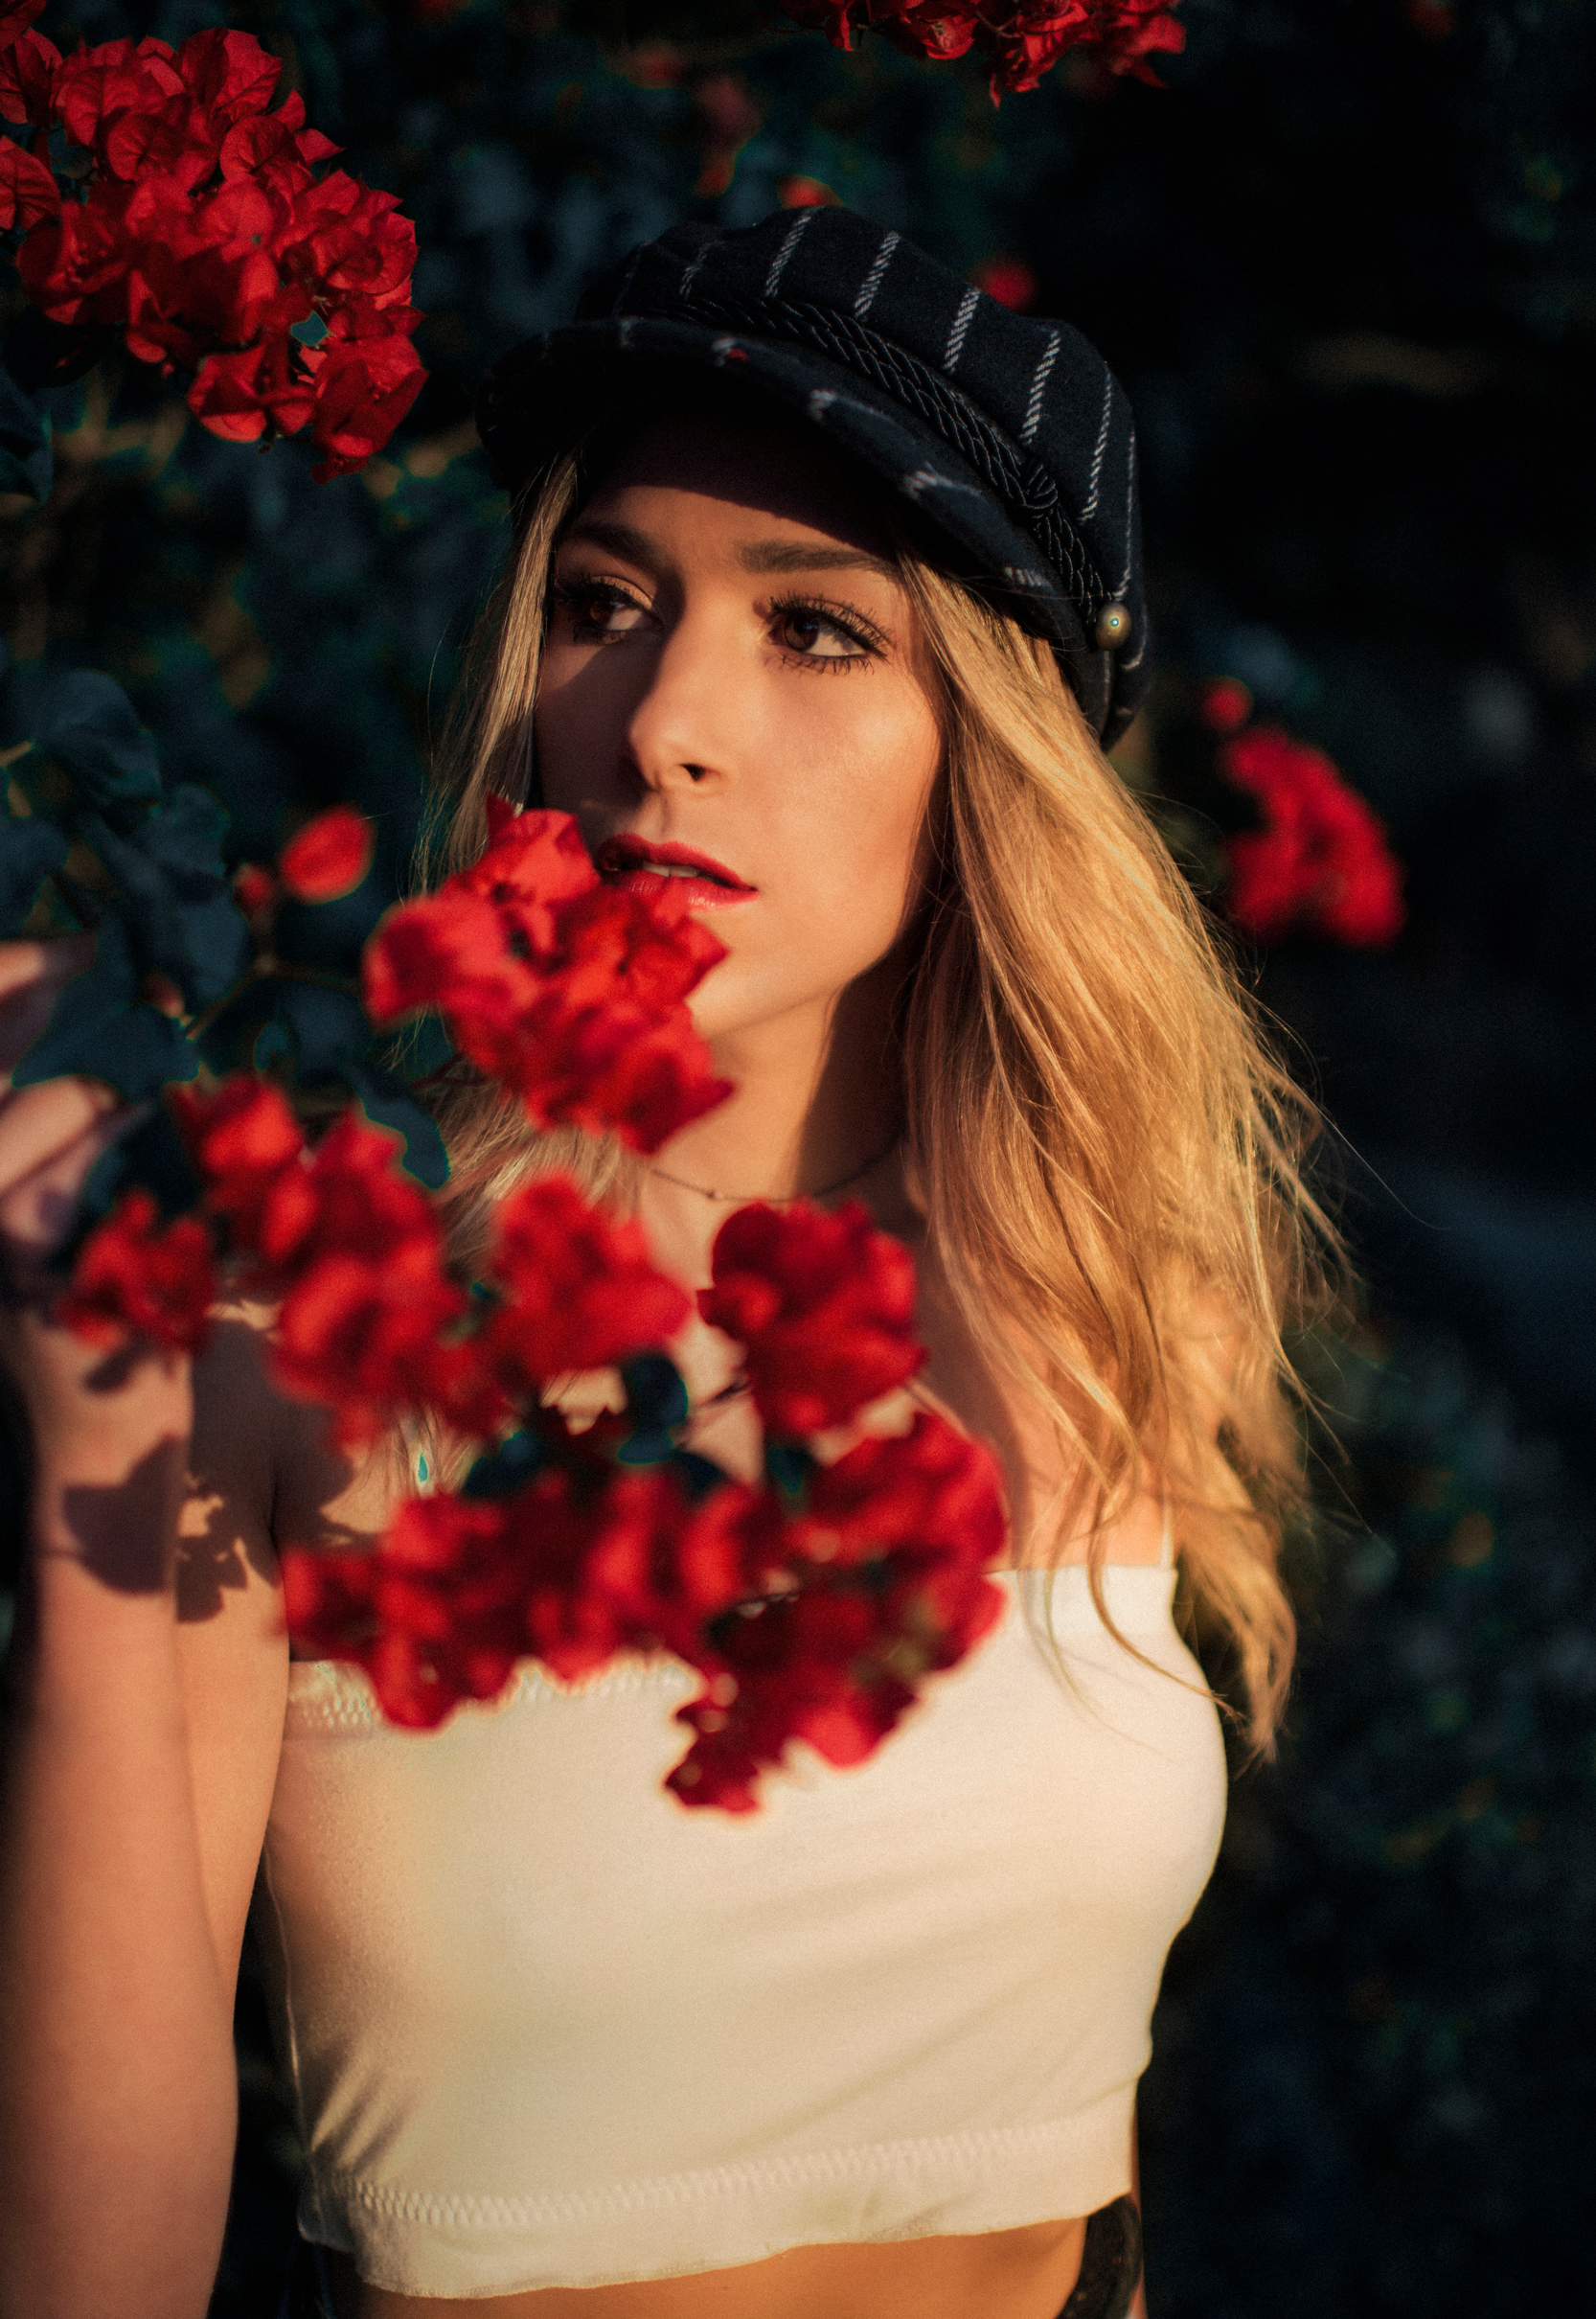
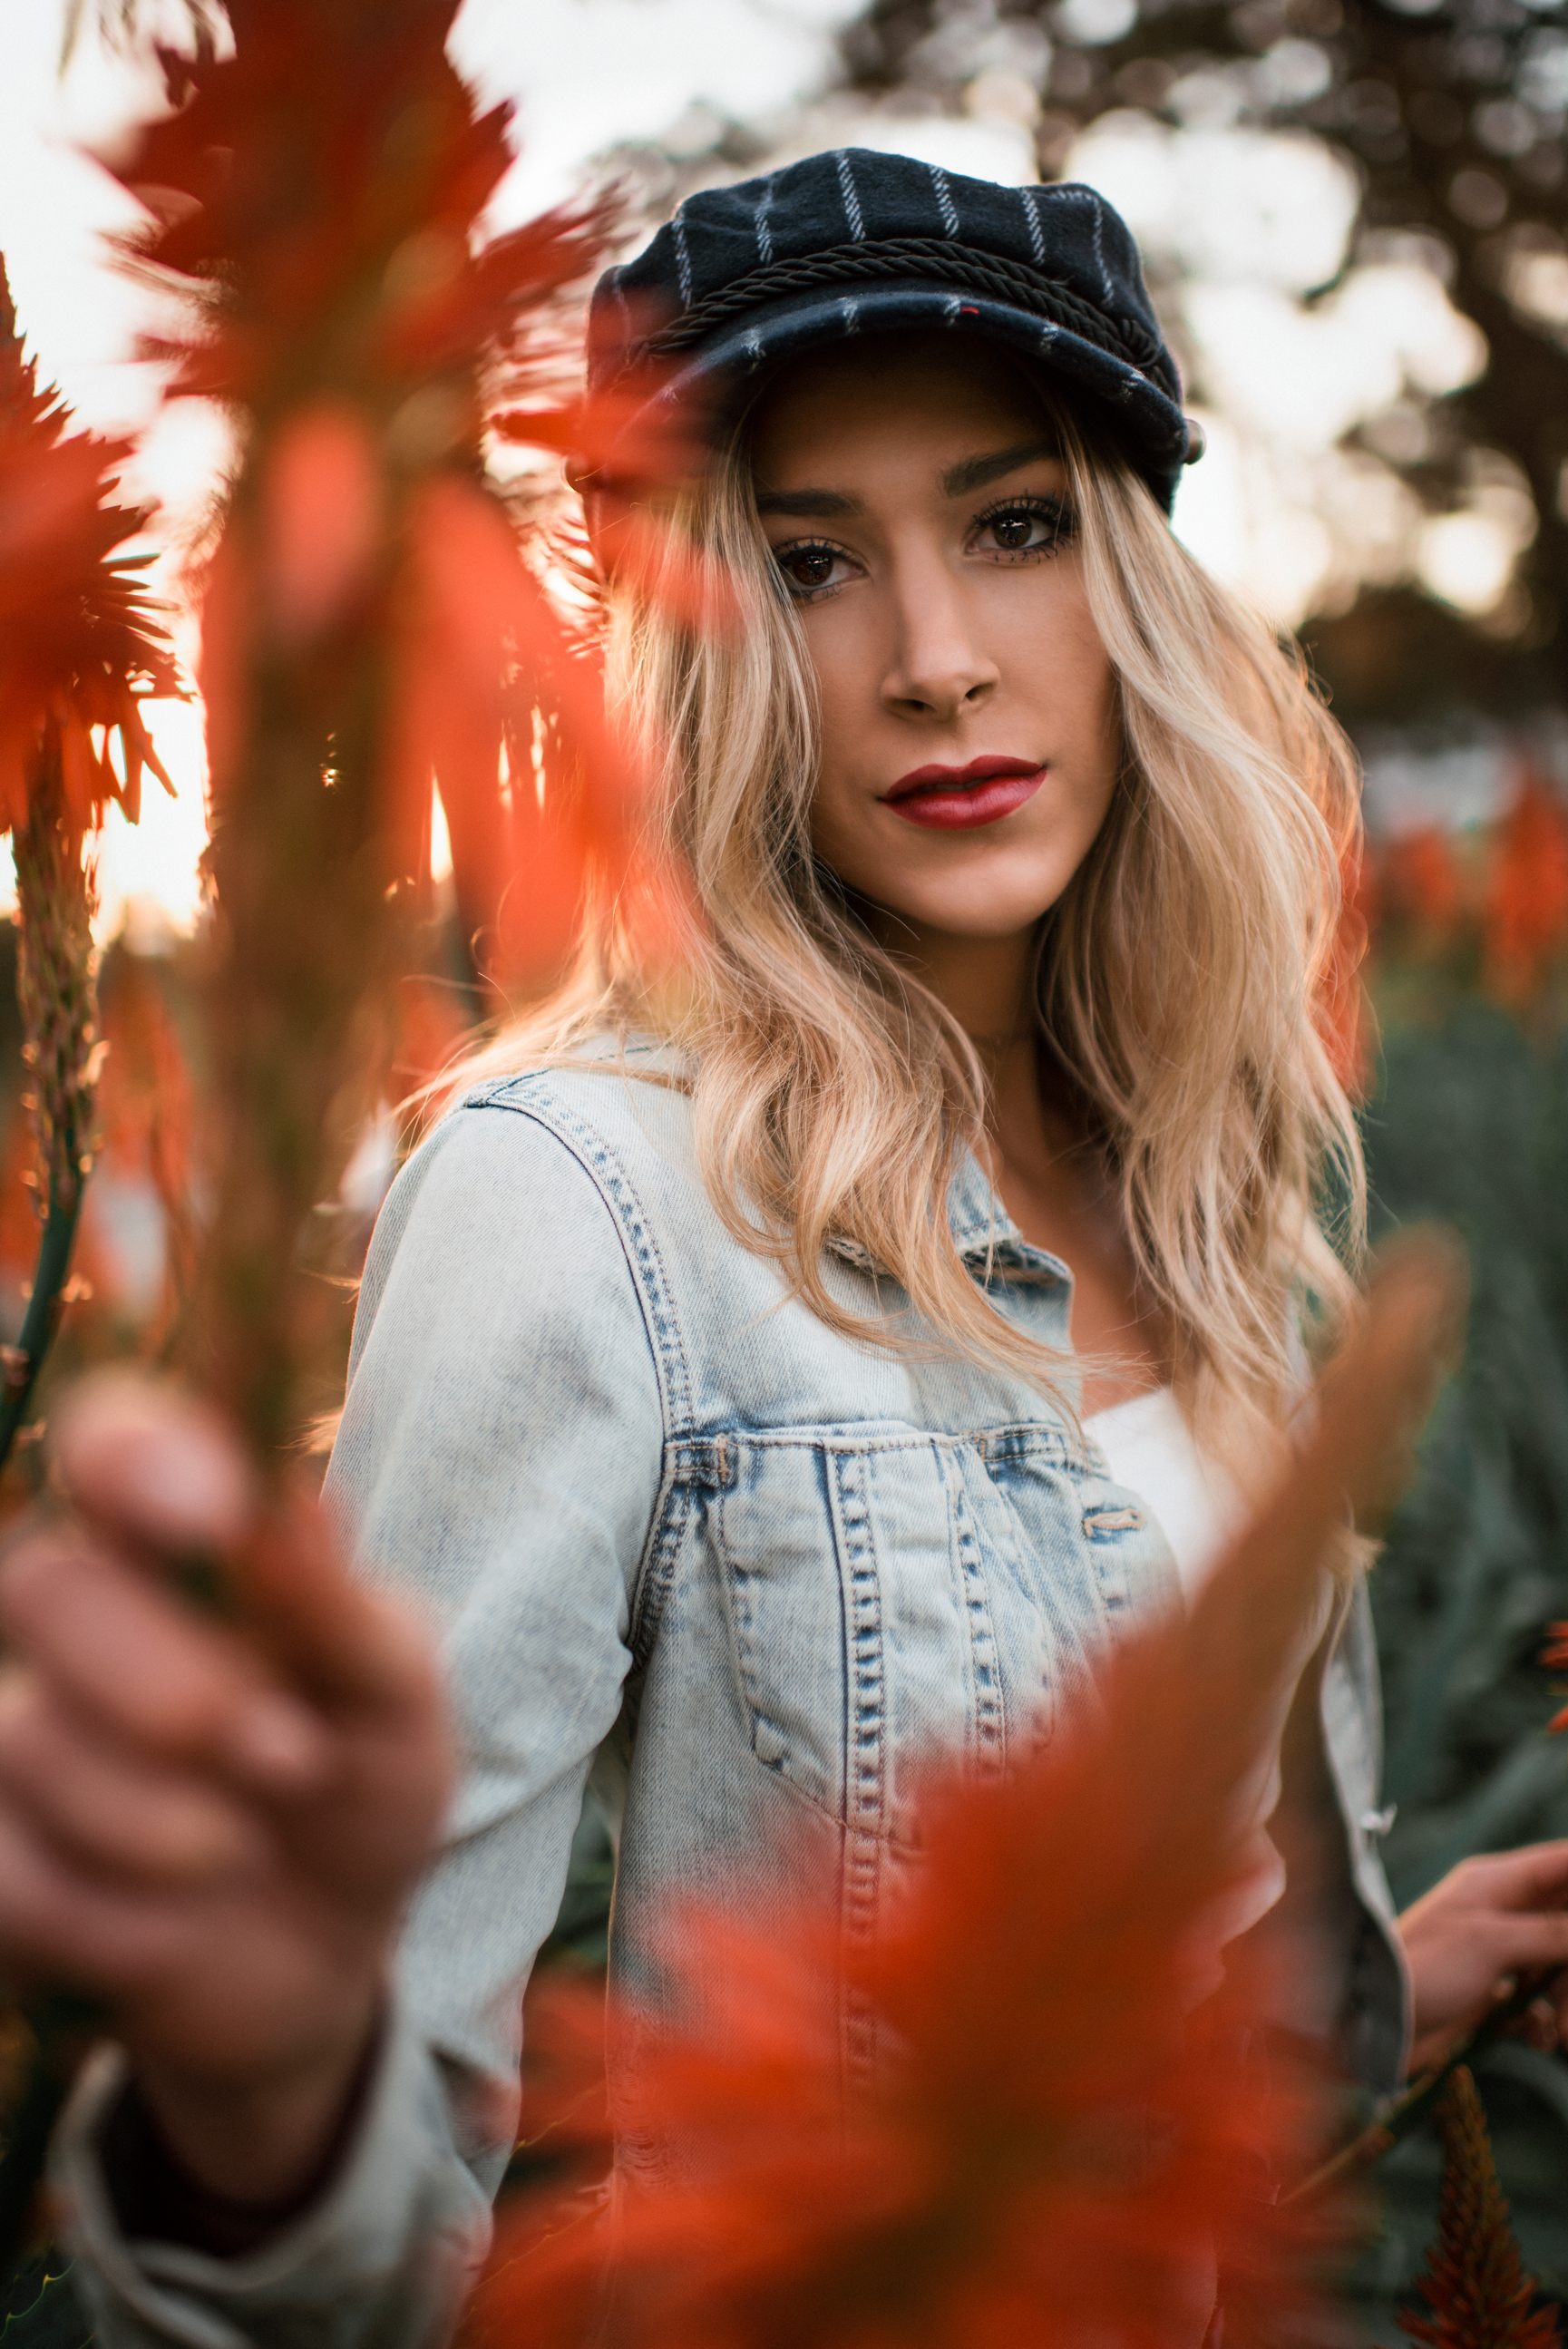
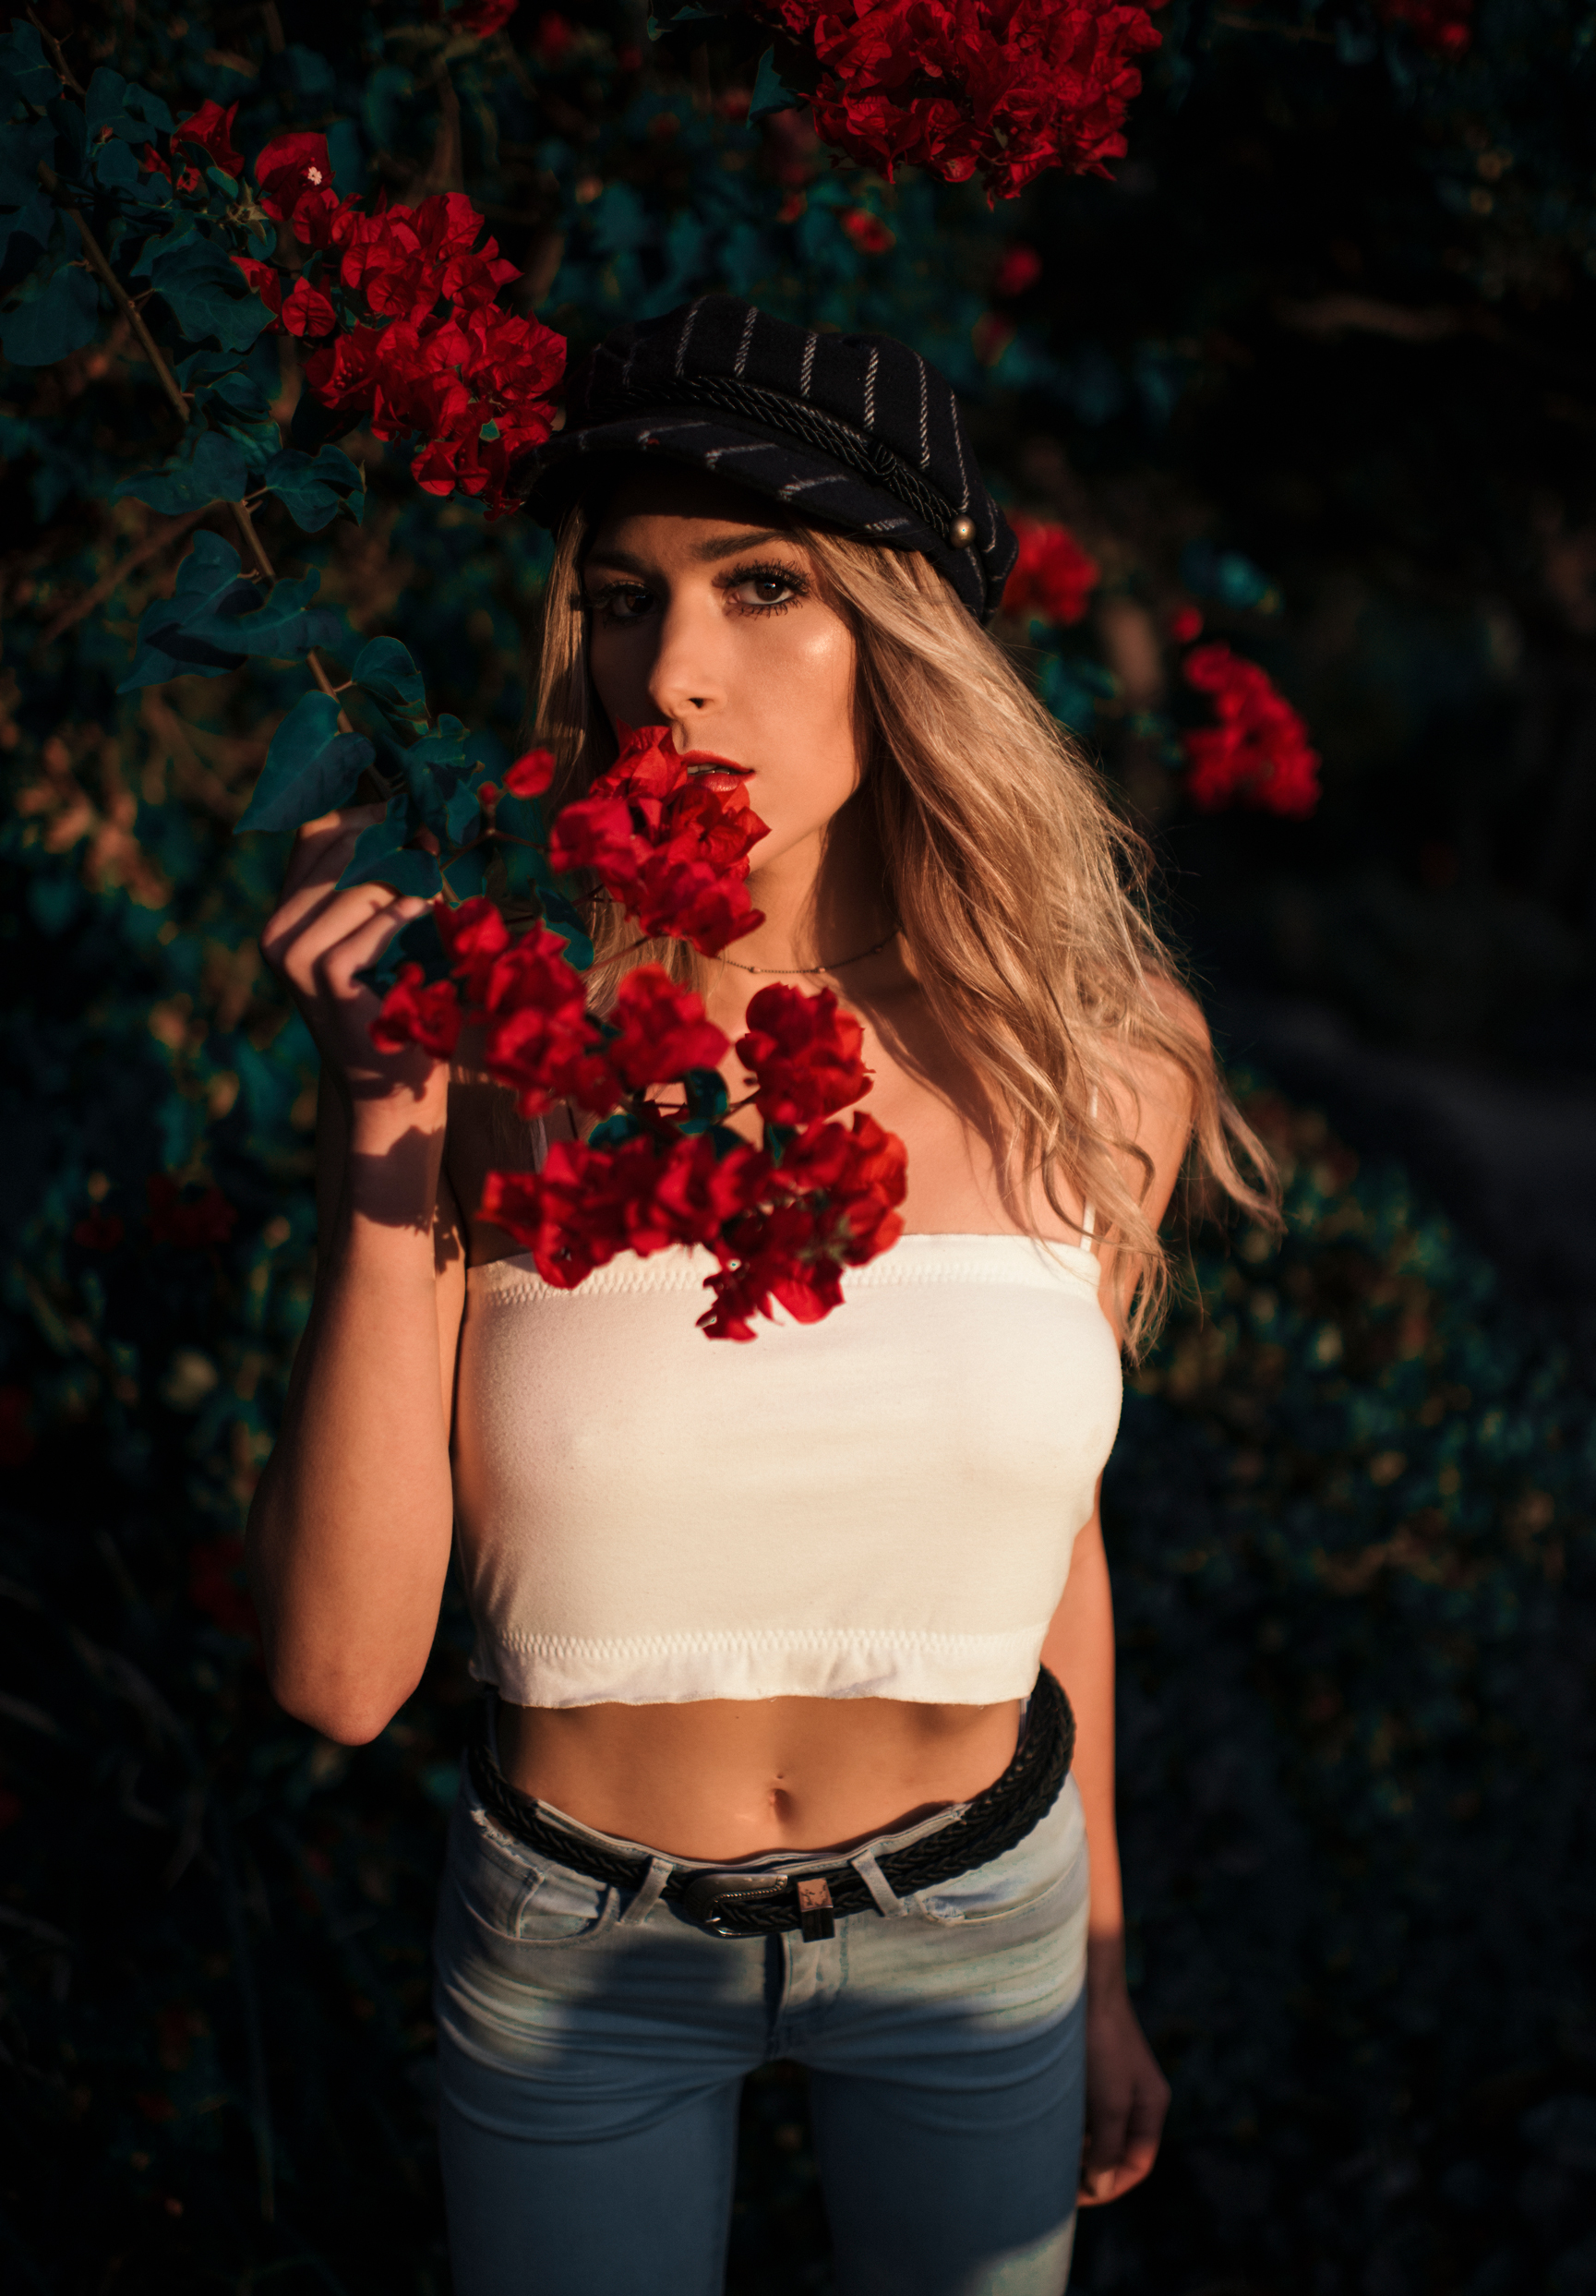
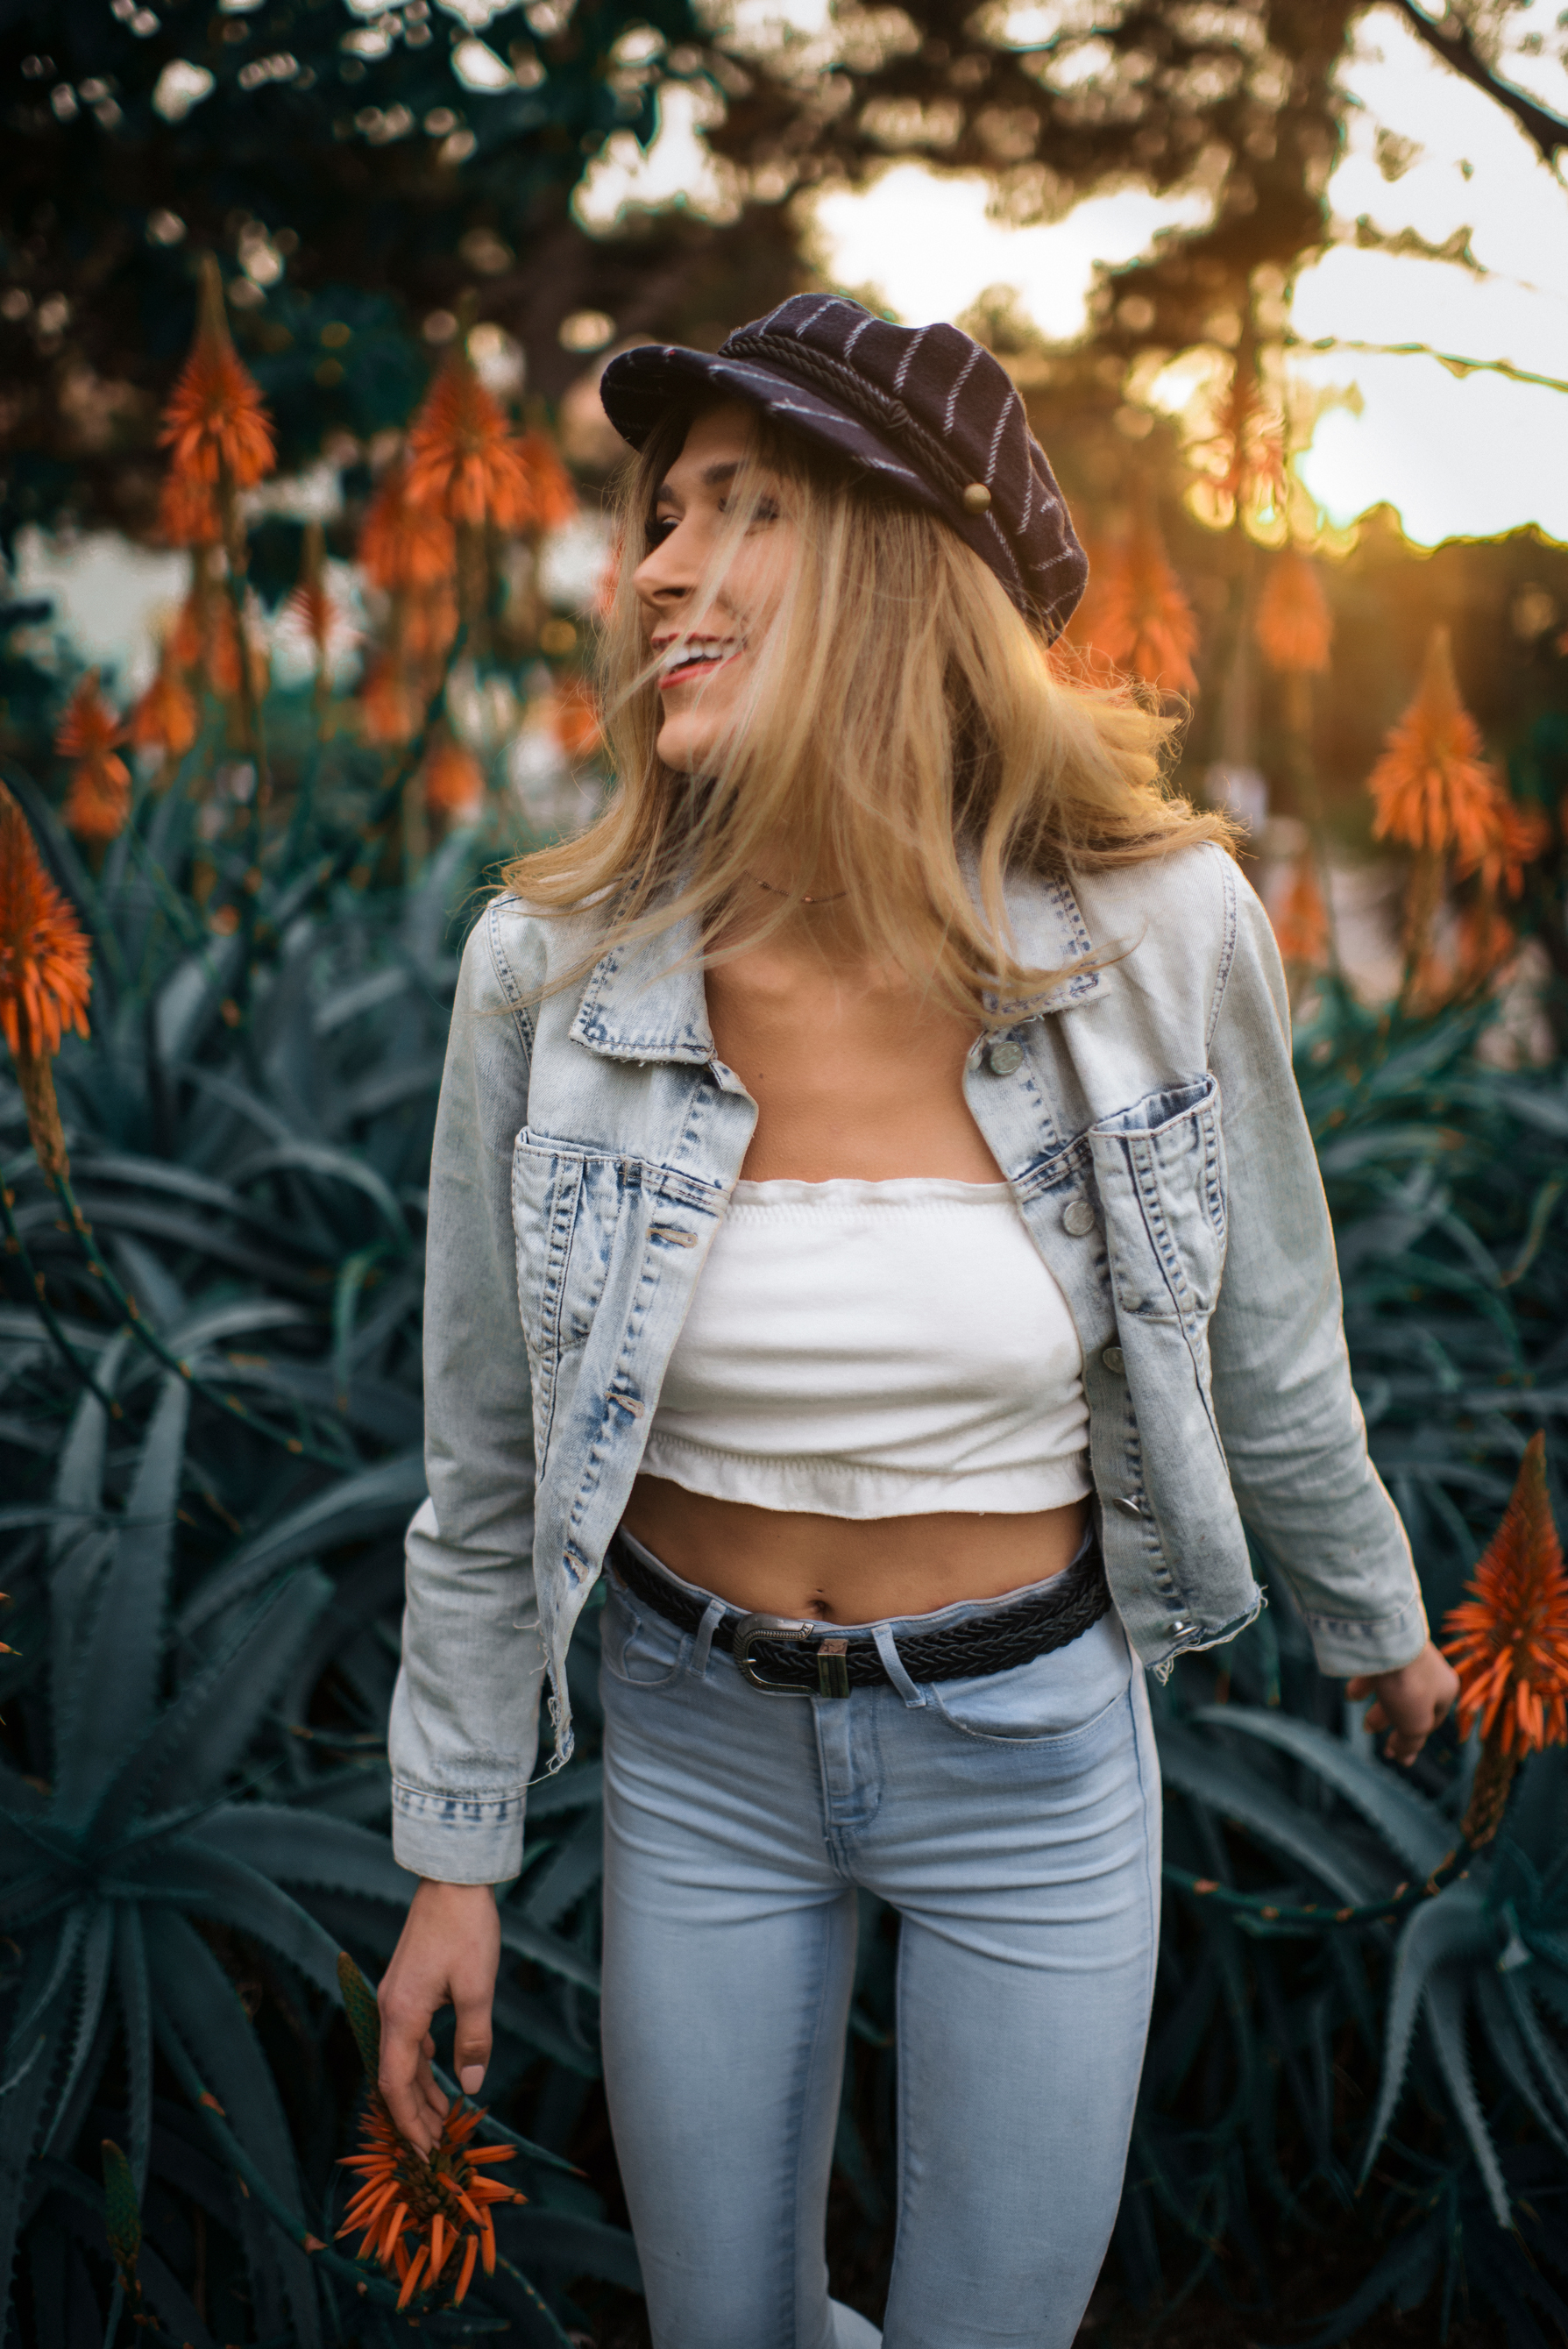
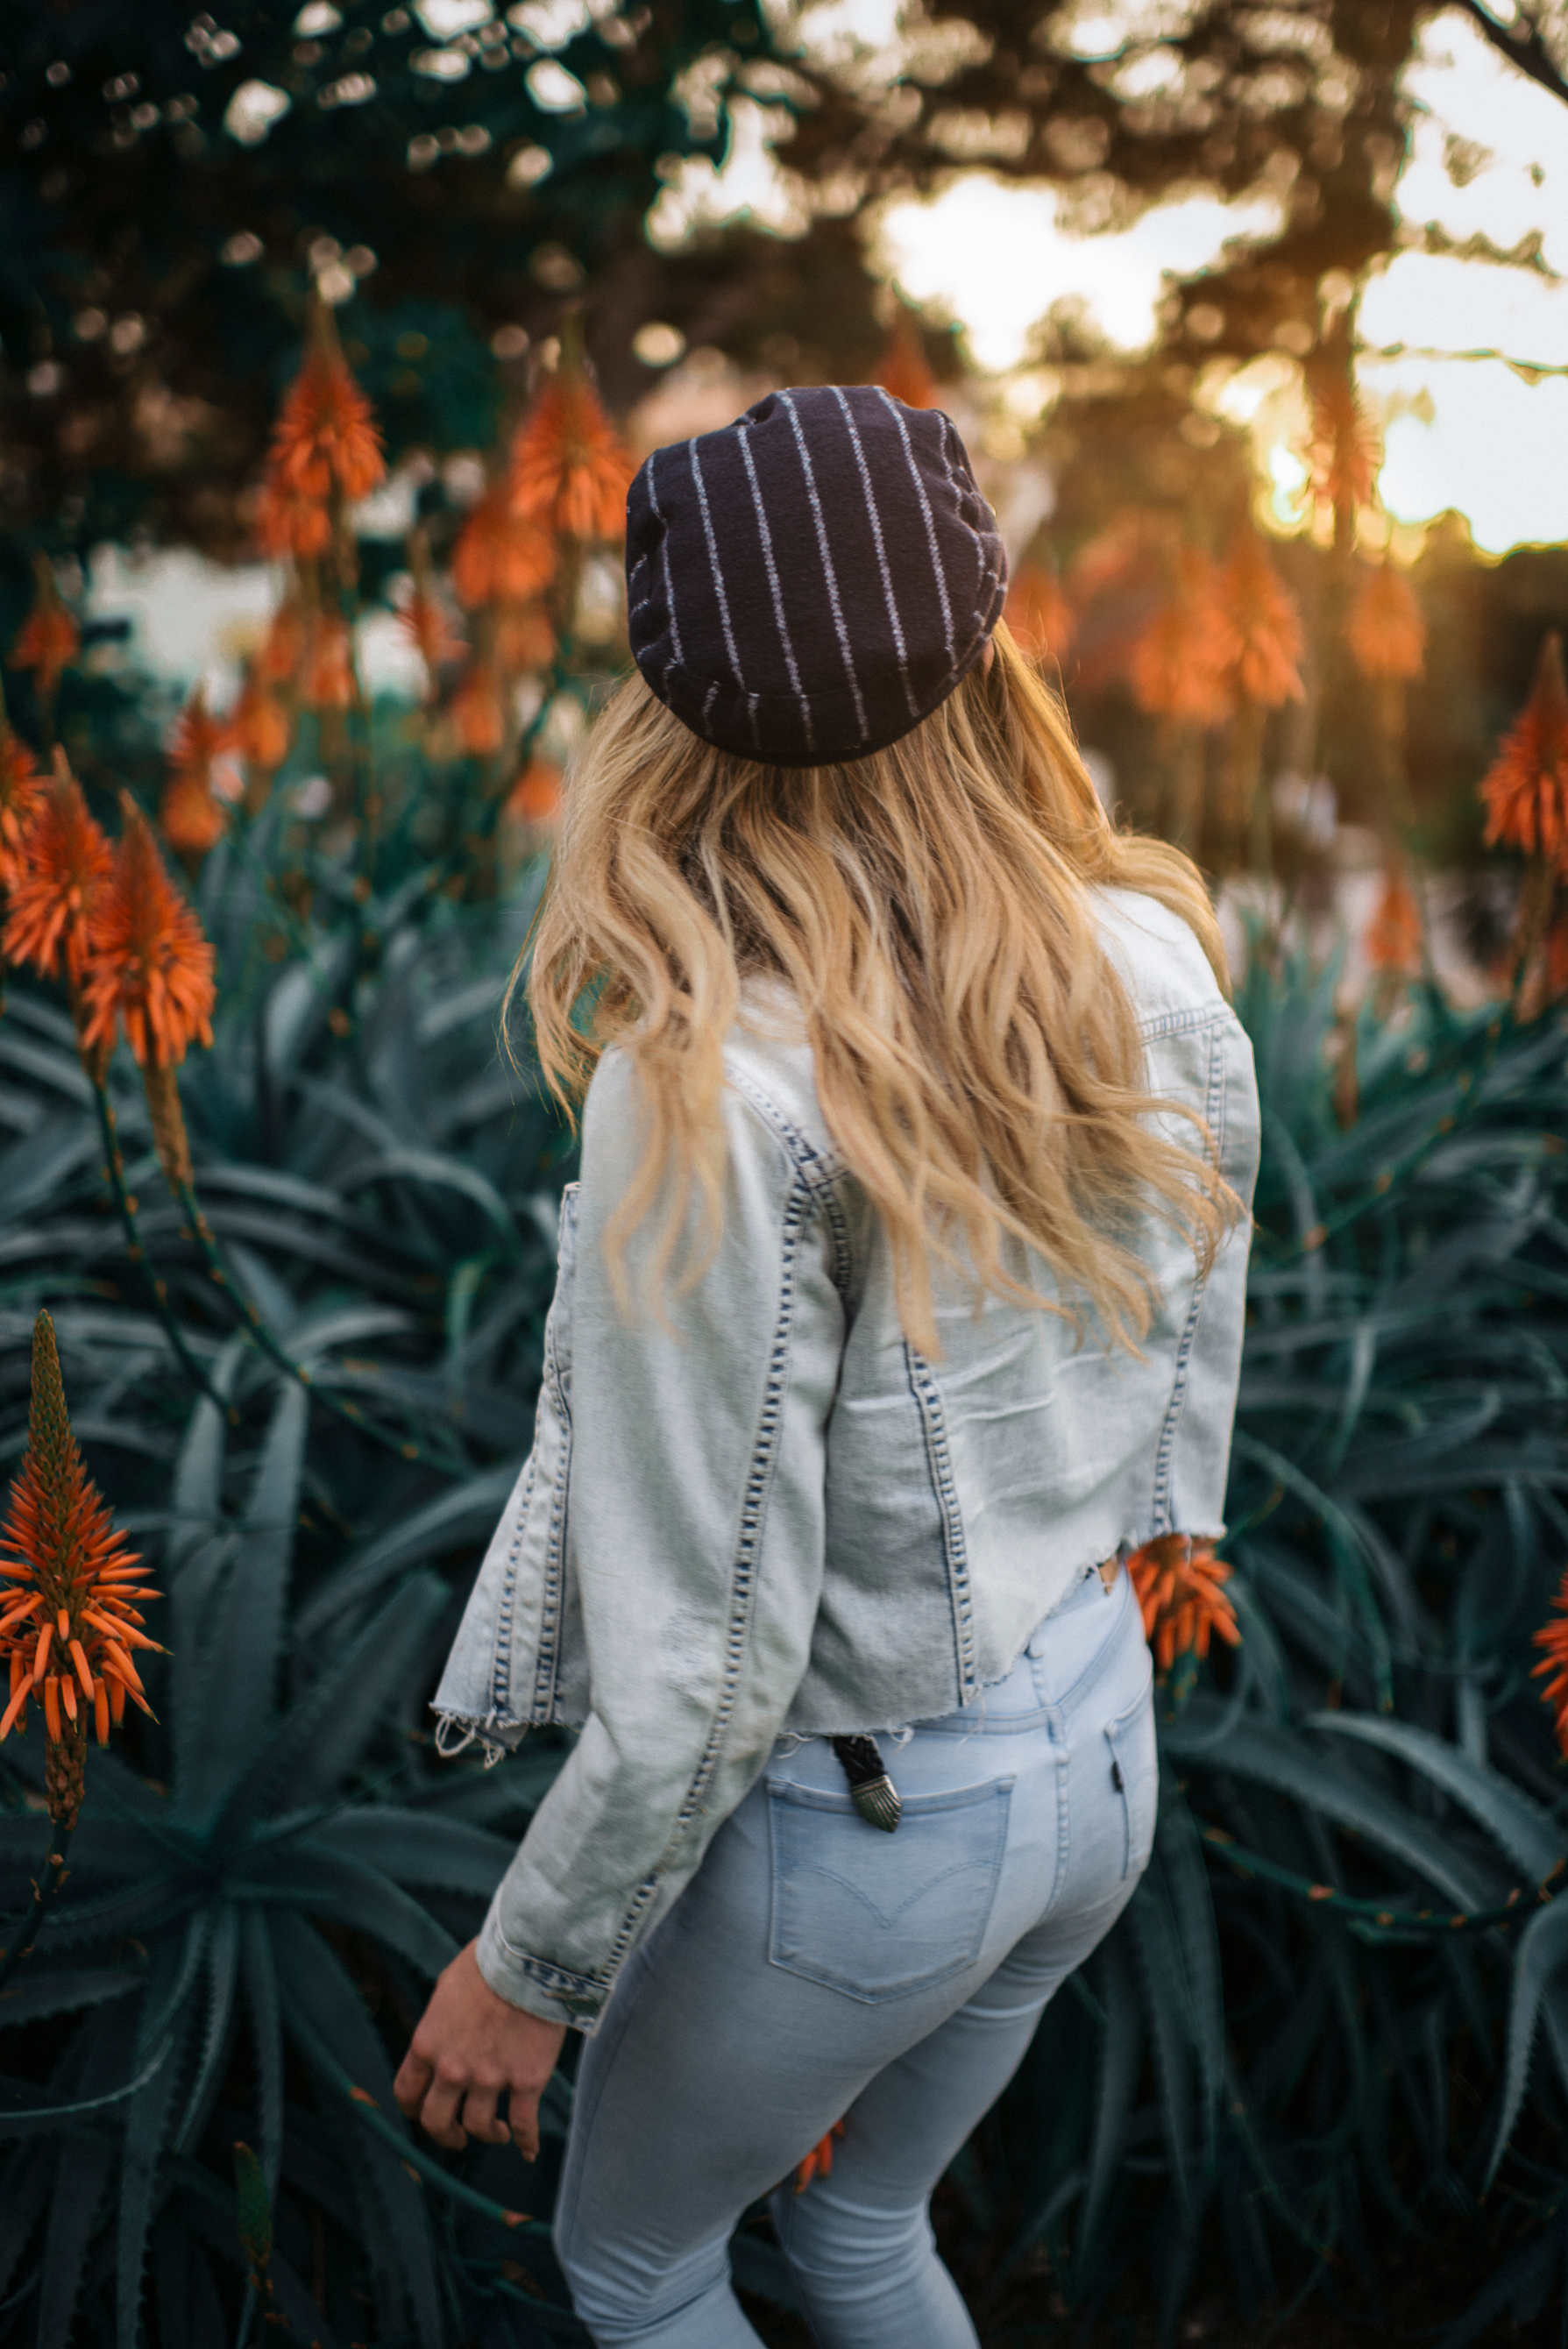
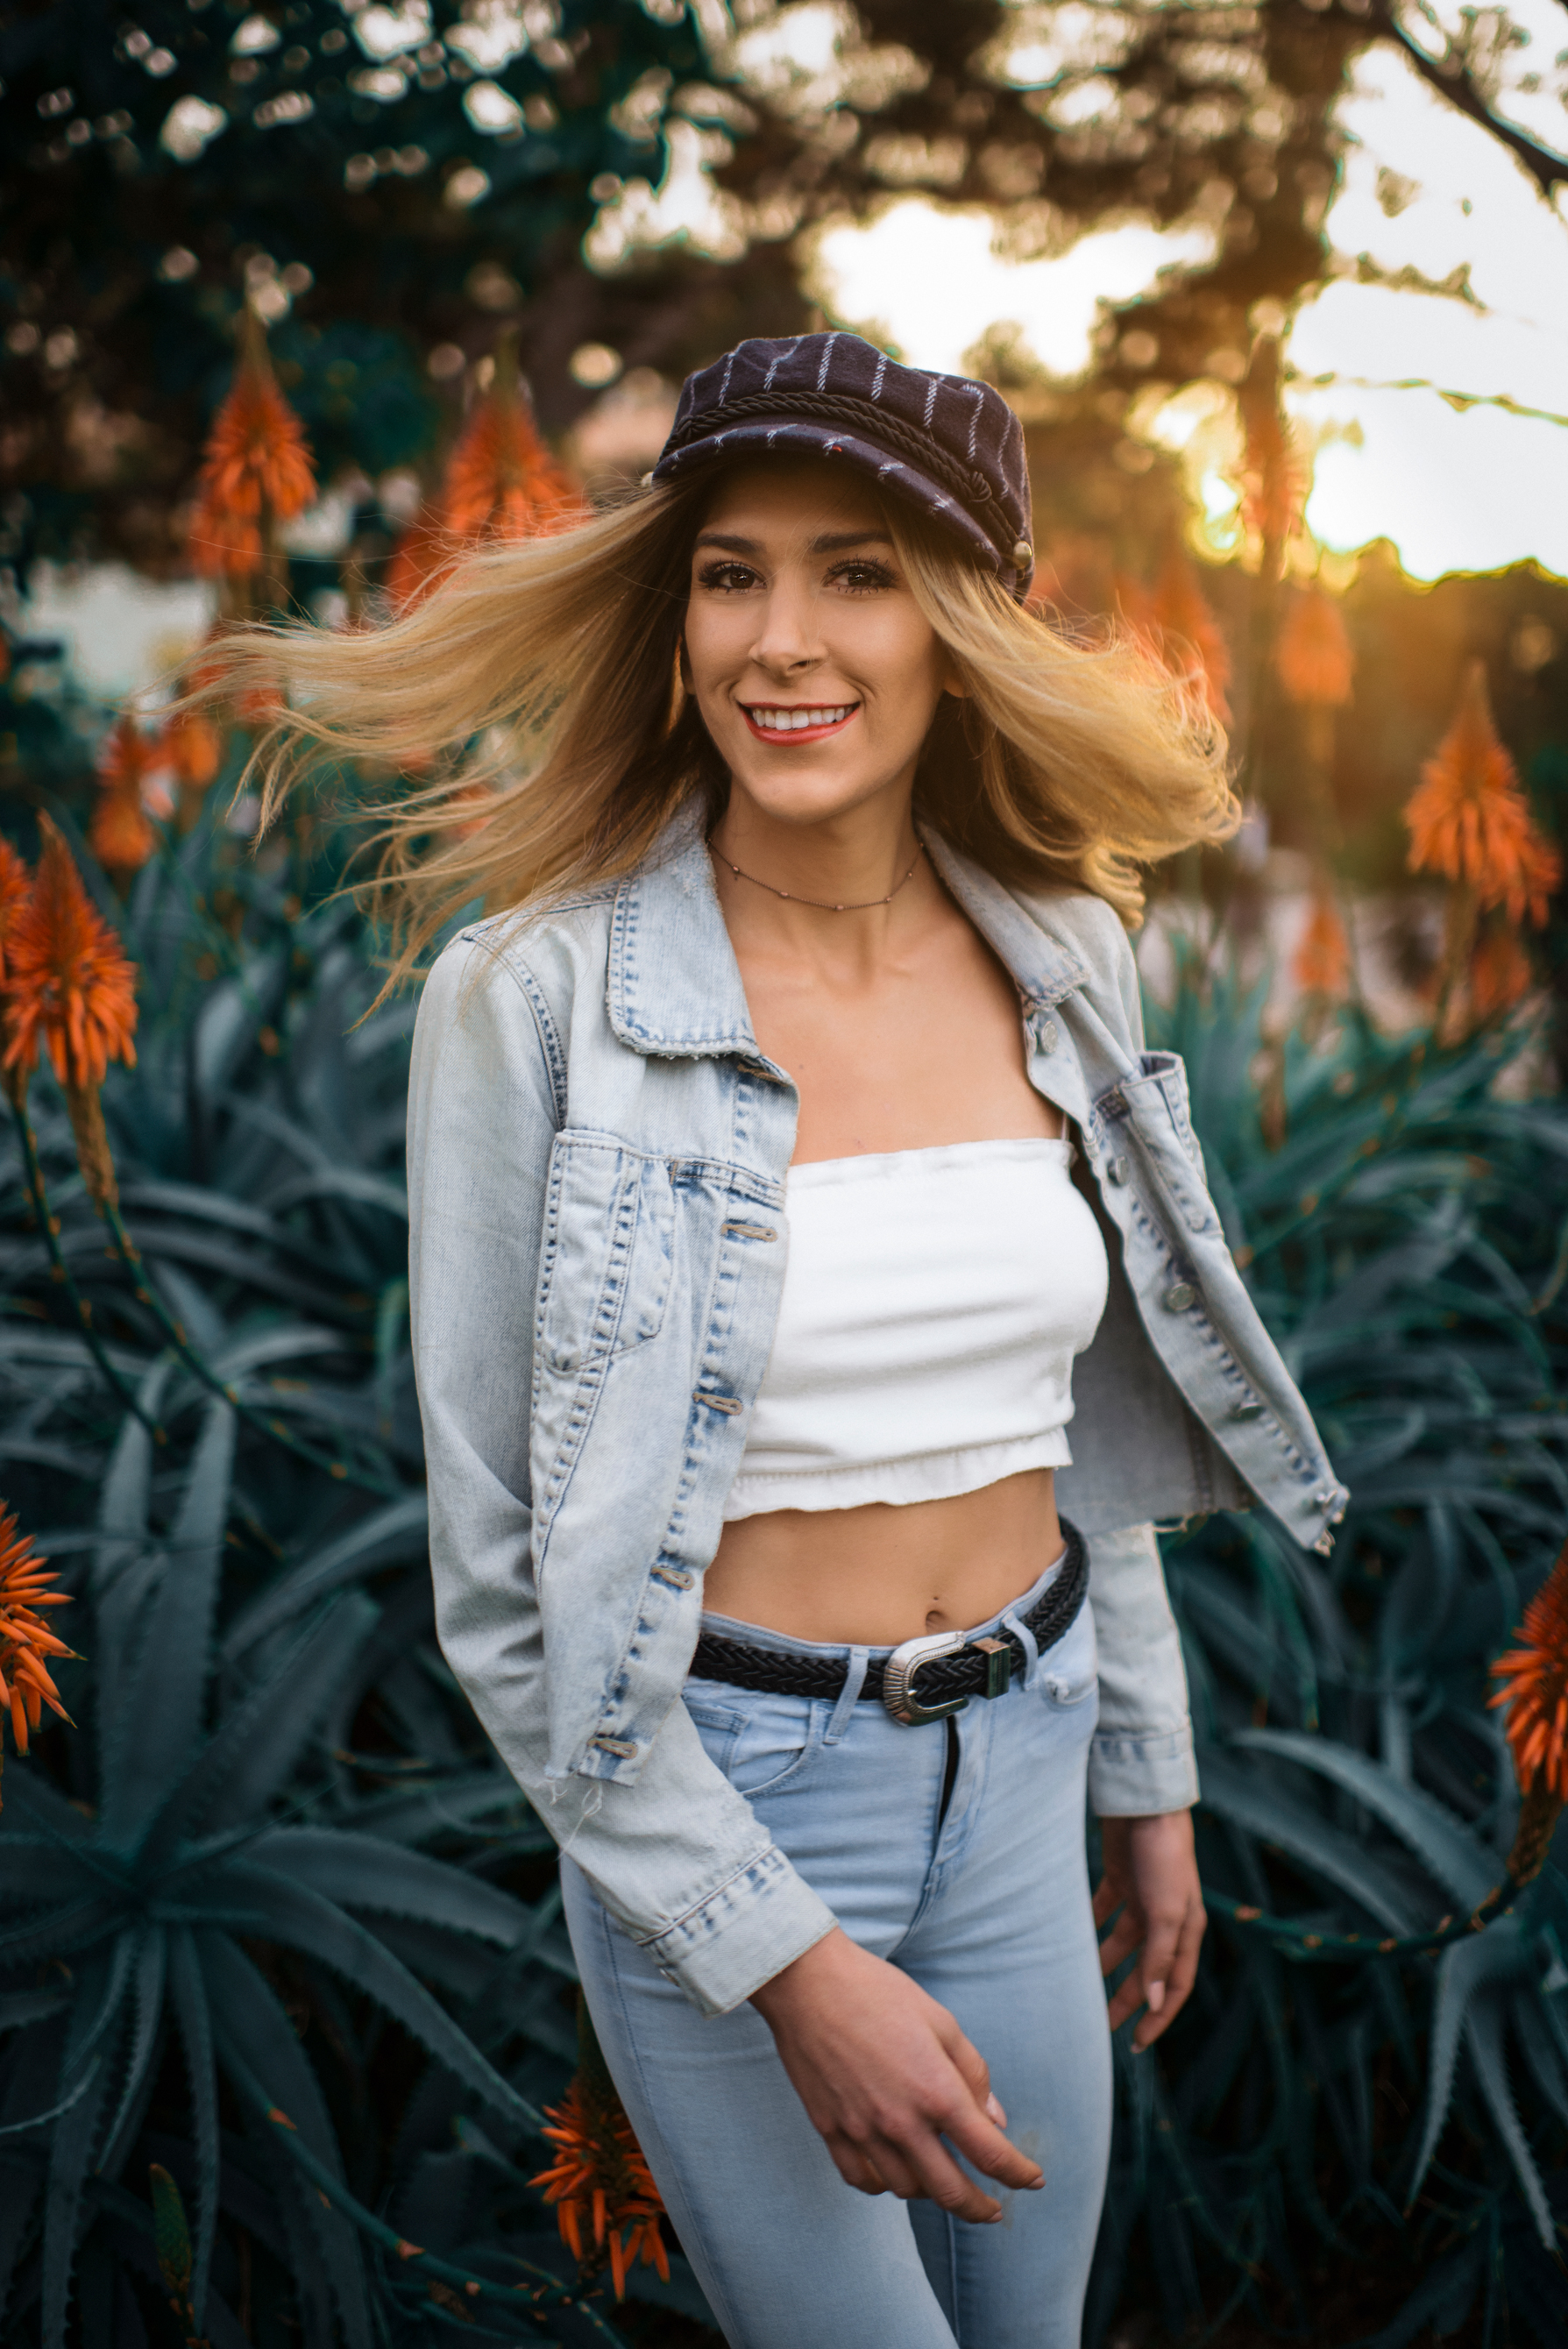
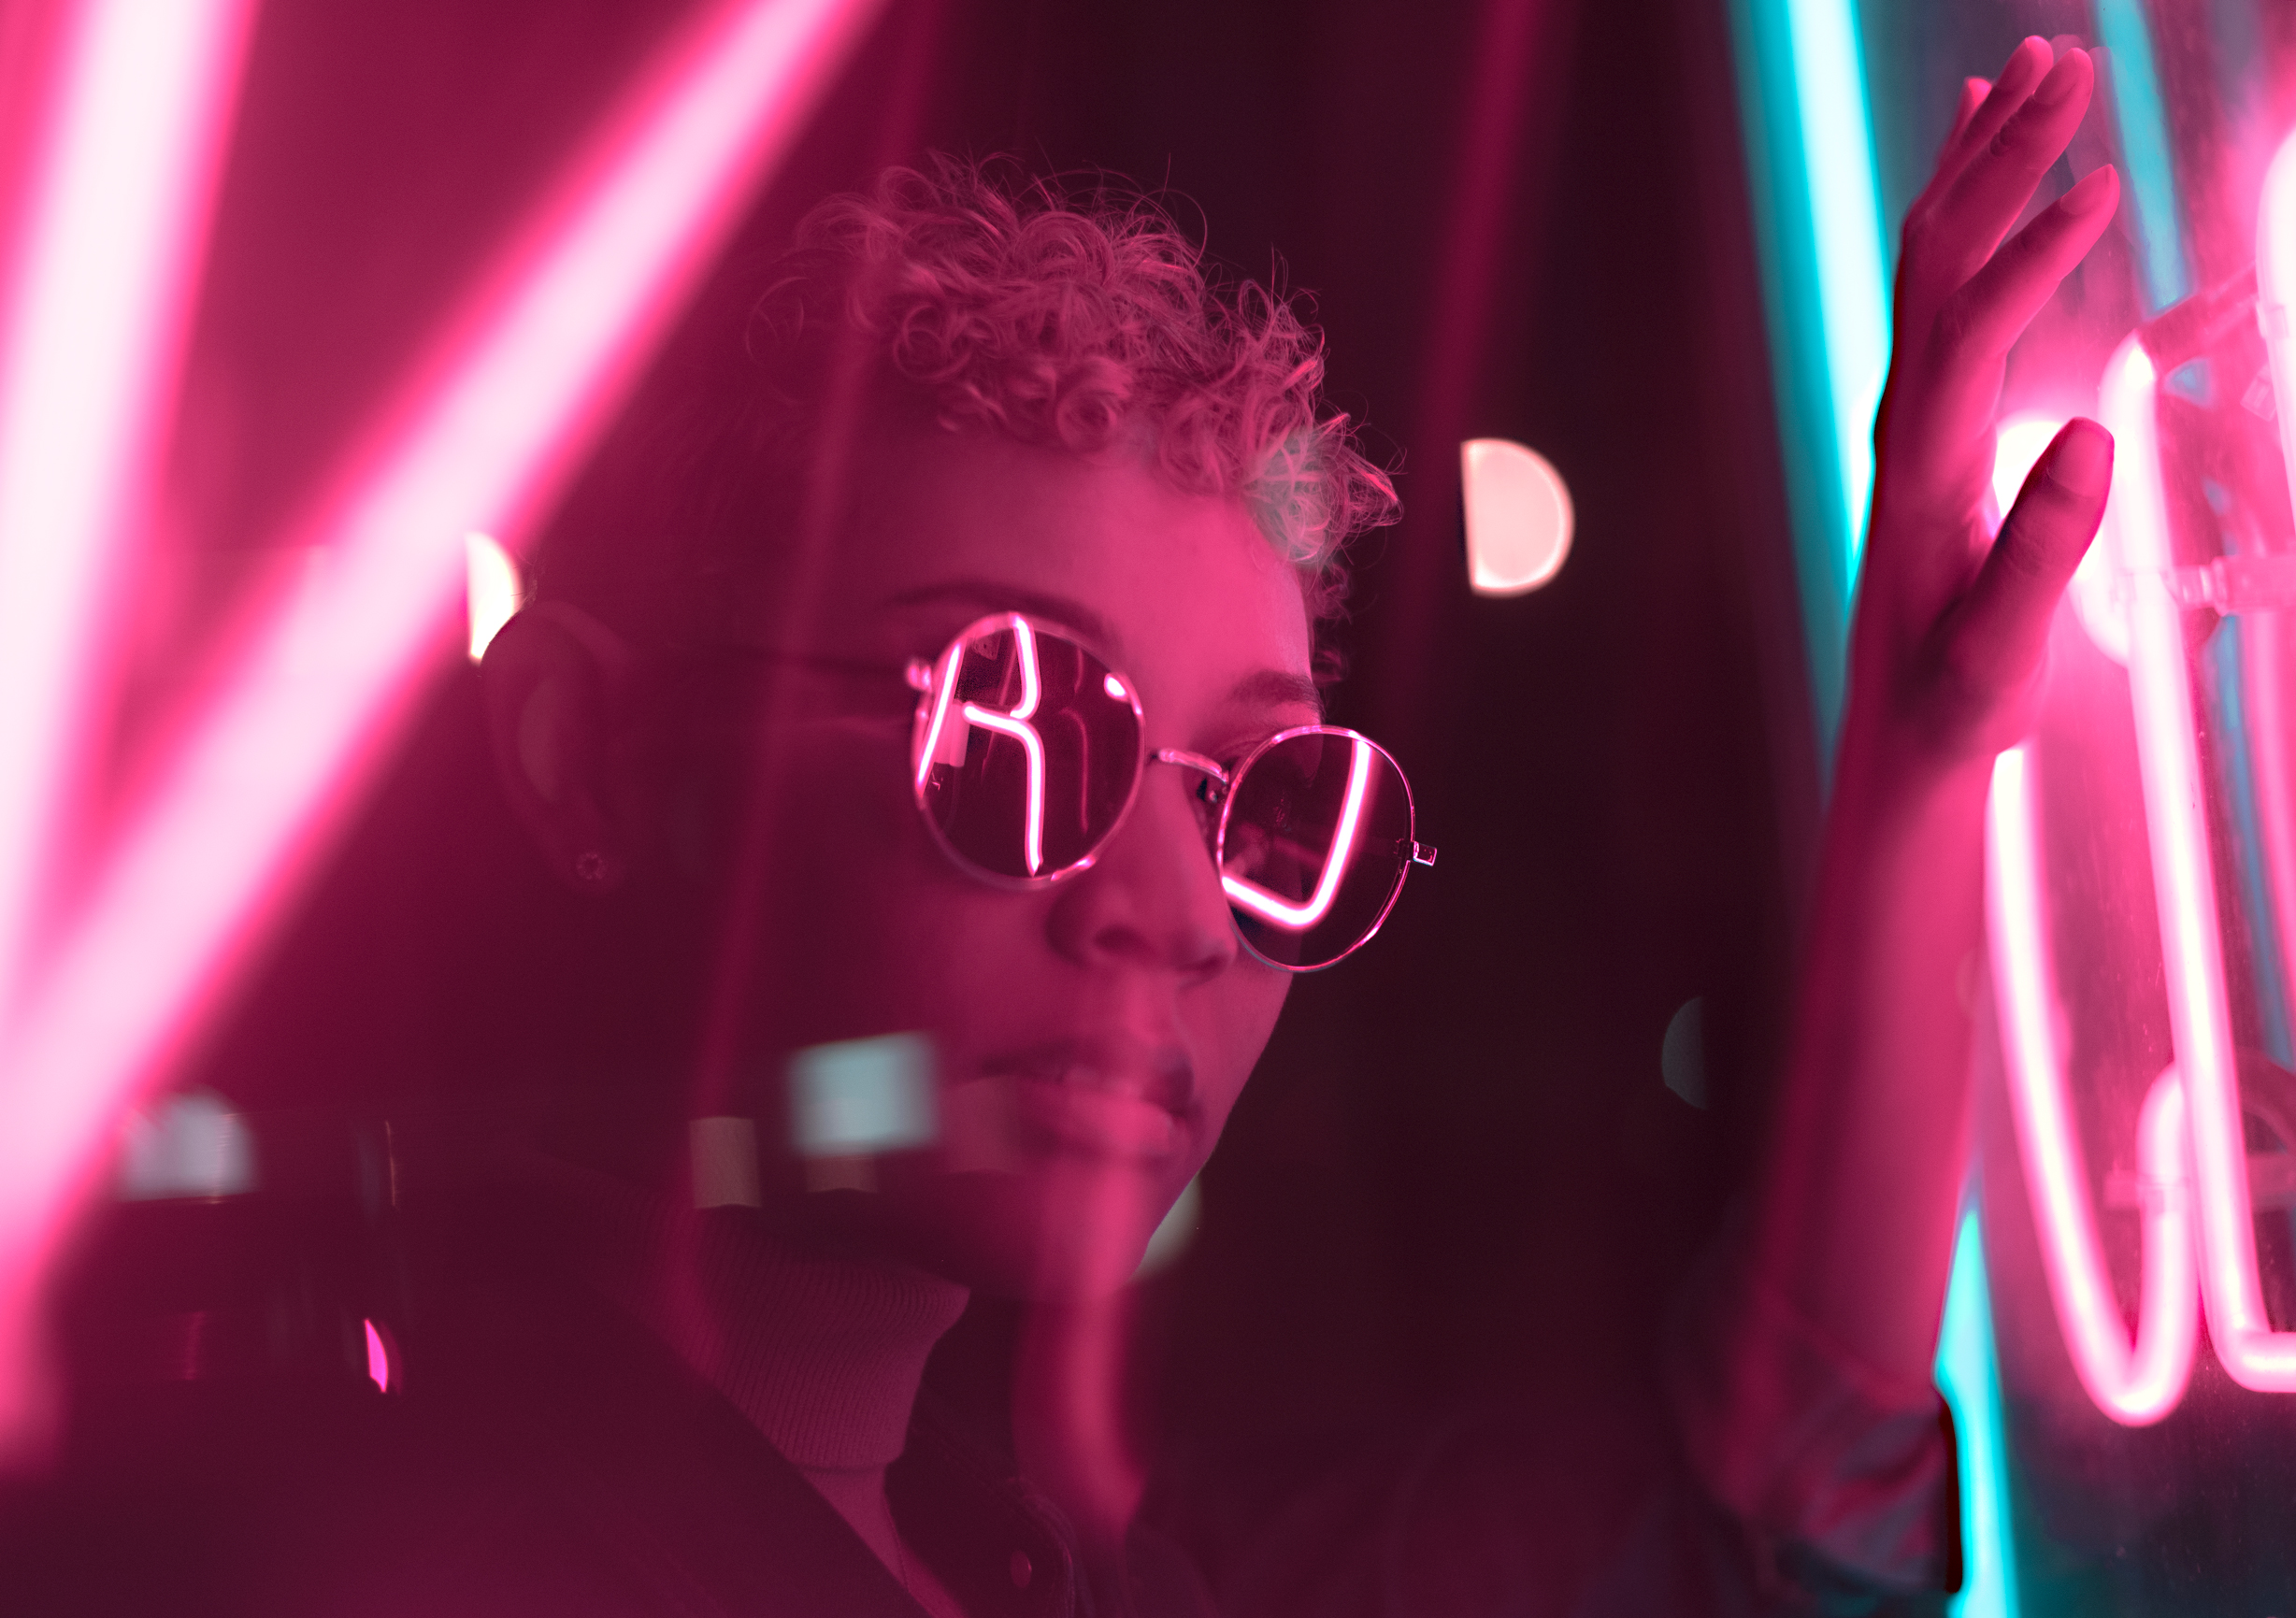
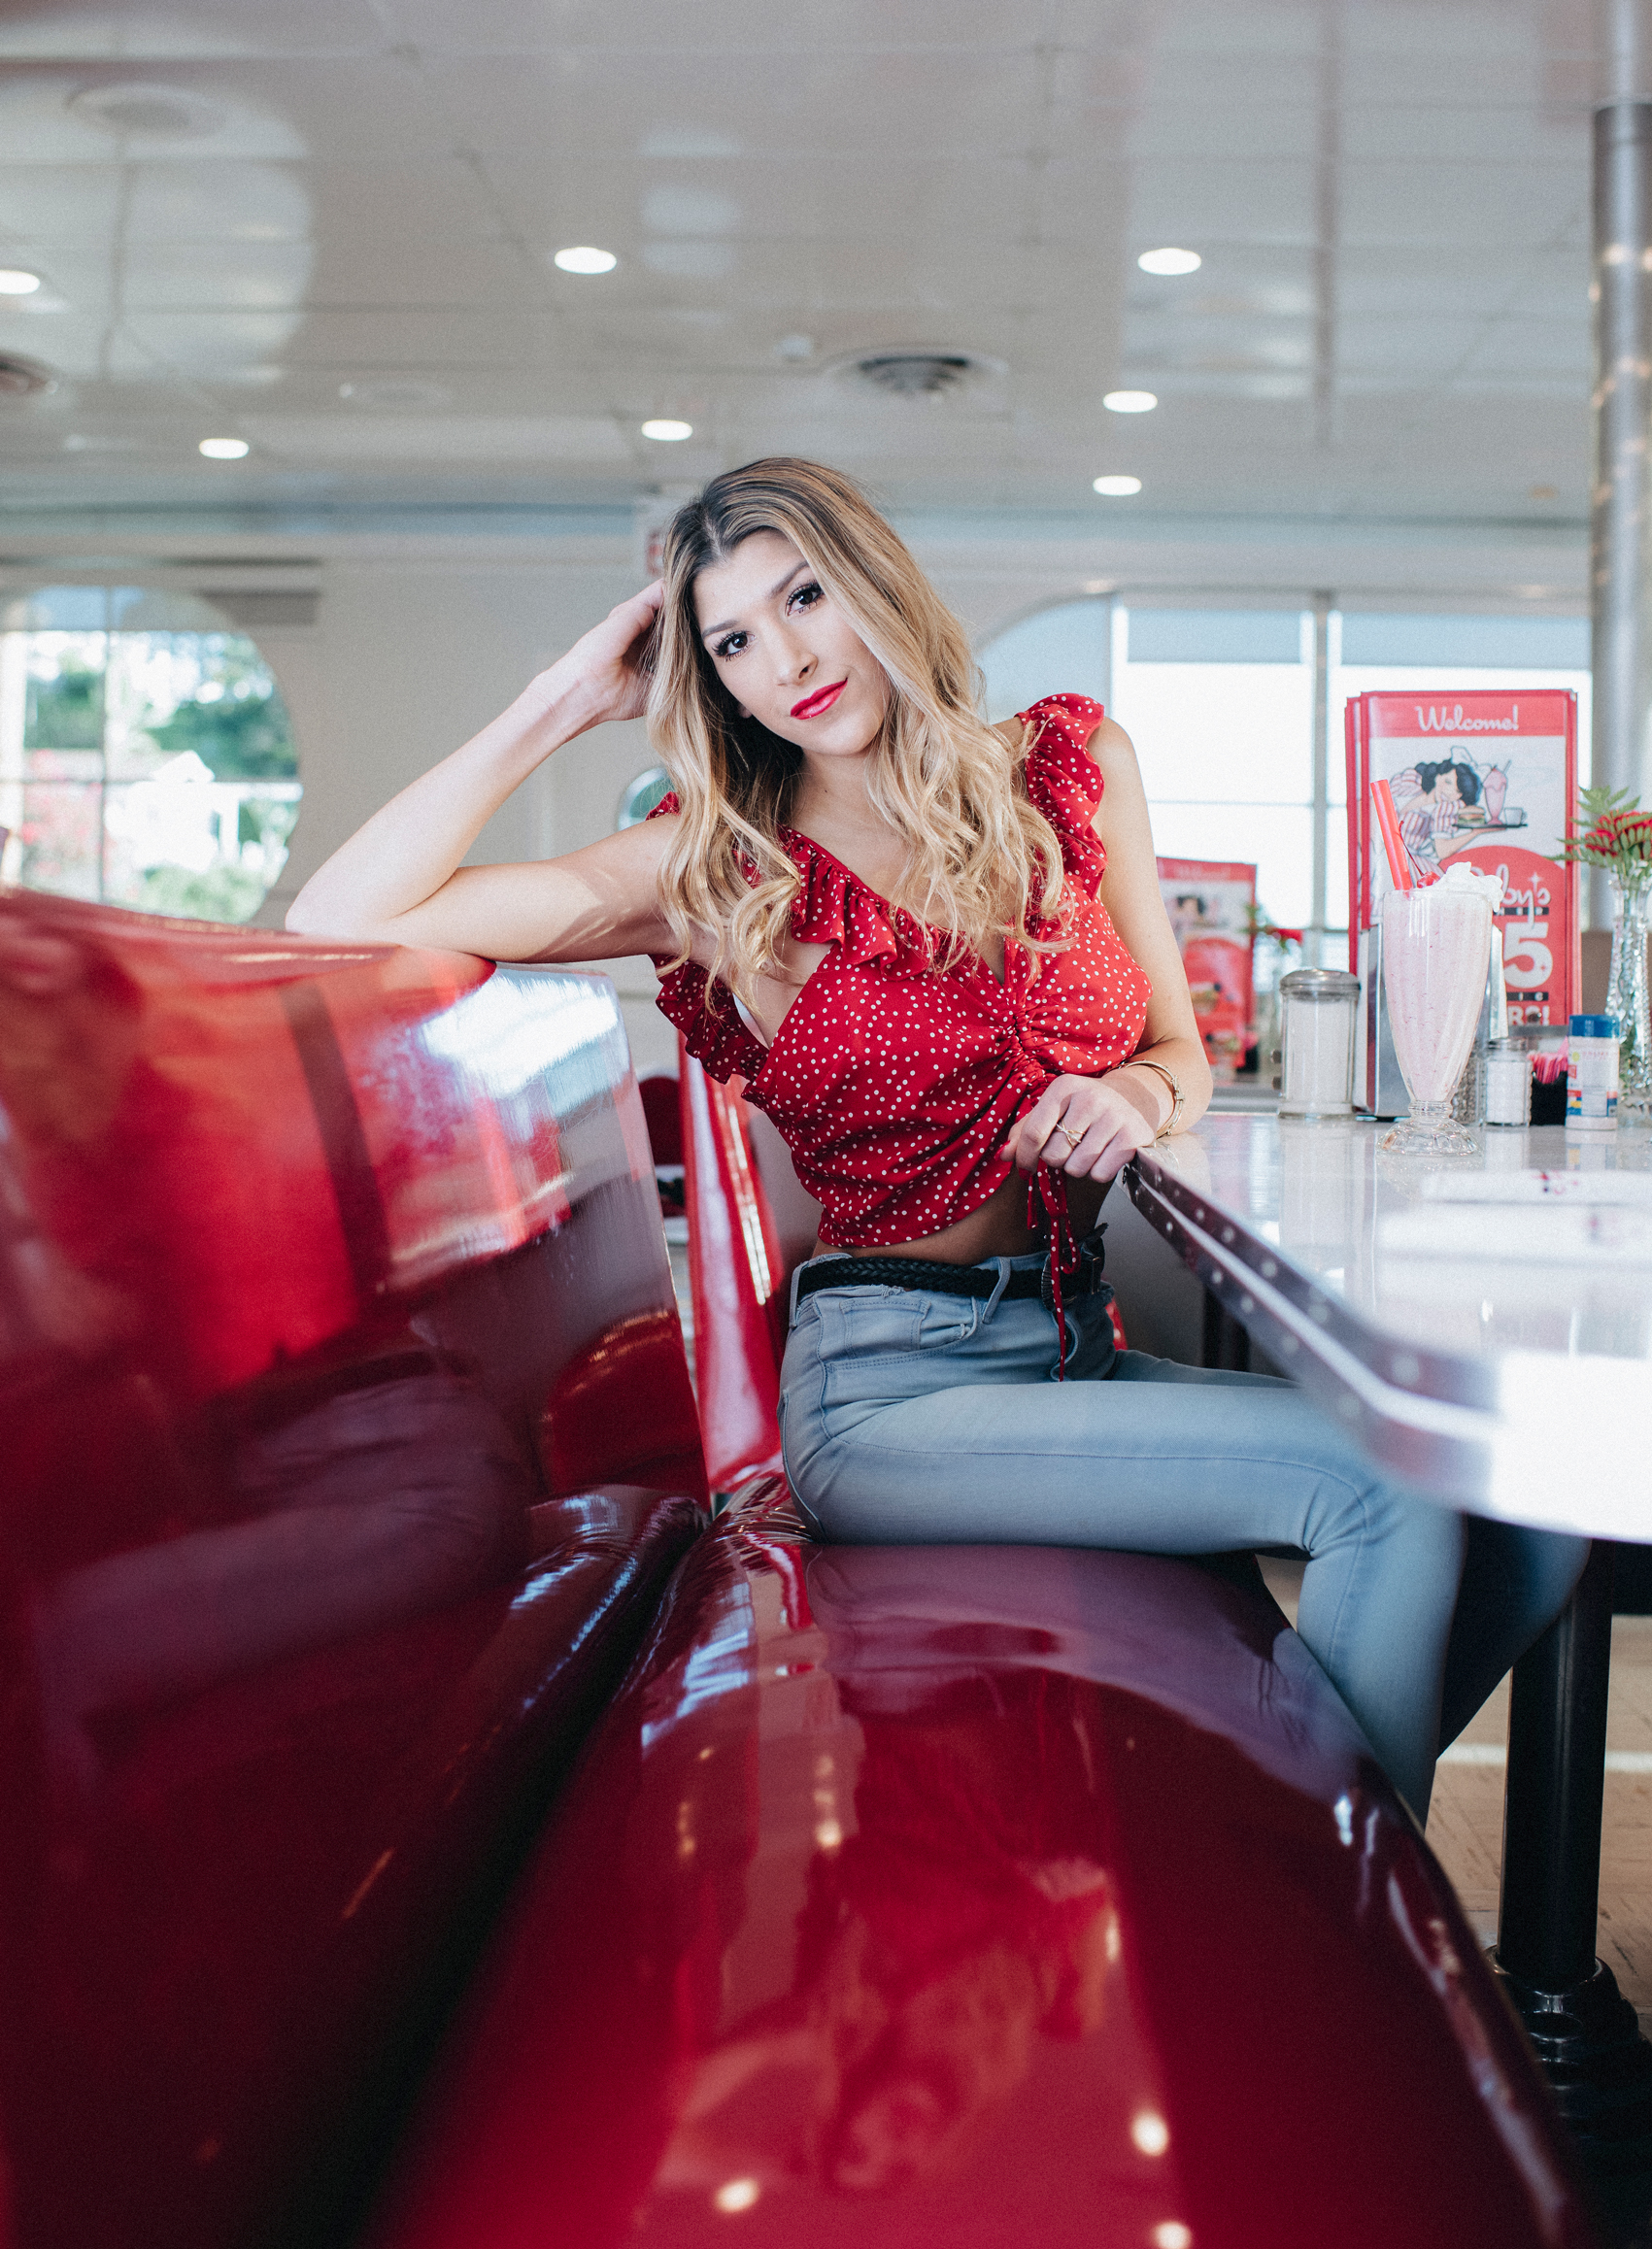
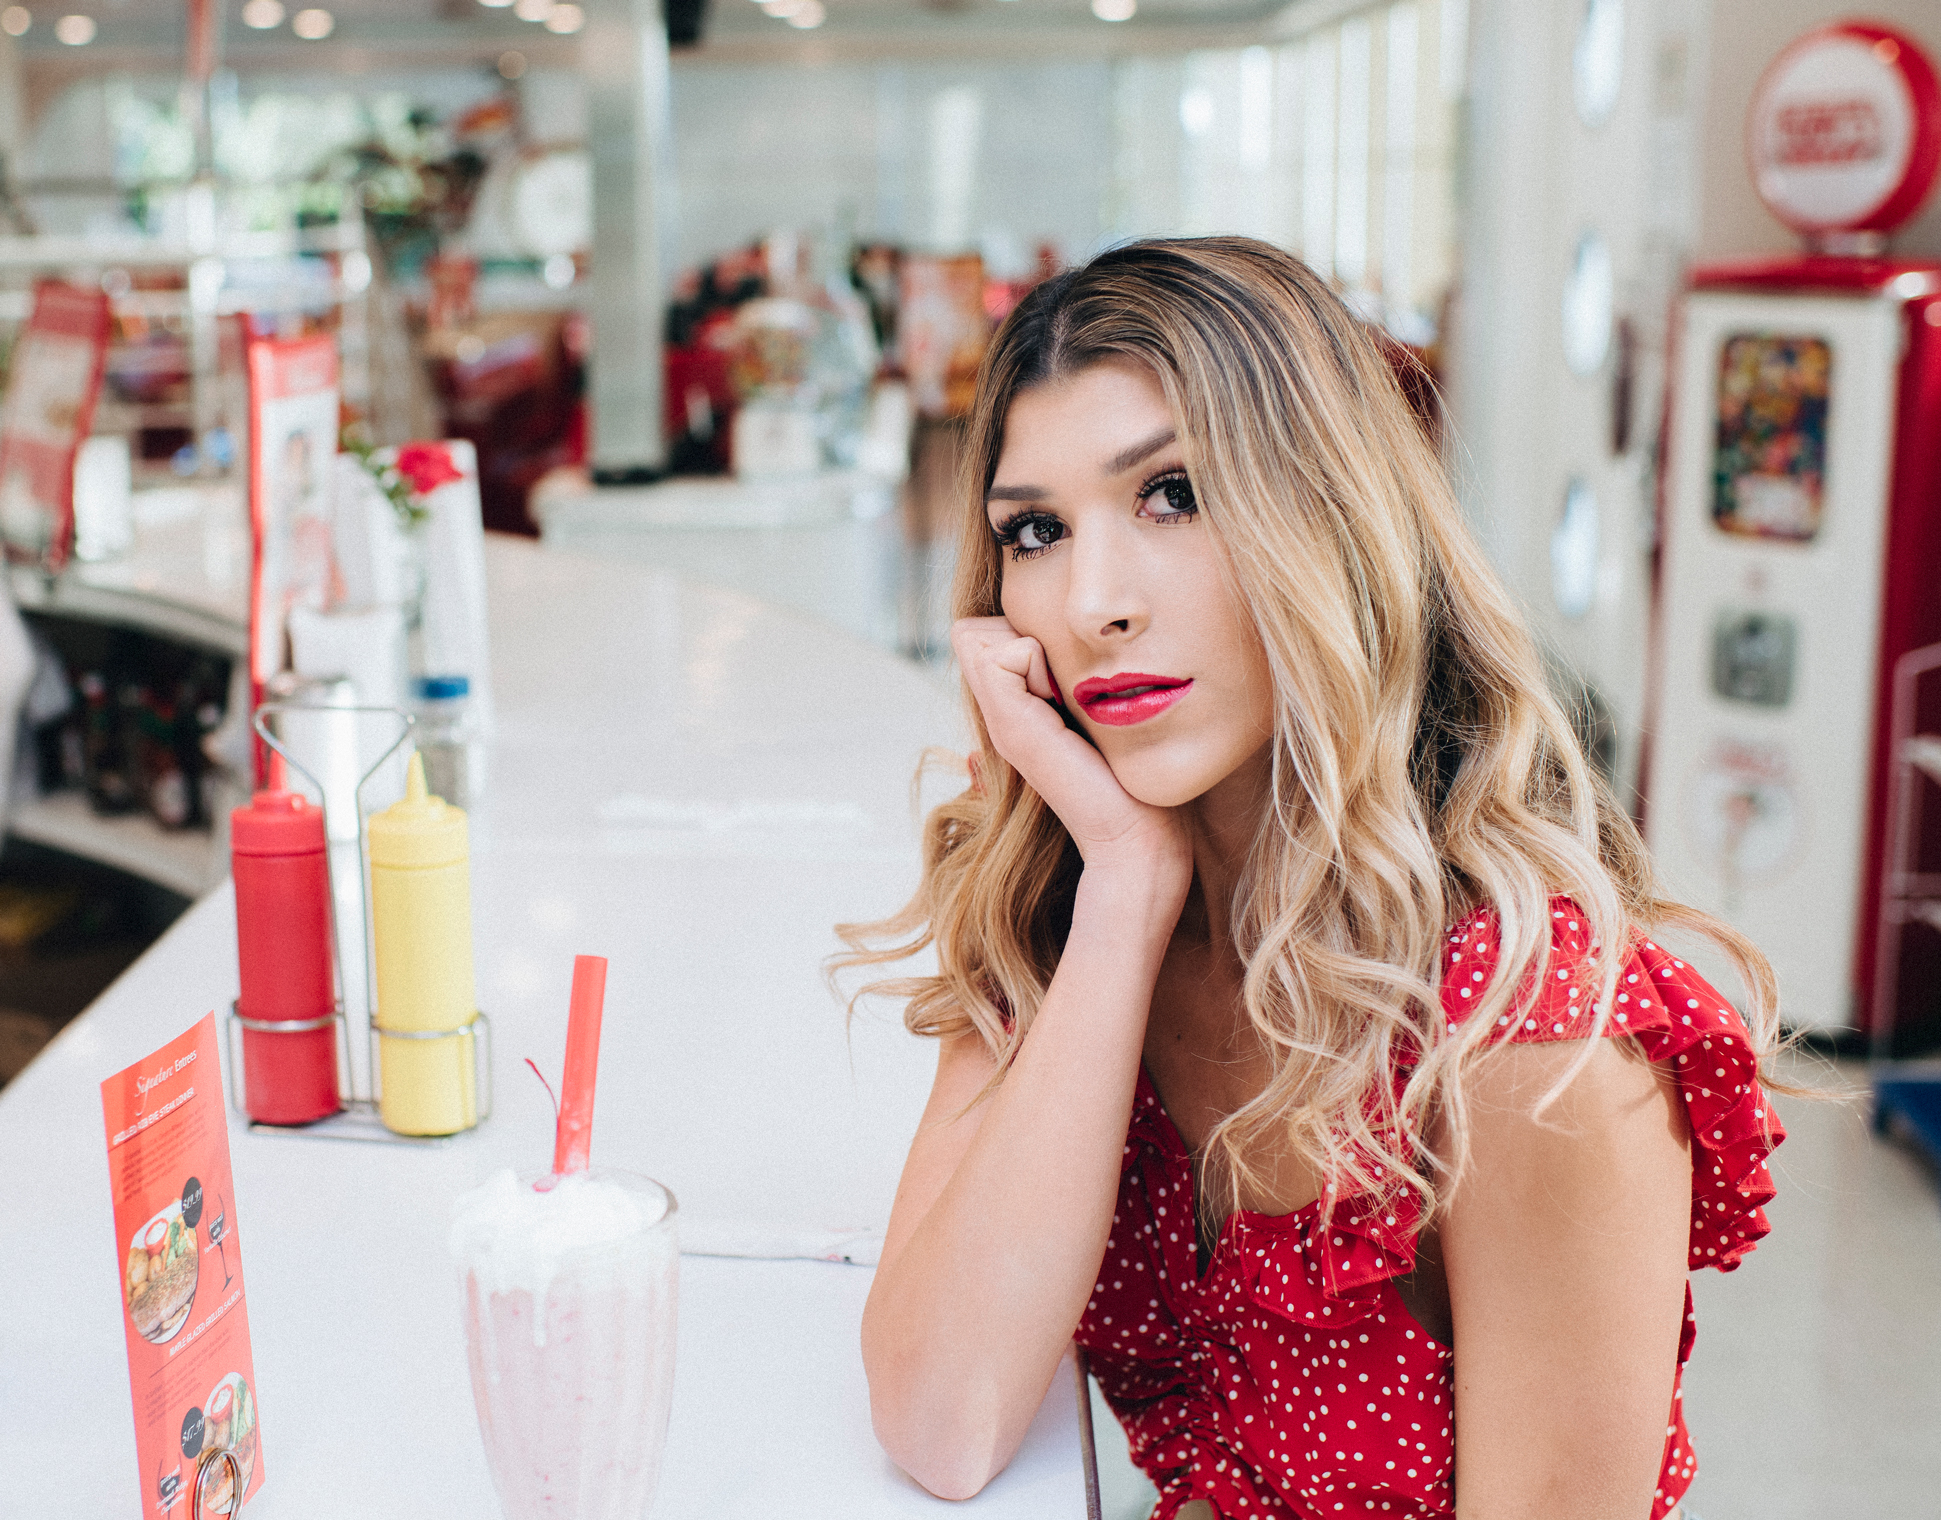
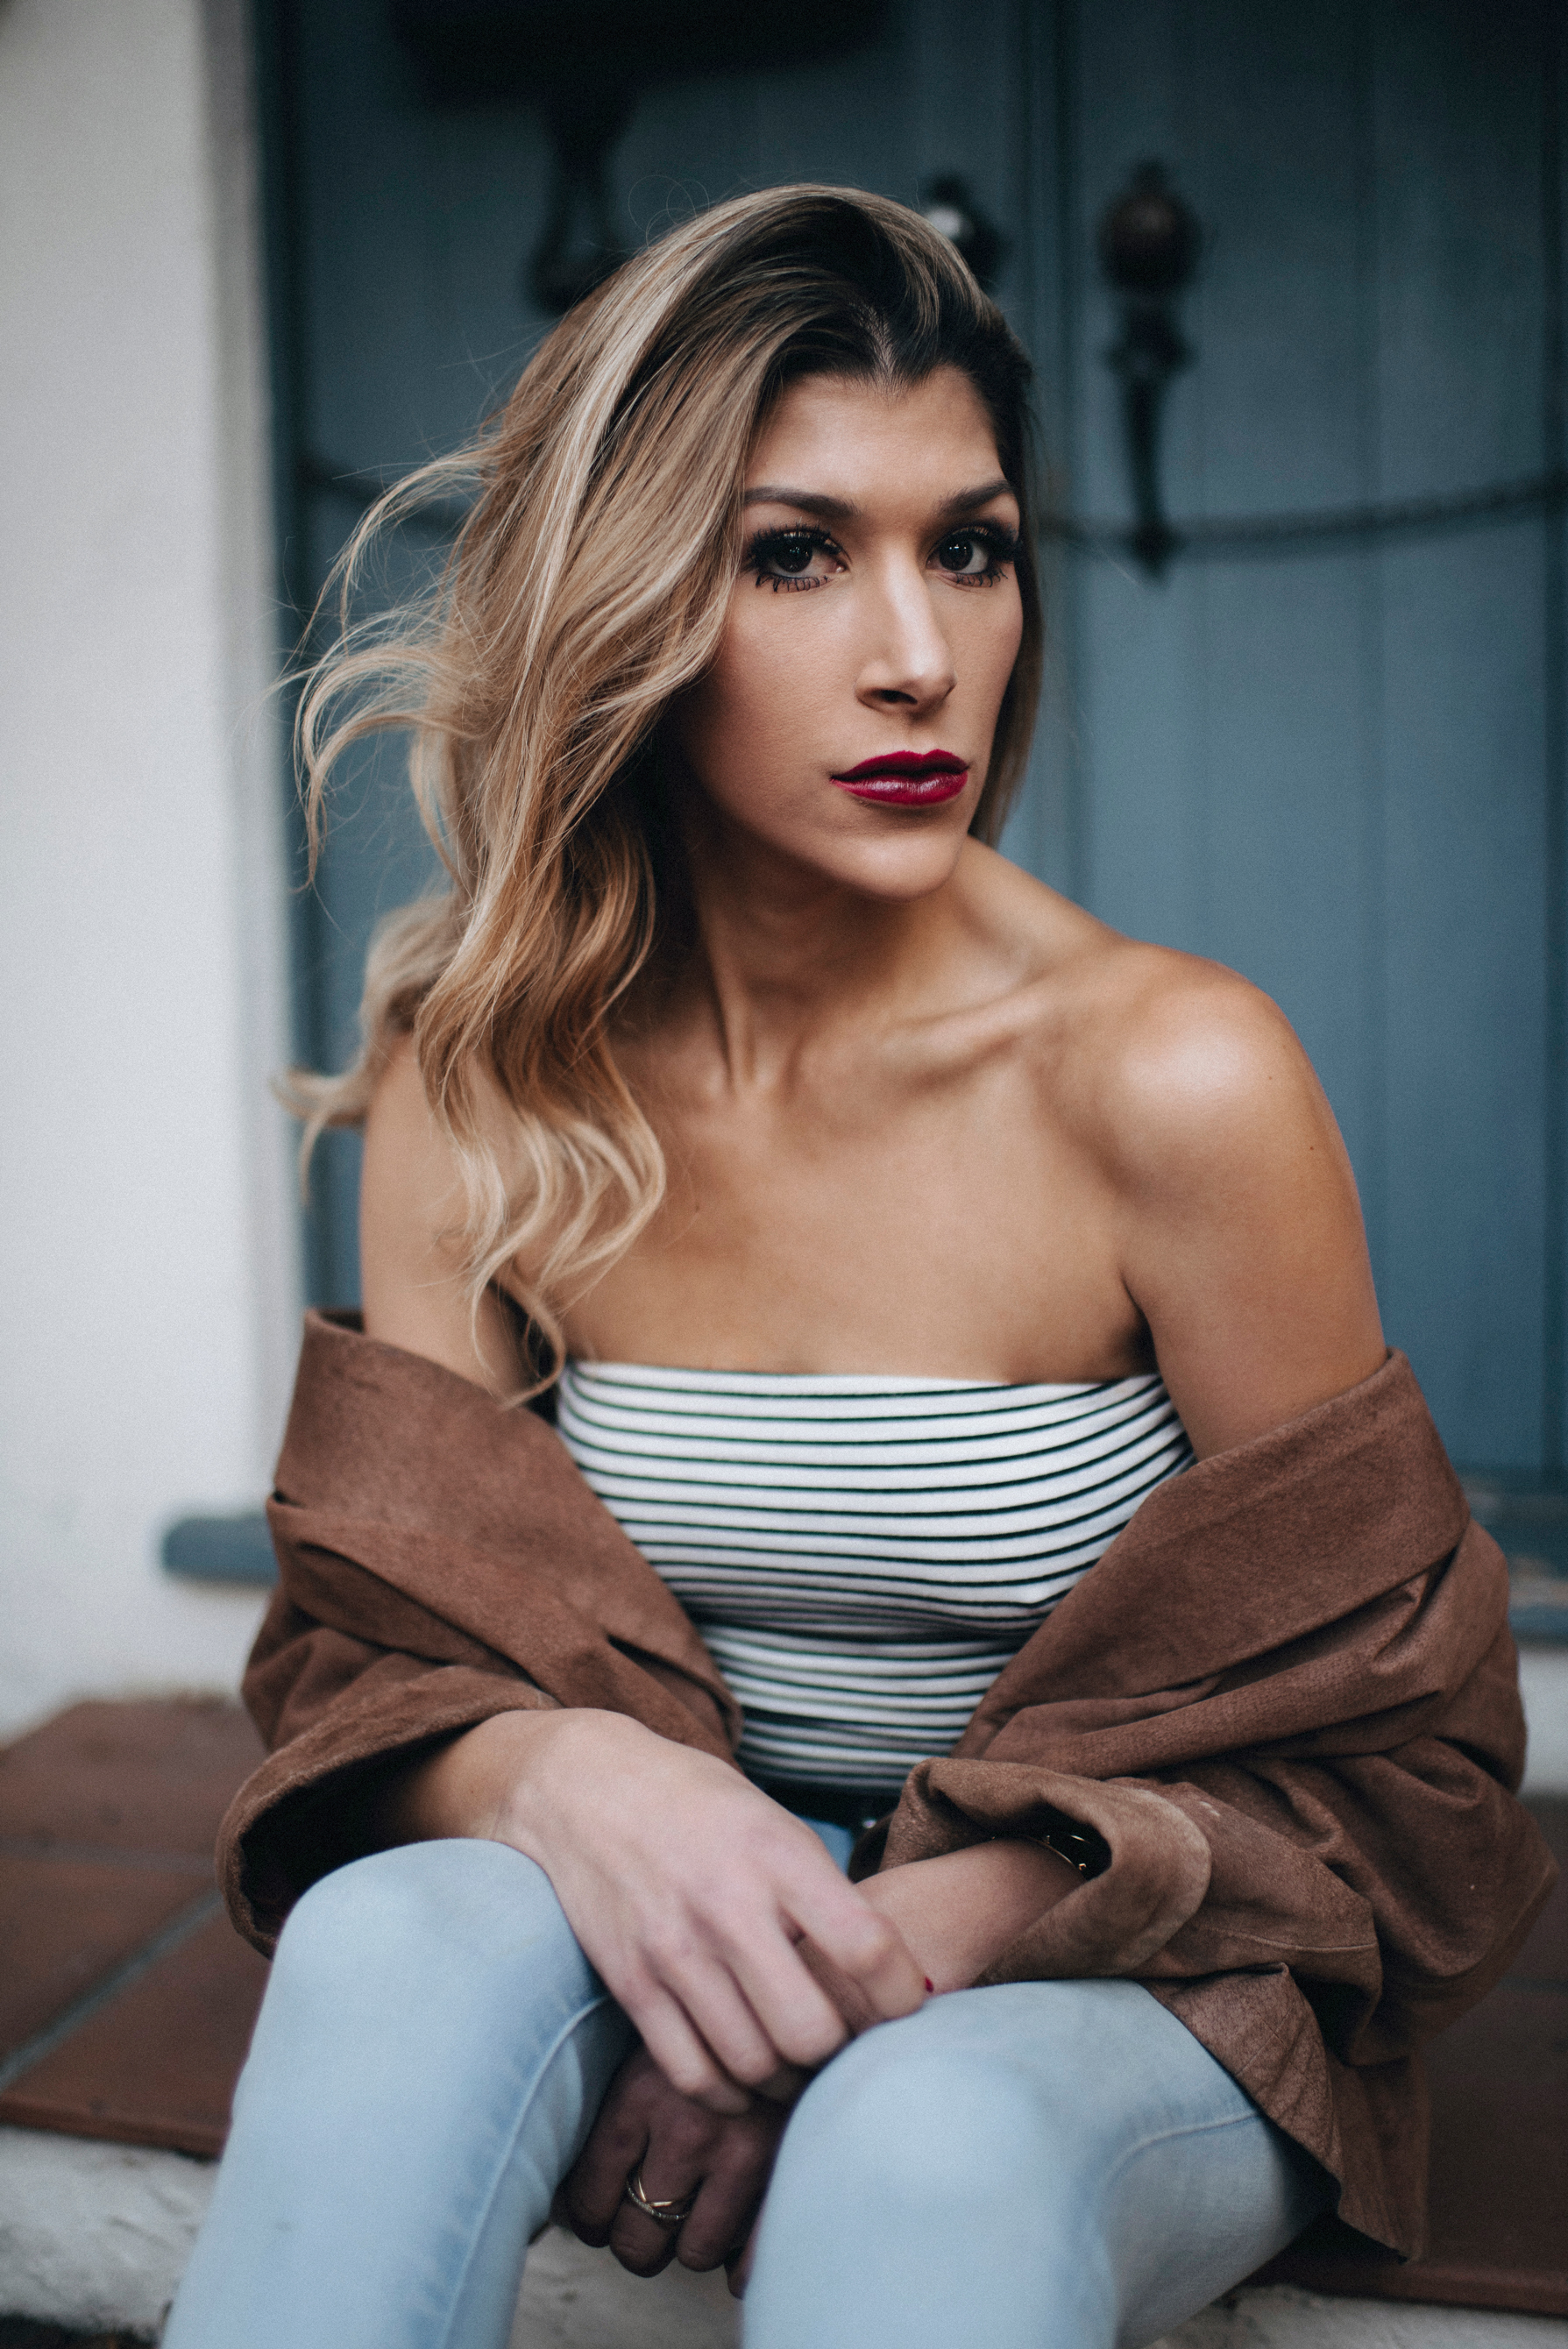
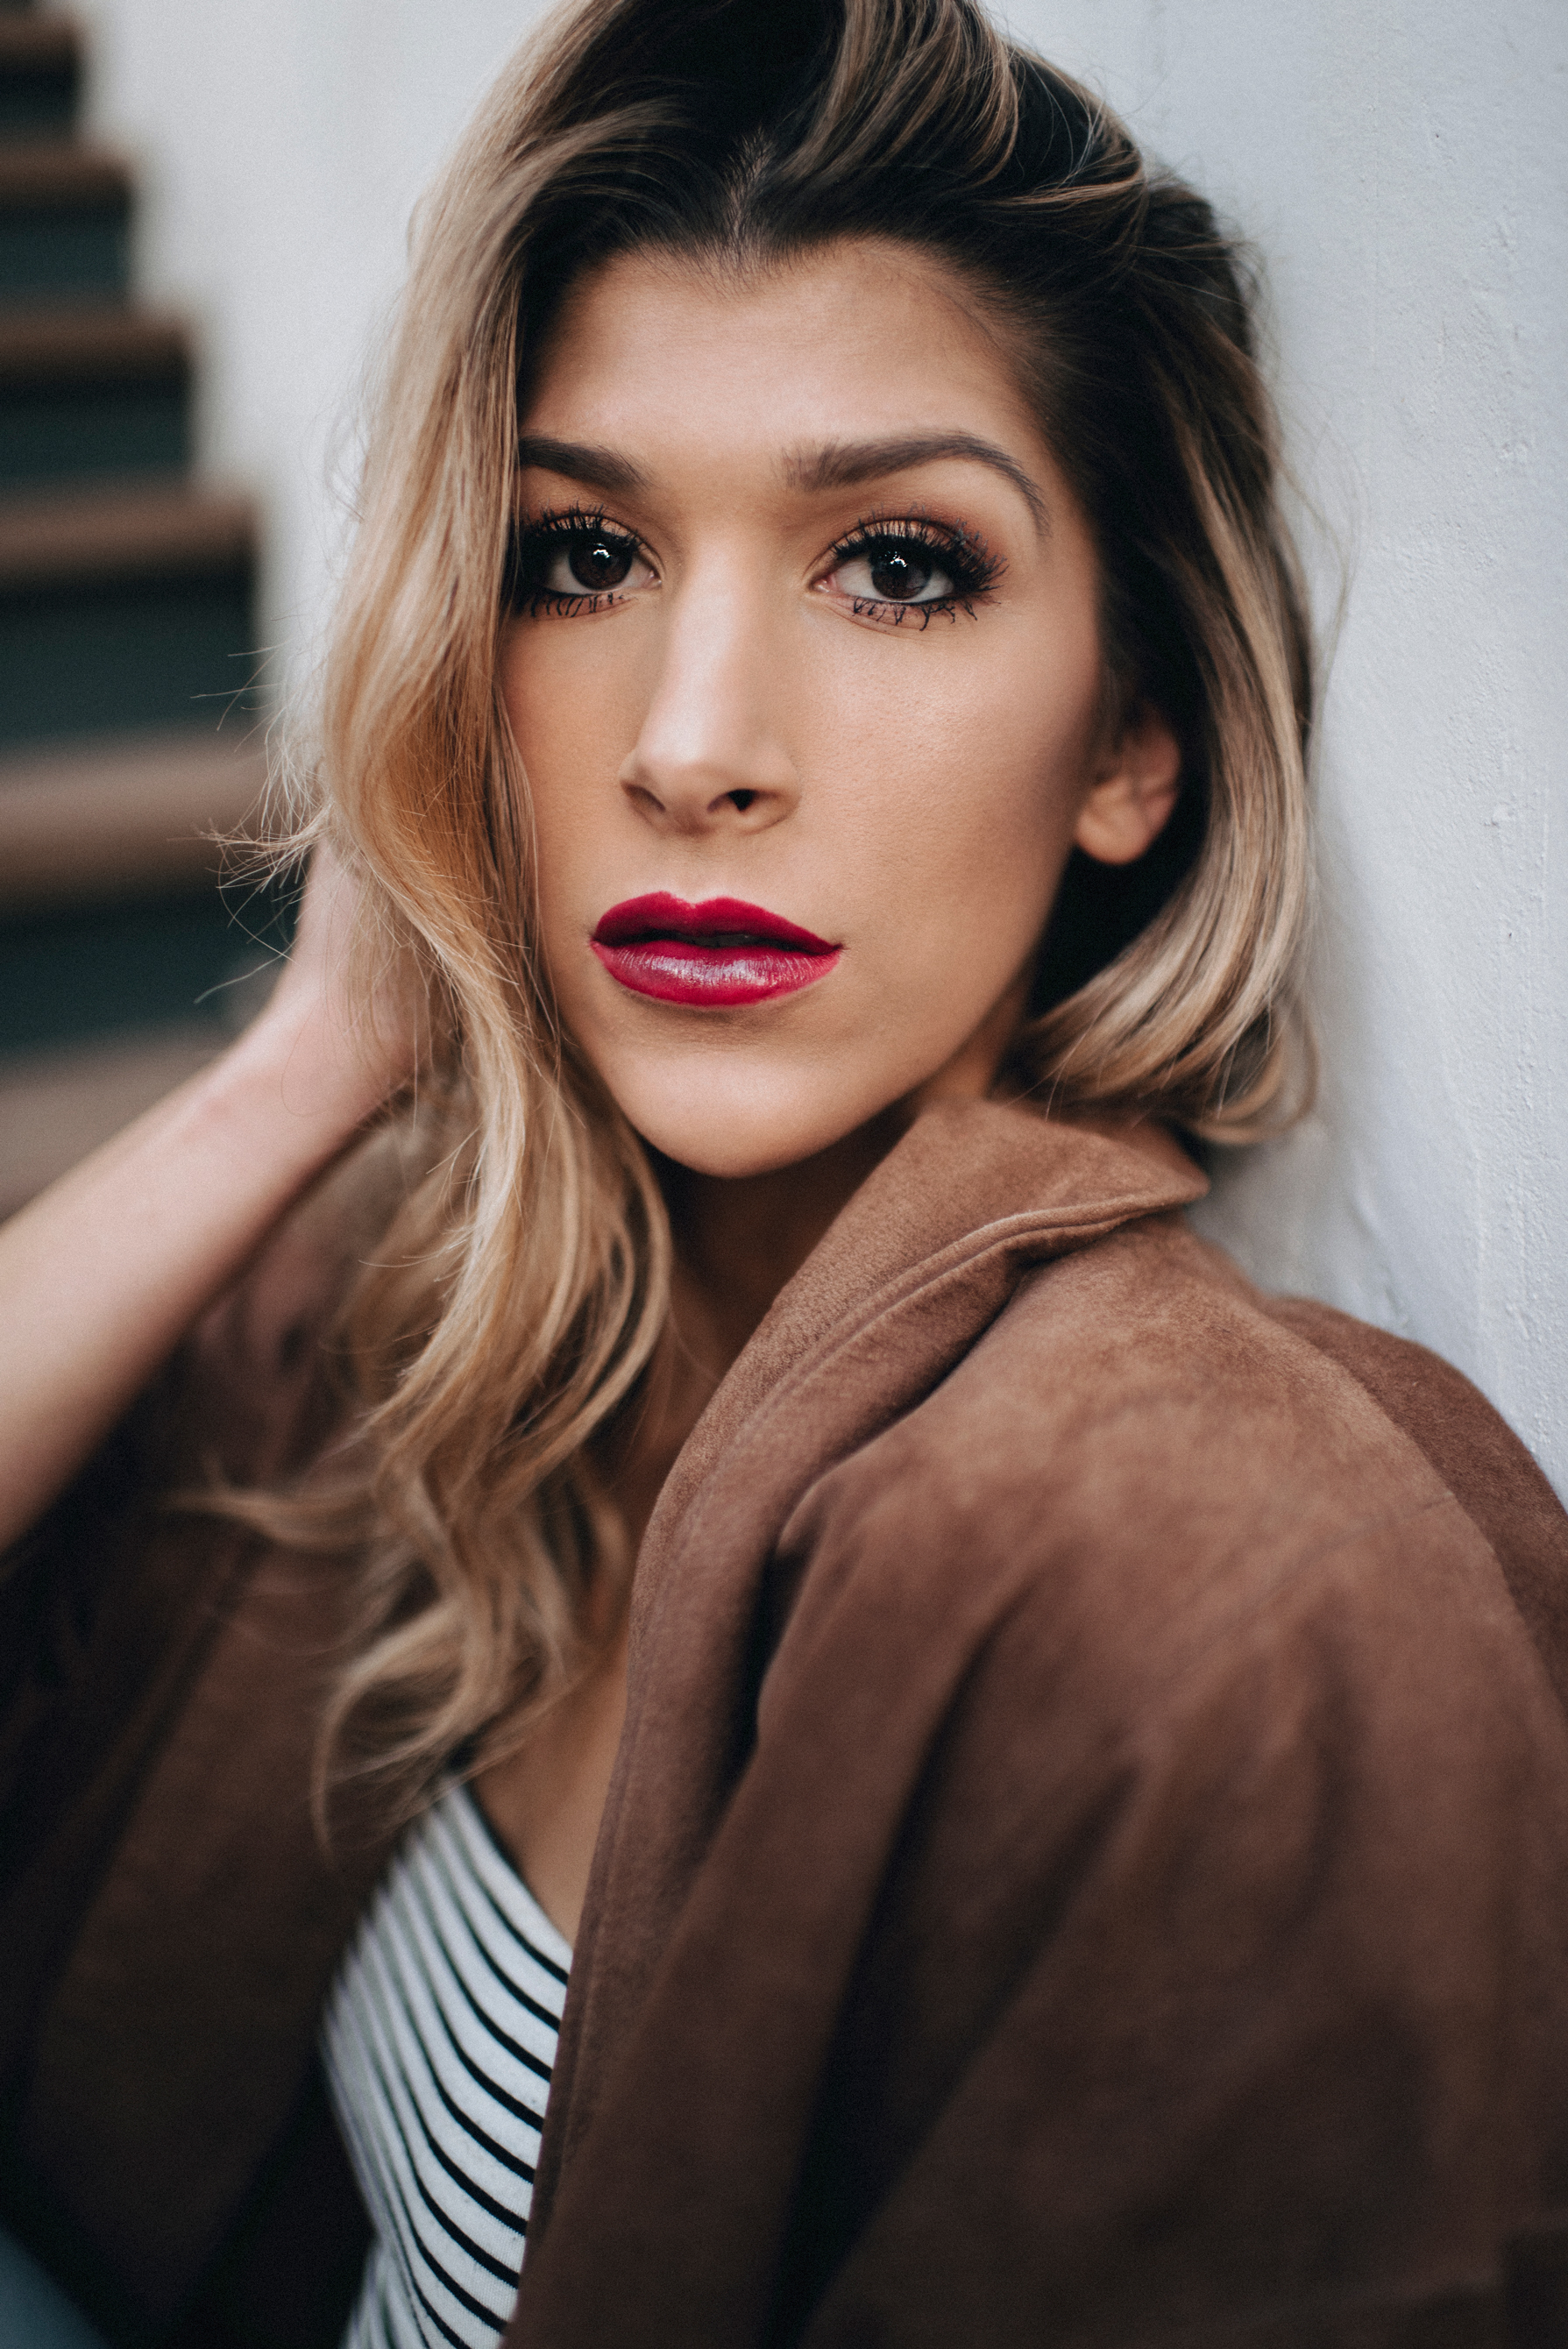
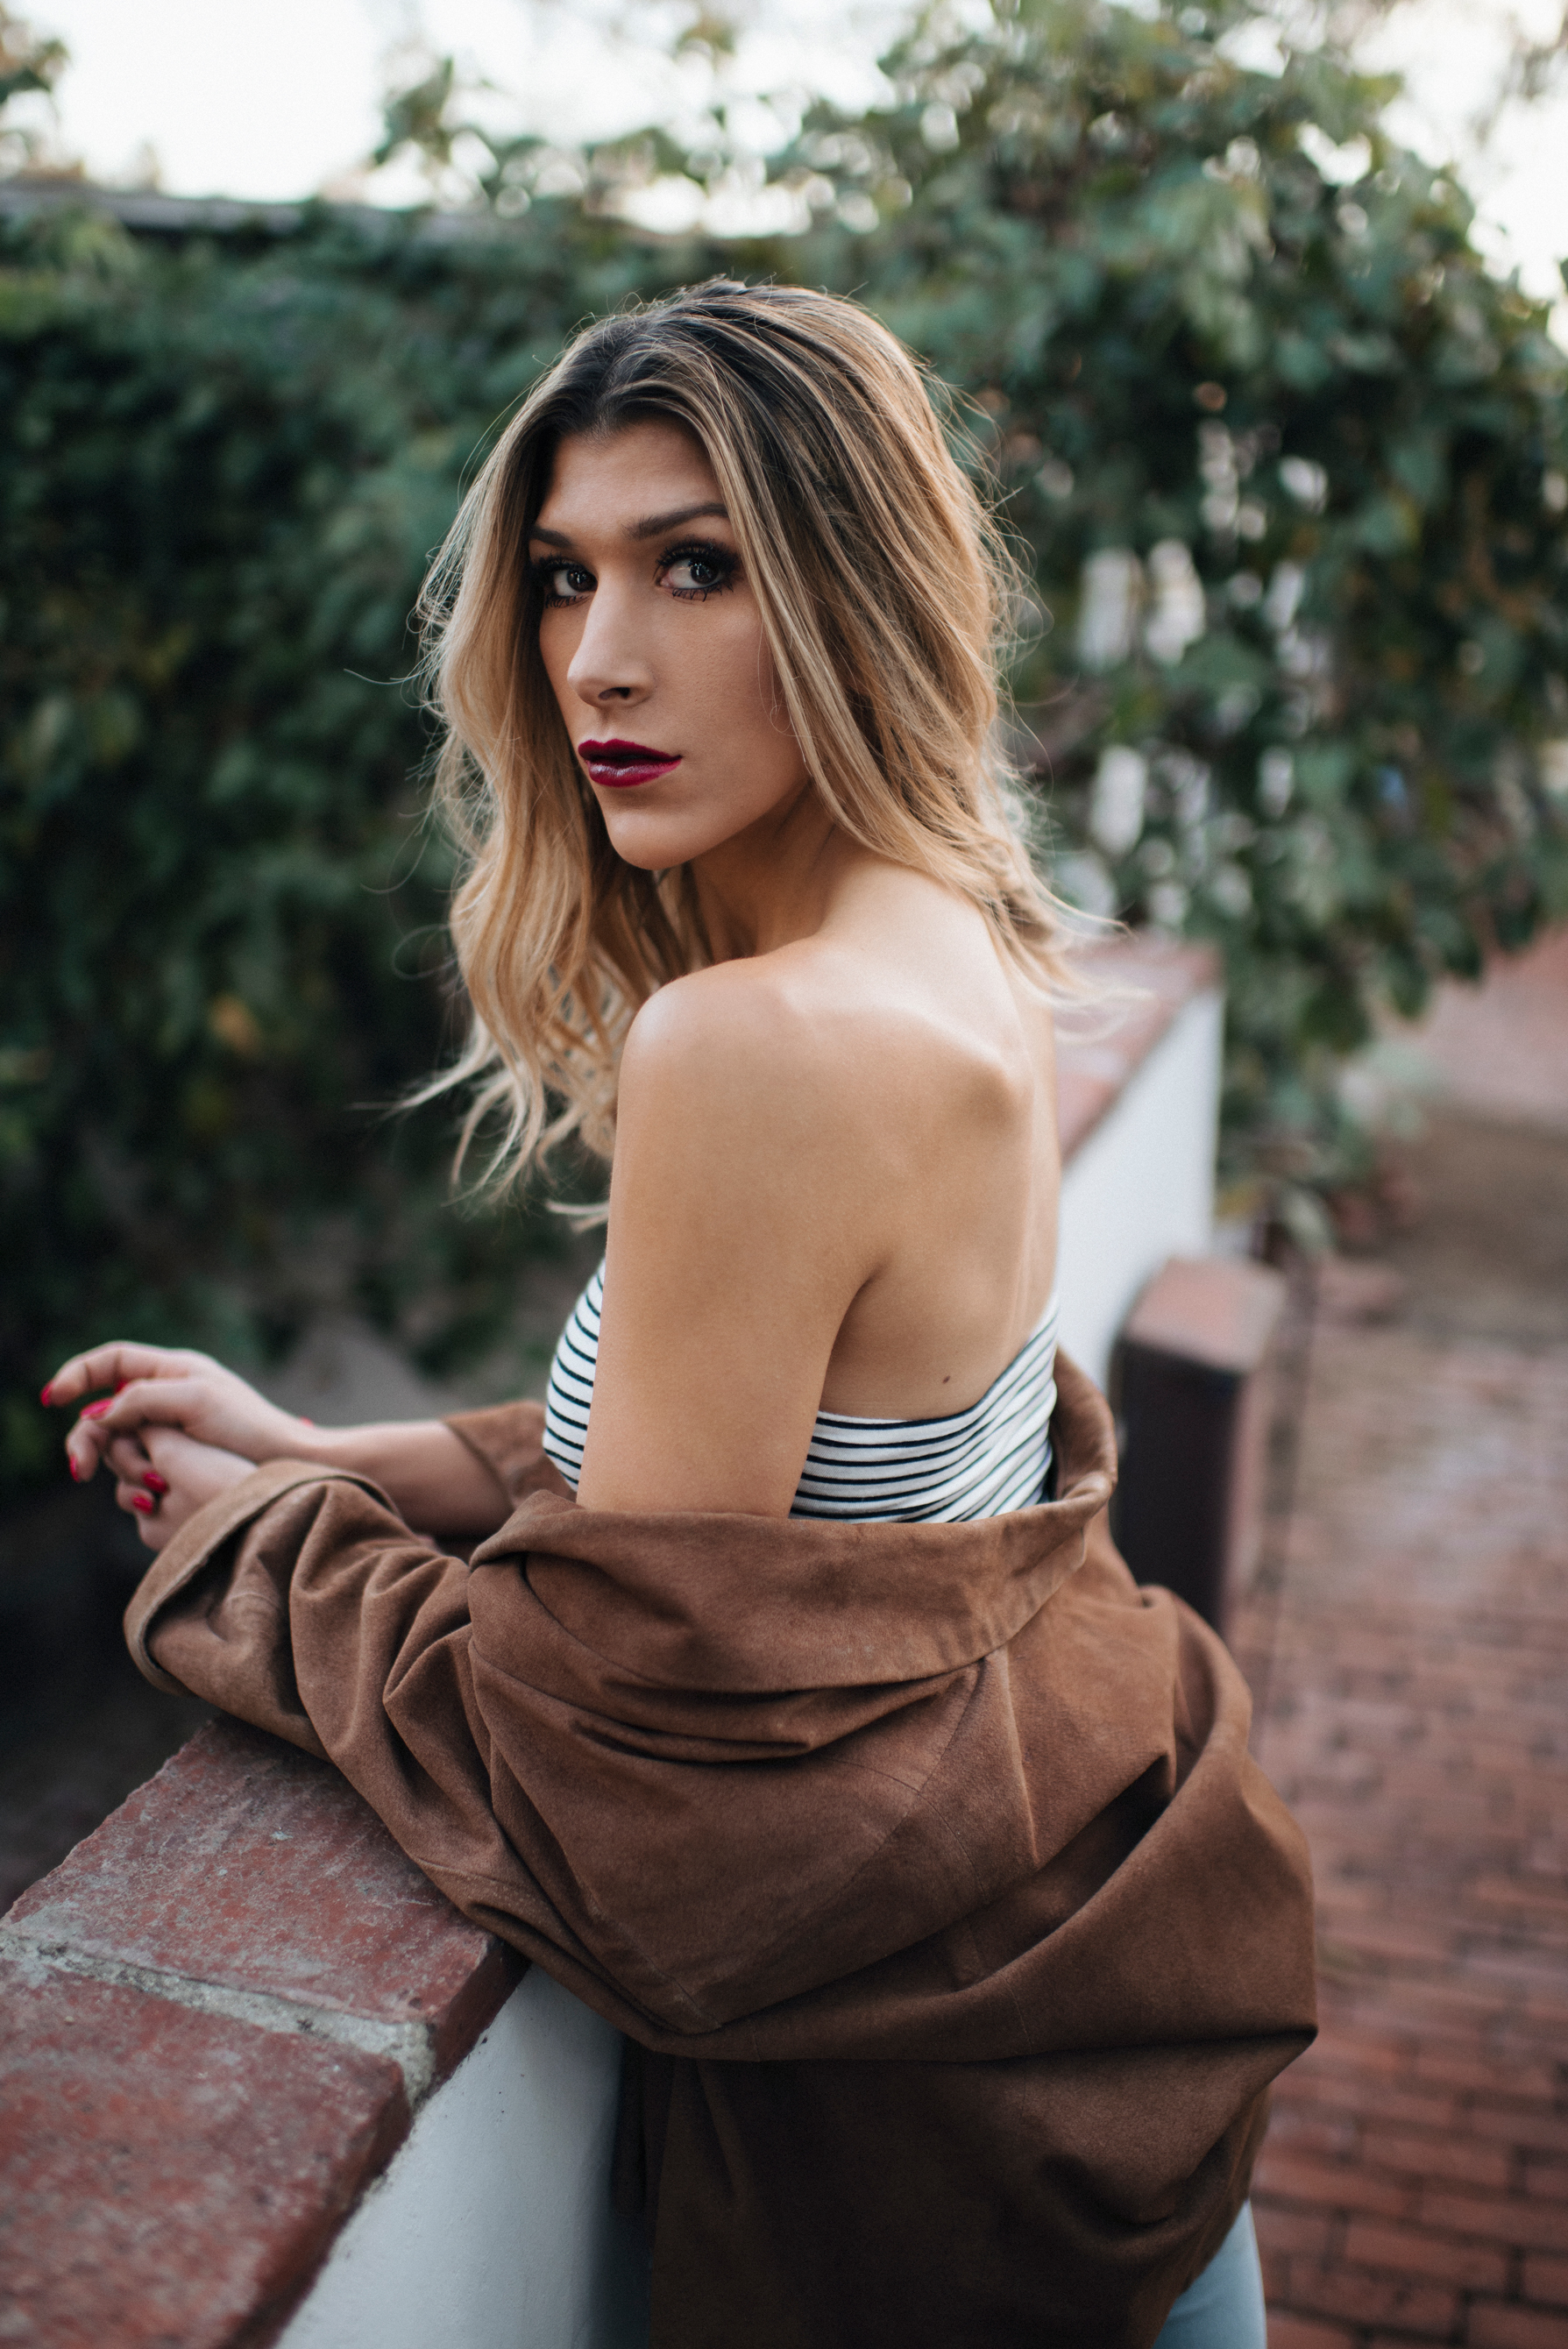
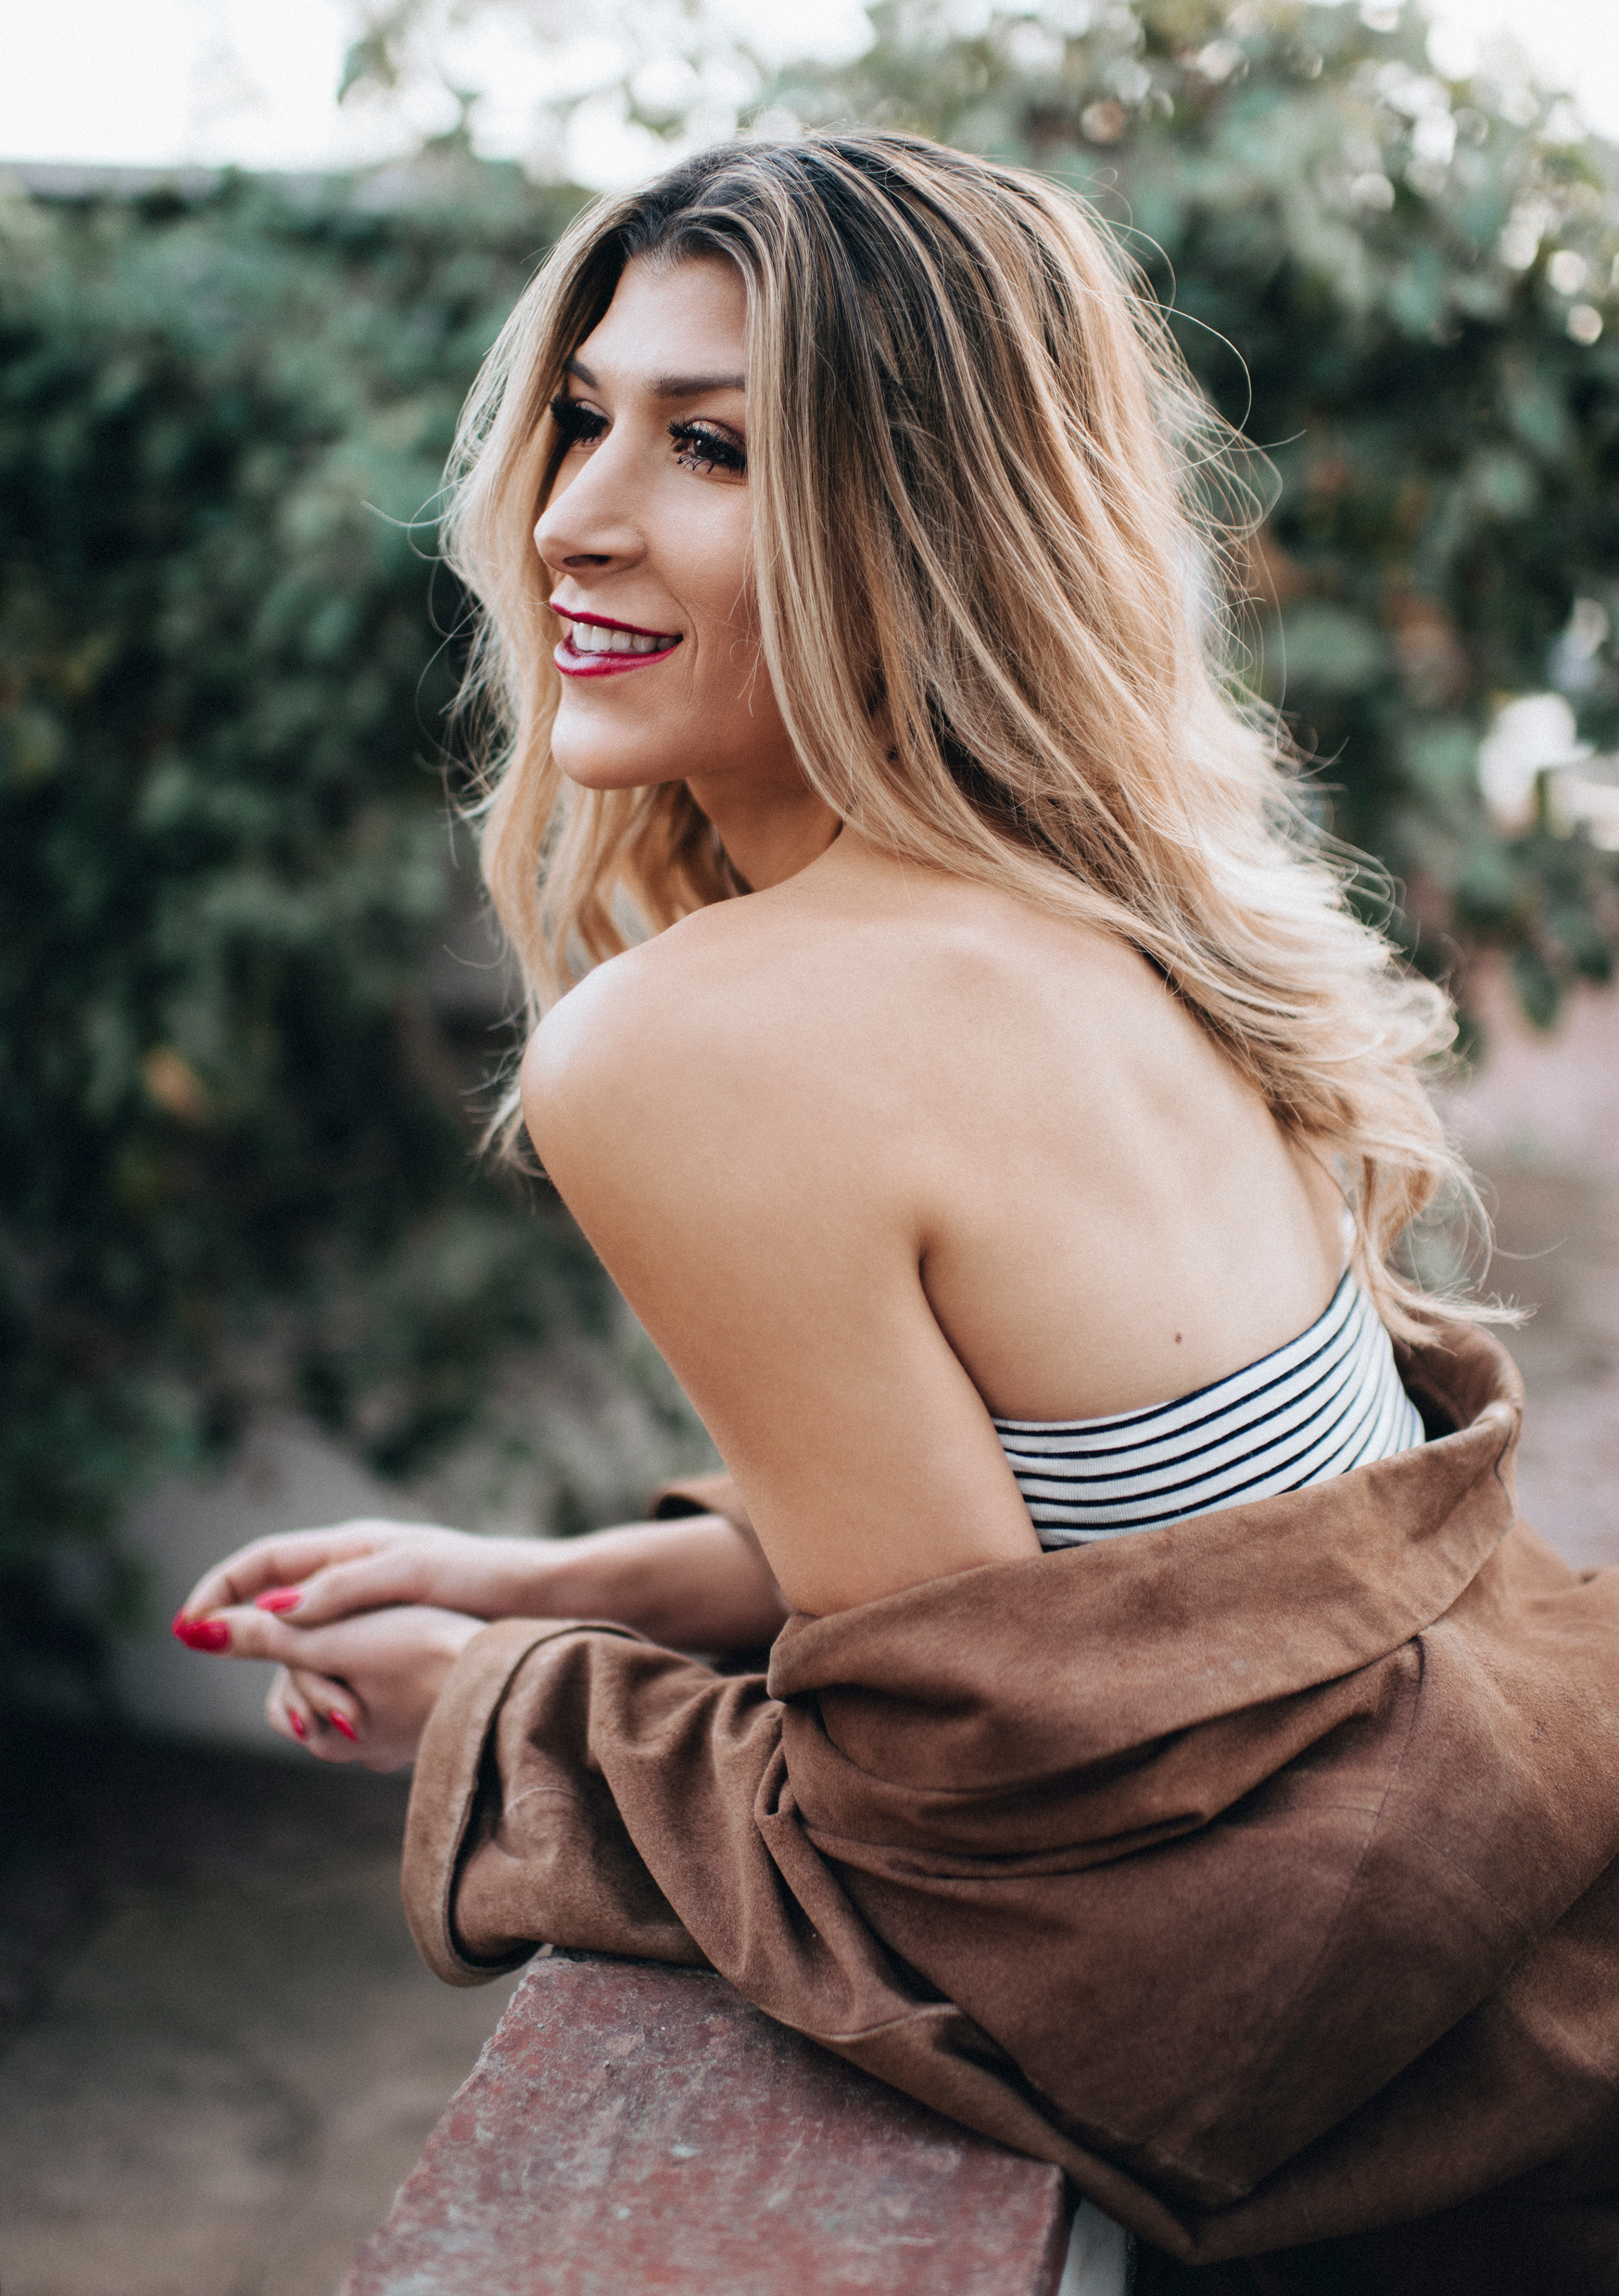
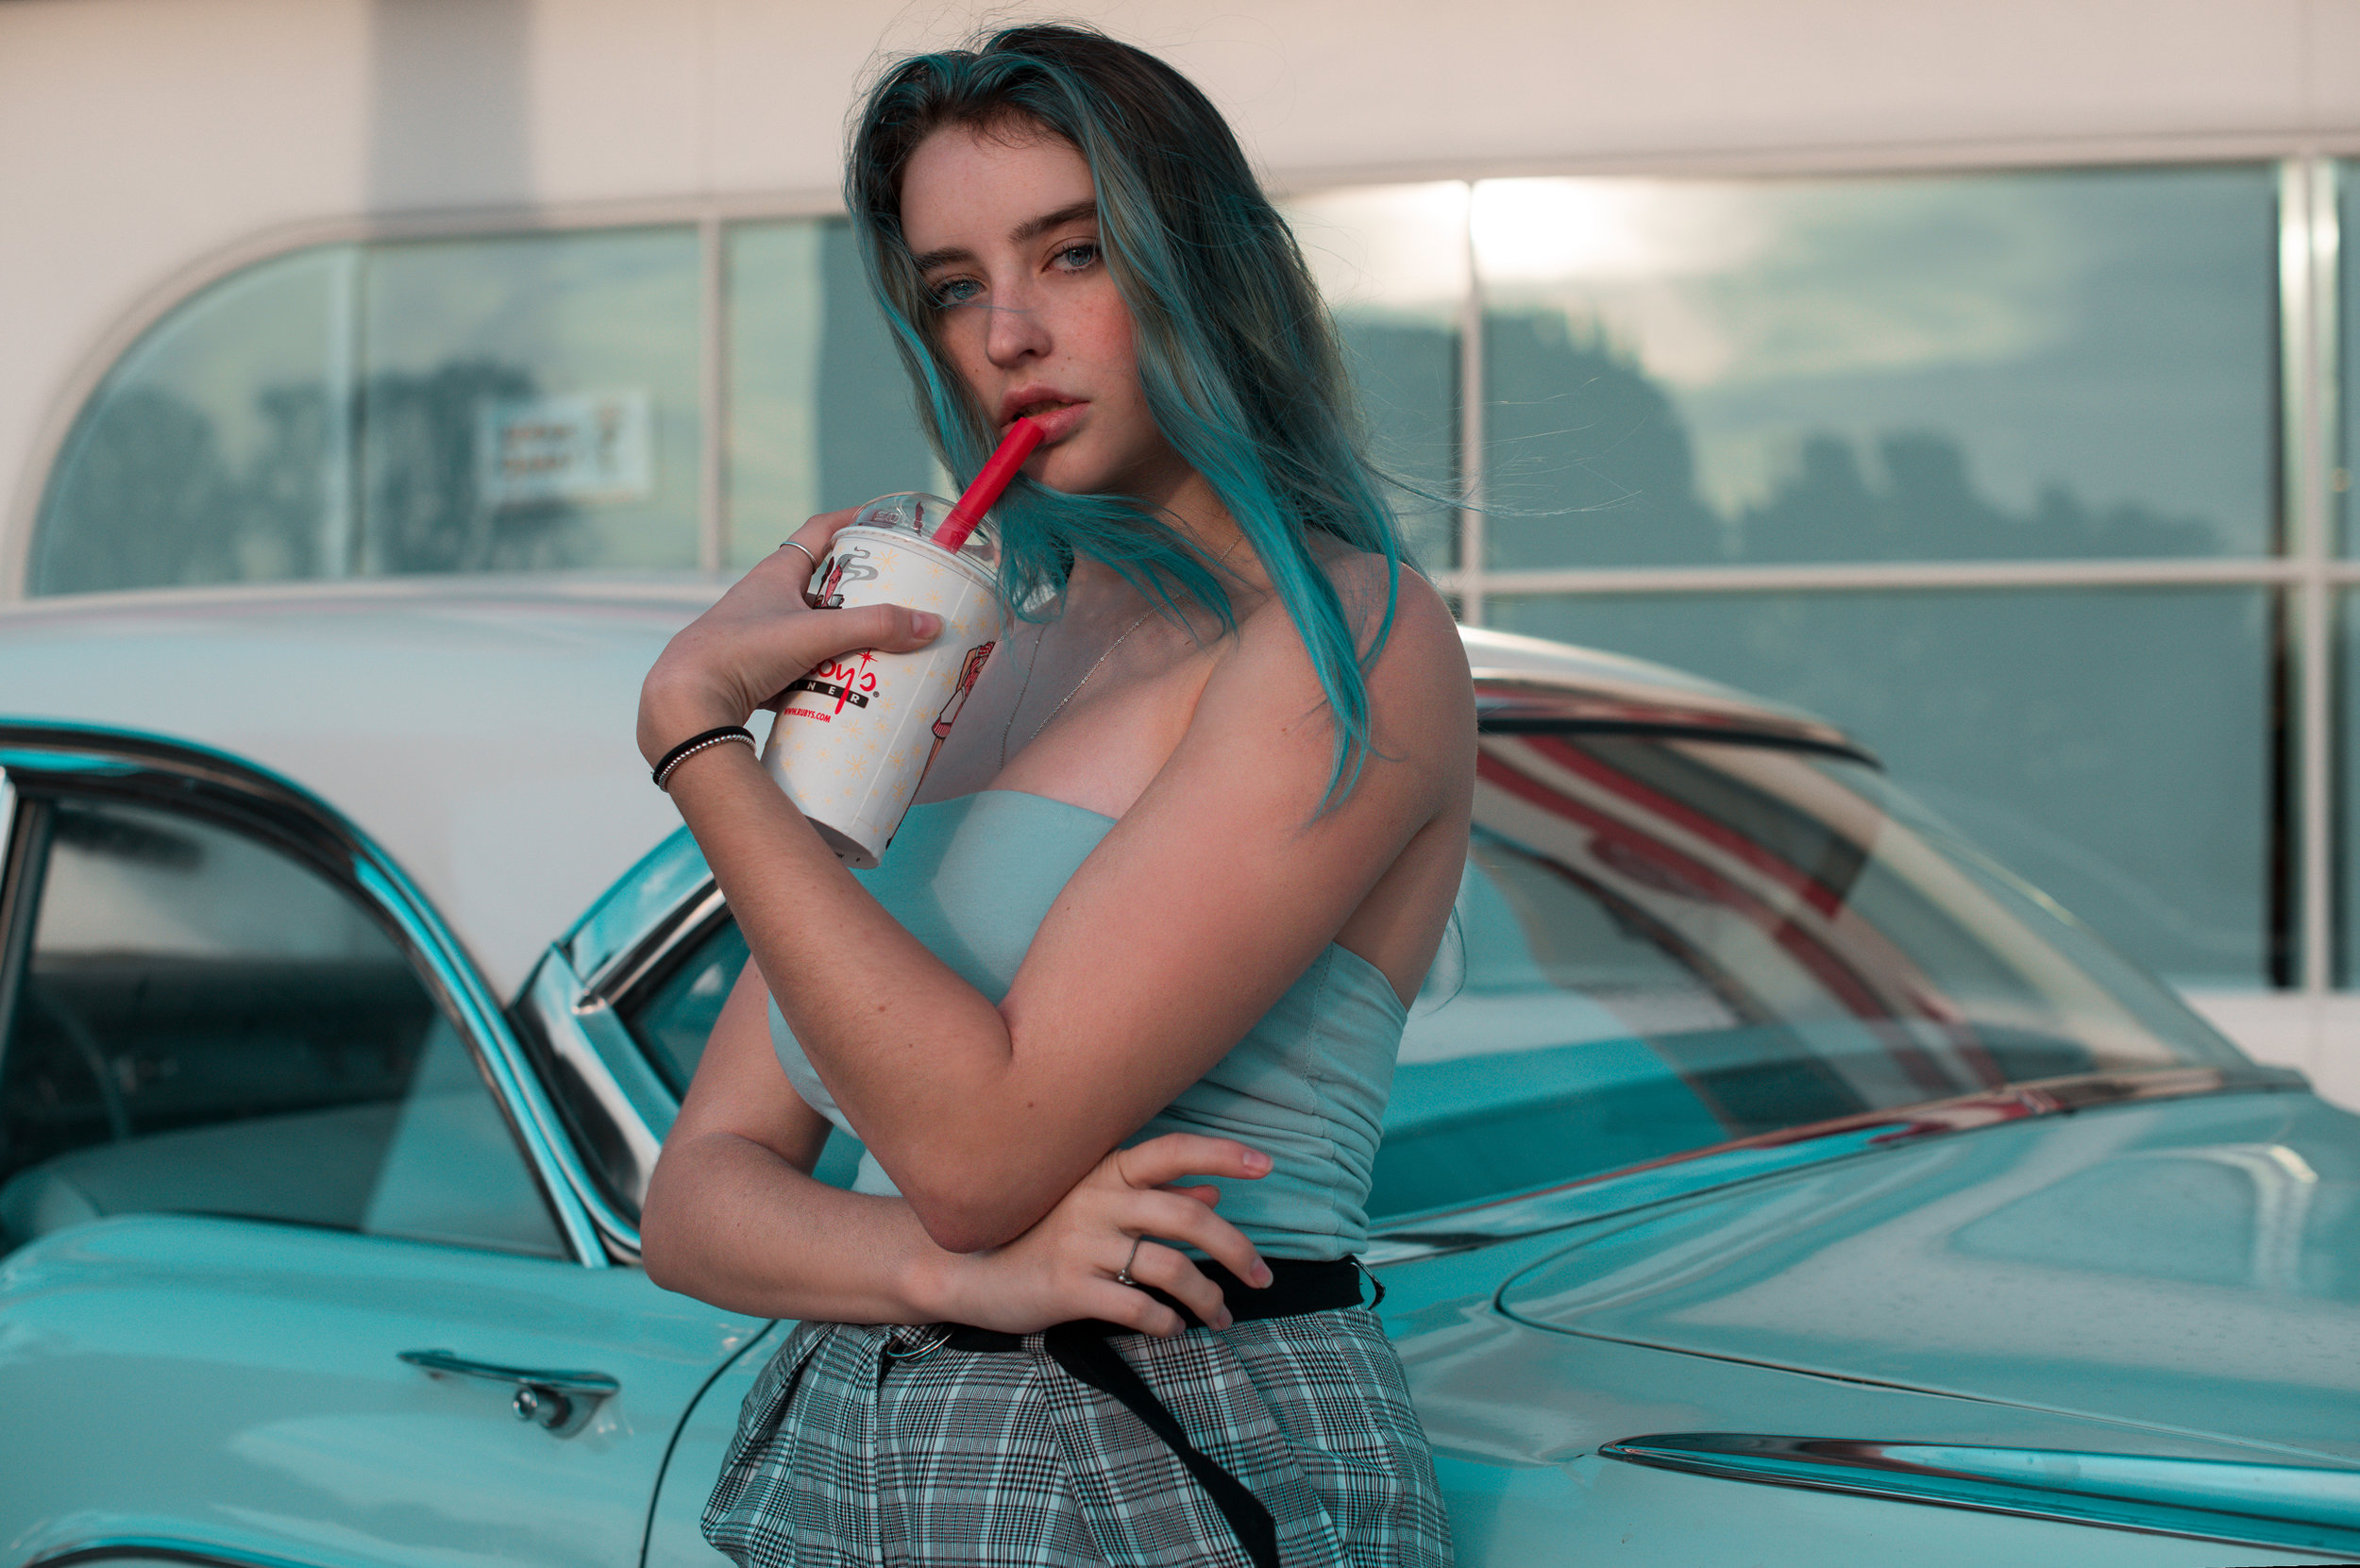
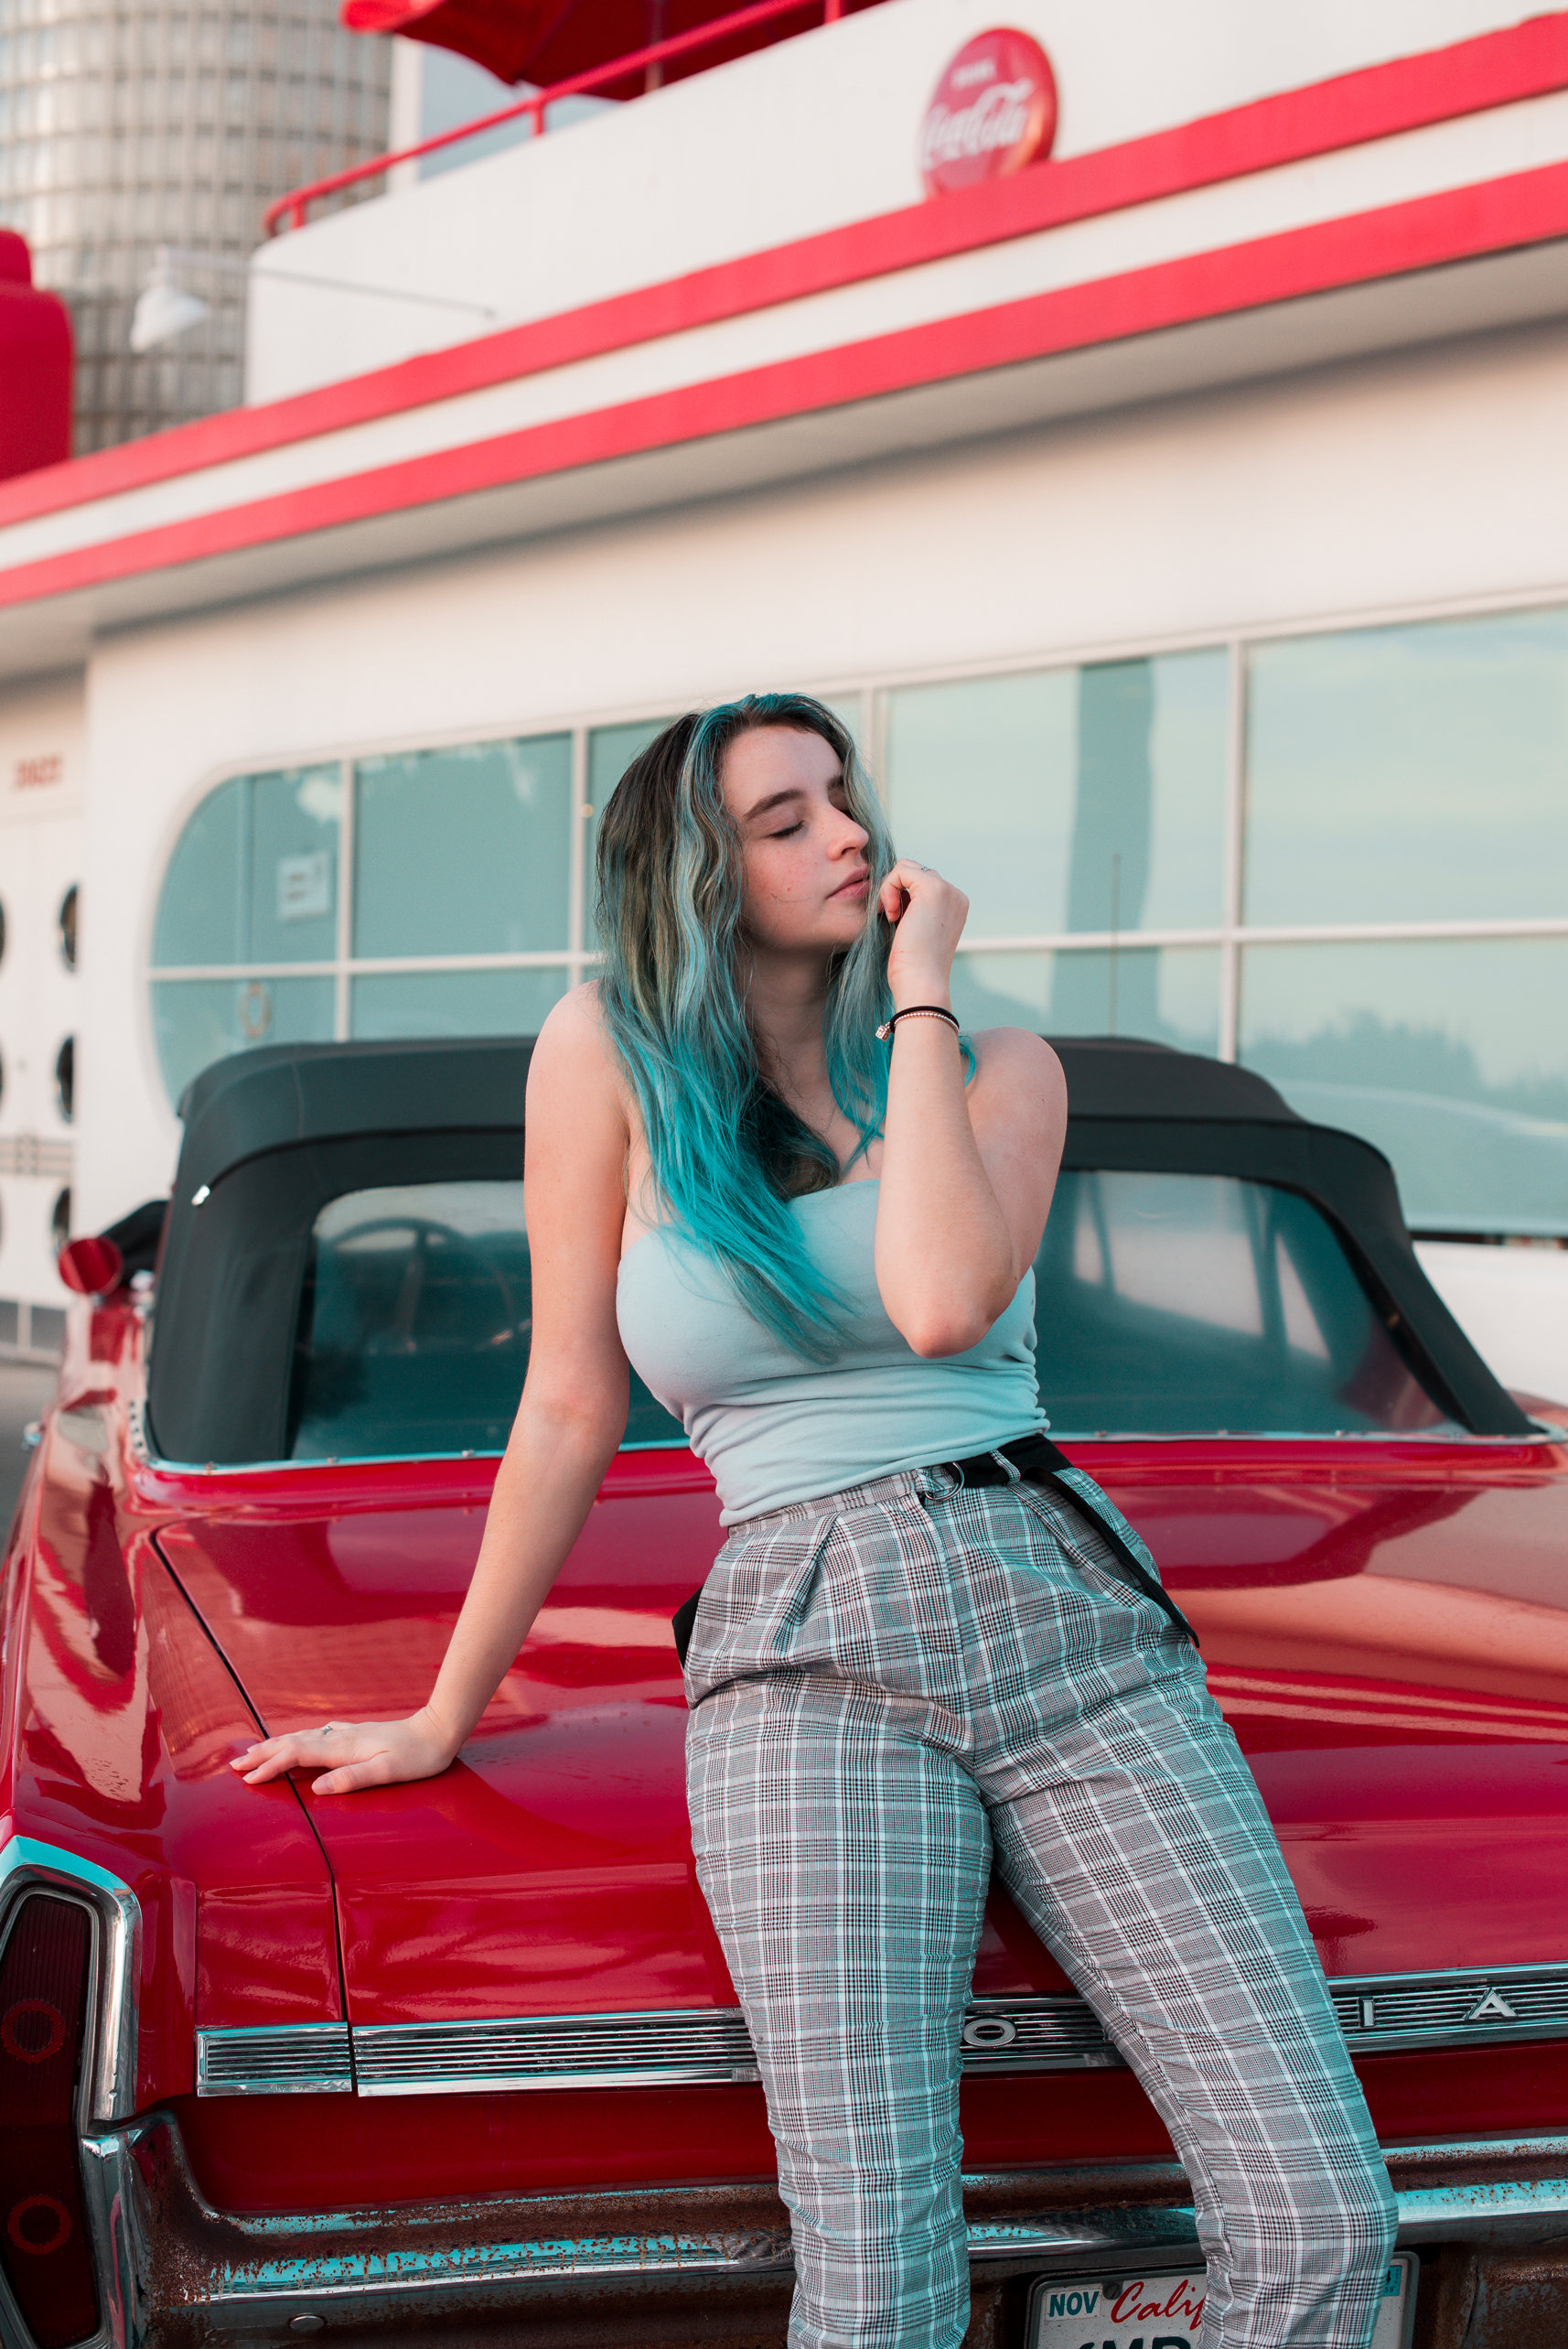
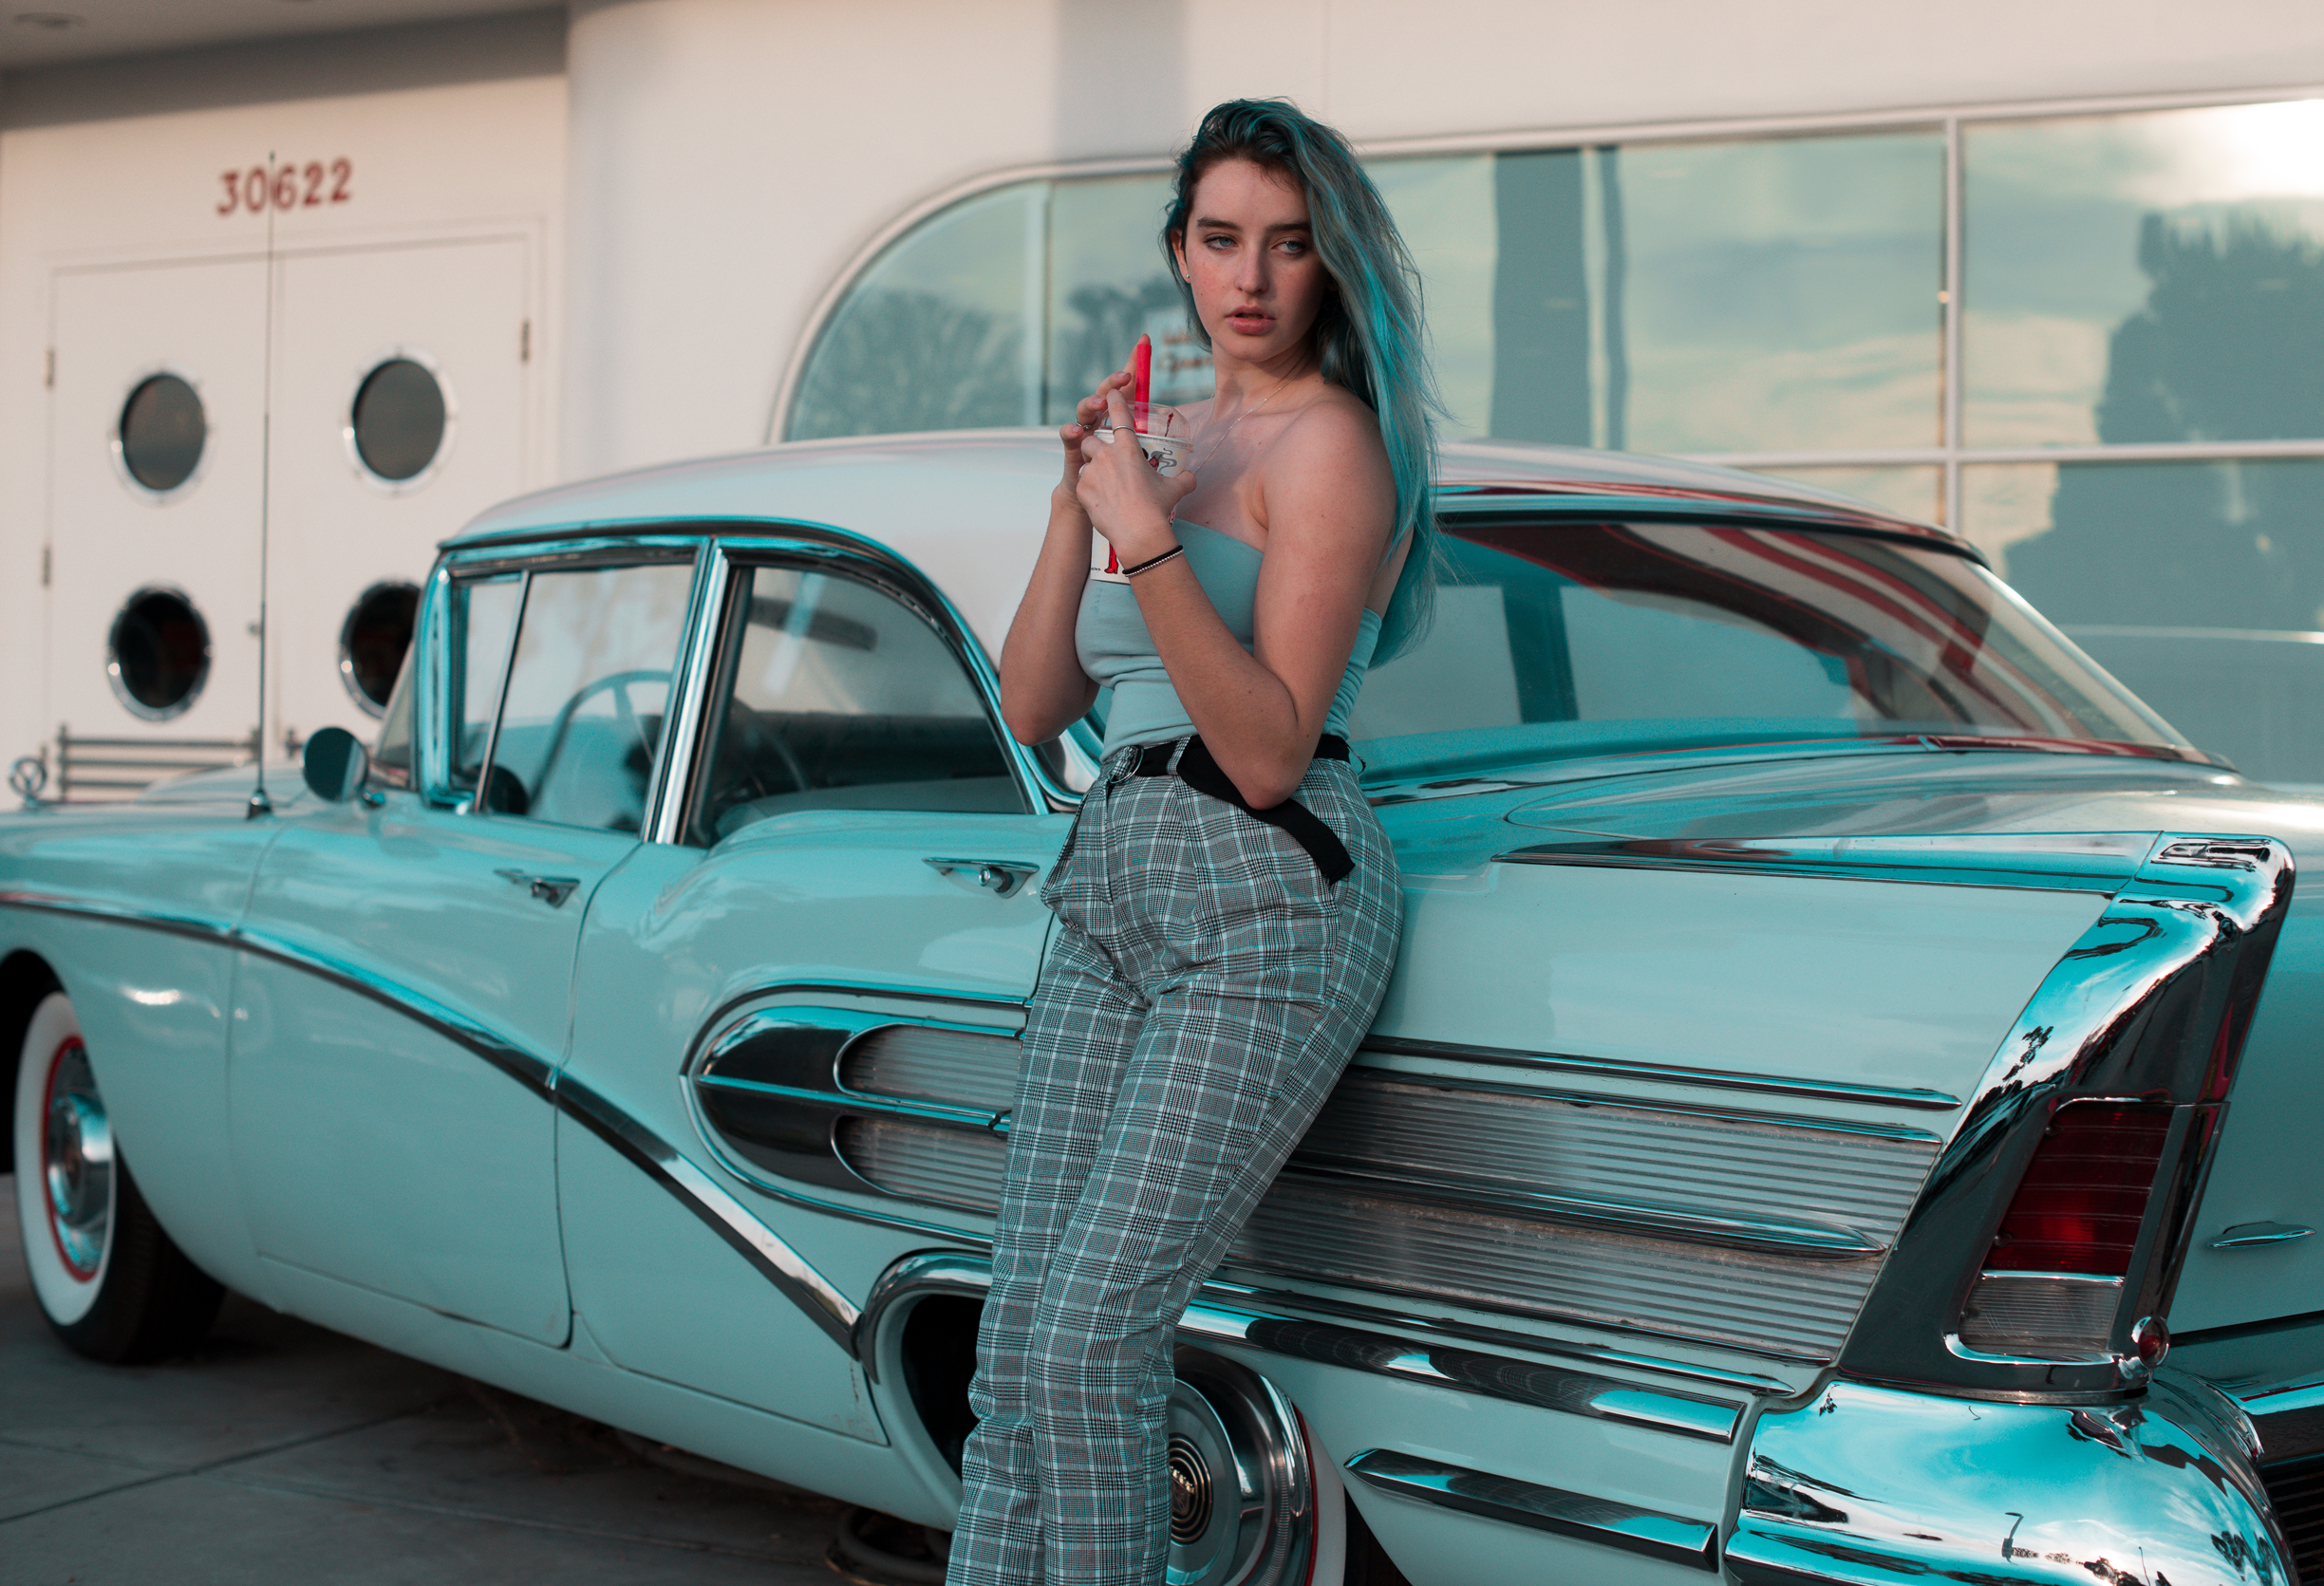
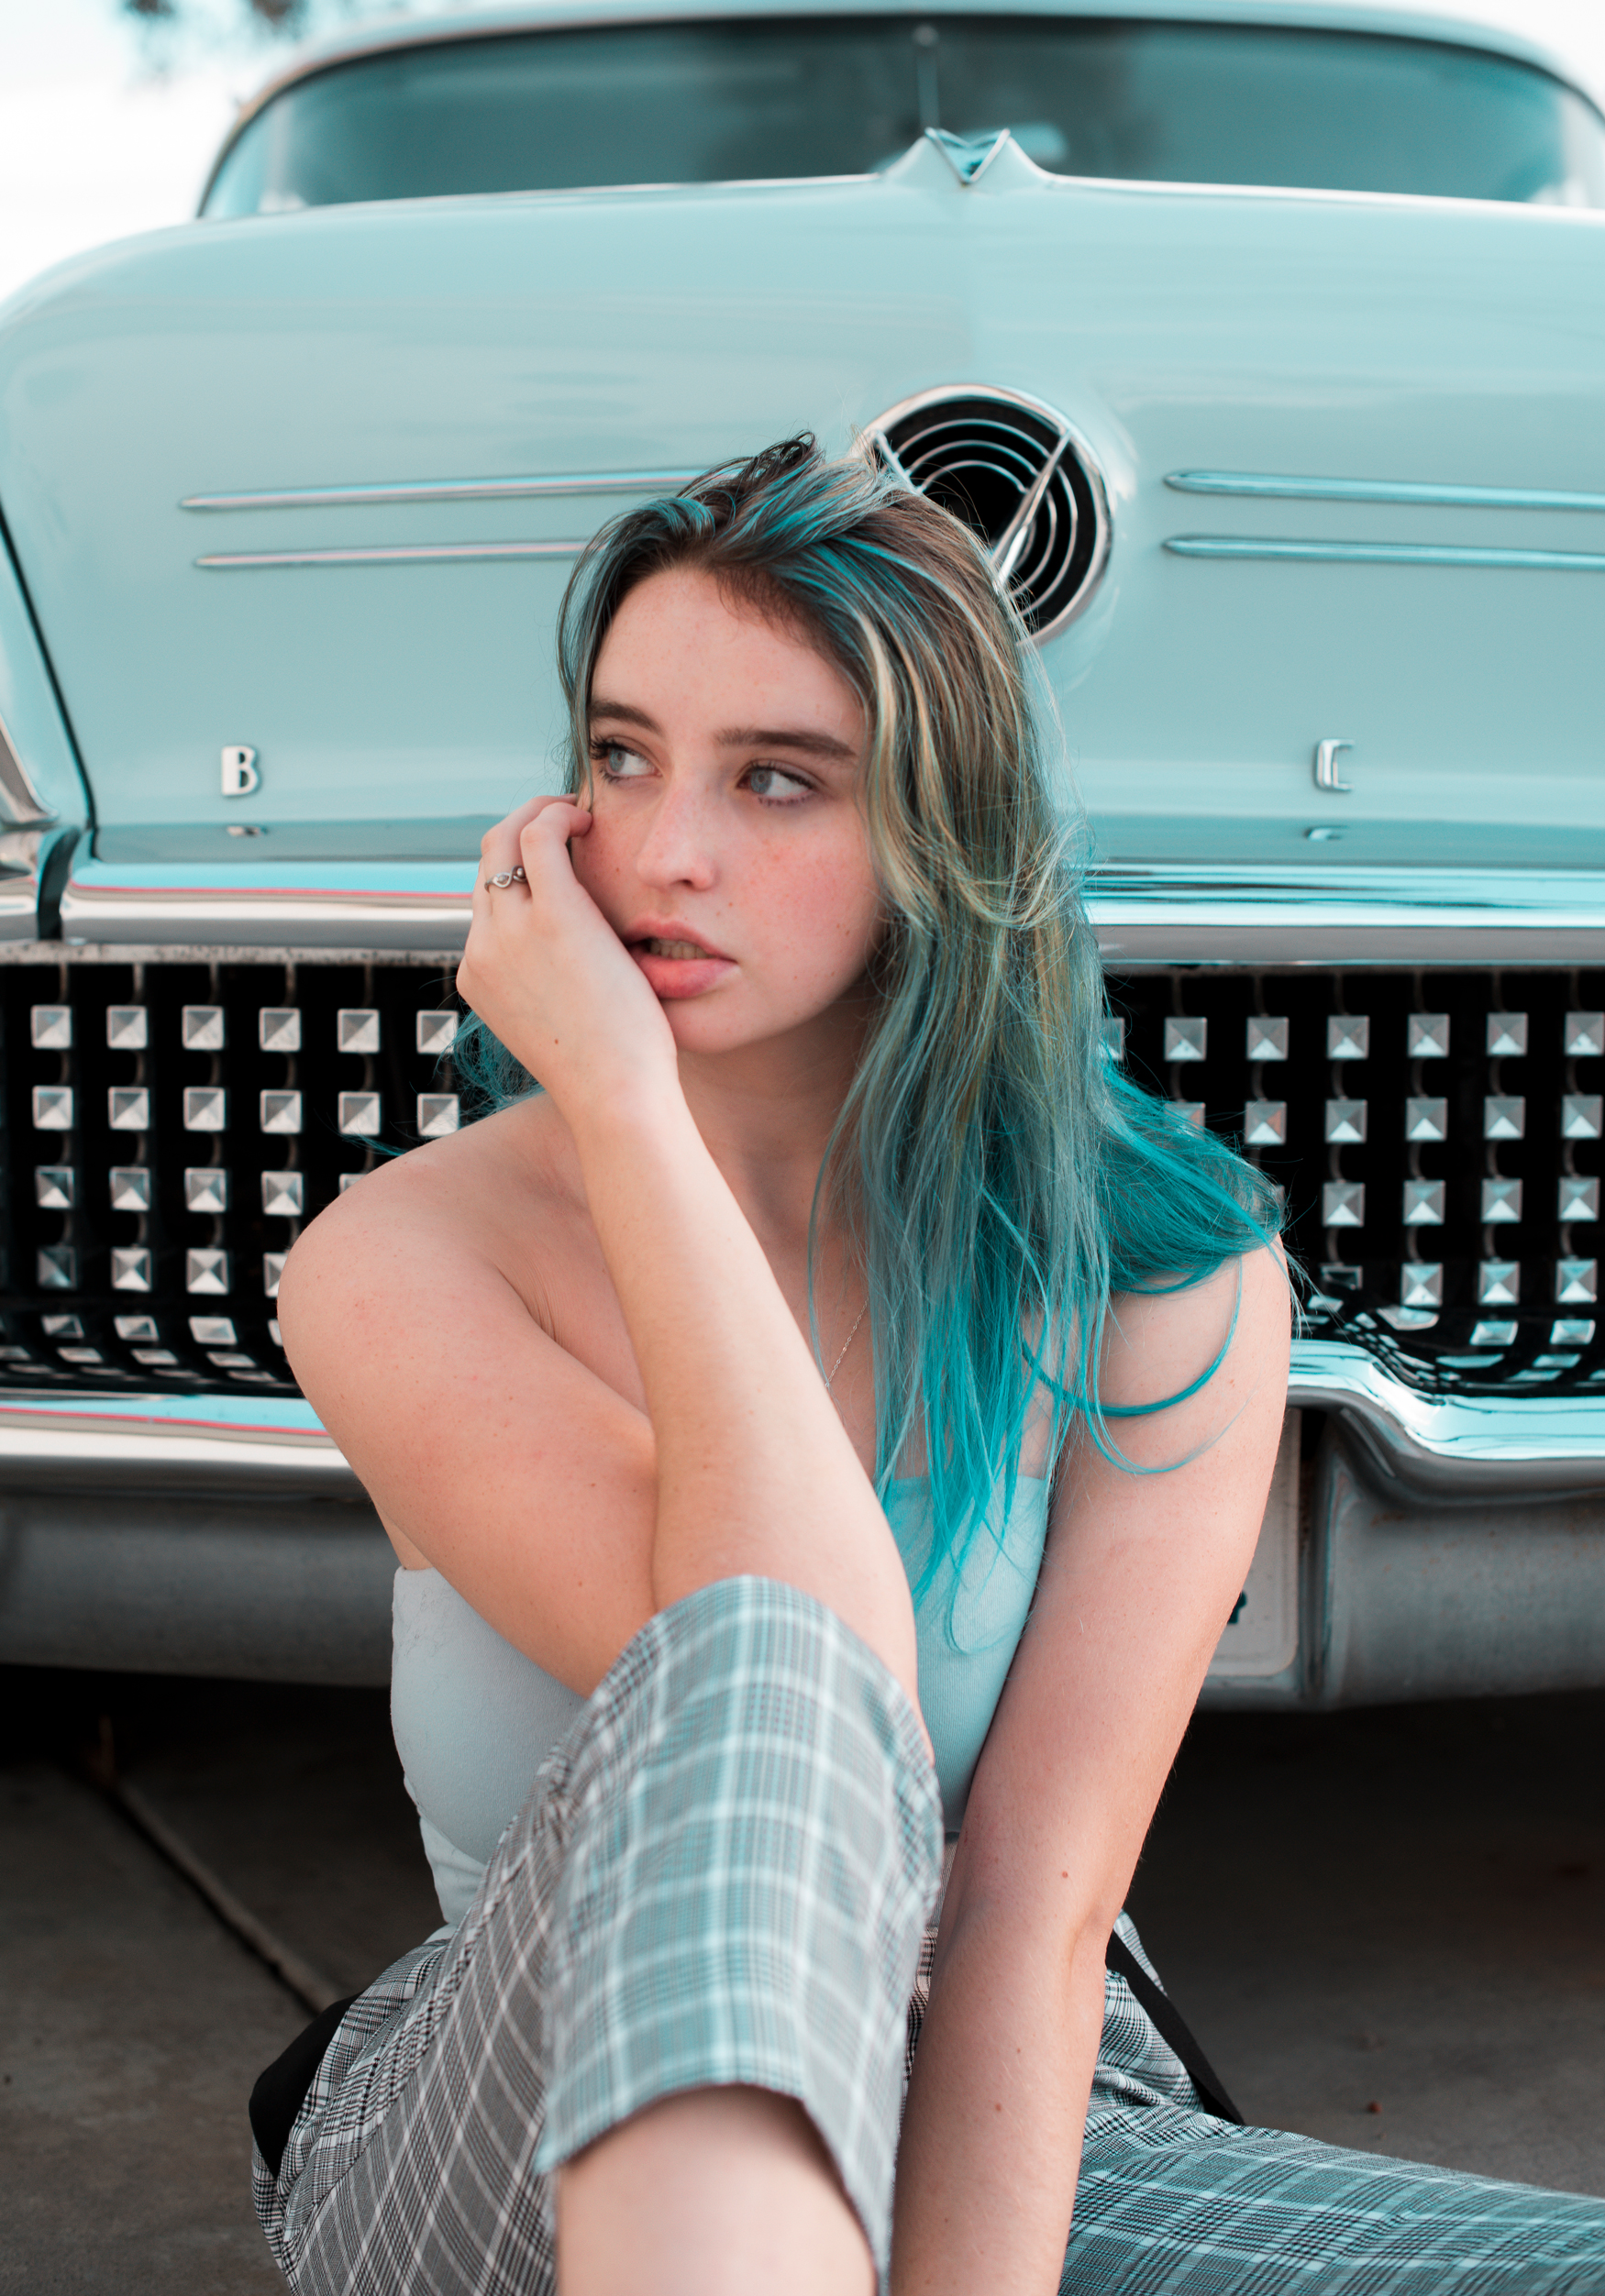
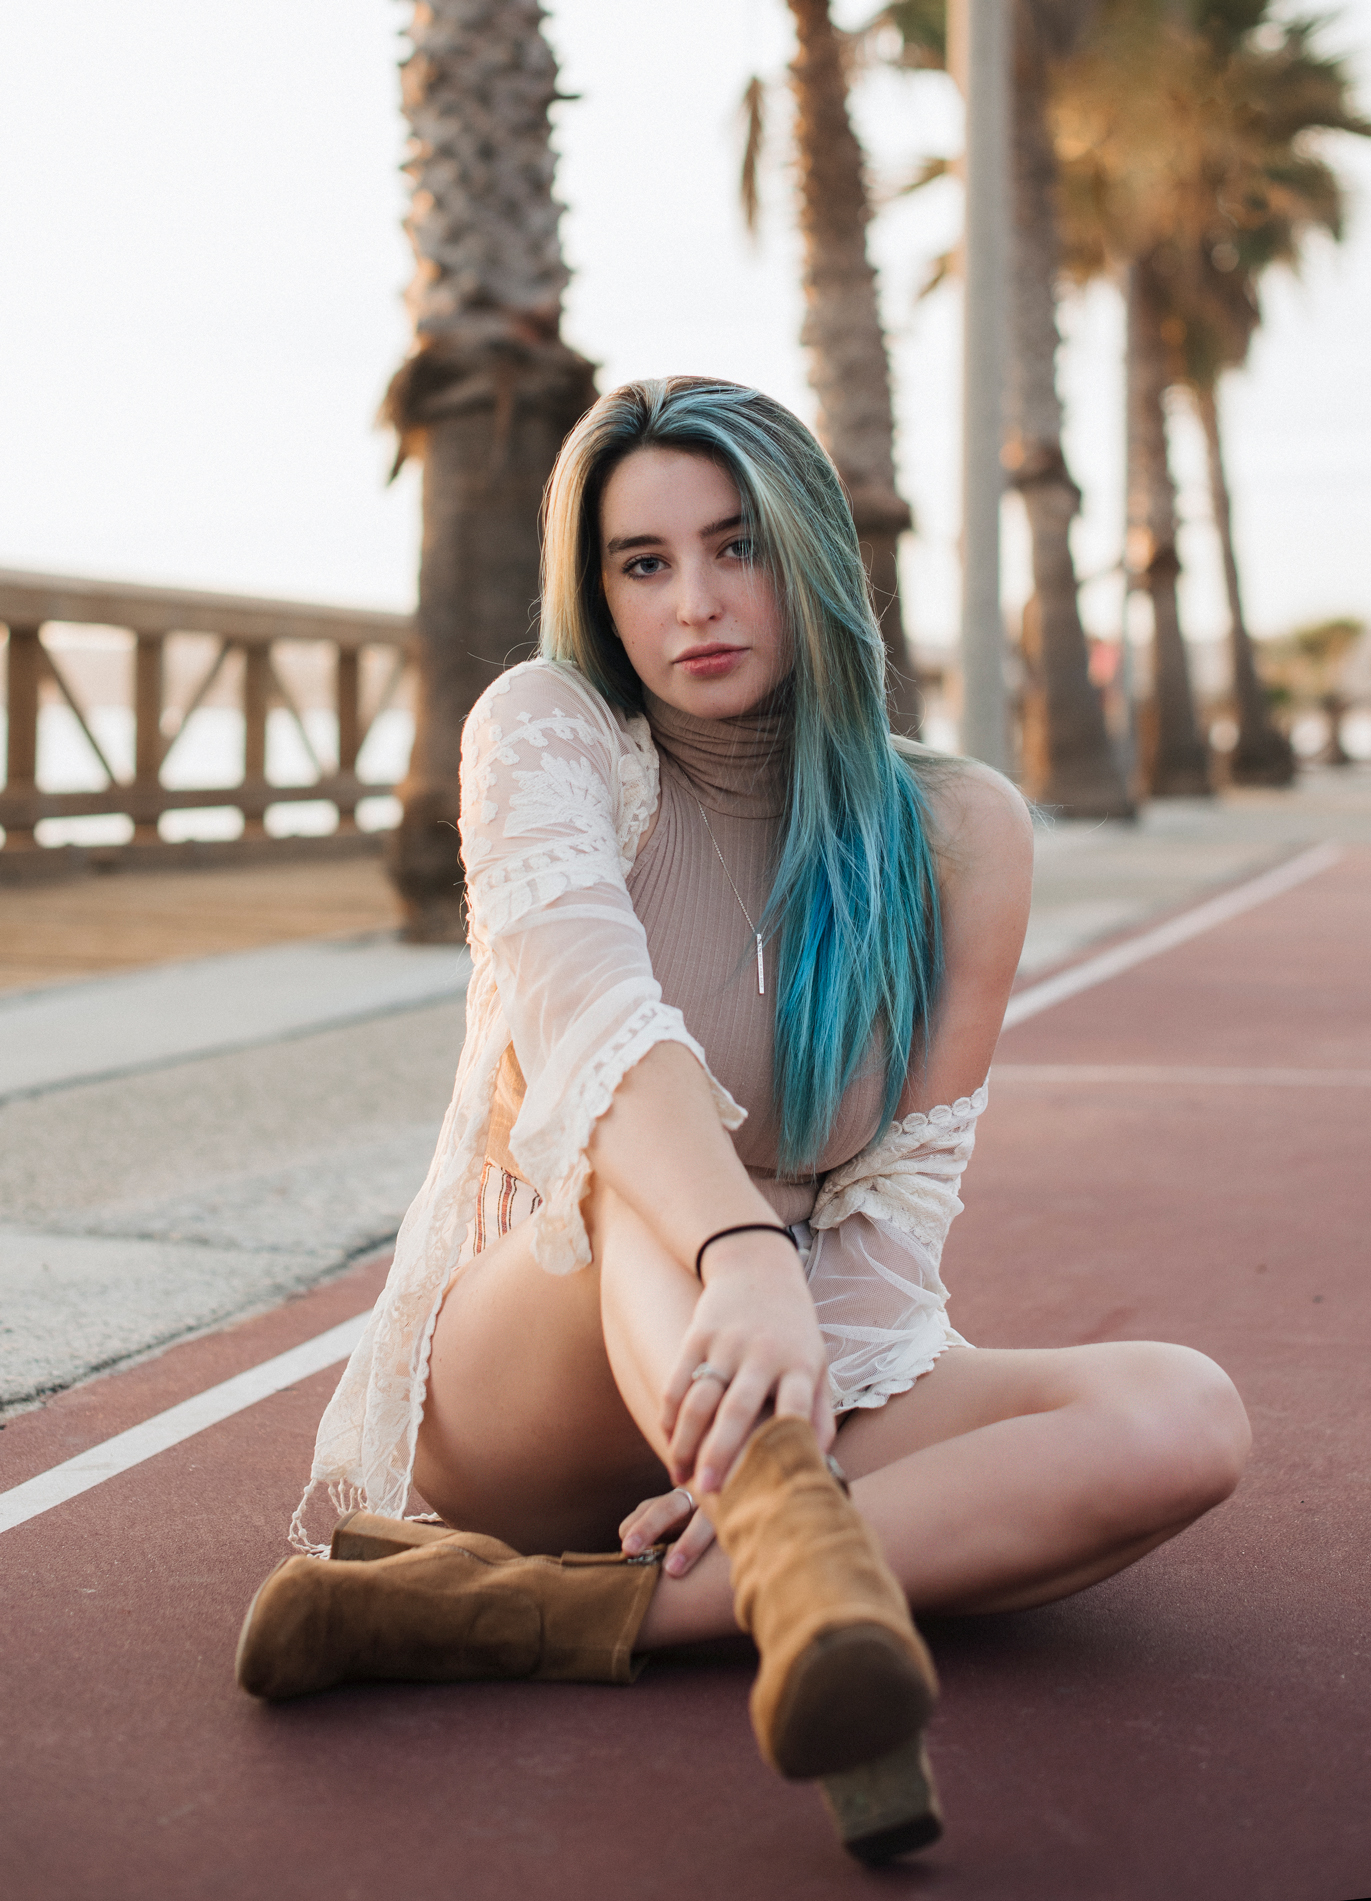
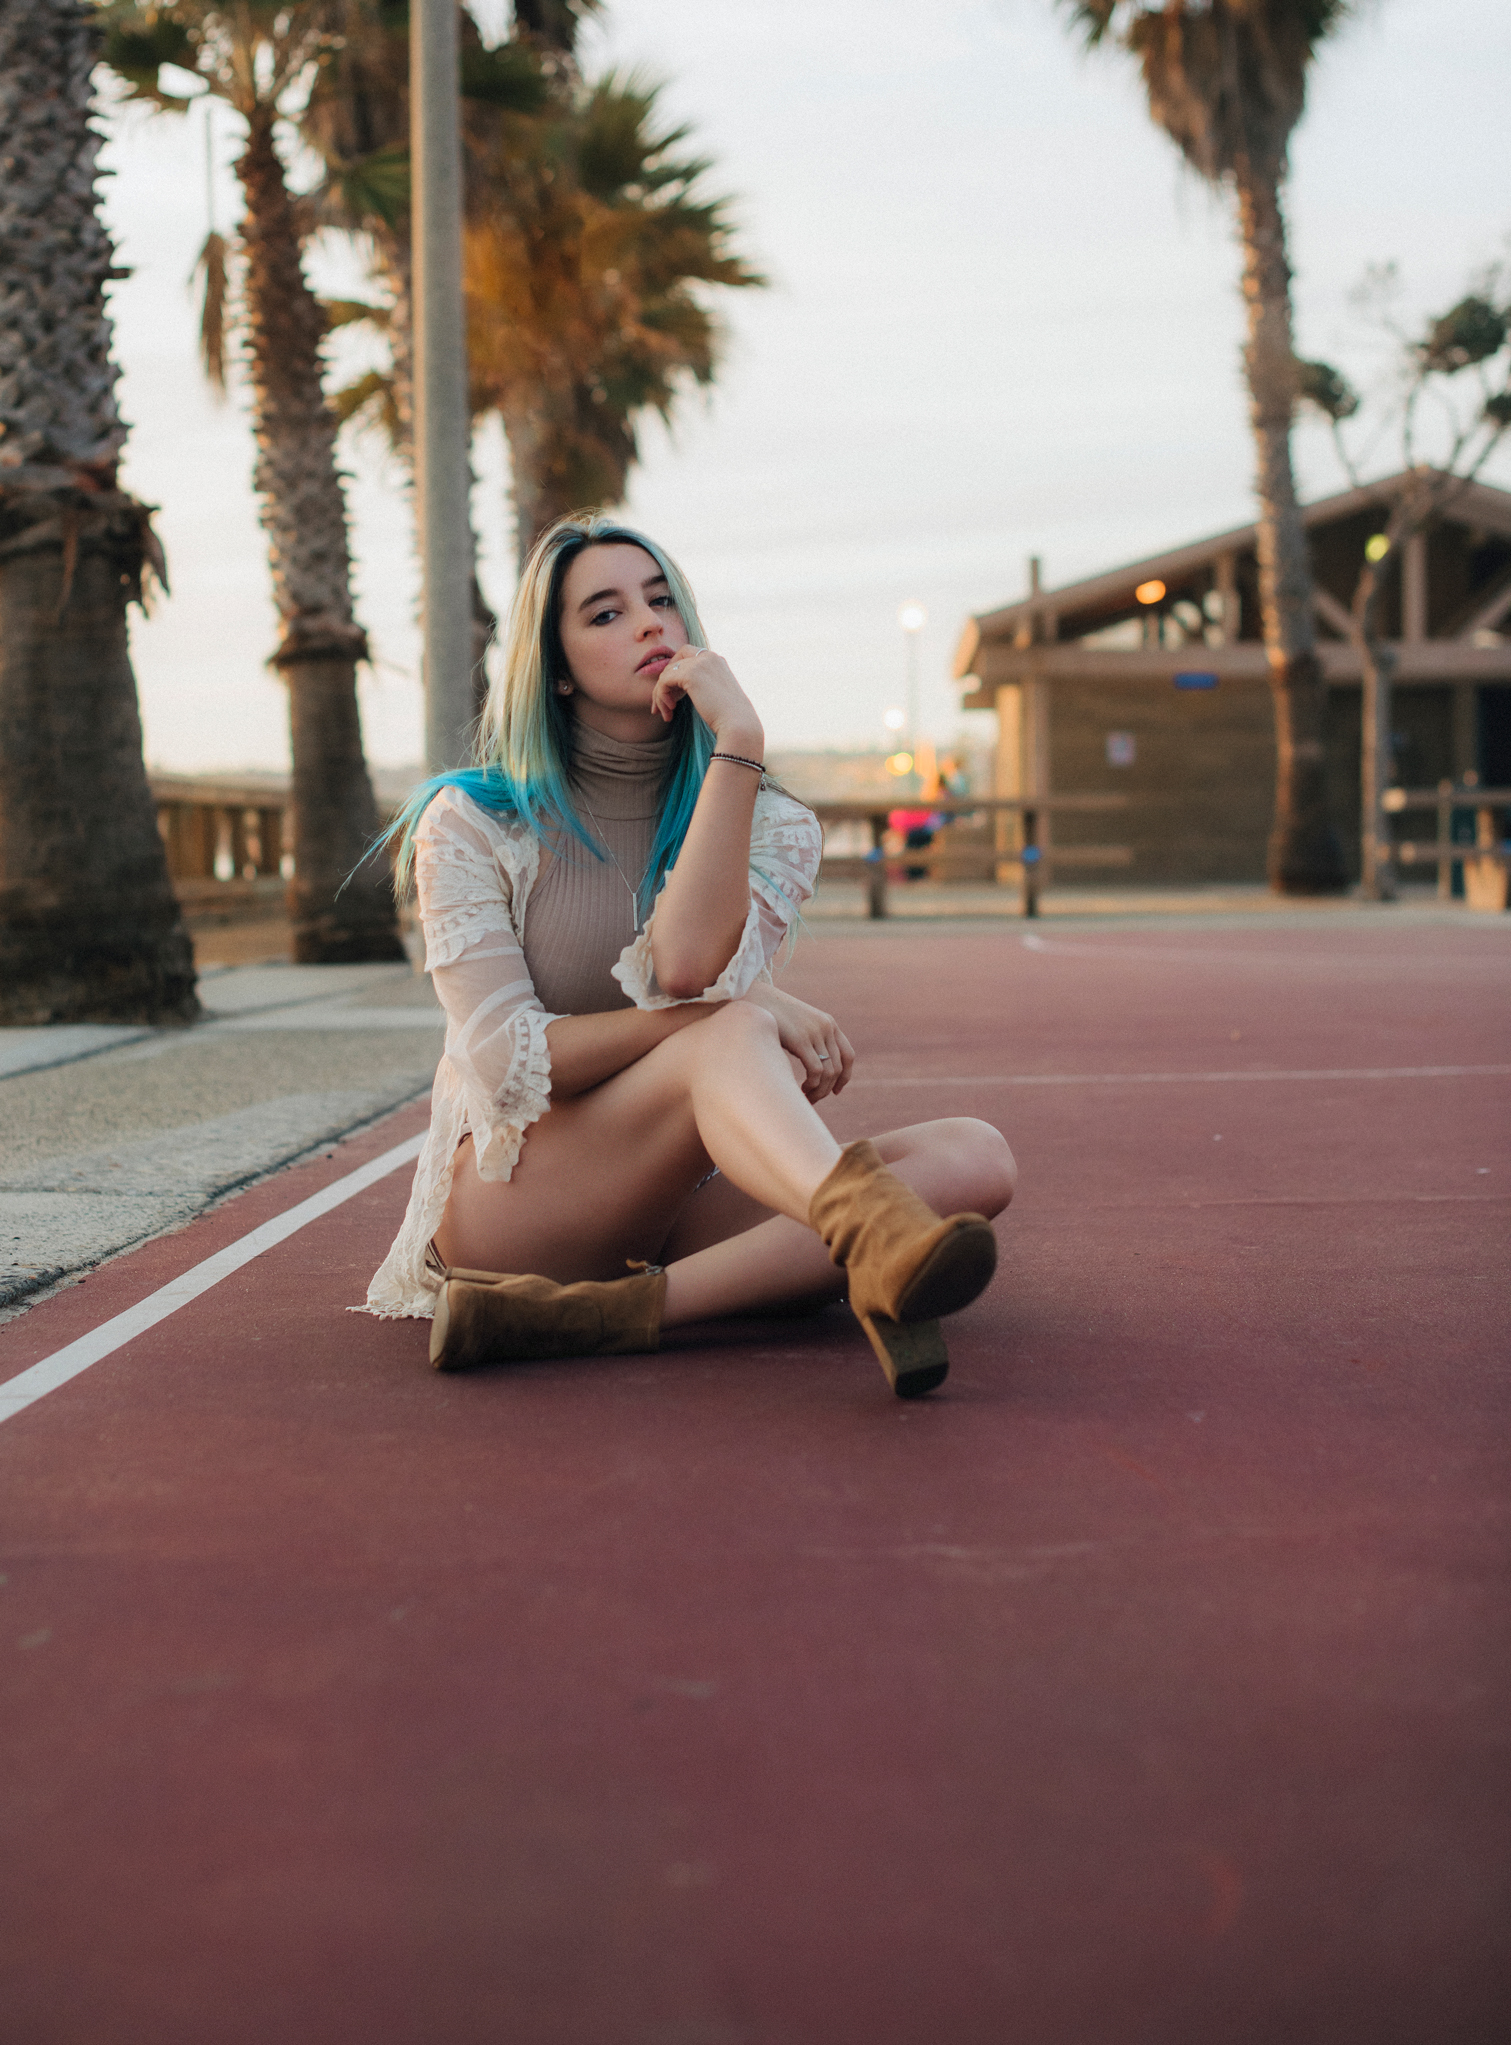
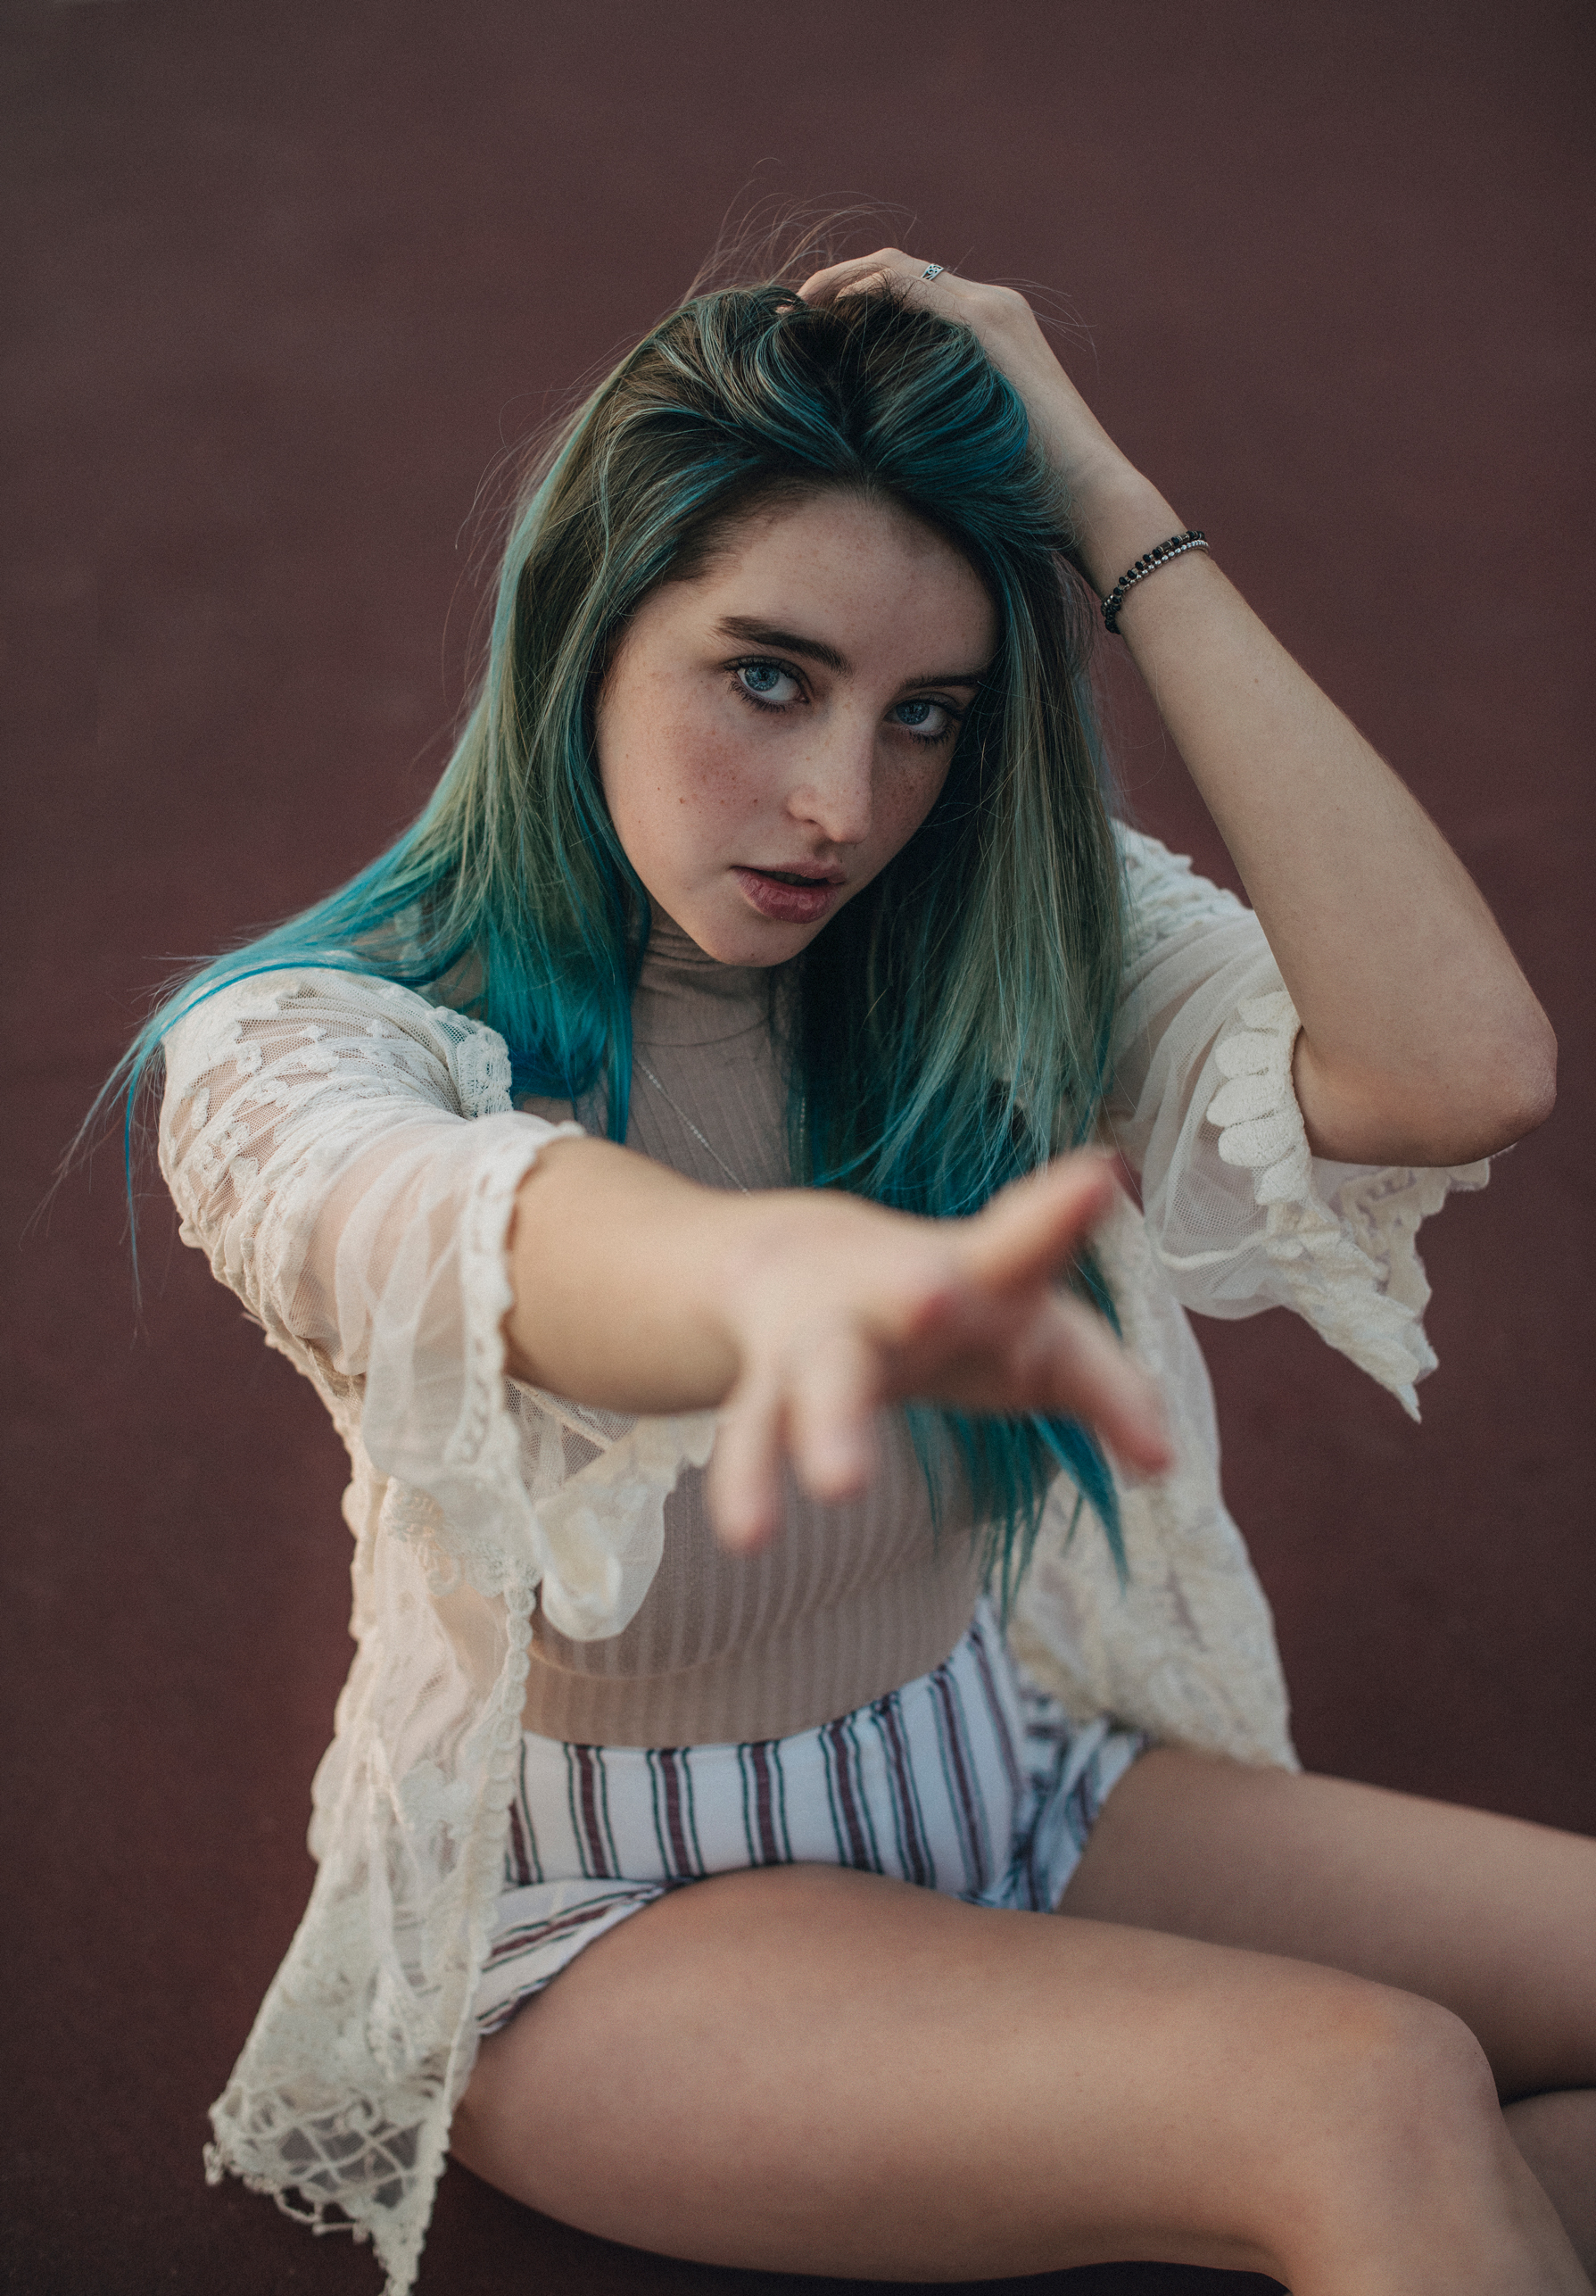
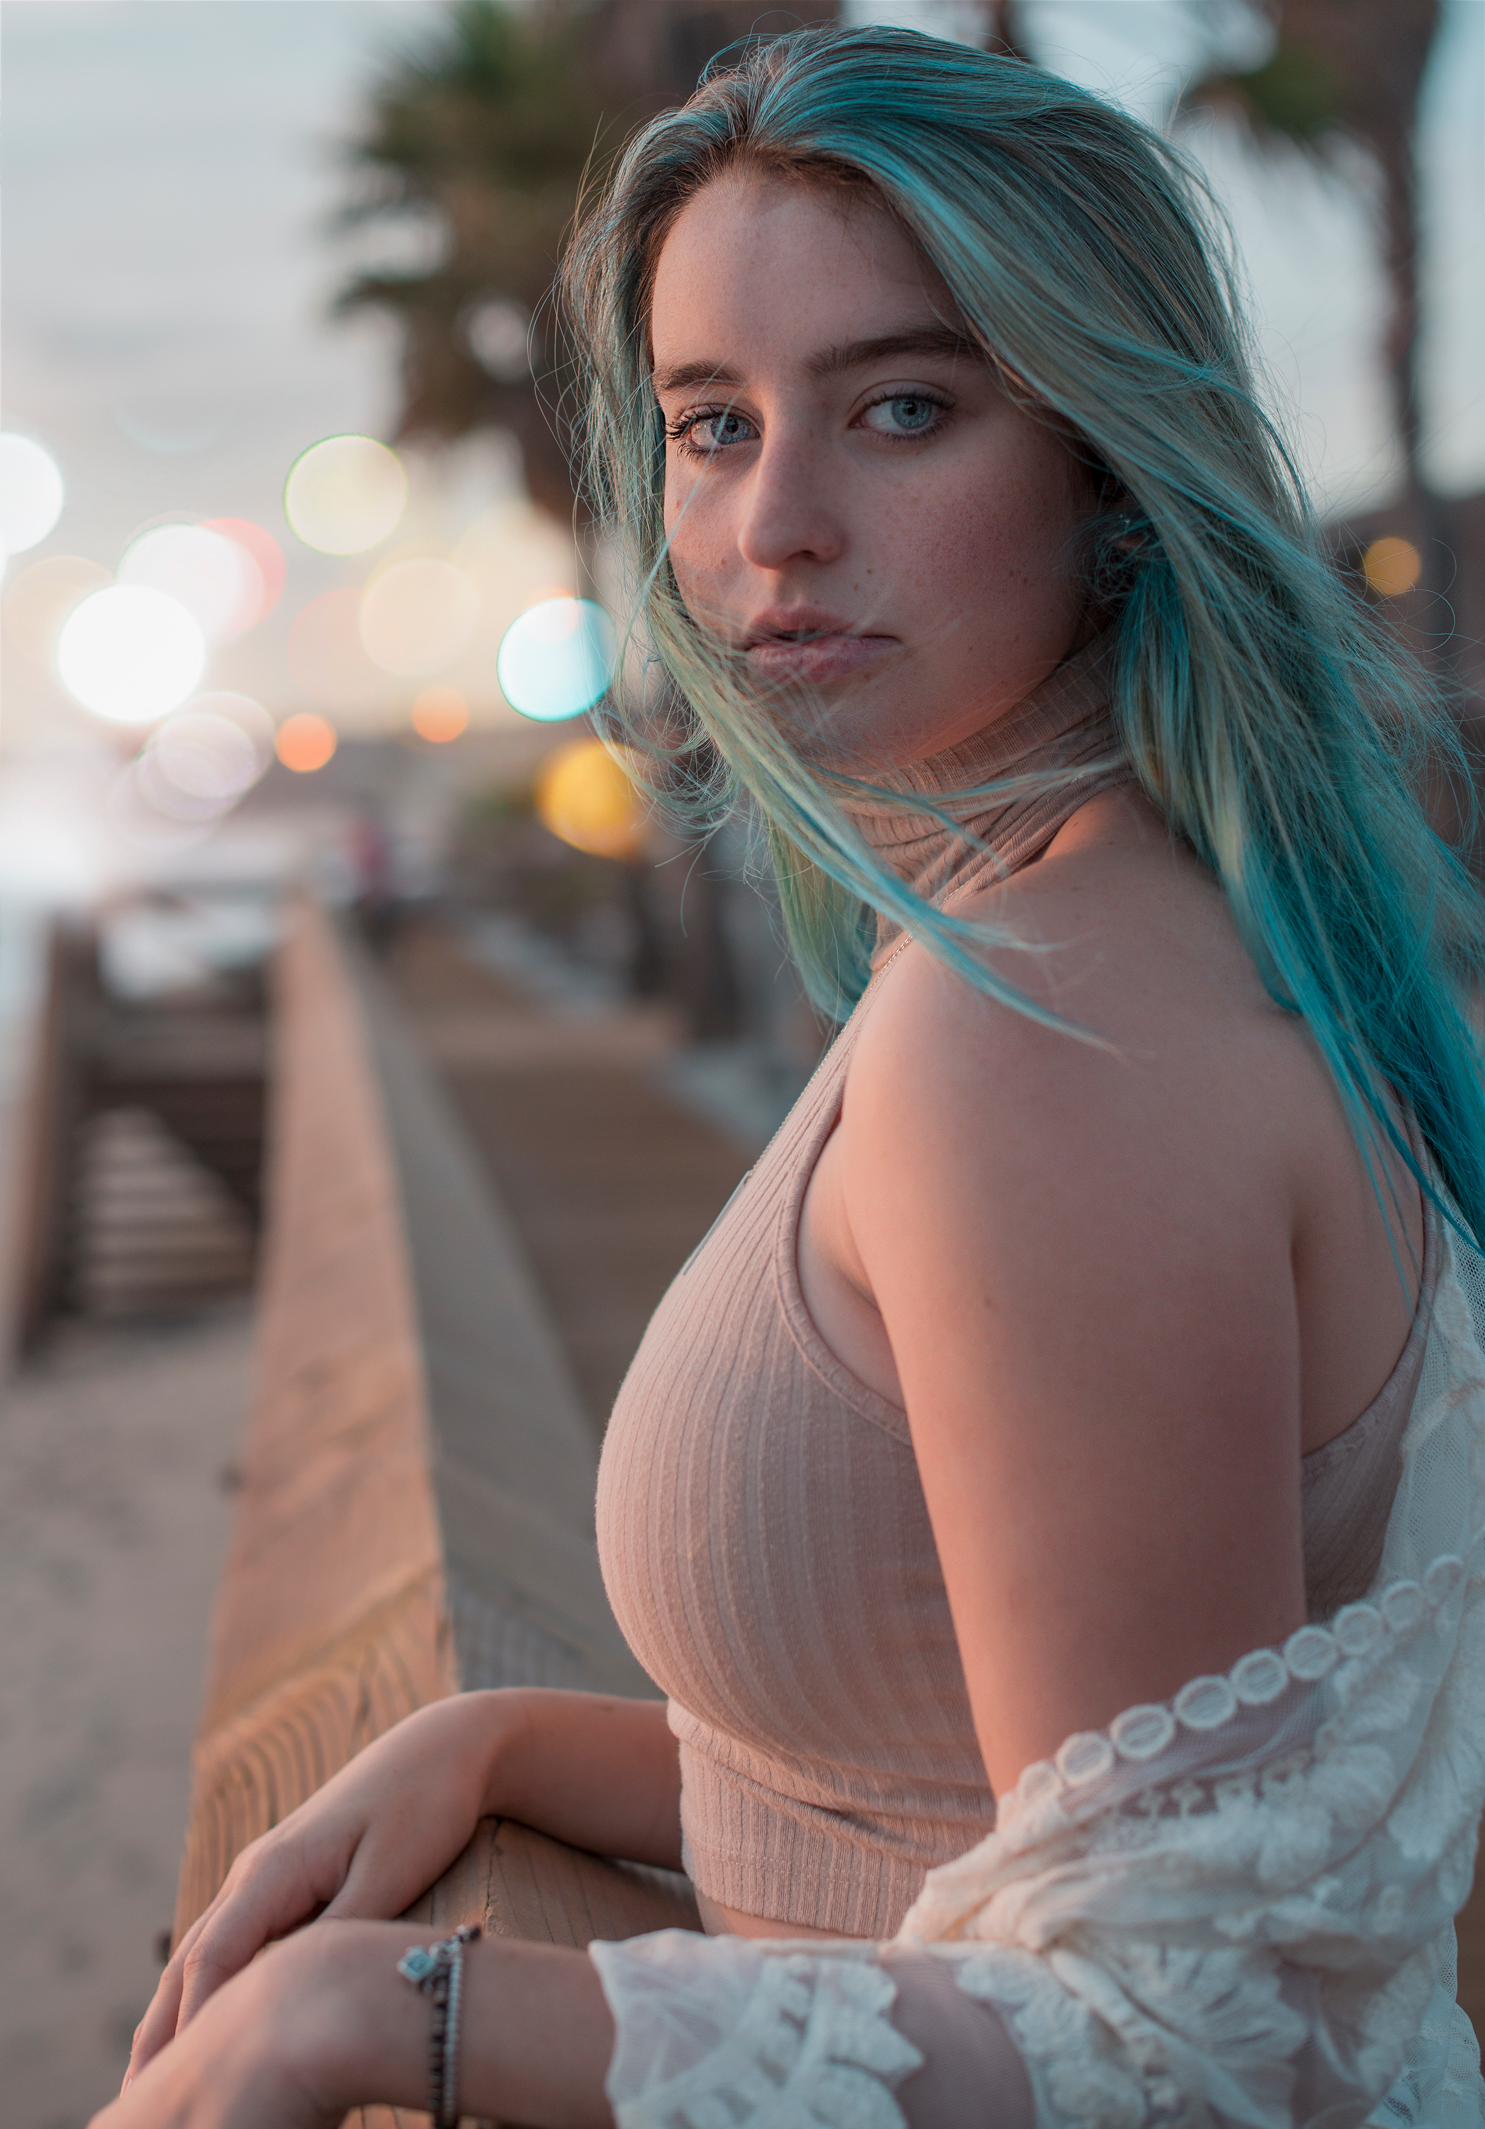
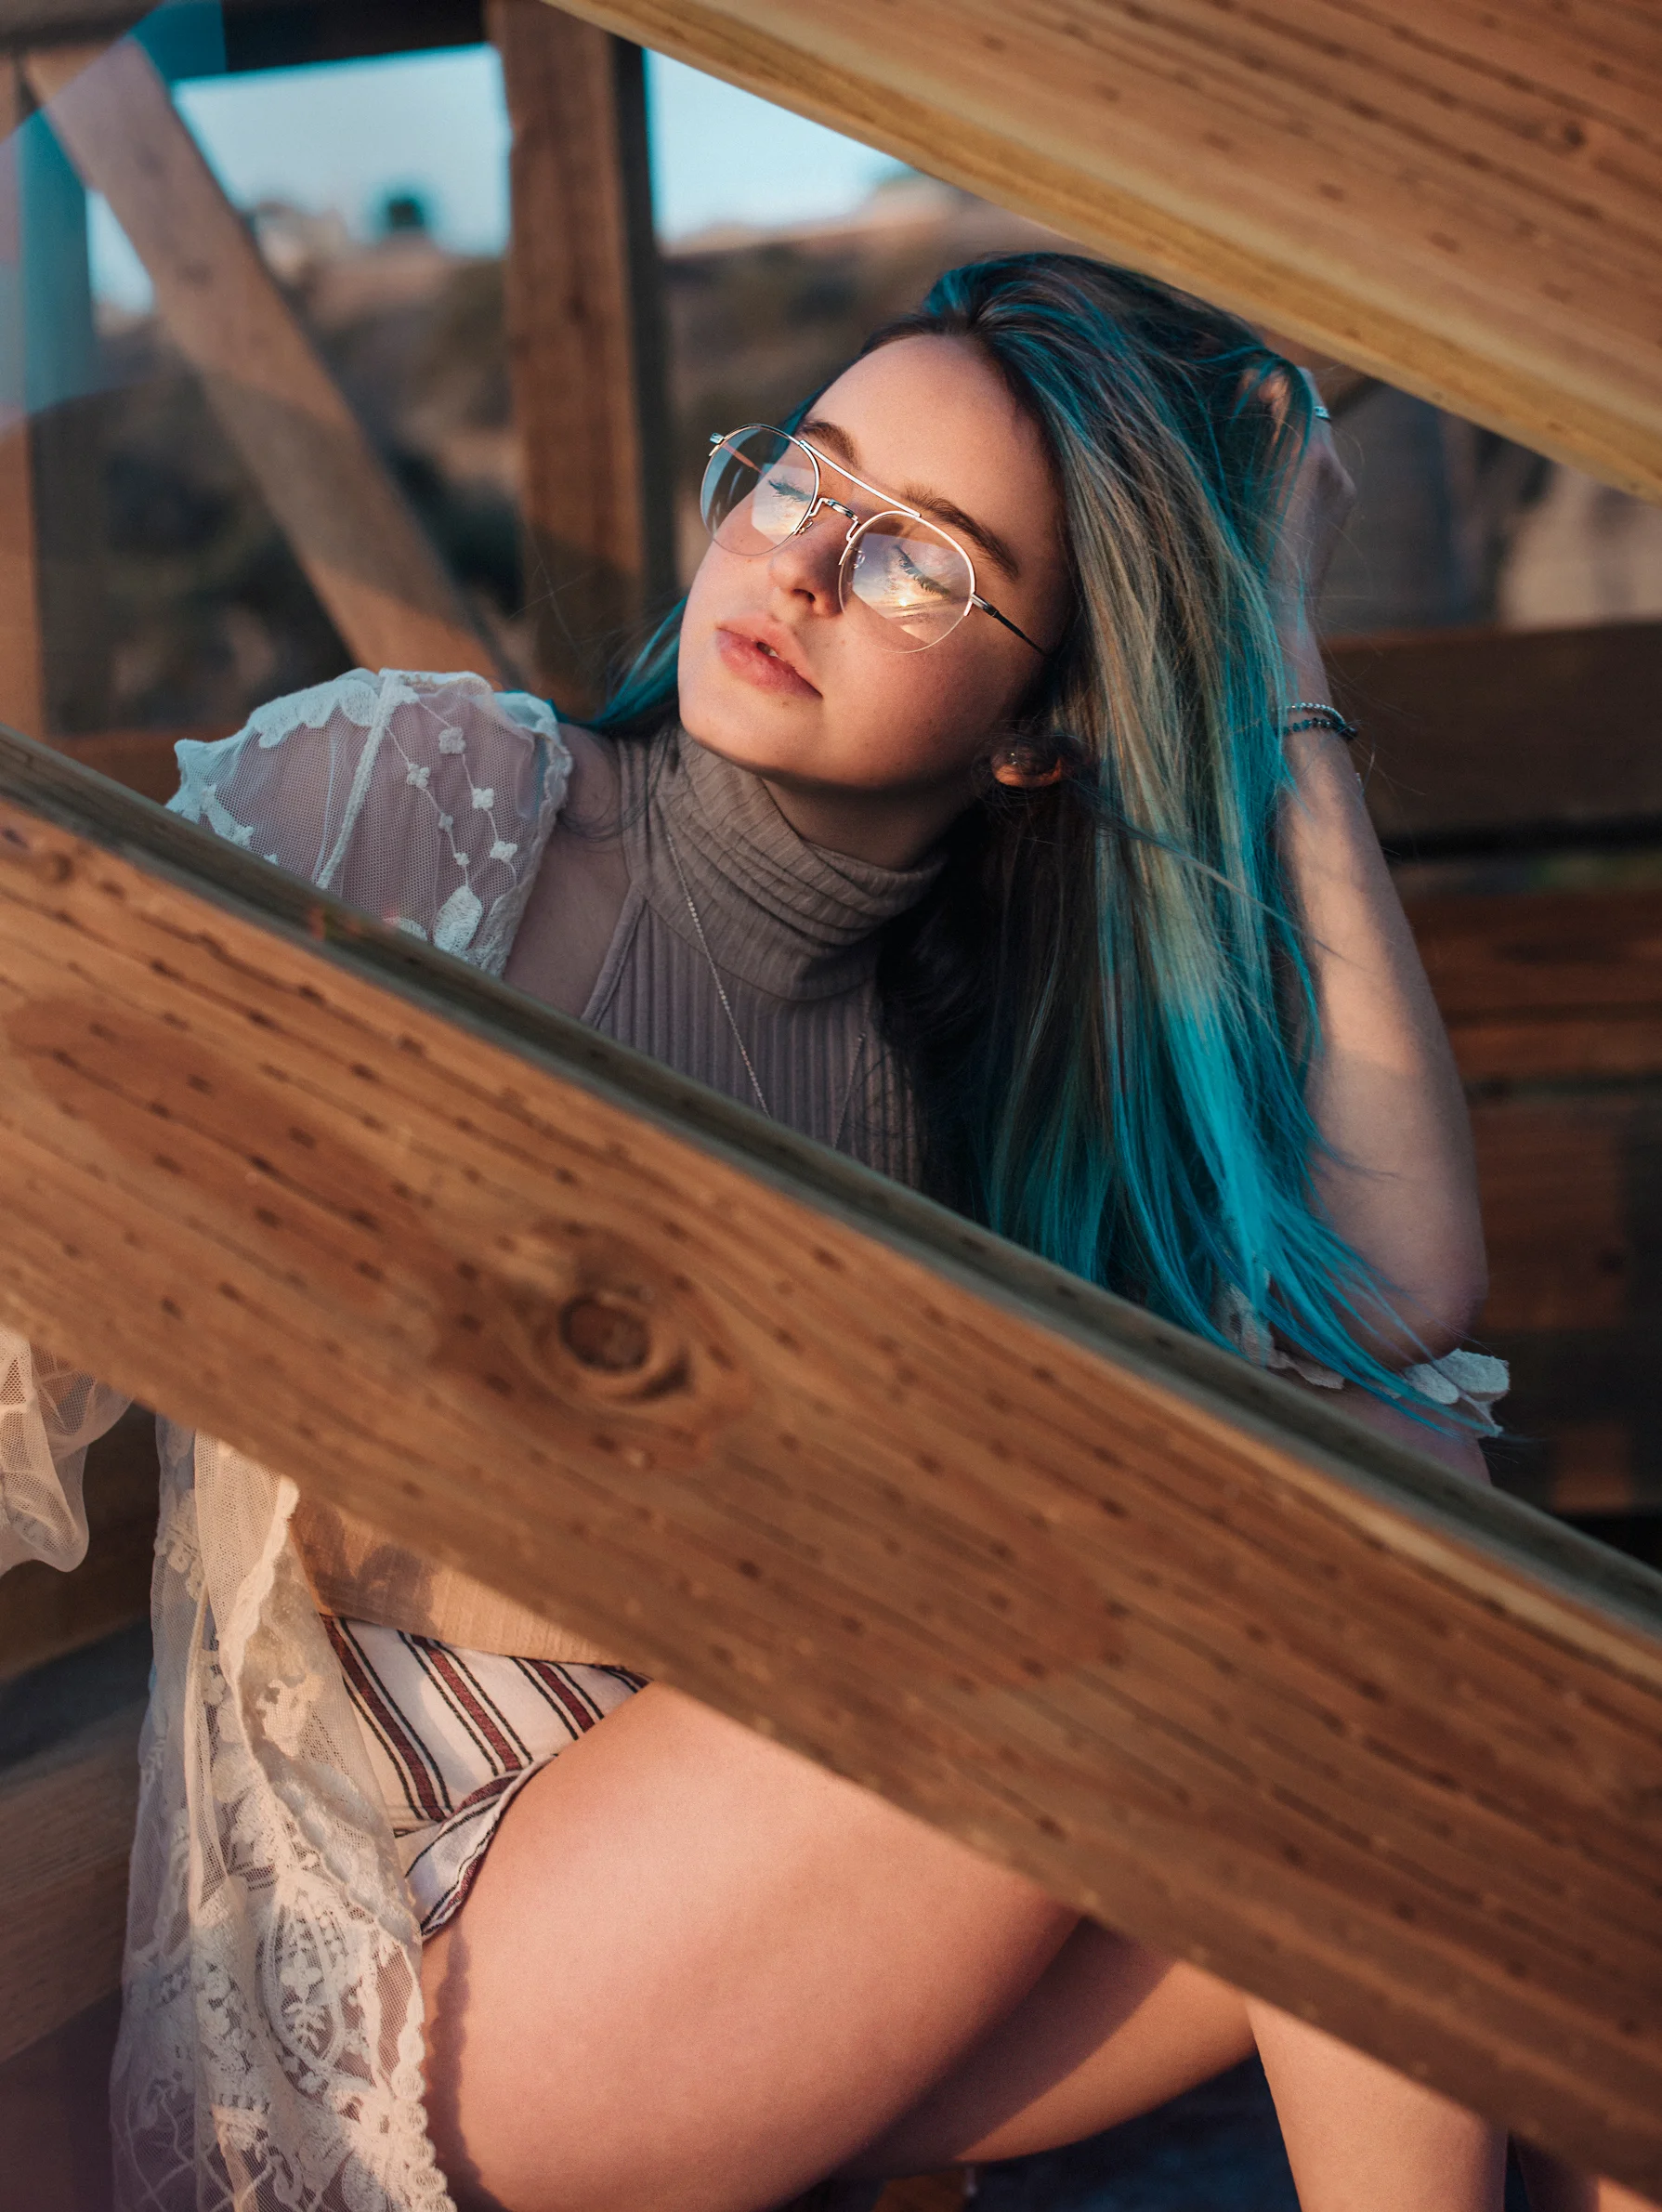
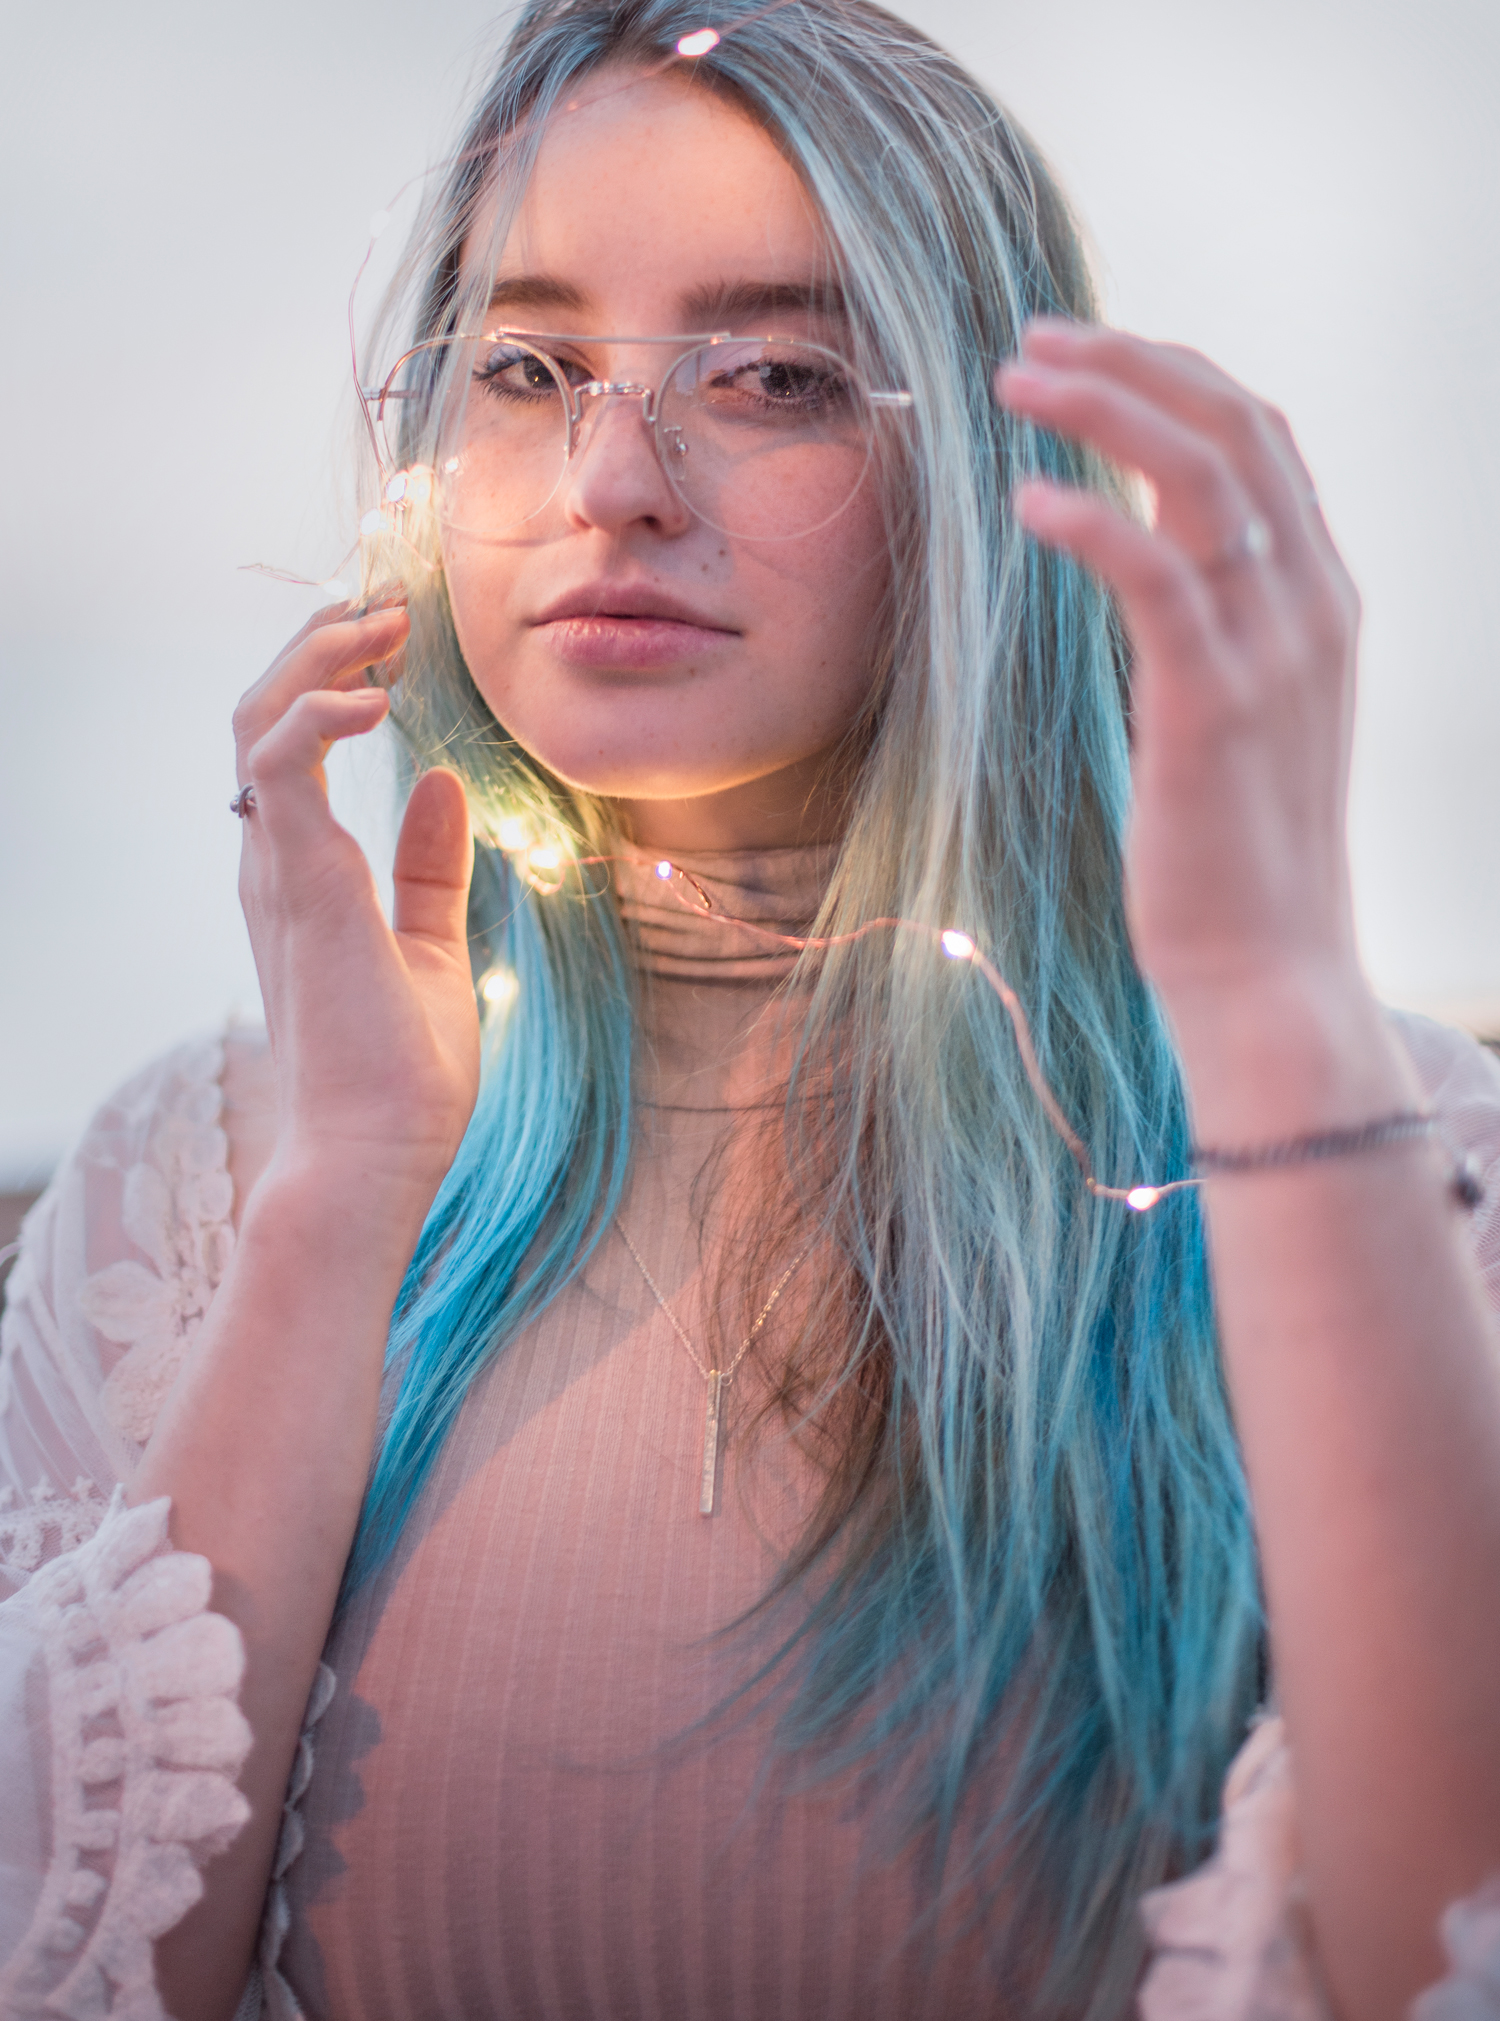
Alanna and I wandered around the North Park District of San Diego for a portrait session. We started our shoot an hour before sunset to get some softer lighting. We moved to a beachside location right at sunset to get some warmth in our images.

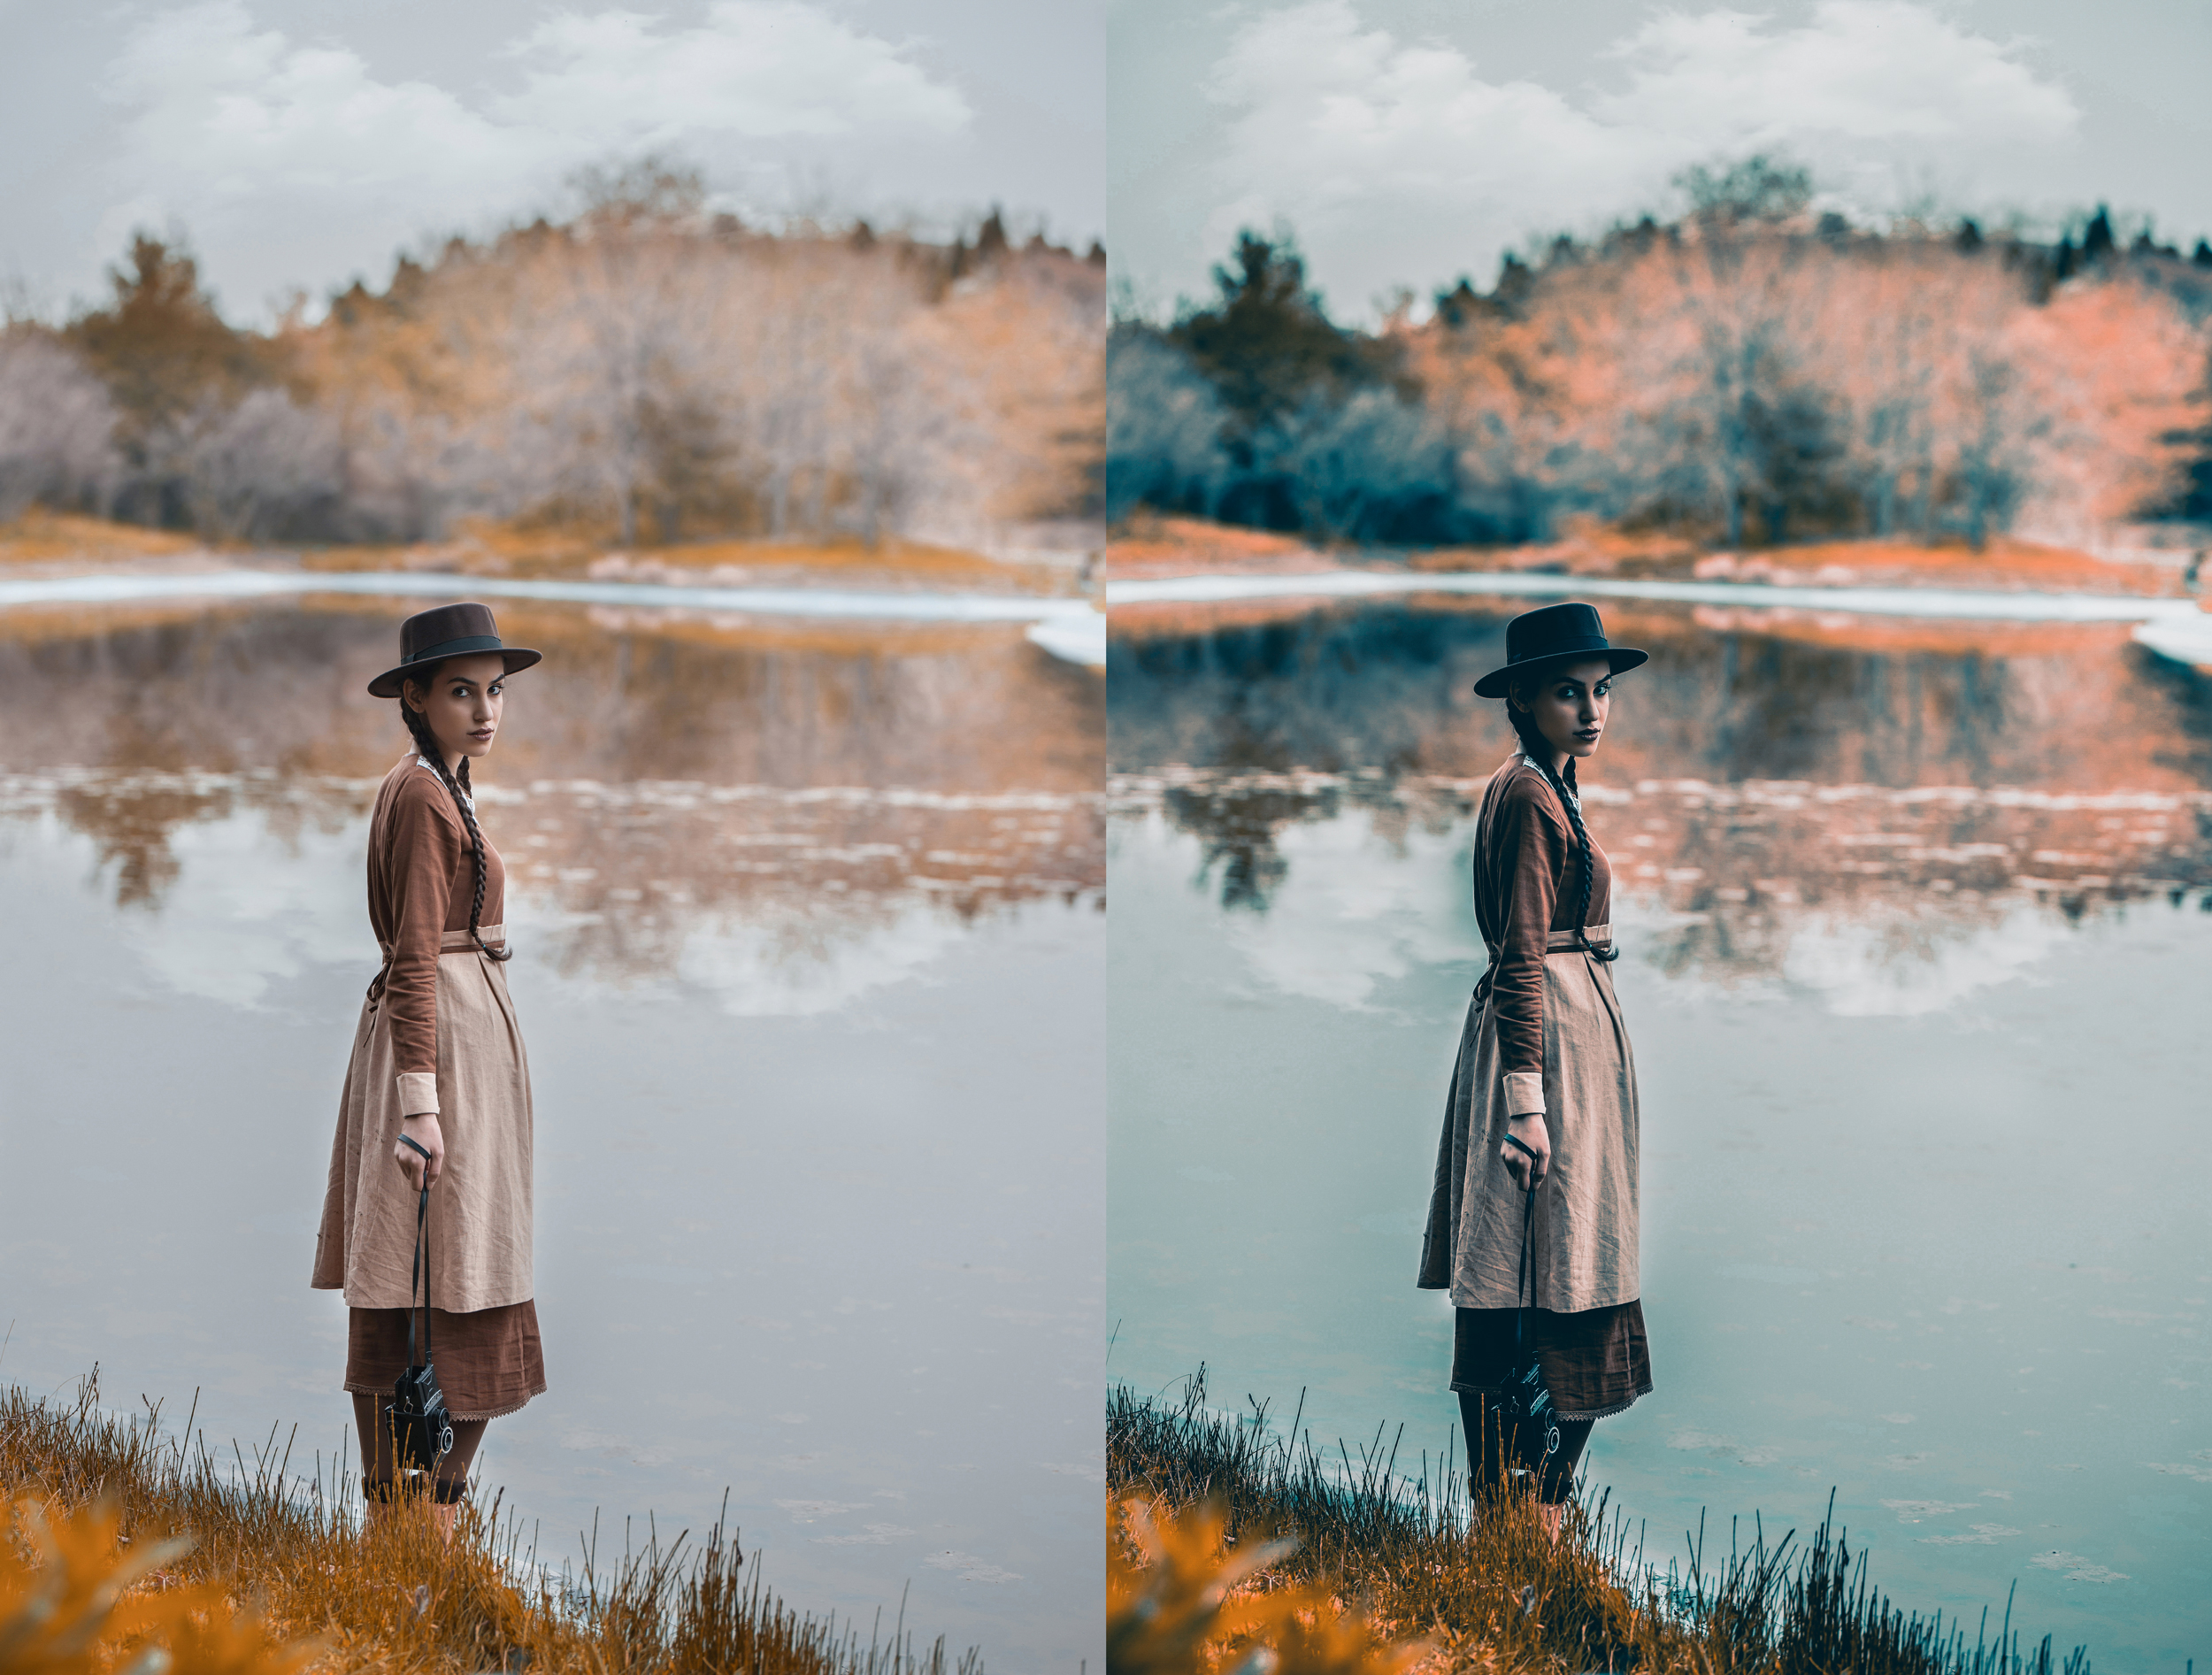
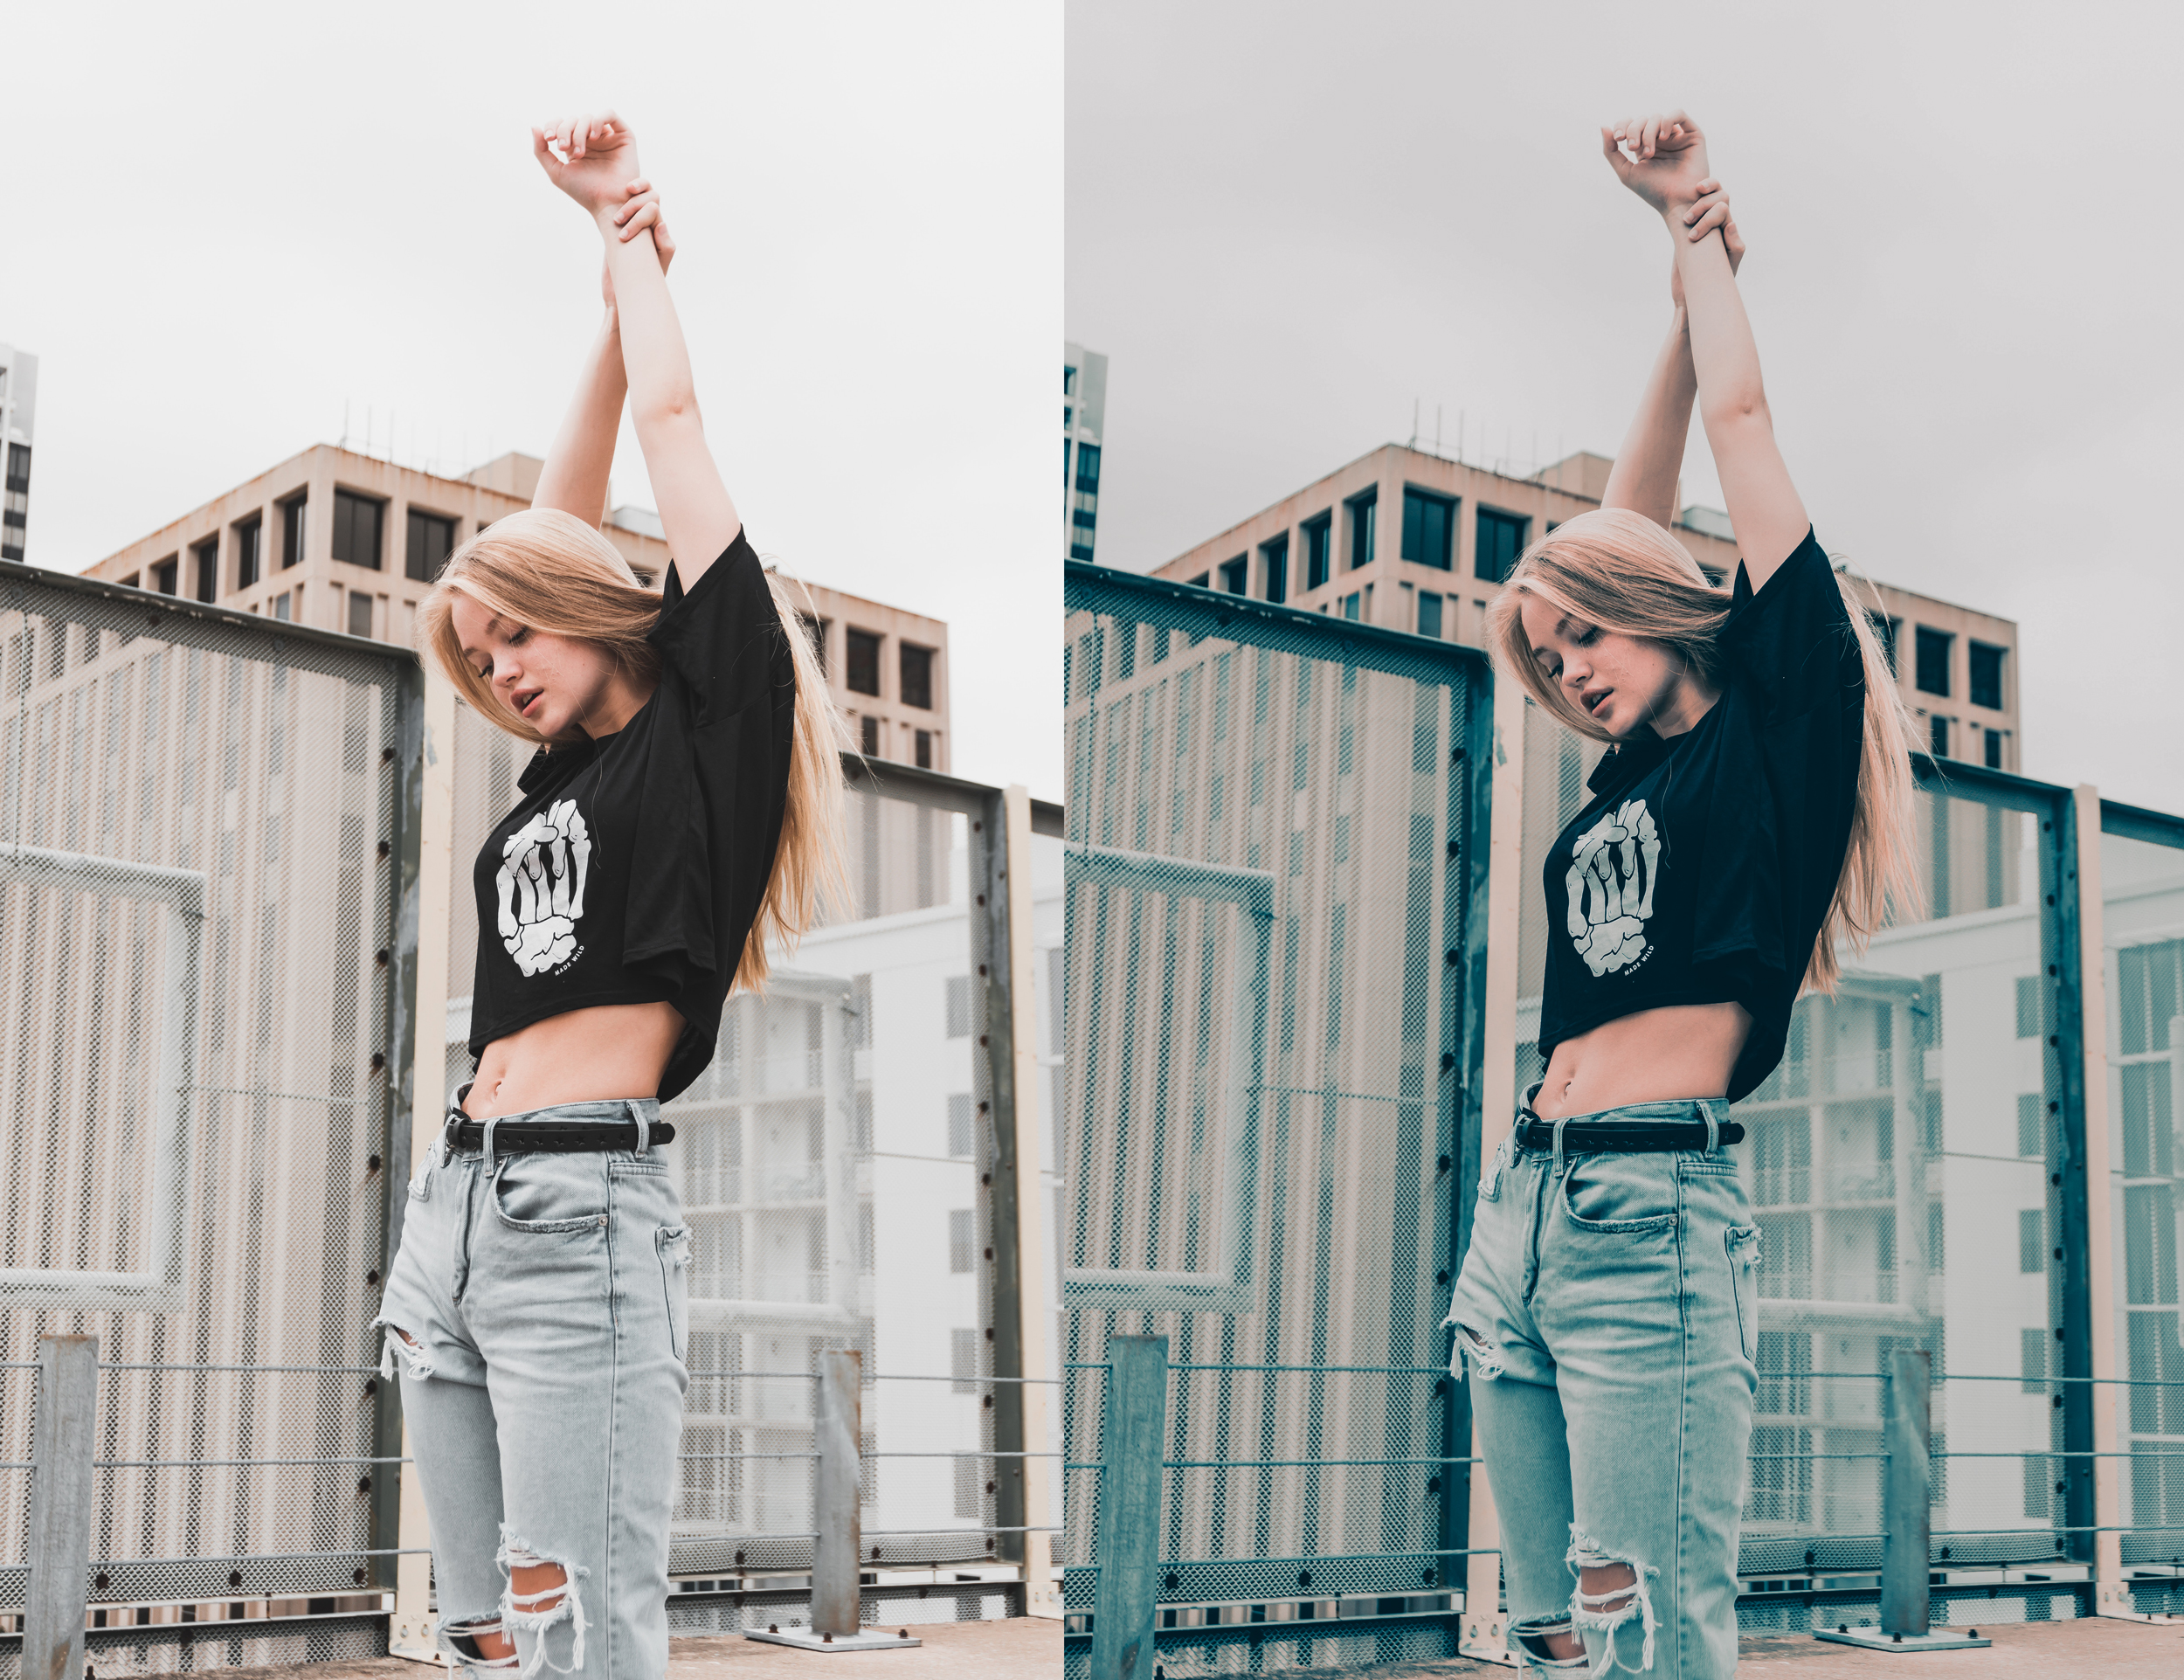
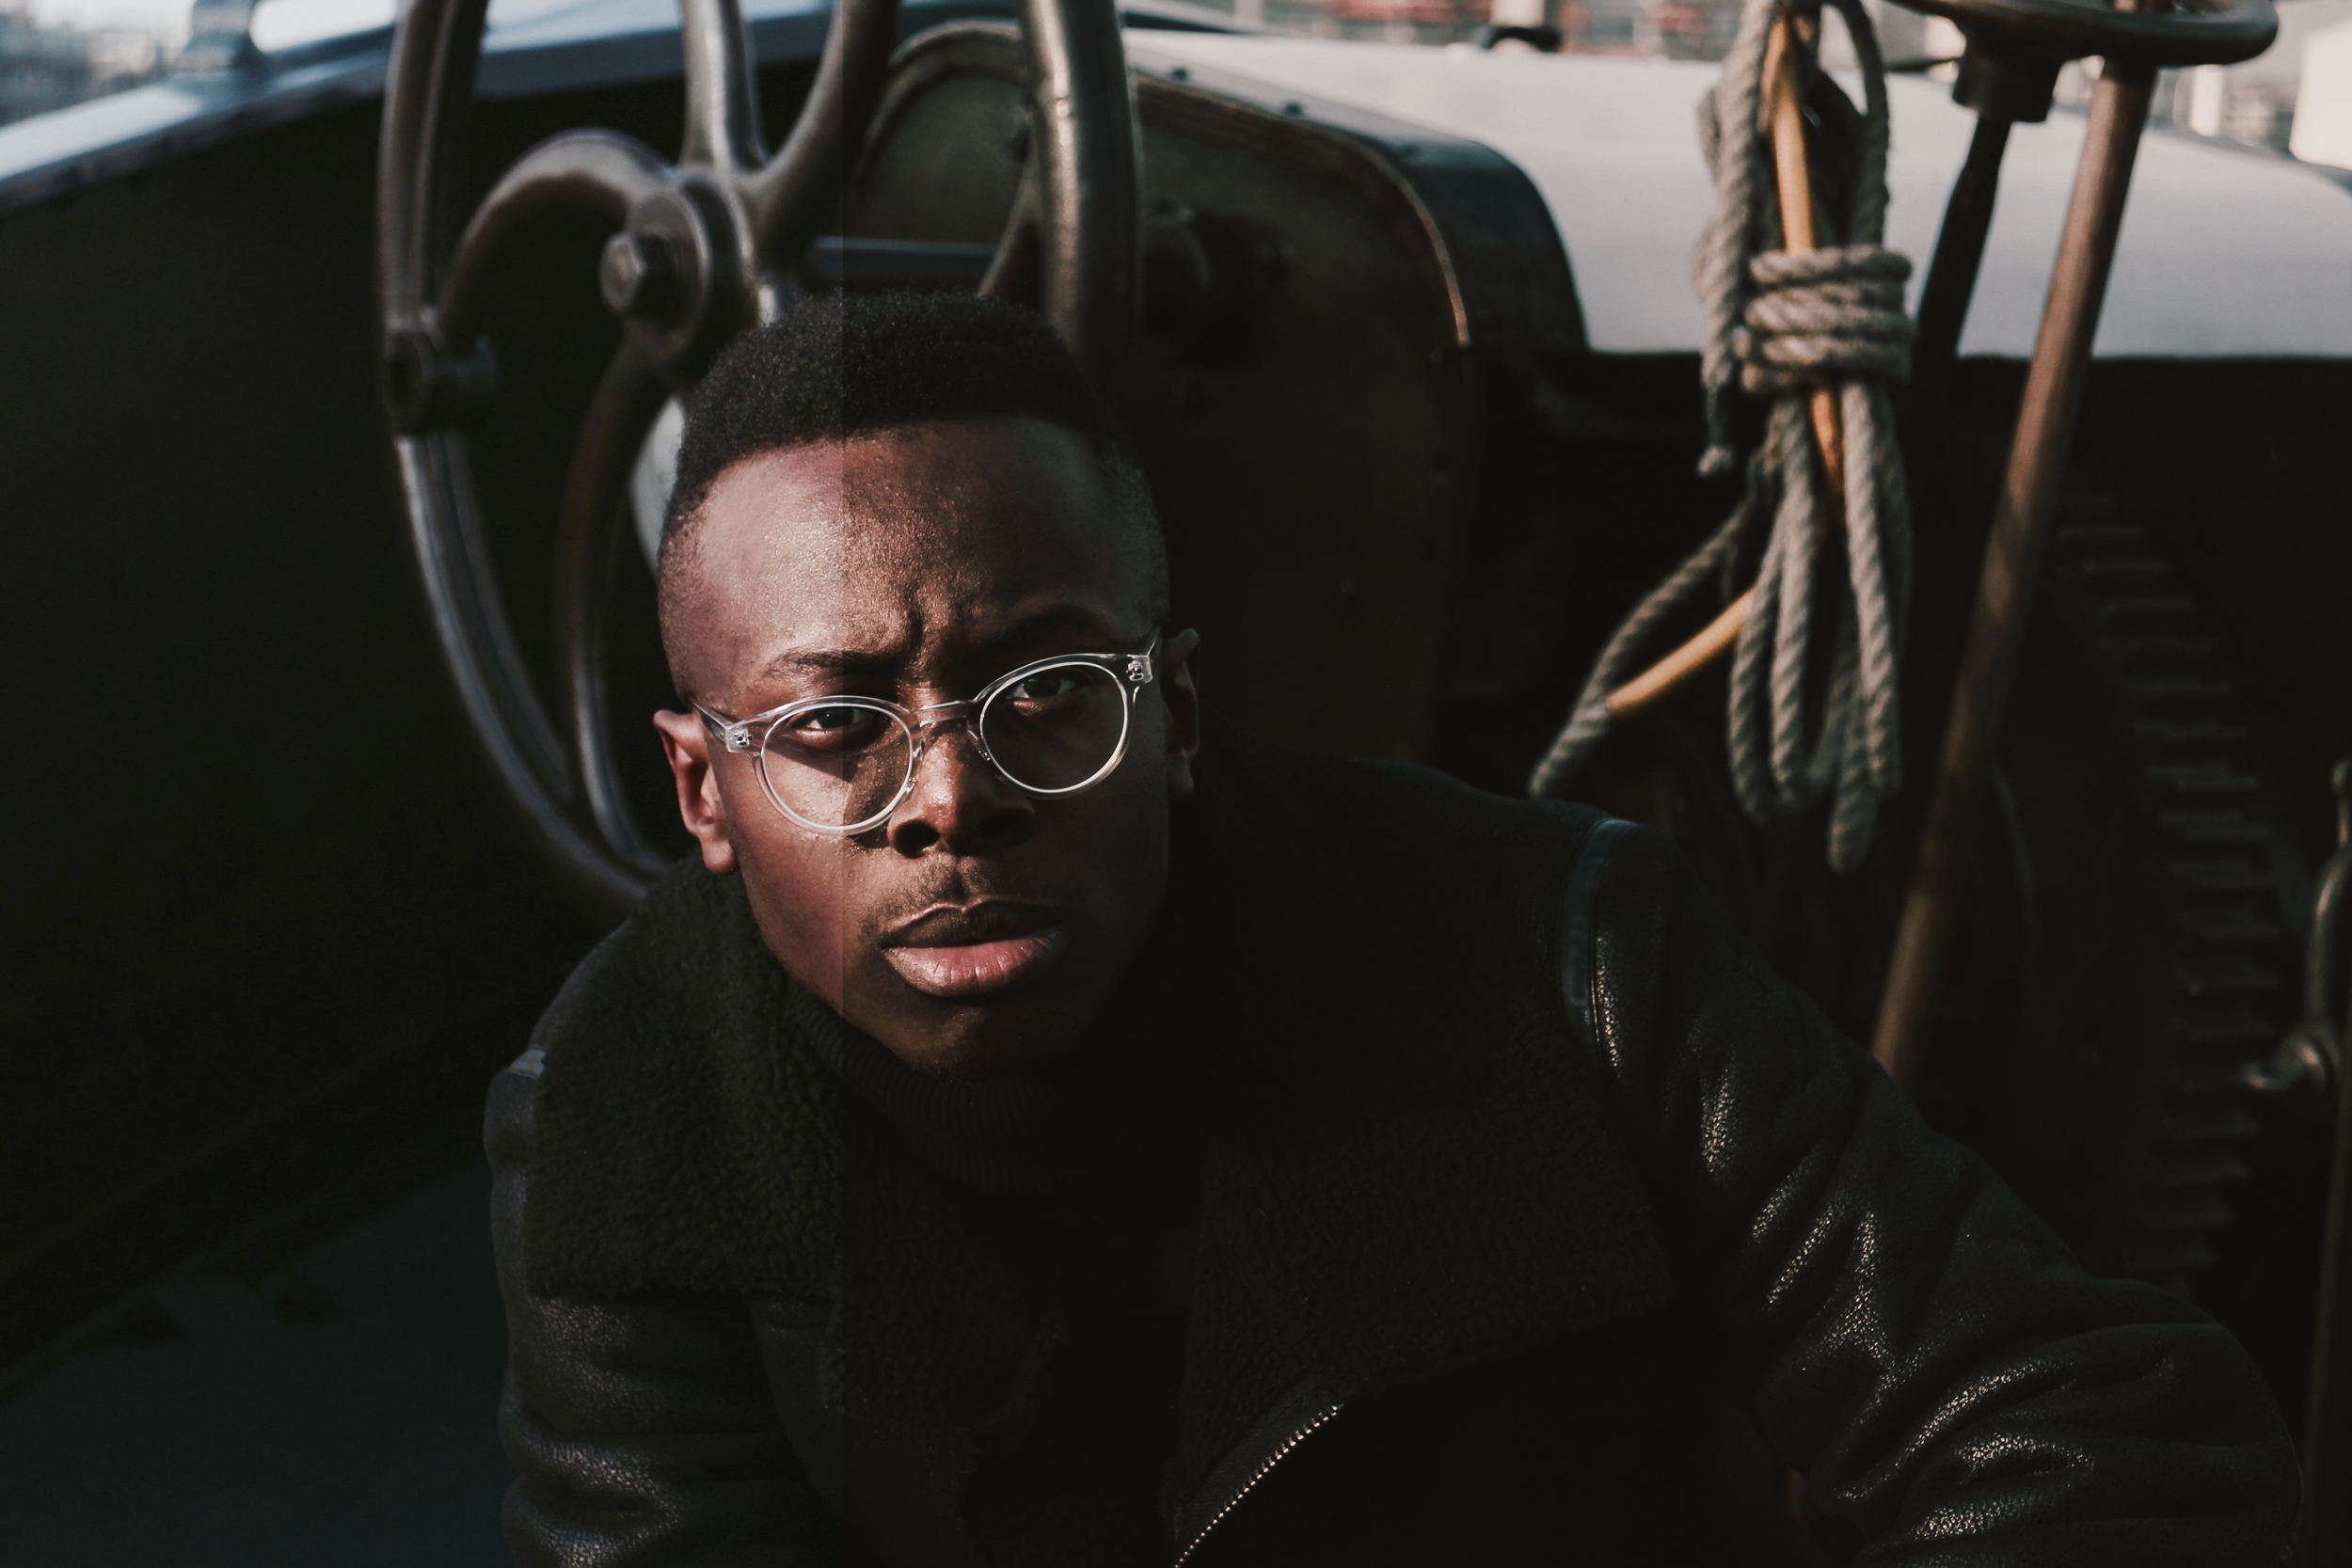
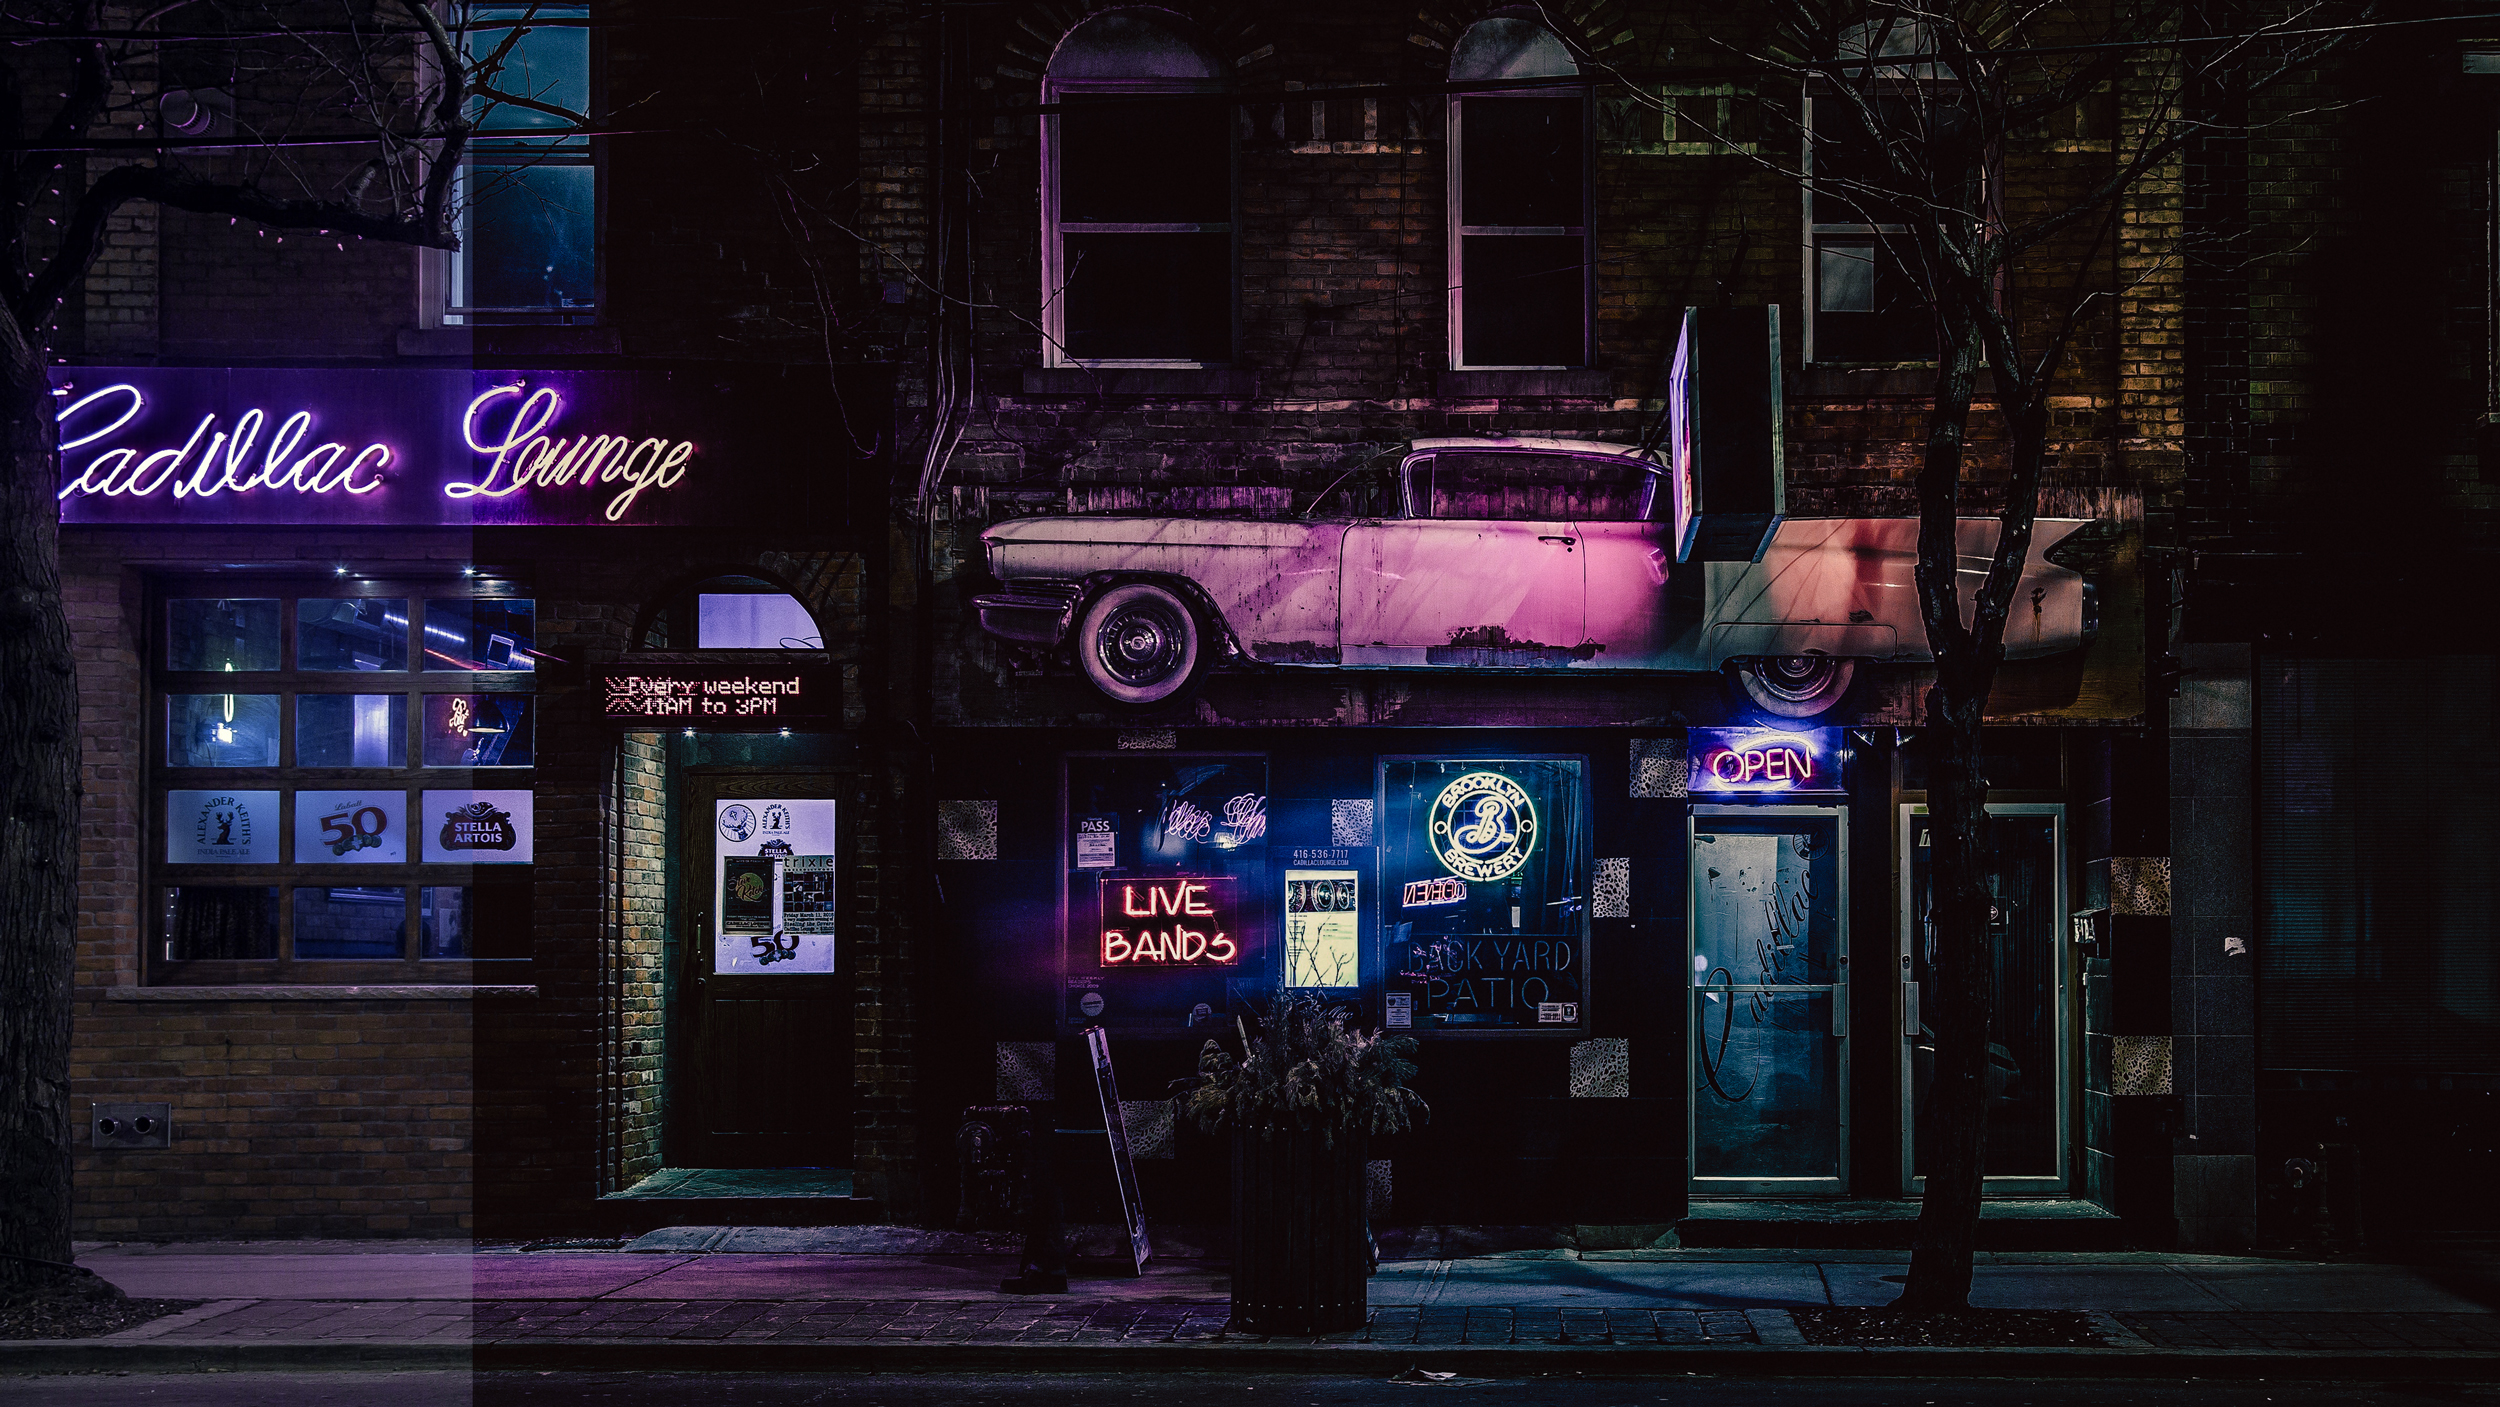
I edited this session with our Bright Pack & Film Pack and our Retouching Actions. You can view all our products used on this shoot within our SHOP

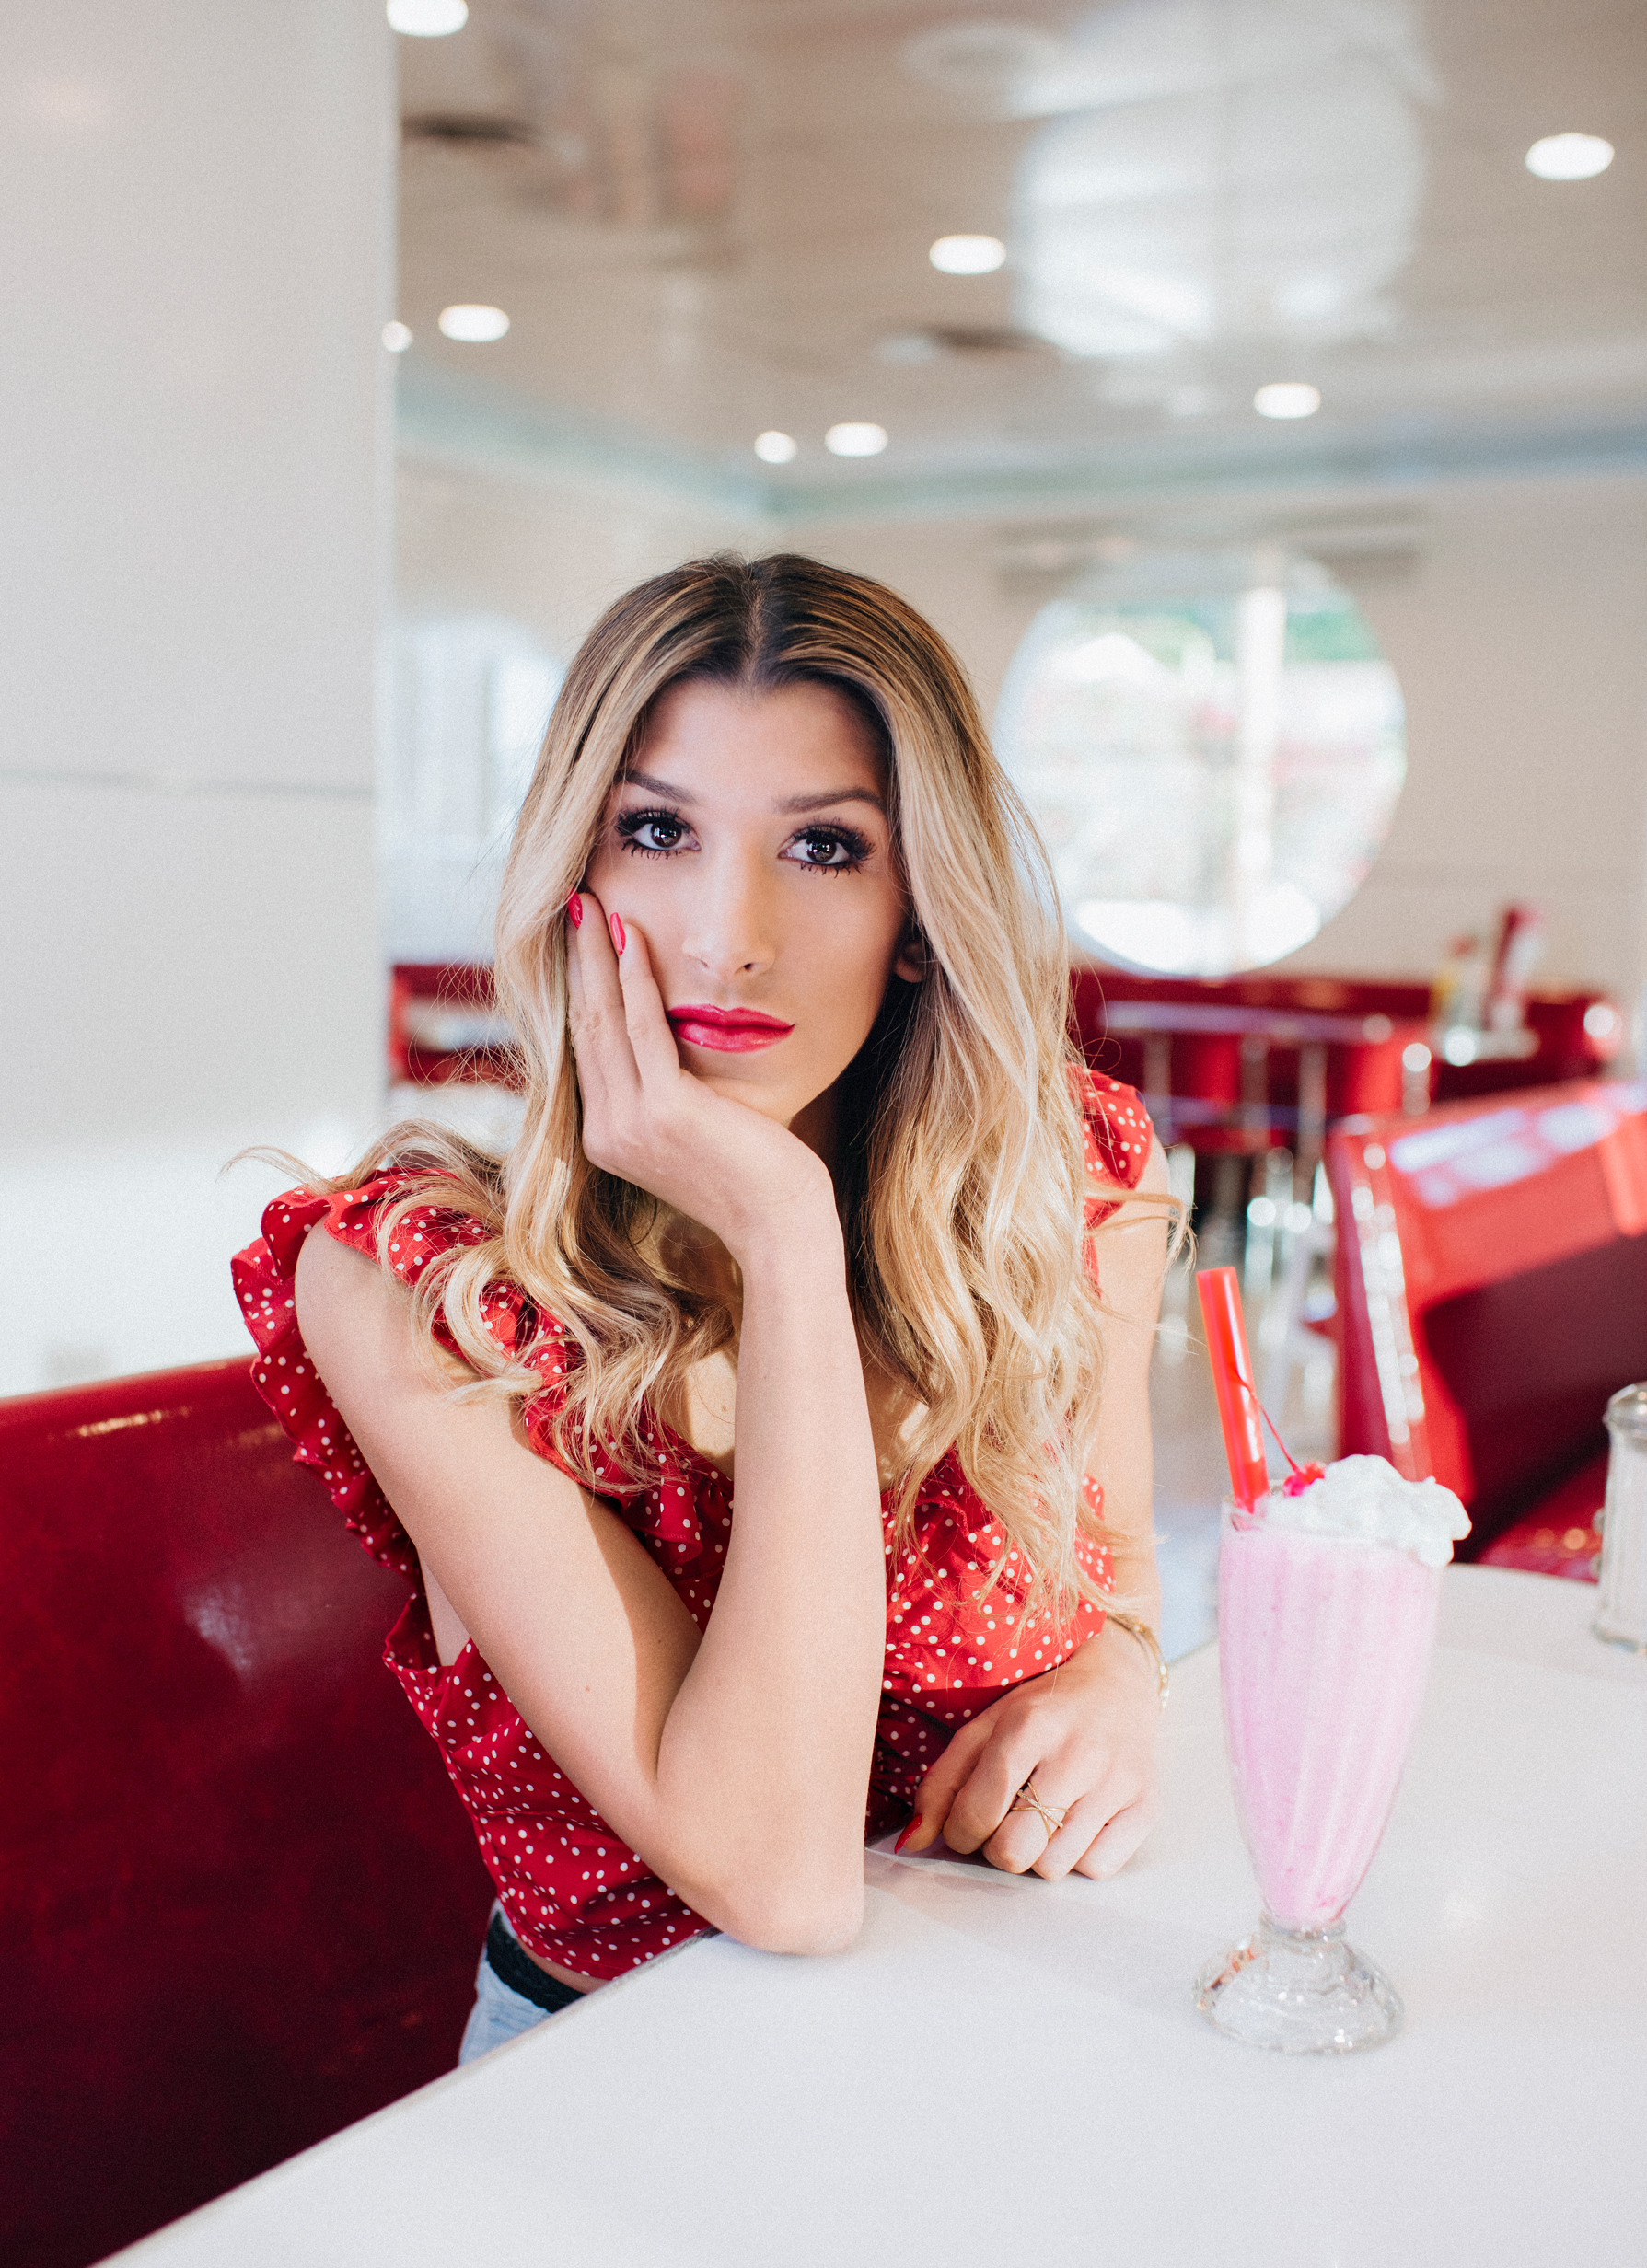
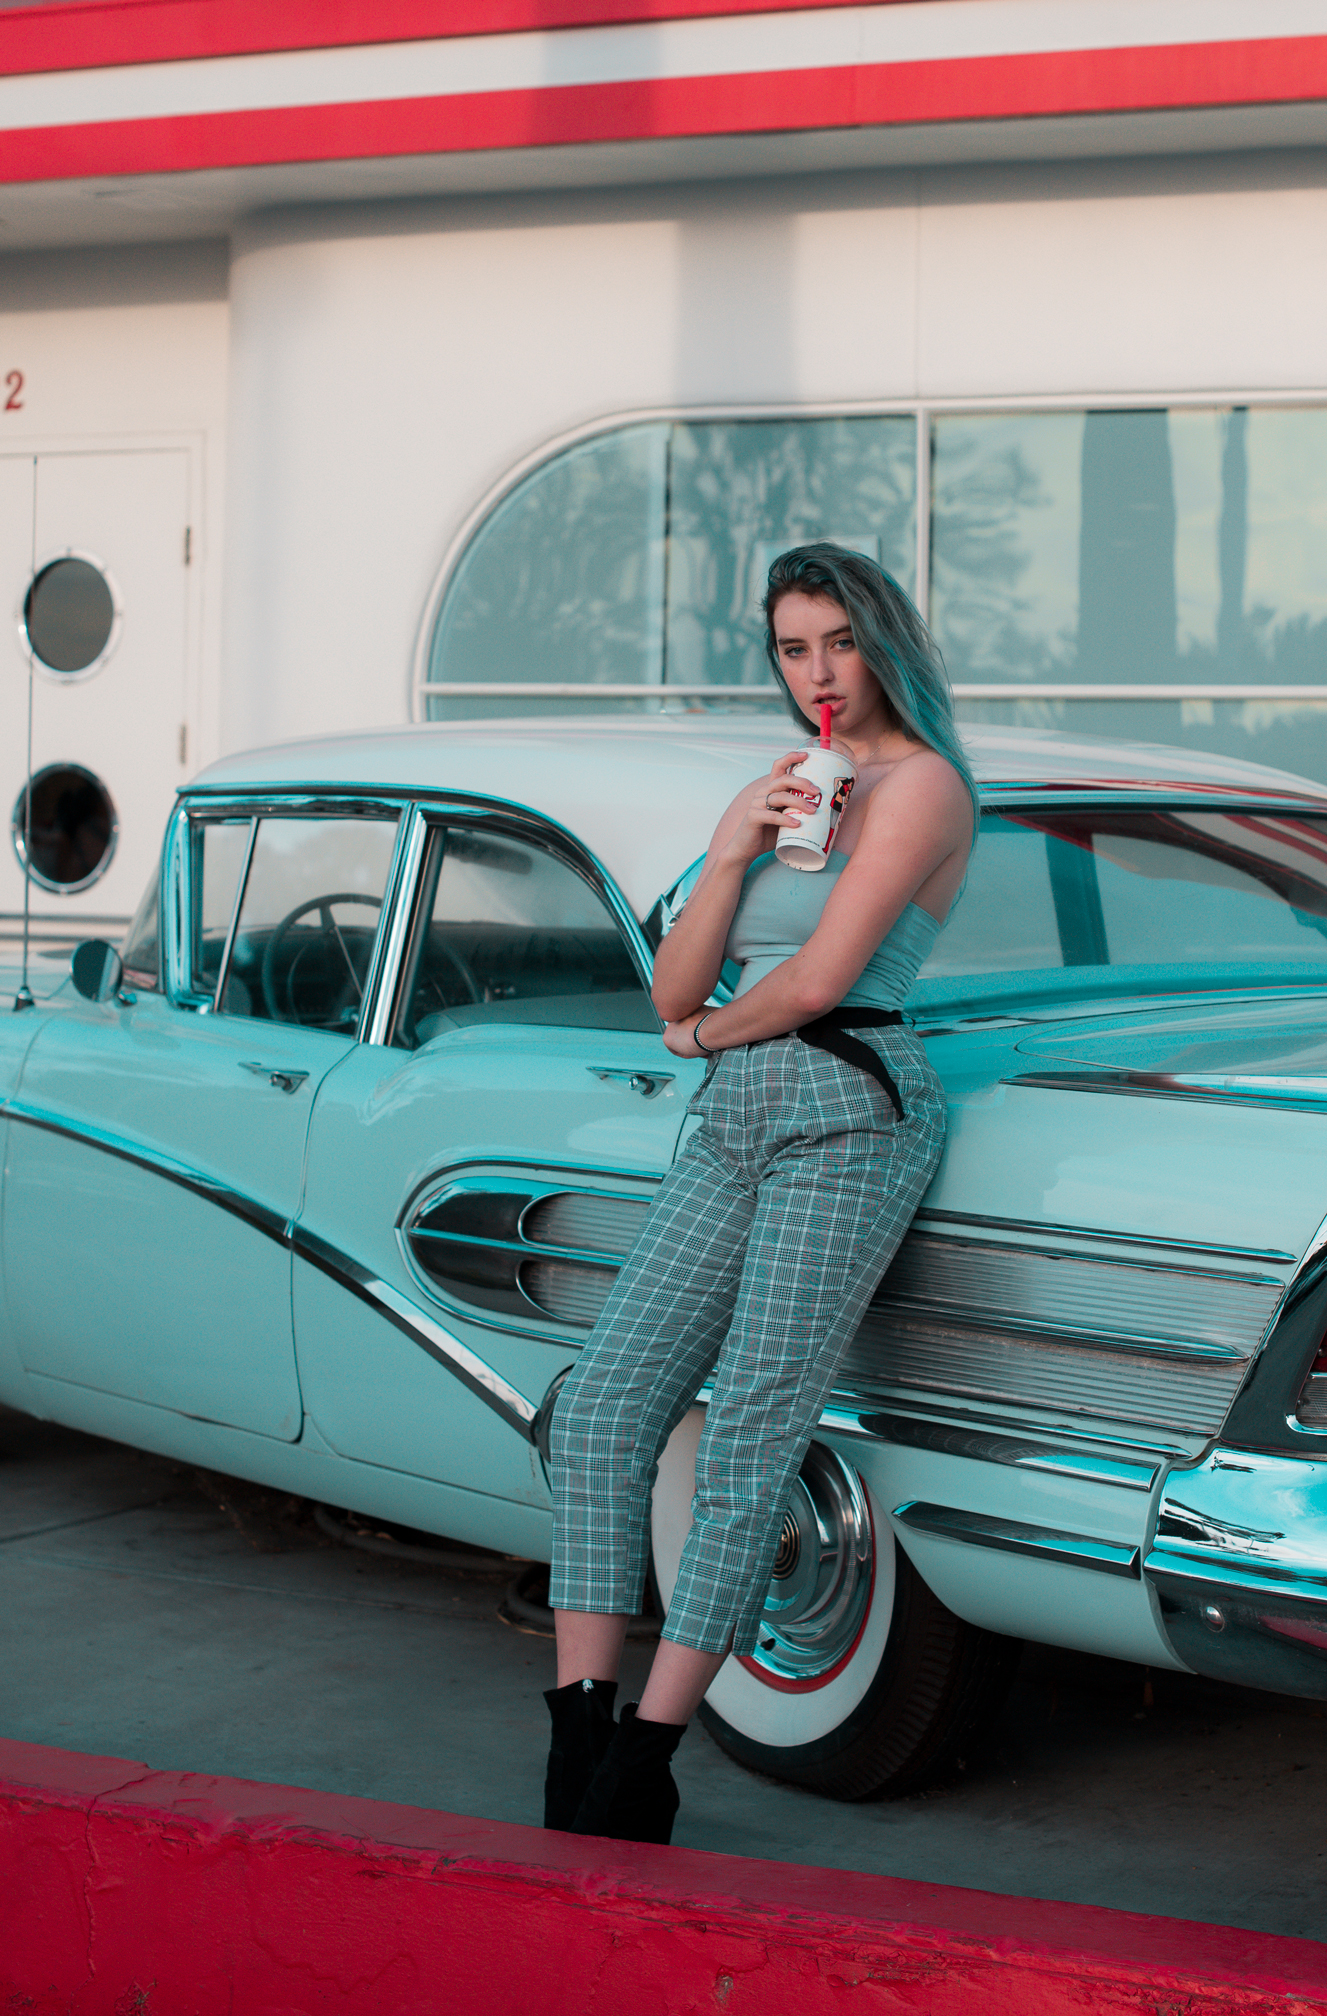
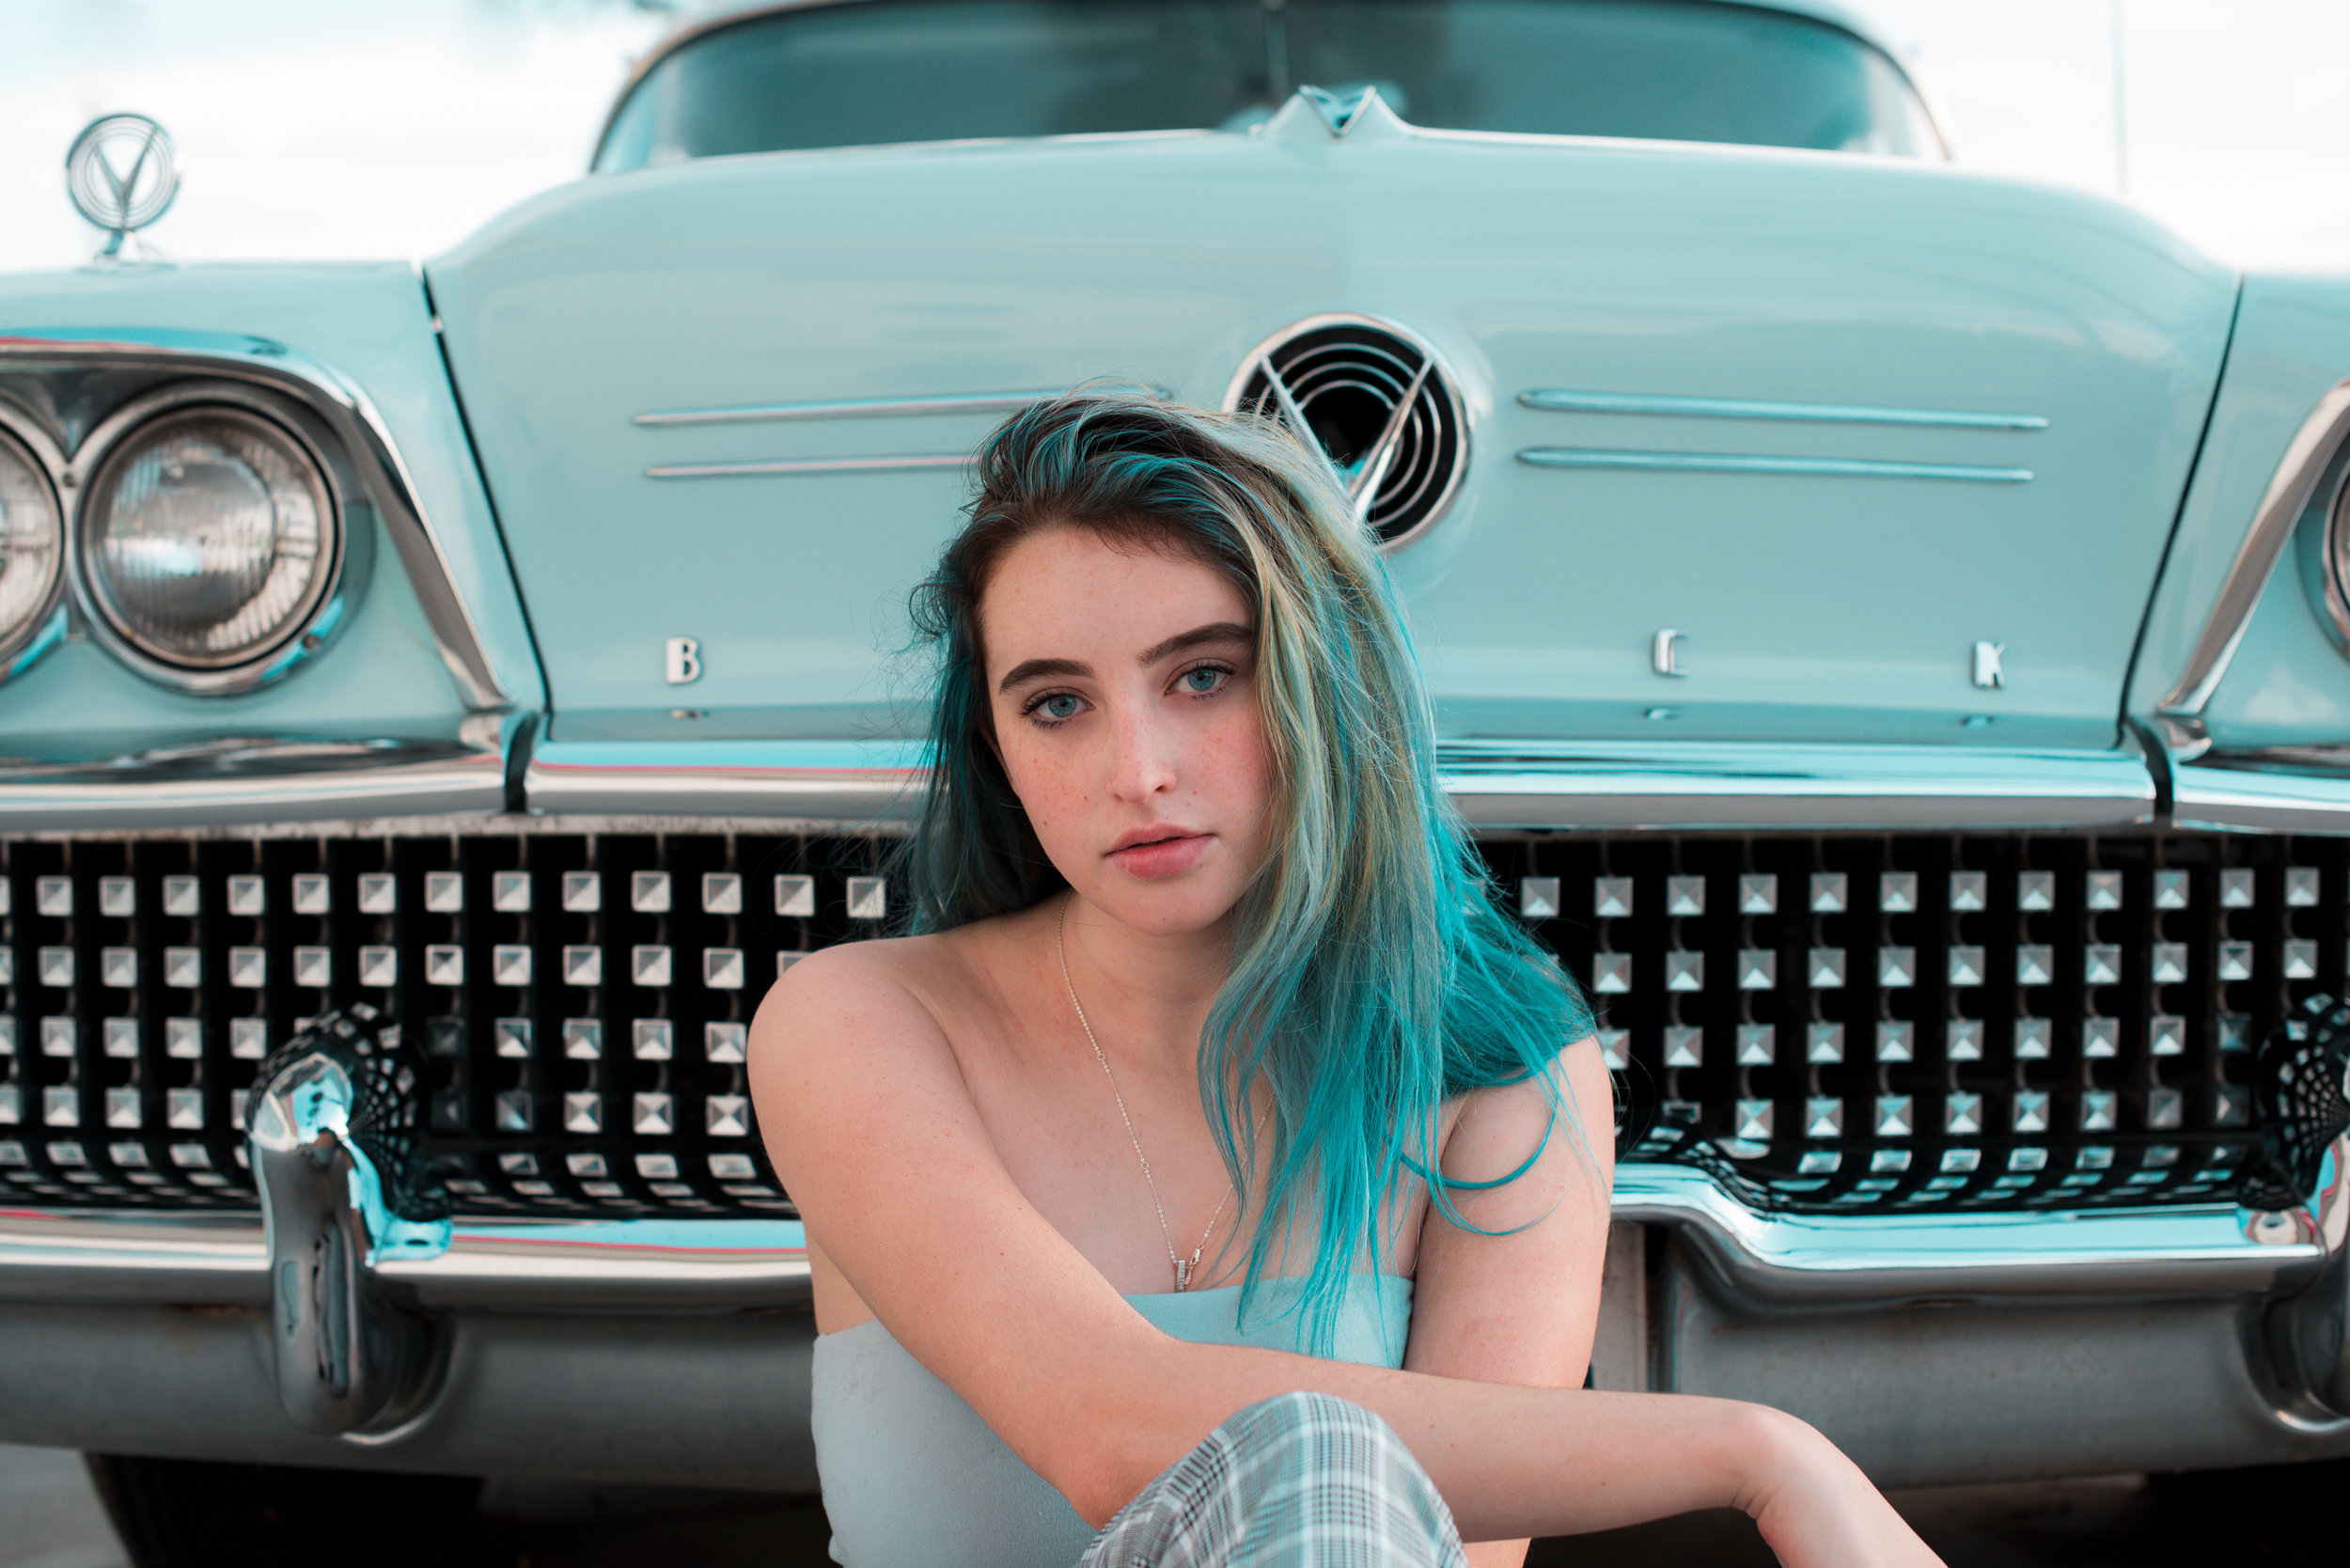
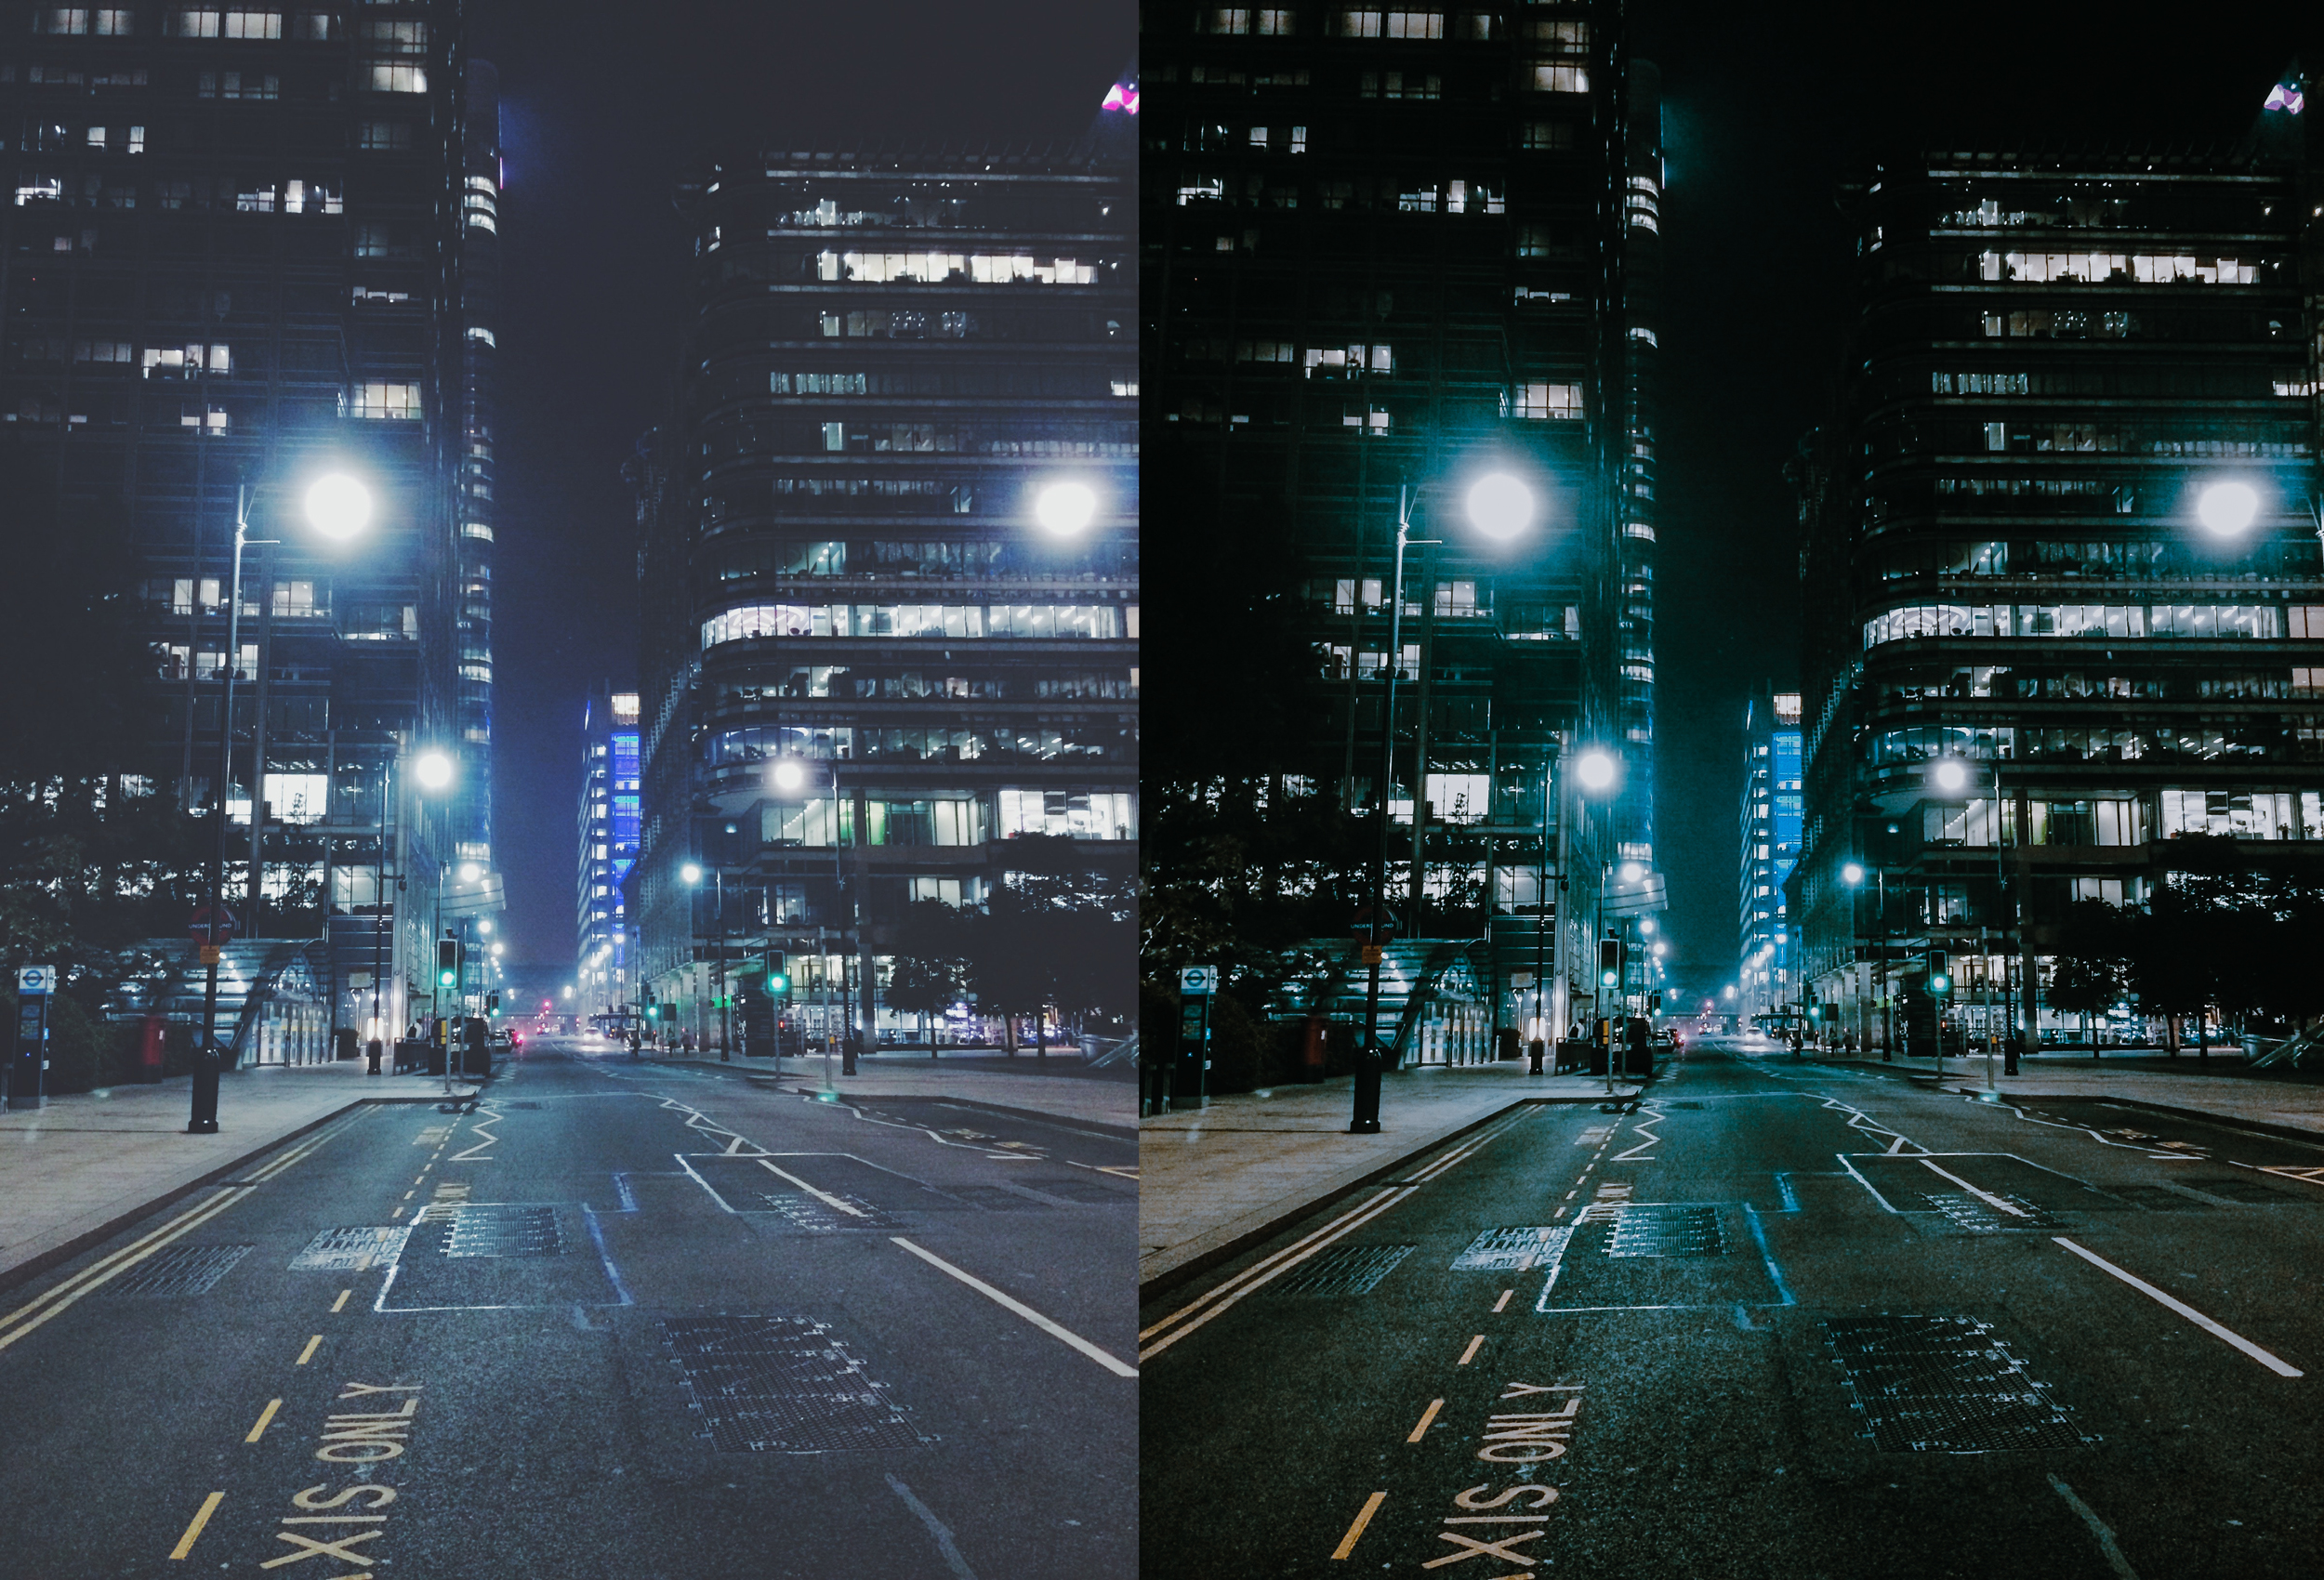
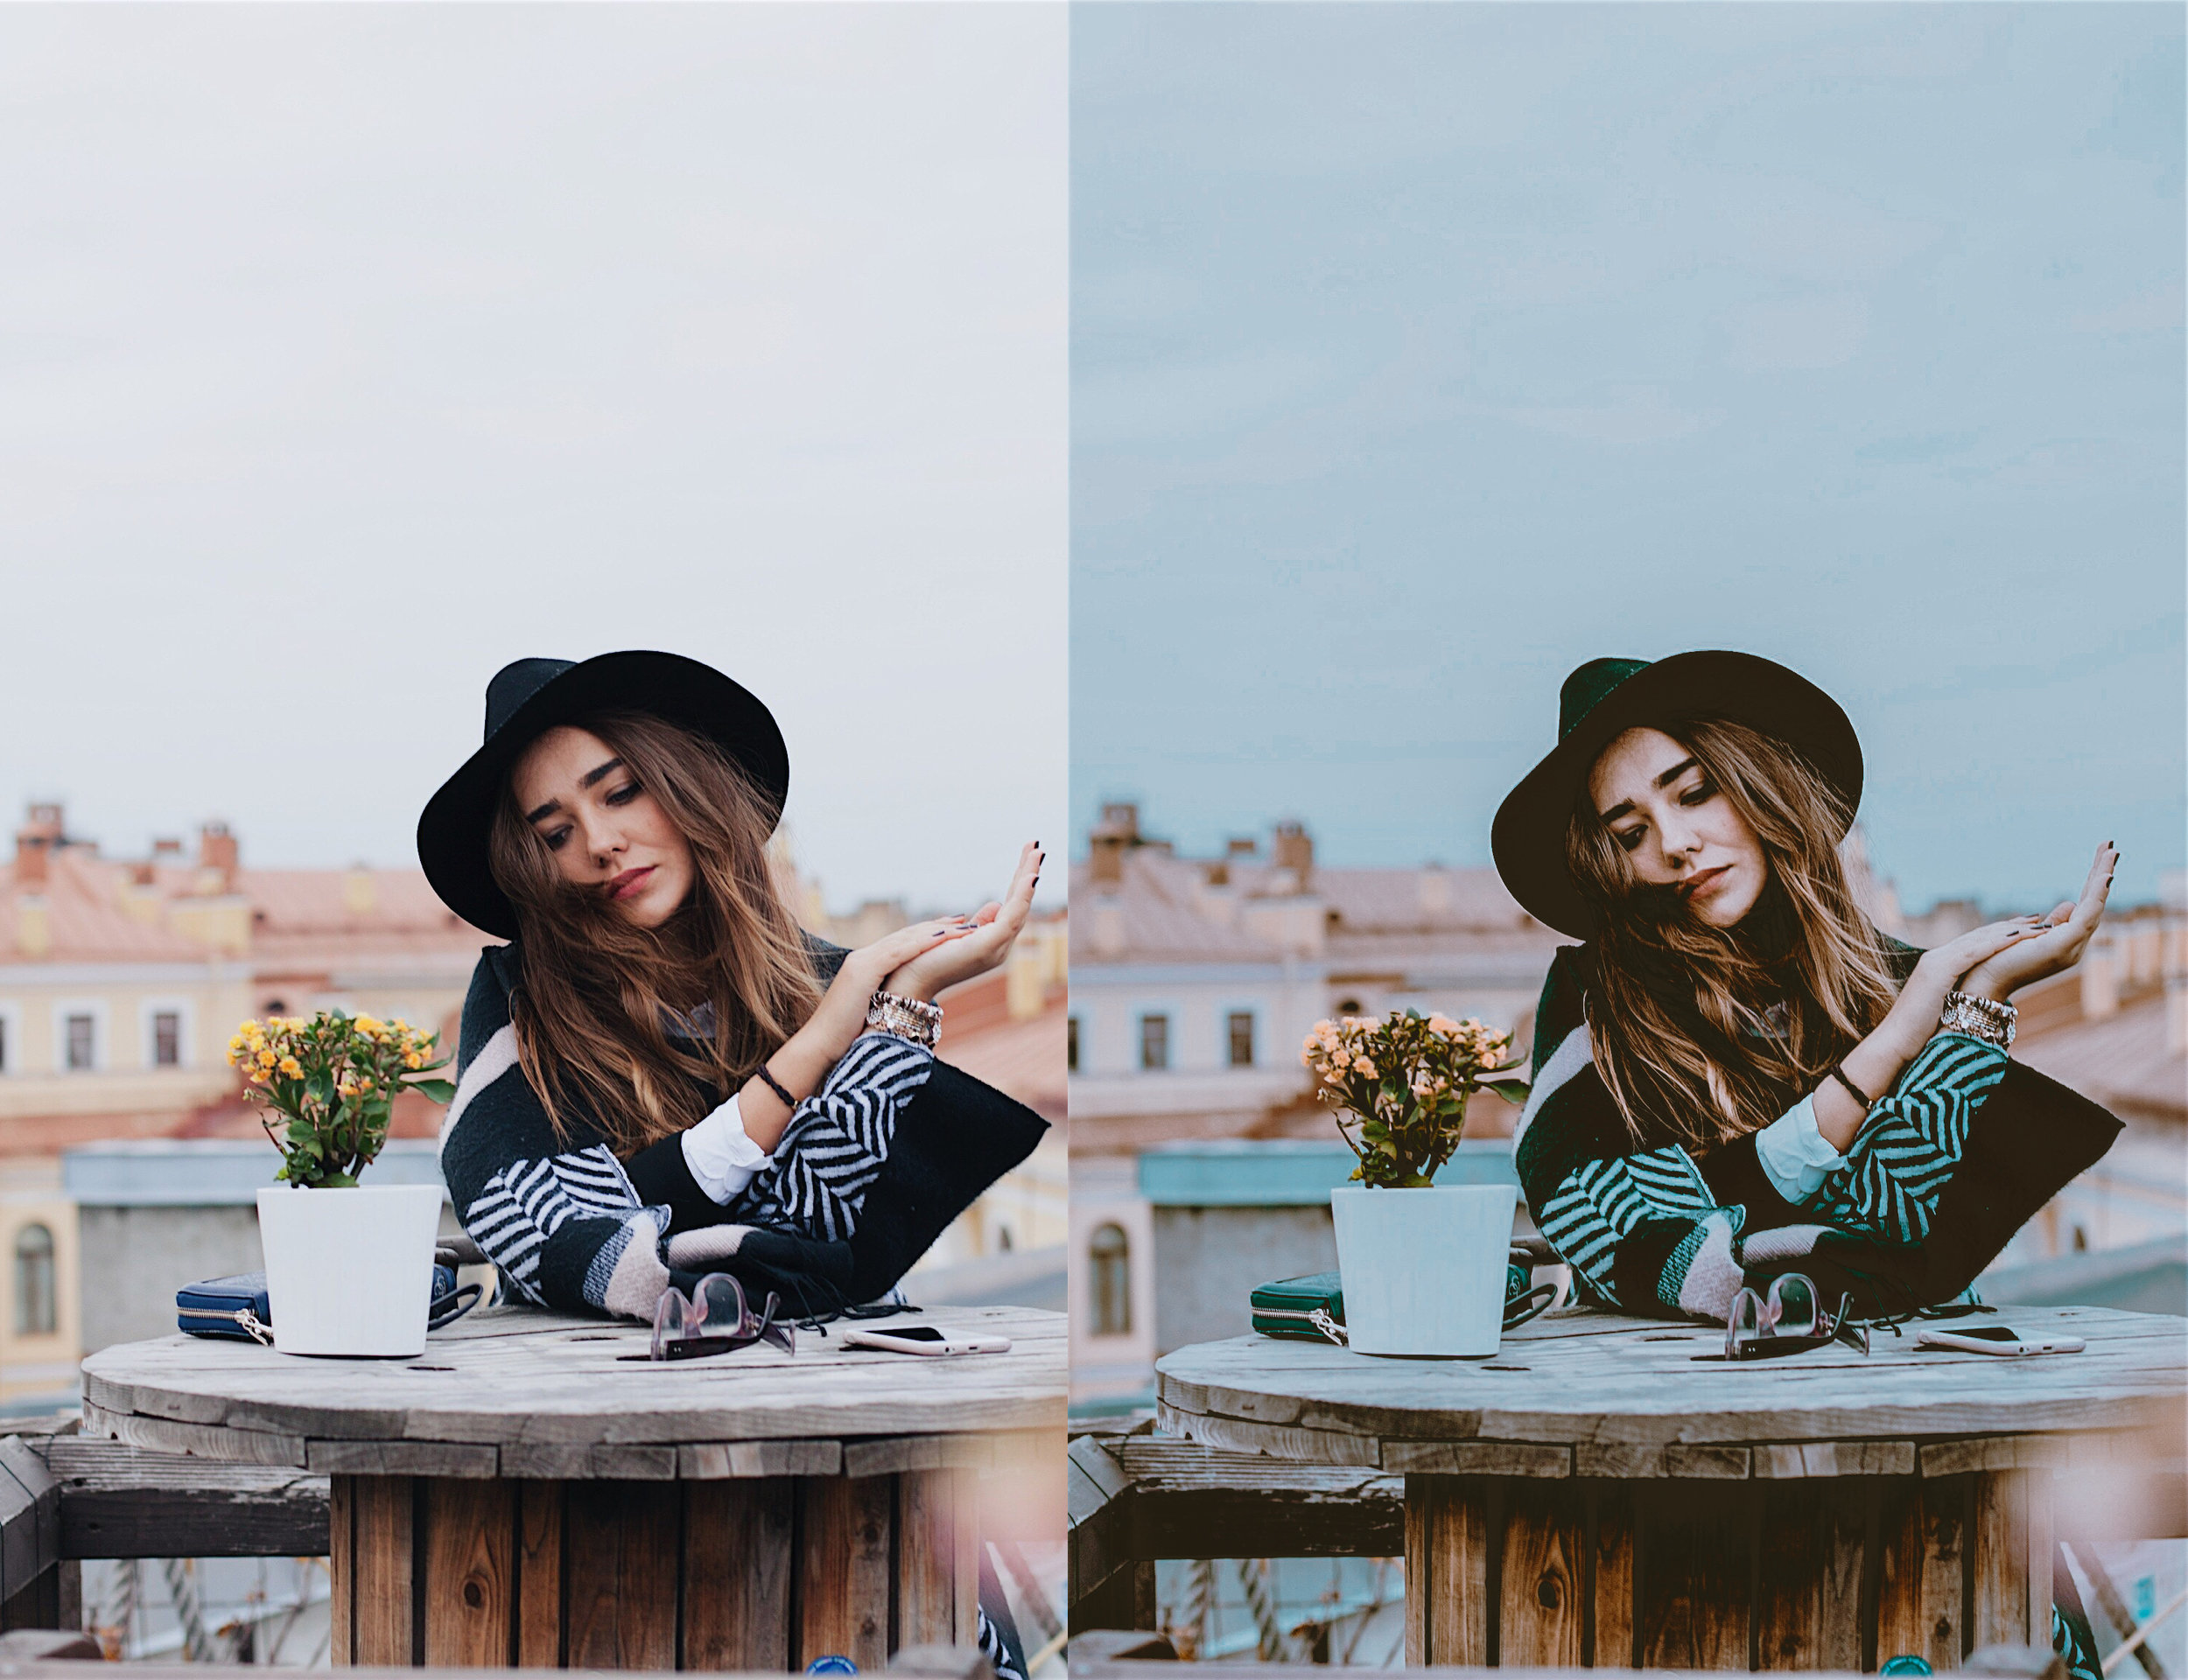
Edited with our Bright Pack/Film Pack/Retouching Actions:

Kelsey // Laguna Beach // Editorial Bundle

Kelsey and I photographed an hour before sunset which is my usually time to photograph outdoor locations. 

We photographed against a white wall, Stairs and along the beach. We found a neat Lifeguard tower and caught some gorgeous sunset tones. I used our Editorial Pack & Teal And Orange Pack to edit these images. You can view our products used to edit this shoot within our SHOP

Edited with our Teal & Orange & Editorial Packs:


Alanna // Laguna Beach // Editorial Pack

Alanna and I met up in Laguna Beach at one of my favorite locations. We shot an hour before sunset and I used my Nikkor 35mm 1.4 lens. I shot this session slightly underexposed to maintain sharpness and to achieve an almost gritty look when I bump up the exposure and apply my presets.

I edited this session with our Editorial Pack. Before apply the presets I adjusted my white balance and exposure. Then I applied the presets. Our Editorial Pack is my most used Presets/ACRs for editing my Instagram posts. They are reminiscent of analog film and have squashed highlights, mild film grain, and a boost in vibrancy. They are great for portraiture, weddings, engagements, editorial, and street photography. You can view this pack with before and afters within our SHOP

Edited with our Editorial Pack:

Lauren // White Walls & Flowers // Editorial Pack

I have always loved the look of minimalistic backgrounds when shoot portrait photography. It brings so much attention to your subject. I met up with Lauren in Laguna Beach at location with white walls and concrete stairs.

I used our Editorial Pack to edit this session. I personally prefer editing in Camera Raw in Photoshop because I shoot in raw and use my retouching actions in photoshop to reduce minor skin imperfections. But you will get the same result in Lightroom with the Editorial Pack Presets. You can view this pack within our SHOP

Edited with our Editorial Pack:

Britney // San Clemente // Neon Pack

I am always trying to incorporate color as much as possible in my shoots. I met up with Britney in San Clemente at 7:00 pm. We shot in front of a red & blue neon sing. I used a prism to create different in camera effects to these portraits.

Anytime I shoot at night with neon signs and fairy lights I always want my model wearing glasses. This gives your images  another element and something to reflect the beautiful lighting. I used my 50mm Nikkor 1.4 lens for this shoot.

Once I imported the images into Lightroom, I choose the images I am going to edit, and apply my presets. I created the Neon Pack to help achieve pink and light blue tones in neon lit portraits. I didn’t much like the red and dark blue starting point of this image. I think that light pink is more inviting and flattering.

You can view our Neon Pack writhing our SHOP

Edited with our Neon Pack:

Lauren // Laguna Beach // Editorial Pack

As a photographer/editor/designer my looks for photographing/editing are always changing. I made our Instagram Pack because I recently made new presets which have been my go to for all my recent shoots. I wanted to make these available to all our customers. This pack has 10 Presets & 10 ACRs as well as a tool kit to help make minor adjustments.

These are best used on outdoor photo shoots or indoor flash photography. Our Editorial Pack is reminiscent of film with a mild film grain which can be easily removed/reduced.

I met up with Lauren in Laguna Beach at my favorite little vintage diner. I used my 35mm Nikon 1.4 lens and my Nikon SB-500 Speed Light to achieve the best lighting. I pointed my flash directly up to bounce the flash off the ceiling and achieve a softer look.

I then applied our Editorial Pack ACRs to my favorite images. You can view this pack in our SHOP

Edited with our Editorial Pack:

Jolie & Lukela // Laguna Beach // Teal & Orange & Editorial Pack

When exploring around Laguna I came across a beautiful litter vintage diner. I absolutely loved the vintage vibes and wanted to do a shoot there. I met up with Jolie and Lukela an hour before sunset at the Diner. I used my favorite Portrait Lenses and my D810 on this shoot. 

I used our Lightroom Brushes to get rid of any blemishes and brighten their skin tones. I then applied our Teal & Orange Pack Presets and our Editorial Pack Presets to this shoot. I used different Presets for the different locations. You can view all the products used to achieve this look on our SHOP

Edited with our Teal & Orange Pack & Editorial Pack:

Jolie // Dana Point // Teal & Orange Pack

I met up with Jolie in Dana Point California at Dohney State Park. We started our shoot an hour before sunset to achieve some gold tones in our images. I used my Nikon D810 and my Nikkor 50mm 1.4 lens on this shoot. I always shoot slightly underexposed to get a little of a moody base and maintain as much sharpness as possible.

Once I chose my favorites I brought them into Photoshop and used my retouching actions to achieve a smooth base and get rid of any minor blemishes/imperfections. From that point I applied my Teal & Orange Presets/ACRs to my image. 

The Teal & Orange Pack has 10 ACRs & 10 Lightroom Presets. These will help you achieve warm skin tones and a teal almost cinematic look to your images. This was the perfect pack to compliment the colors in this shoot. You can view our Teal & Orange pack on our SHOP

Edited with our Teal & Orange Pack:

LXM Cinematic Presets // Actions // ACRs

I just launched a new product on our shop for cinematic photo editing. Our LXM Cinematic pack has deep rich hues and toning. Deep contrast, rich blacks, enhanced luminance and sharpening. This pack is perfect for street photography, night photography and portraits.

You can view this pack within our SHOP

Edited with our LXM Cinematic Pack:

Modern Food // Lightroom & Photoshop

I recently created a new Pack for Lightroom & Photoshop for Food Photographers & Bloggers. Our Modern Food Pack will help you edit your food photography images with ease and style. This pack has deep desaturated hues, vibrancy, punchy blacks and crushed highlights. With added clarity this pack brings out amazing tones and draws attention to your food photography.

You can view this pack with in our SHOP

Edited with our Modern Food Pack:

Screen Shot 2020-04-28 at 3.10.17 PM.jpg

Warm Film Pack & Wedding Photography

I got my start in professional photography by shooting weddings/engagements/families. I mainly shoot portraiture/editorial/fashion now. I prefer to shoot portraiture because I have more control over the shoot and the editing process. 

From time to time we still take on a wedding/engagement shoot, and I also process and edit for other wedding photographers. My favorite pack to edit weddings/engagements for couples/photographers who are going for a moody film look is our Warm Film Pack. This pack is also available in our Bundle Pack for Moody Weddings. You can view both Packs with our SHOP

Edited with our Warm Film Pack:

Screen Shot 2020-04-28 at 3.10.33 PM.jpg

Upcoming Travel Plans And Future Plans

After traveling across the West Coast we have had a lot of time to reflect of where it is we are wanting to have a permanent home. We have dabbled with the thought of Oregon, California, and Seattle.

After spending lots of time and taking all the factors into consideration we have decided where we are wanting our permanent home to be. We have decided to head back to Idaho. We aren’t going back to Northern Idaho we are going to be heading to Central/Southern Idaho.

When making this decision we considered the following:

  • Cost of Living
  • Property Taxes
  • Cost of Land
  • Recreation
  • Photography Market
  • Closeness to Family
  • Weather

After weighing everything that mattered to us out we decided Idaho would be our best location. We are going to be located about an hour and a half outside of Boise Idaho. We both love the outdoors and would like to live a lifestyle of recreation and be able to have our own land away from the city.

We both love the city life, but it’s just not for us. We aren’t the biggest fans of the cold but with the cost of living being so low and the fact that we are going to be going tiny house status we will be able to travel for 2-4 months out of the year when photograph slows down for us. We will be traveling from November to February of each year to warmer areas of the US.

We are excited for our upcoming plans and that we were able to agree on a location. We are in California until mid March then we will be heading to look for our future home

How Many Instagram Accounts Do Photographers Have?

As a photographer myself I can say I have 2 accounts but am thinking of starting a third. I’m sure that sounds like a lot to some people. Some days I have a hard tome consistently posting to one account.

So why have more than one account? I guess it’s just a personal choice. I like separating my professional portraiture from my personal images. I have an account for Lou & Marks and I only post images from my current portraiture shoots. My other account is my Personal account and I post images from my DSLR from our travels and images taken on my cell phone. This account is mainly for friends and family and people who don’t mind seeing my cell phone photos and images of our dogs over and over.

For me it’s important to separate “work” from “personal”. It all depends on you and what you prefer. Also the third account I haven’t started yet is going to be for my Pottery and Paintings. I just haven’t had time to start the account yet.

Don’t forget to follow us @louandmarks and if you don't mind landscape images and images of our dogs follow @sara.lou

It’s Cold And Gloomy Outside

If you live in an area where it gets gloomy and painfully cold during winter you are not alone. Before we were on our current trip we were located in Northern Idaho. Winters can be almost depressing when it’s so cold you don’t want to leave your toasty home.

WInter.jpg


Trying to schedule shoots and find locations can also be increasingly difficult. Photography can slow down for you a bit during the cold months. It’s important to understand that this happens to everyone. There are some things you can do to continue pursuing your photography.

  1. Check your surrounds for an indoor studio you can rent. Most cities have photography studios that are available for hourly rentals that are usually very reasonable and included backdrop changes as well as lighting.
  2. If you are shooting families/couples ask if they would like majority of the shoot done in their home. Not only will they feel comfortable because they are in a familiar environment but their images will be unique to them.
  3. If your photography has slowed down a bit try offering a winter special or off season wedding photographer/engagement rates to encourage people to book with you.
  4. When you have down time use it! This is a great time to go back through your images from the year and find ways you can improve. Self reflect on what you like about your photography and where you would like to improve. Go through your images and re-edit some of them if your editing style has changed.
  5. Work on your social media accounts. This is a great use of downtime. Work on your Pinterest, Instagram, and your website. The more you put out there the better chance your website will be found.

These were the ways I coped with downtime during those cold winter months. I hope that helps everyone in those cold states!

Retouching Skin In Photoshop

I lightly retouch all my portrait images. I lighting smooth skin, brighten and color correct. This helps give portraits a professionally finish. After adjusting my white balance and exposure of an image I then use our Retouching Photoshop Actions.

I usually run the Airbrush Skin Actions, then reduce the opacity to around 15%. The majority of the time that’s all my portraits need to have a beautiful finish. You can view our Retouching Actions within our SHOP

Photoshop Retouching Actions:

How Remove Distracting Objects In Photoshop

Sometimes no matter how hard you try in camera to achieve the perfect image their some things you can control. Maybe it’s a car in the background, maybe your model had a hair tie around their wrist. The hair tie!!! There are ways in Photoshop to easily remove those objects.

You can use the clone stamp and content aware to help you. I usually use a combination of the two to get the most natural results.

You can view this quick video here on how to use these tools in Photoshop to remove distracting objects:

How To Use Photoshop Overlays To Create Unique Images

To me a raw images is like a white canvas with a preliminary sketch on it. You have so many options of what you can do with your image. I’ve always loved editing images and giving them a unique feel.

I created some photoshop Overlays that include sparkles, sparklers, borek and most recently leafs. The leafs are probably my favorite. I use them on a lot of my fall photo shoots. I also utilize the bokeh overlays for night shoots.

Overlays are very easy to download and apply to your images. They look very natural and can be used on a variety of indoor/outdoor images.

You can view all our Overlays within our SHOP

Using our Photoshop Overlays:

Landscape Photography Editing Dark & Moody Pack

I have always been drawn to Dark & Moody Landscape images. I love a vibrant sunset or sunrise but being from the PNW and living there for the majority of my life I will always love the Moody Look. I created a Pack for Lightroom & Photoshop to emulate dark moody PNW Days.

You can view our Dark & Moody Pack within our SHOP

Before and Afters with our Dark & Moody Pack: