Lightroom

Bali Babe Travel Blogger Editing

Create deep rich moody vibes in all your images in one click with our editing presets. Bali Babe Mobile presets are amazing and so versatile for all bloggers.

Screen Shot 2020-04-28 at 1.40.40 PM.jpg

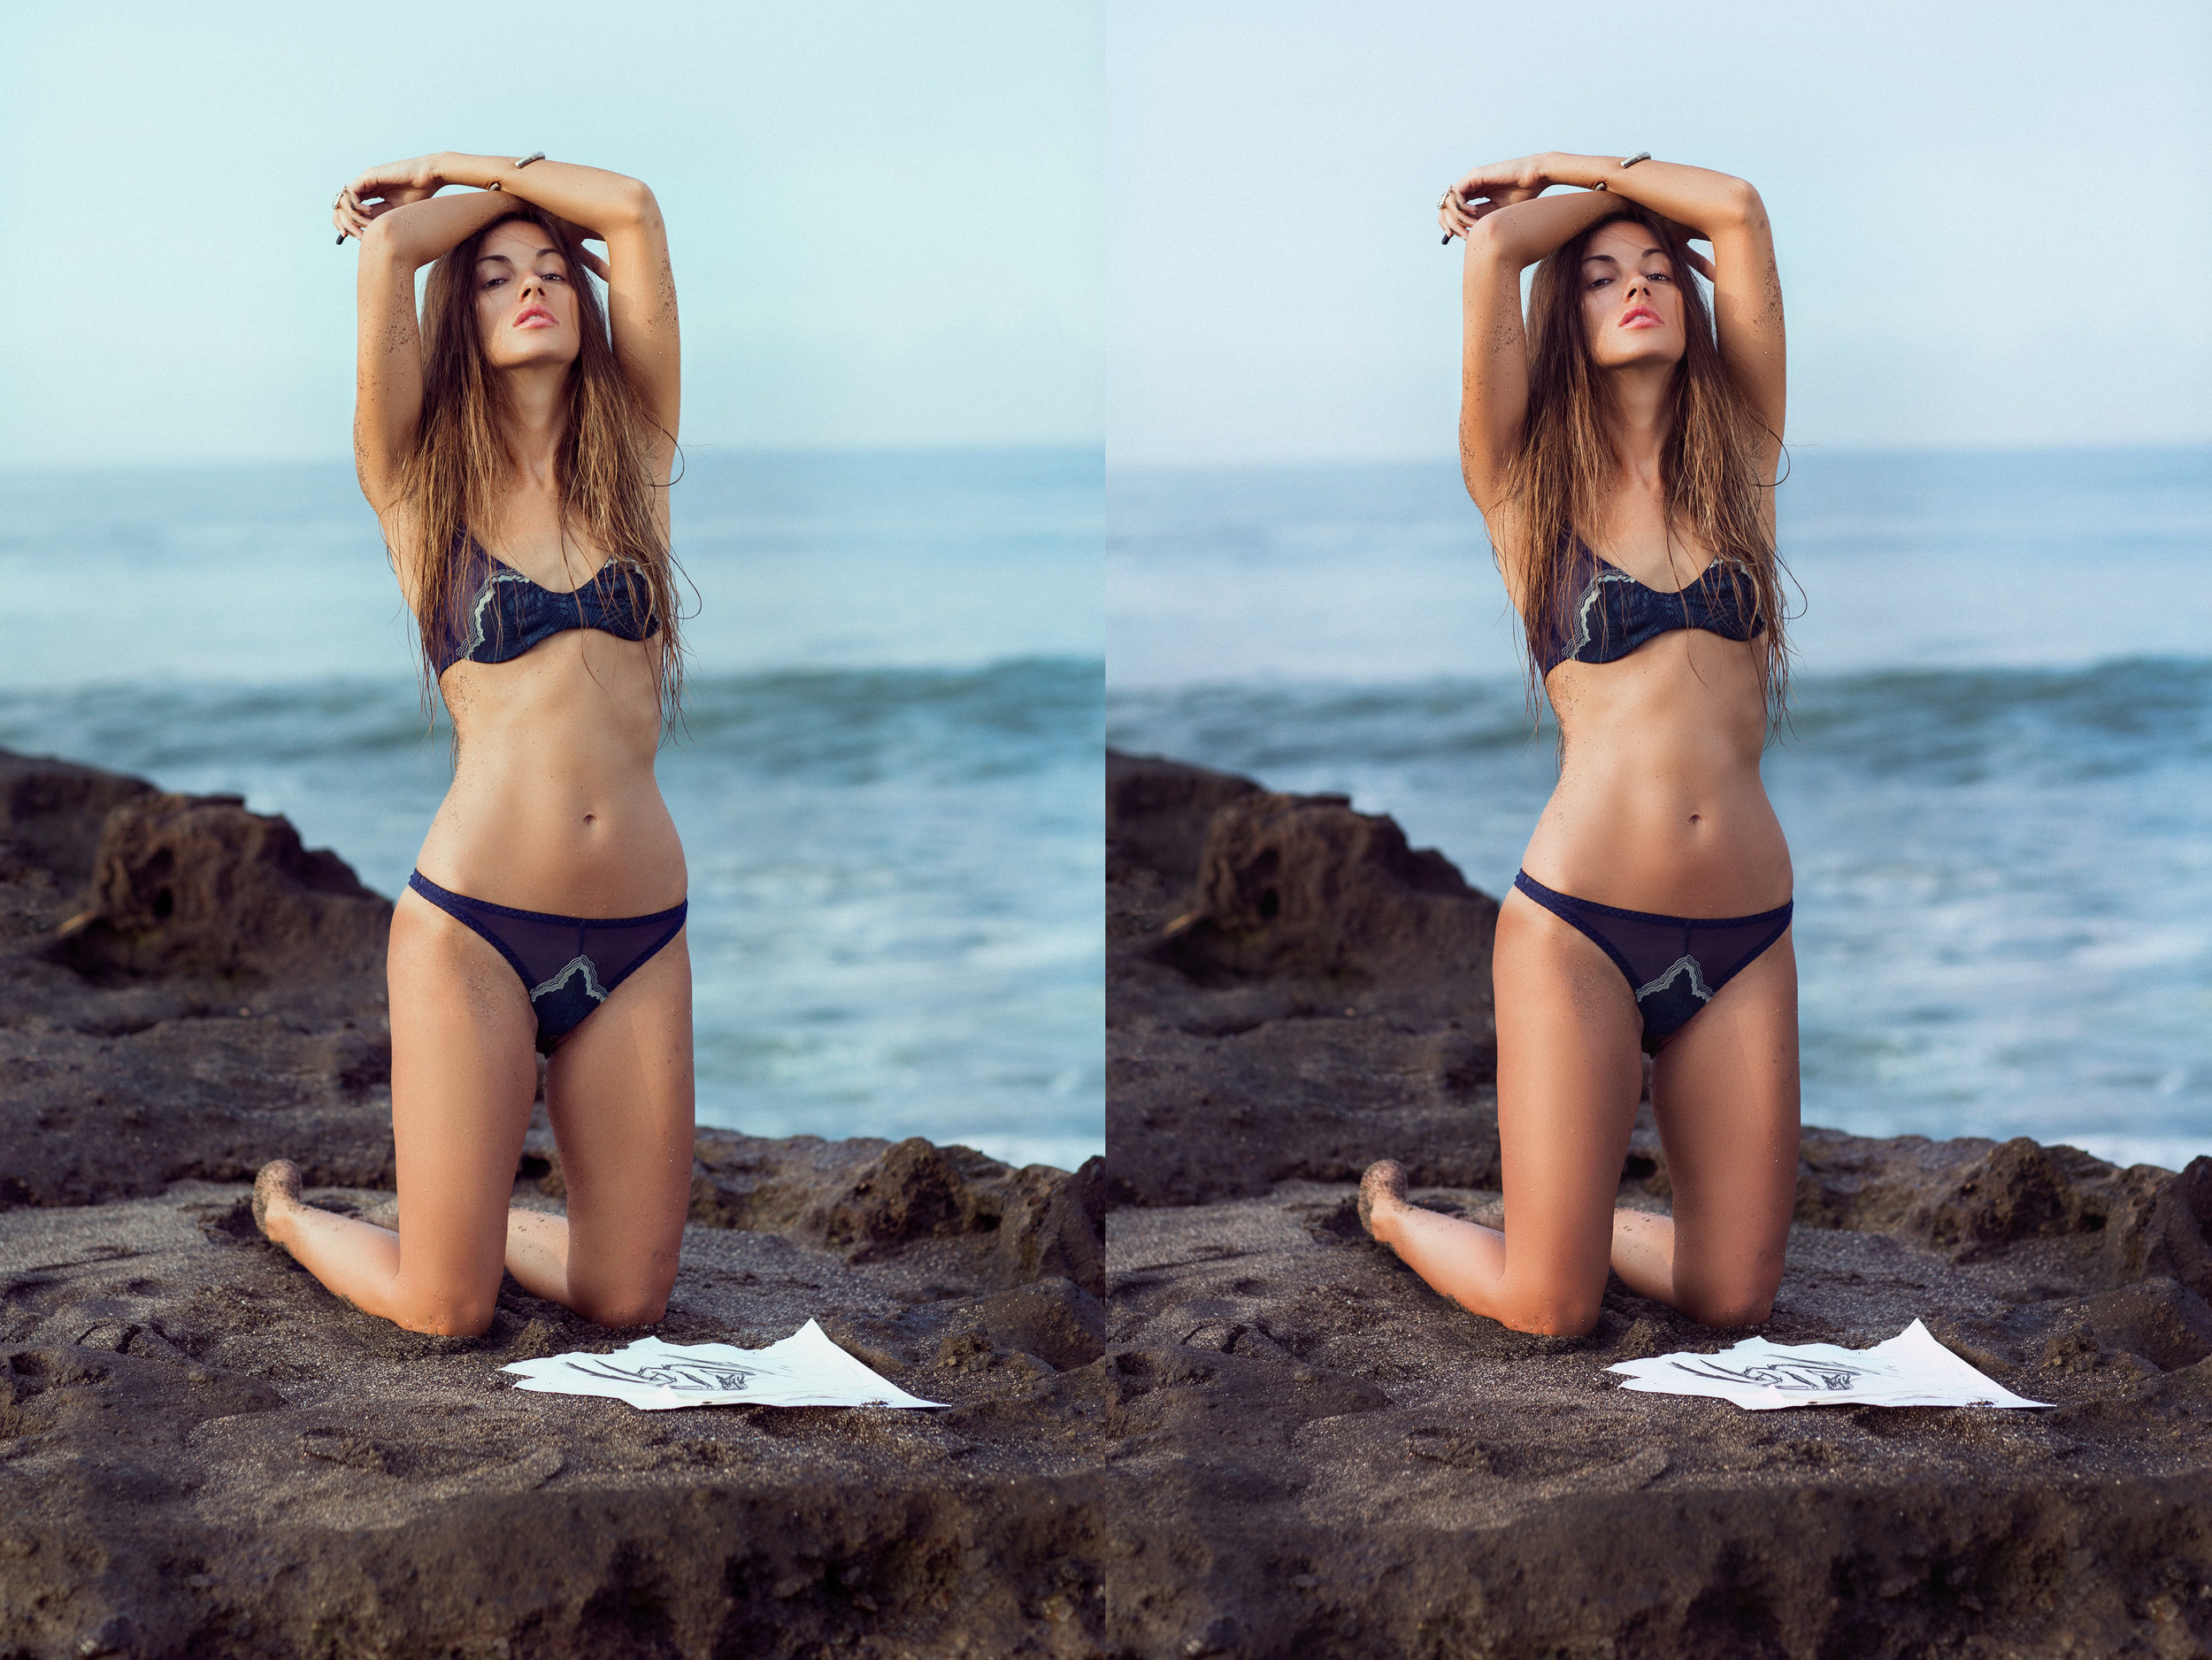
Bali Babe Travel Blogger presets are dark & moody with rich warm tones and deep undertones. This pack can work for so much for that just photo travel blogging. This pack can be used on editorial styled images and even flat lay, anything you want to give a rich moody vibe too.

Wonderland Instagram Blogger Filters

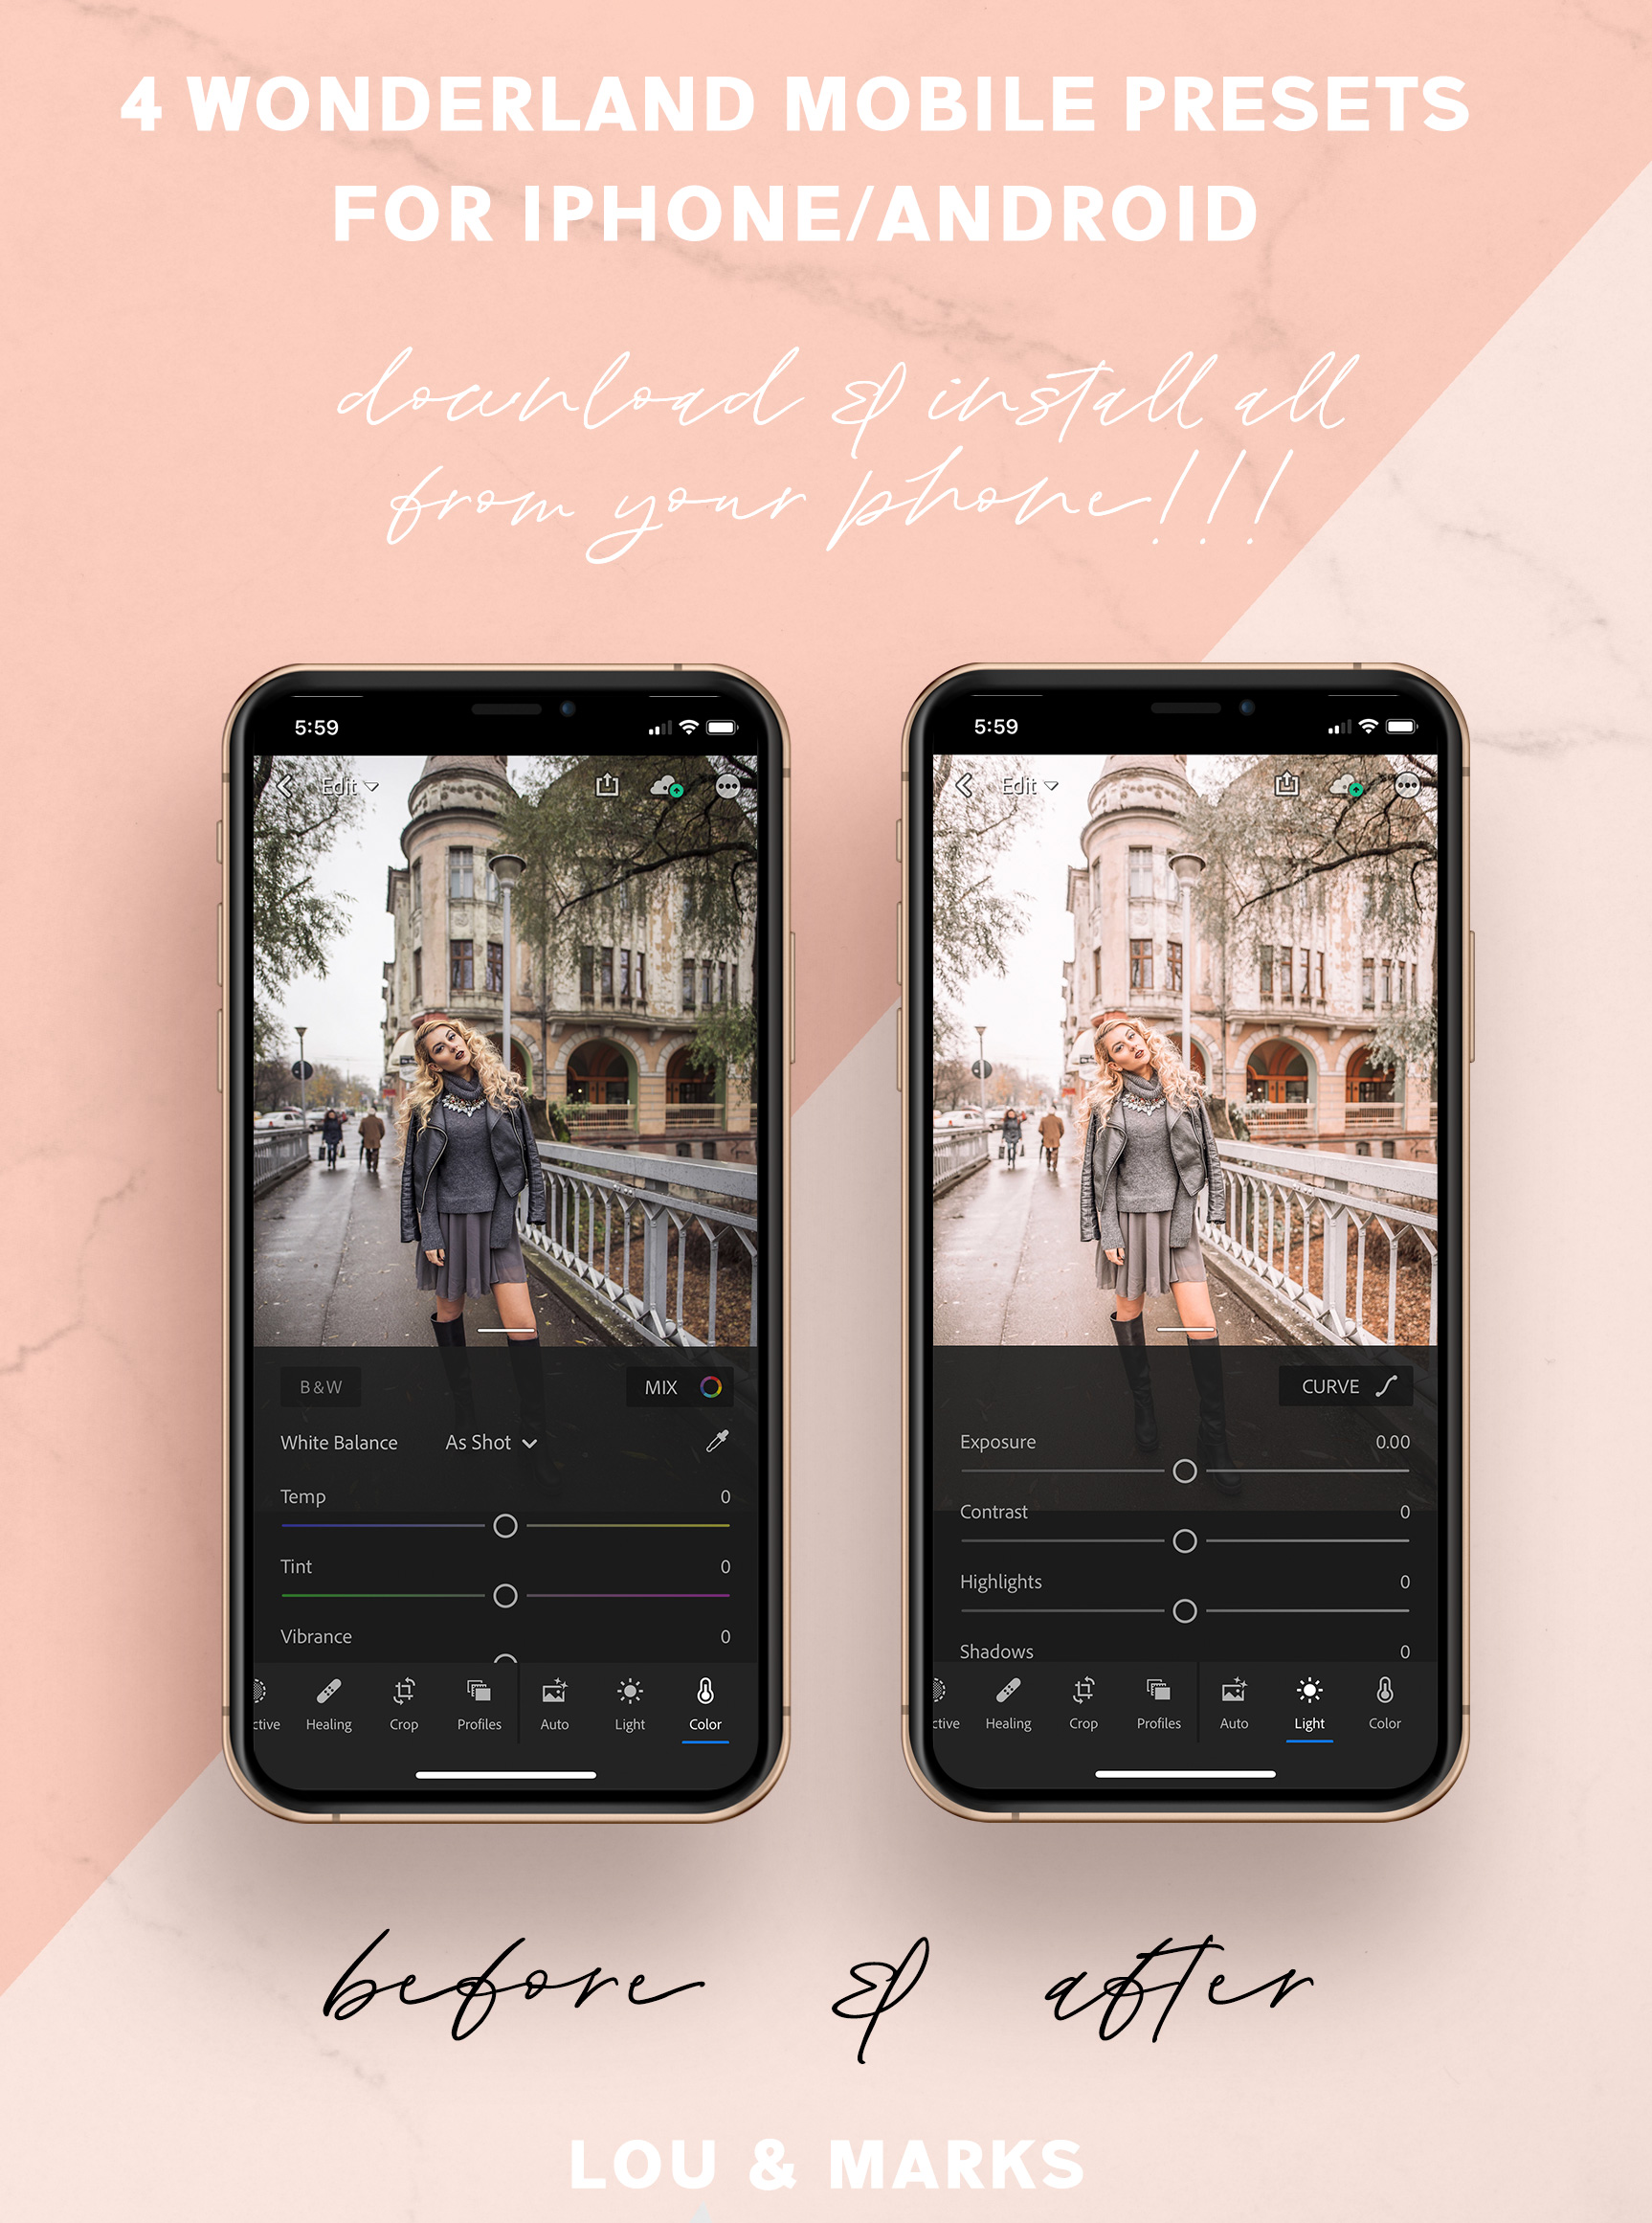
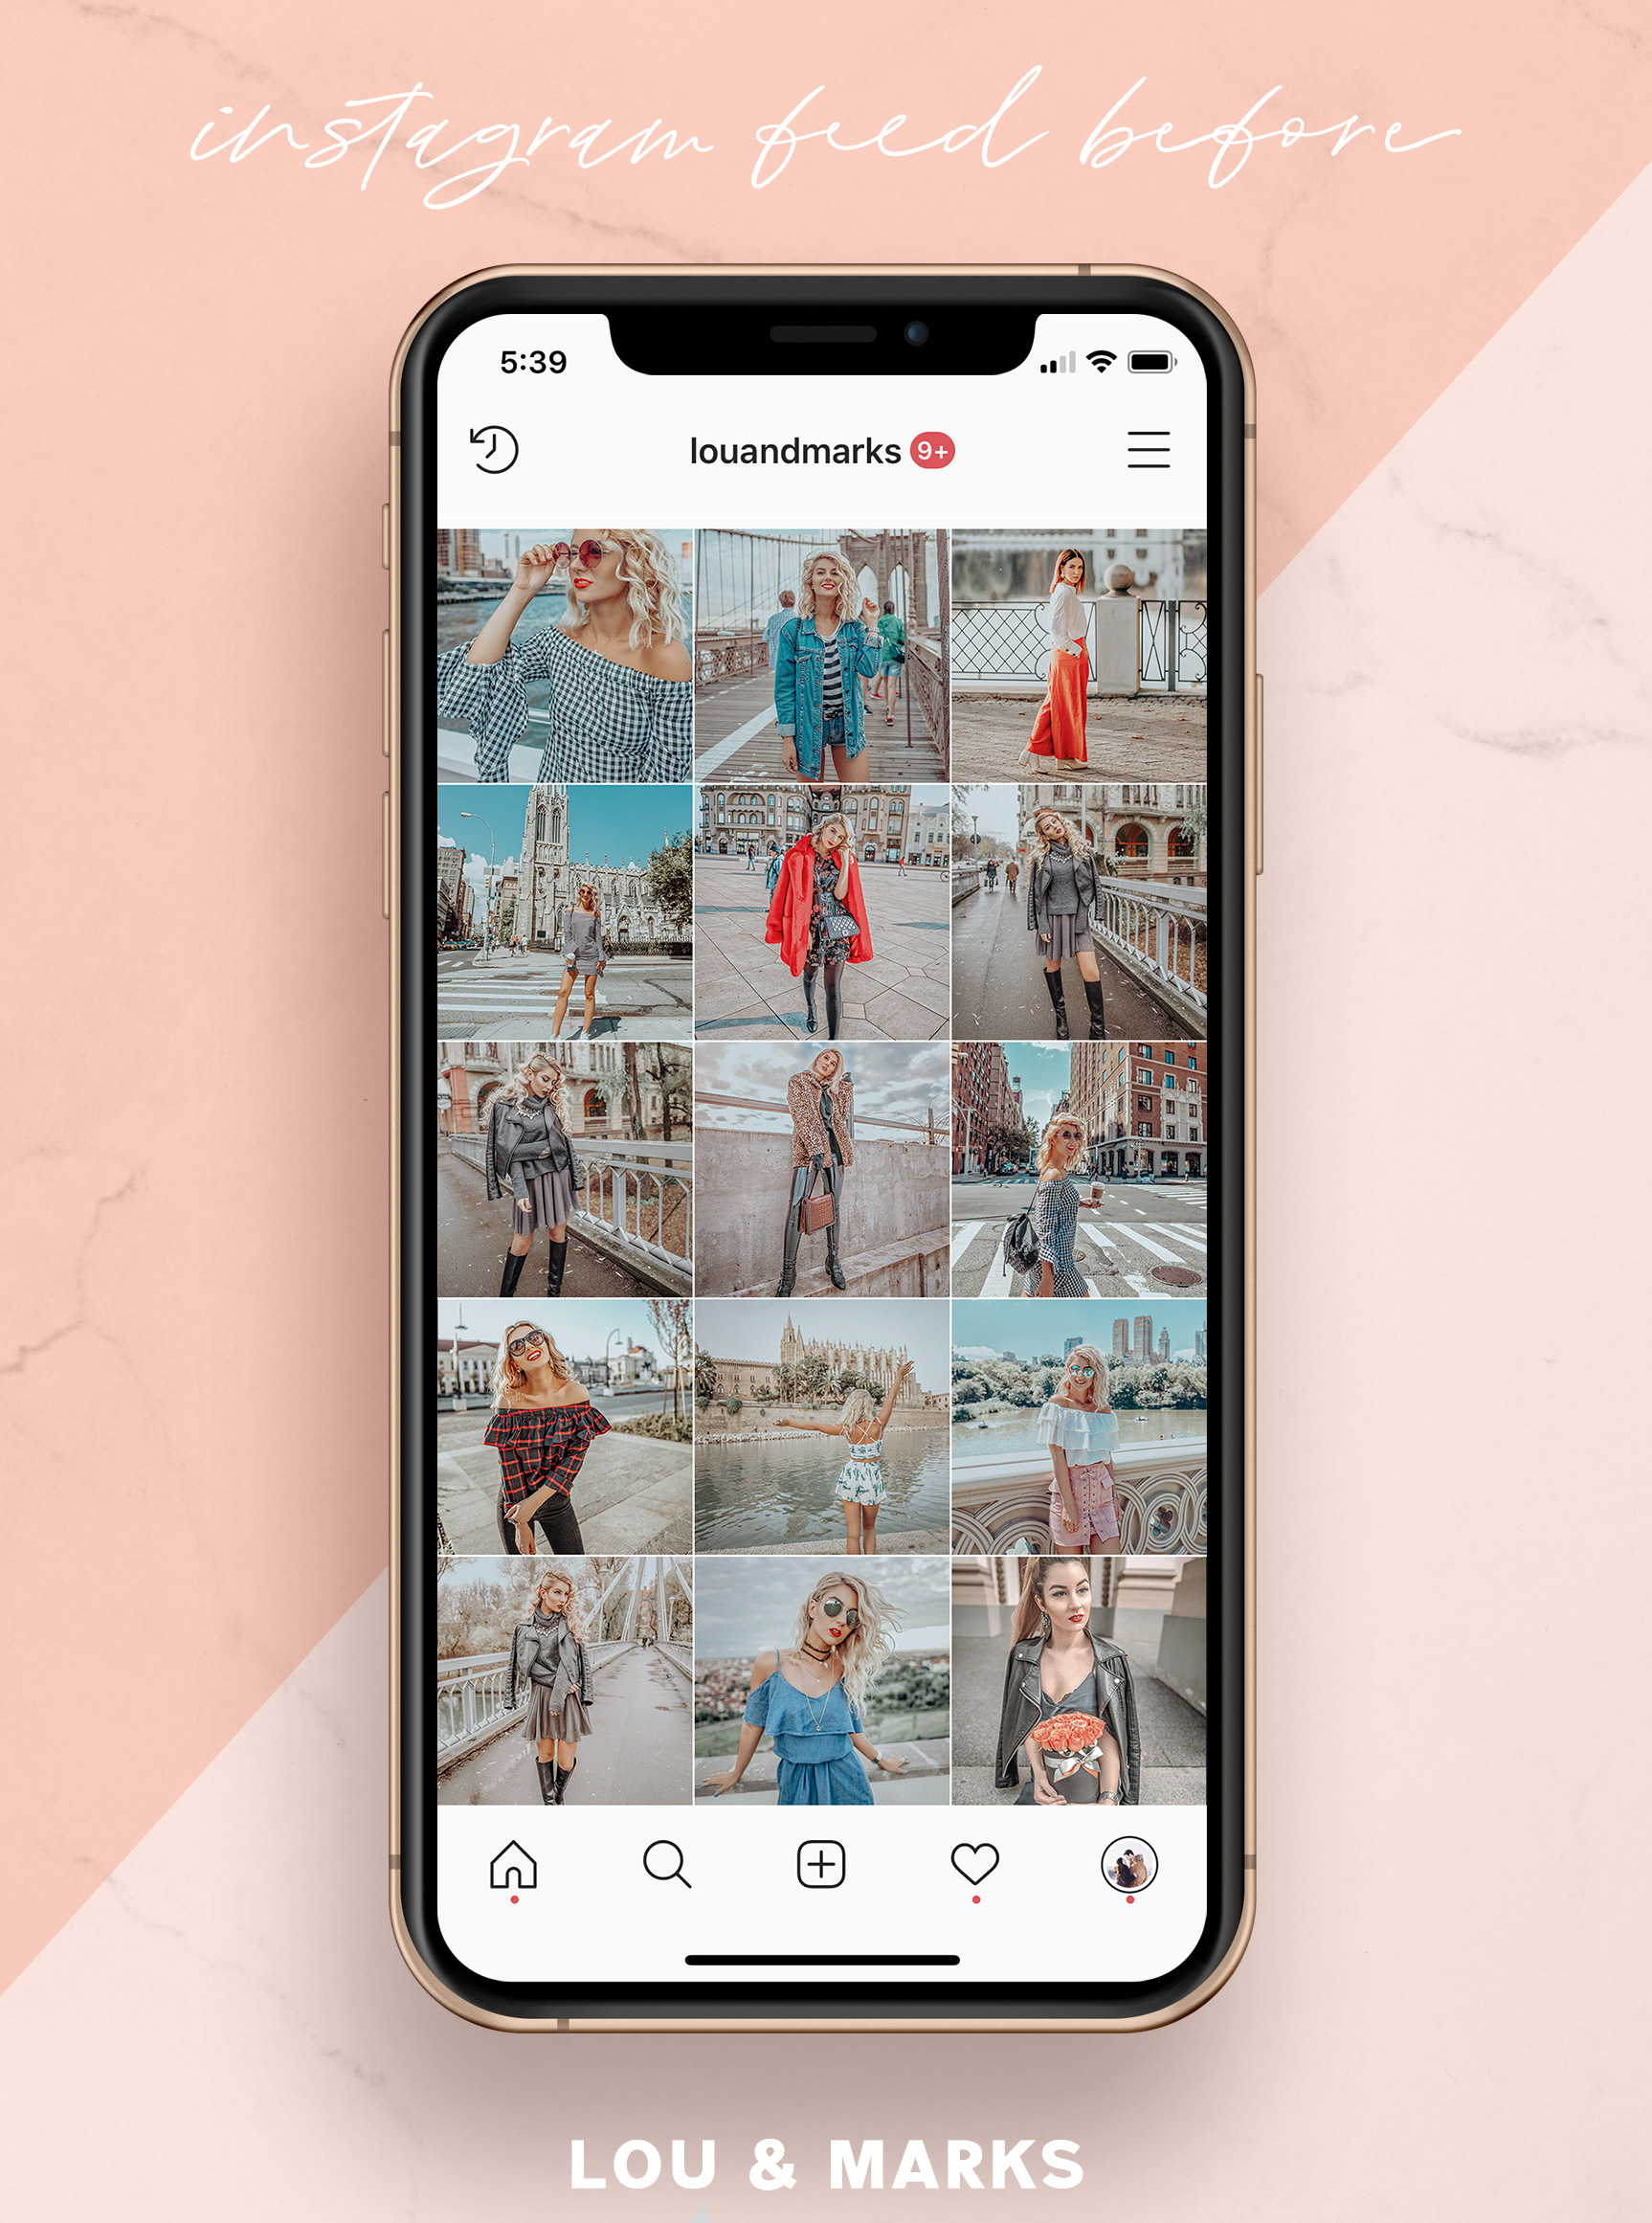
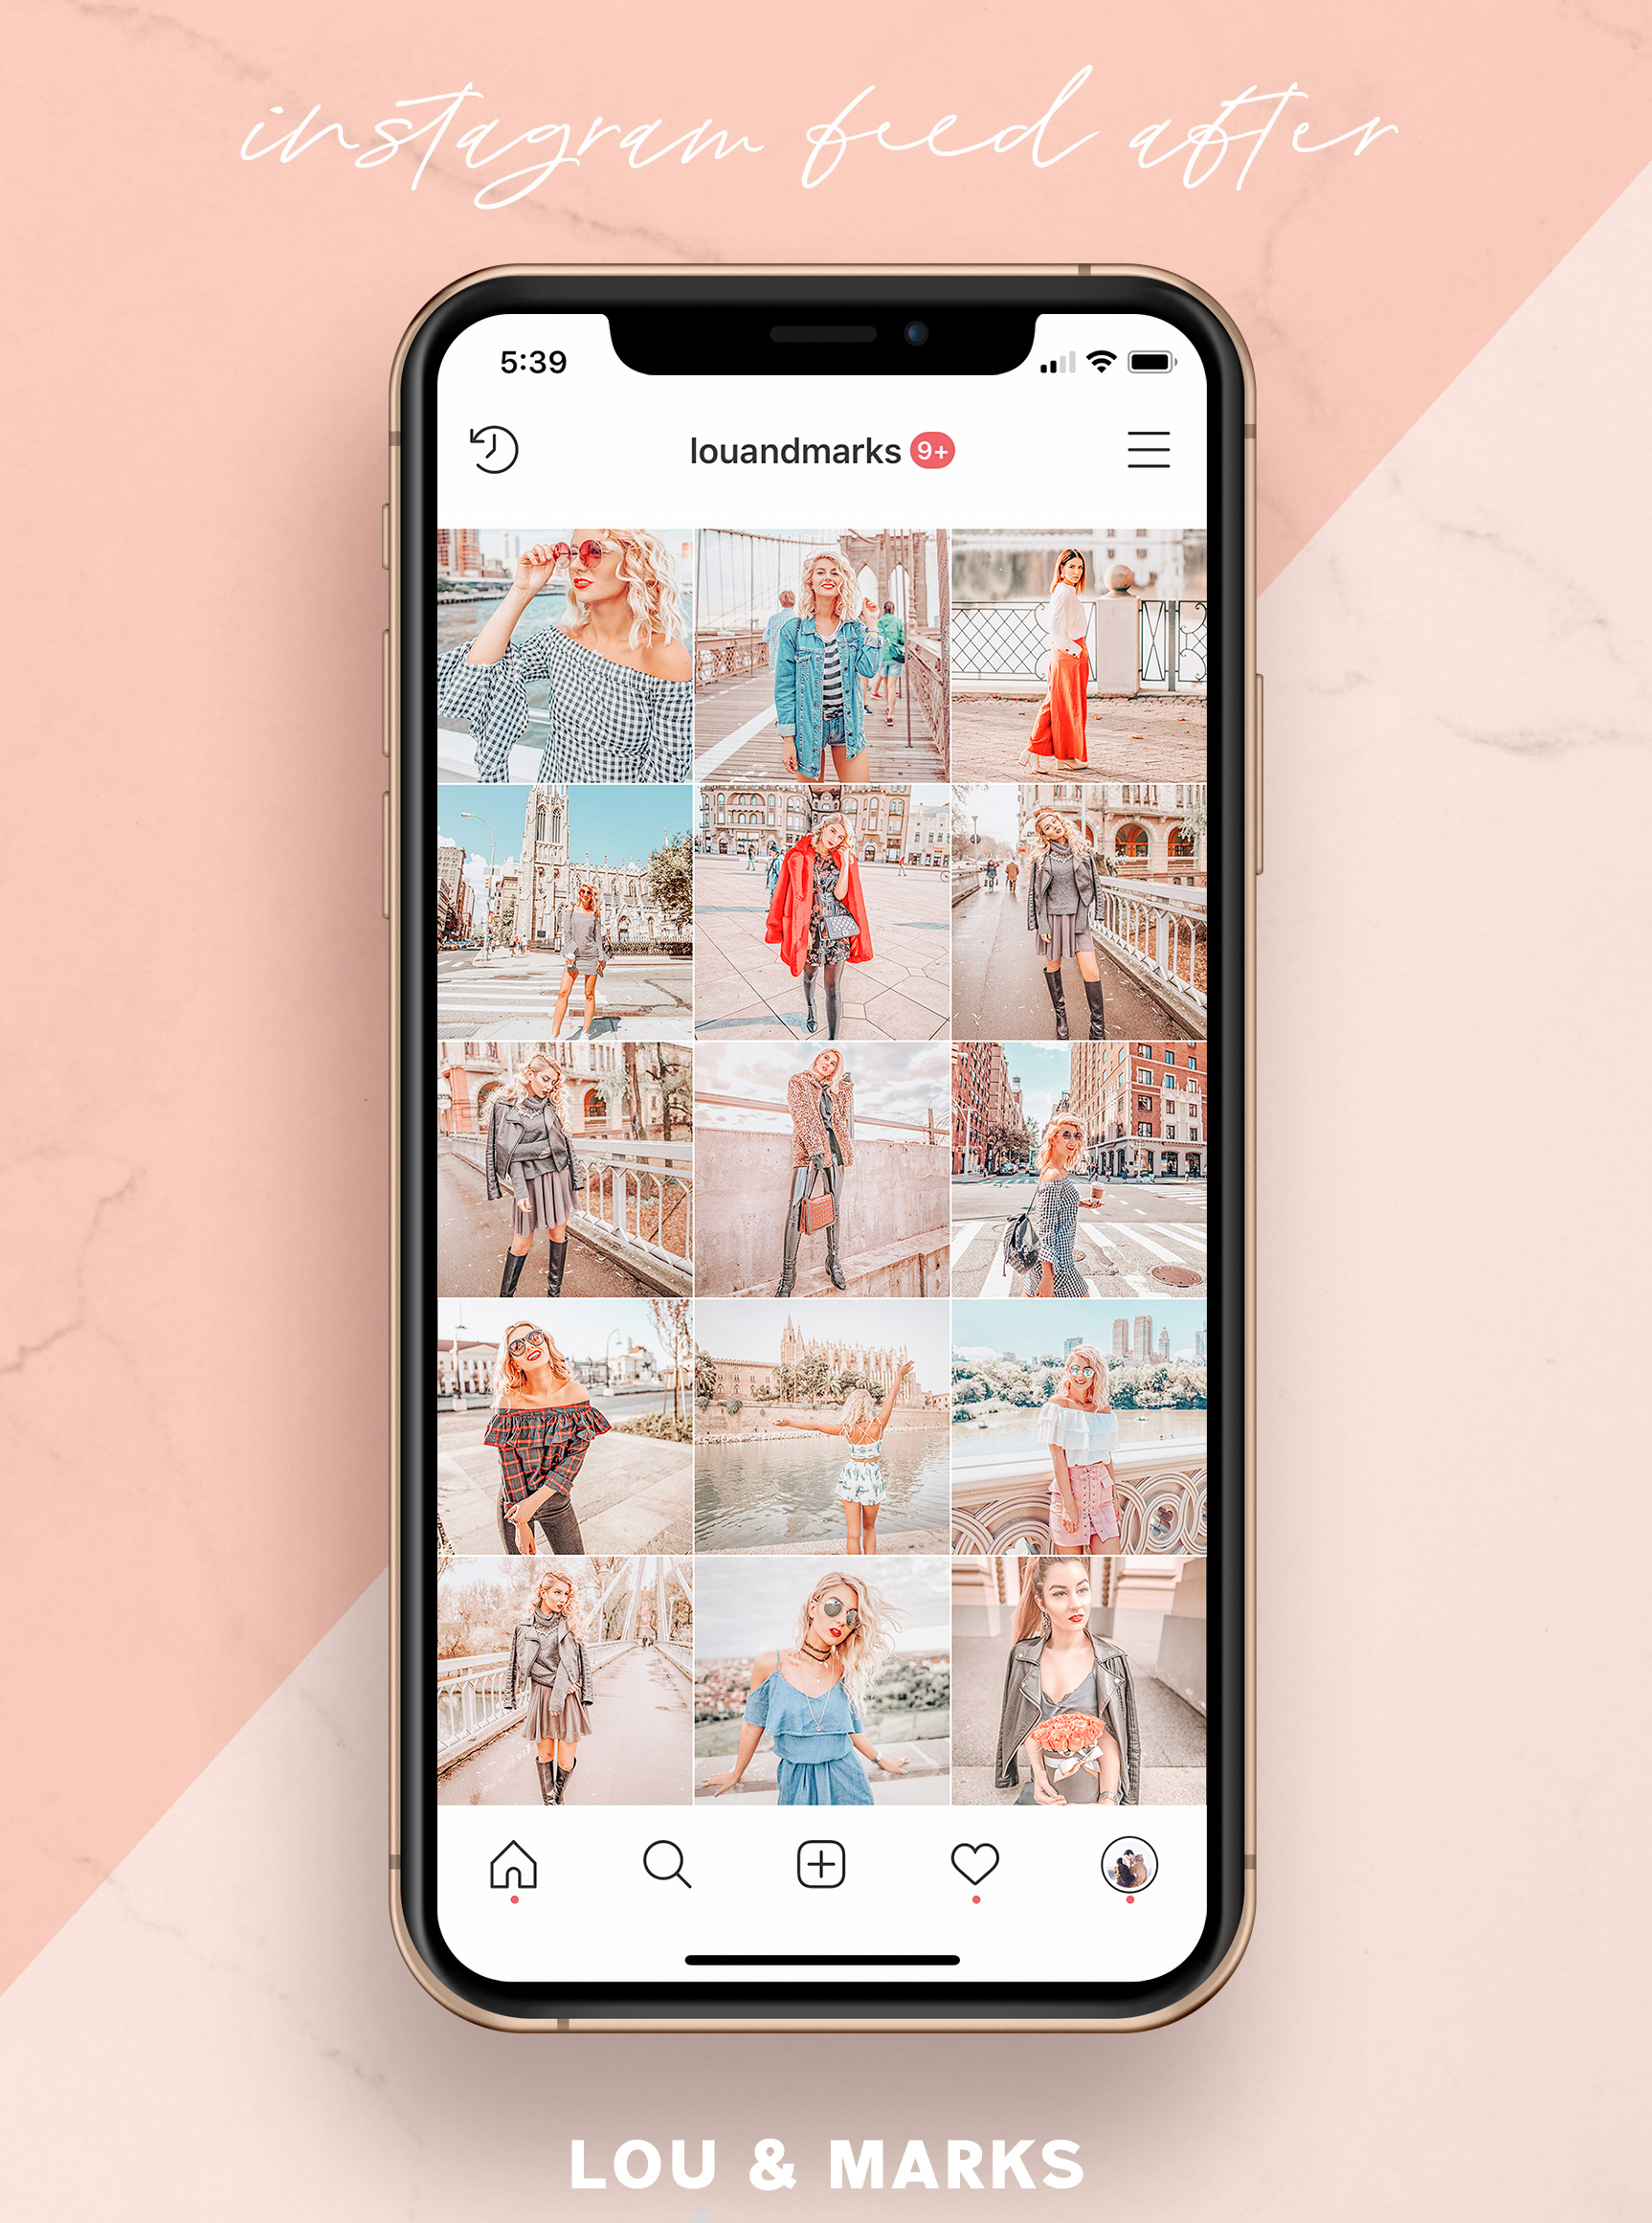
Wonderland Instagram Filters are my best selling Preset for Lightroom Mobile. They are used by so many Instagram Influencers and bloggers. These presets were designed after the look of @tezza and @jacimariesmith they are insanely bright & warm.

I use them on just about everything. They look amazing indoor and outdoor and on bright images or low light images. This pack comes with 4 Presets to cover all lighting situations.

Wonderland Mobile Instagram Filters:

Landscape Photography Editing Dark & Moody Pack

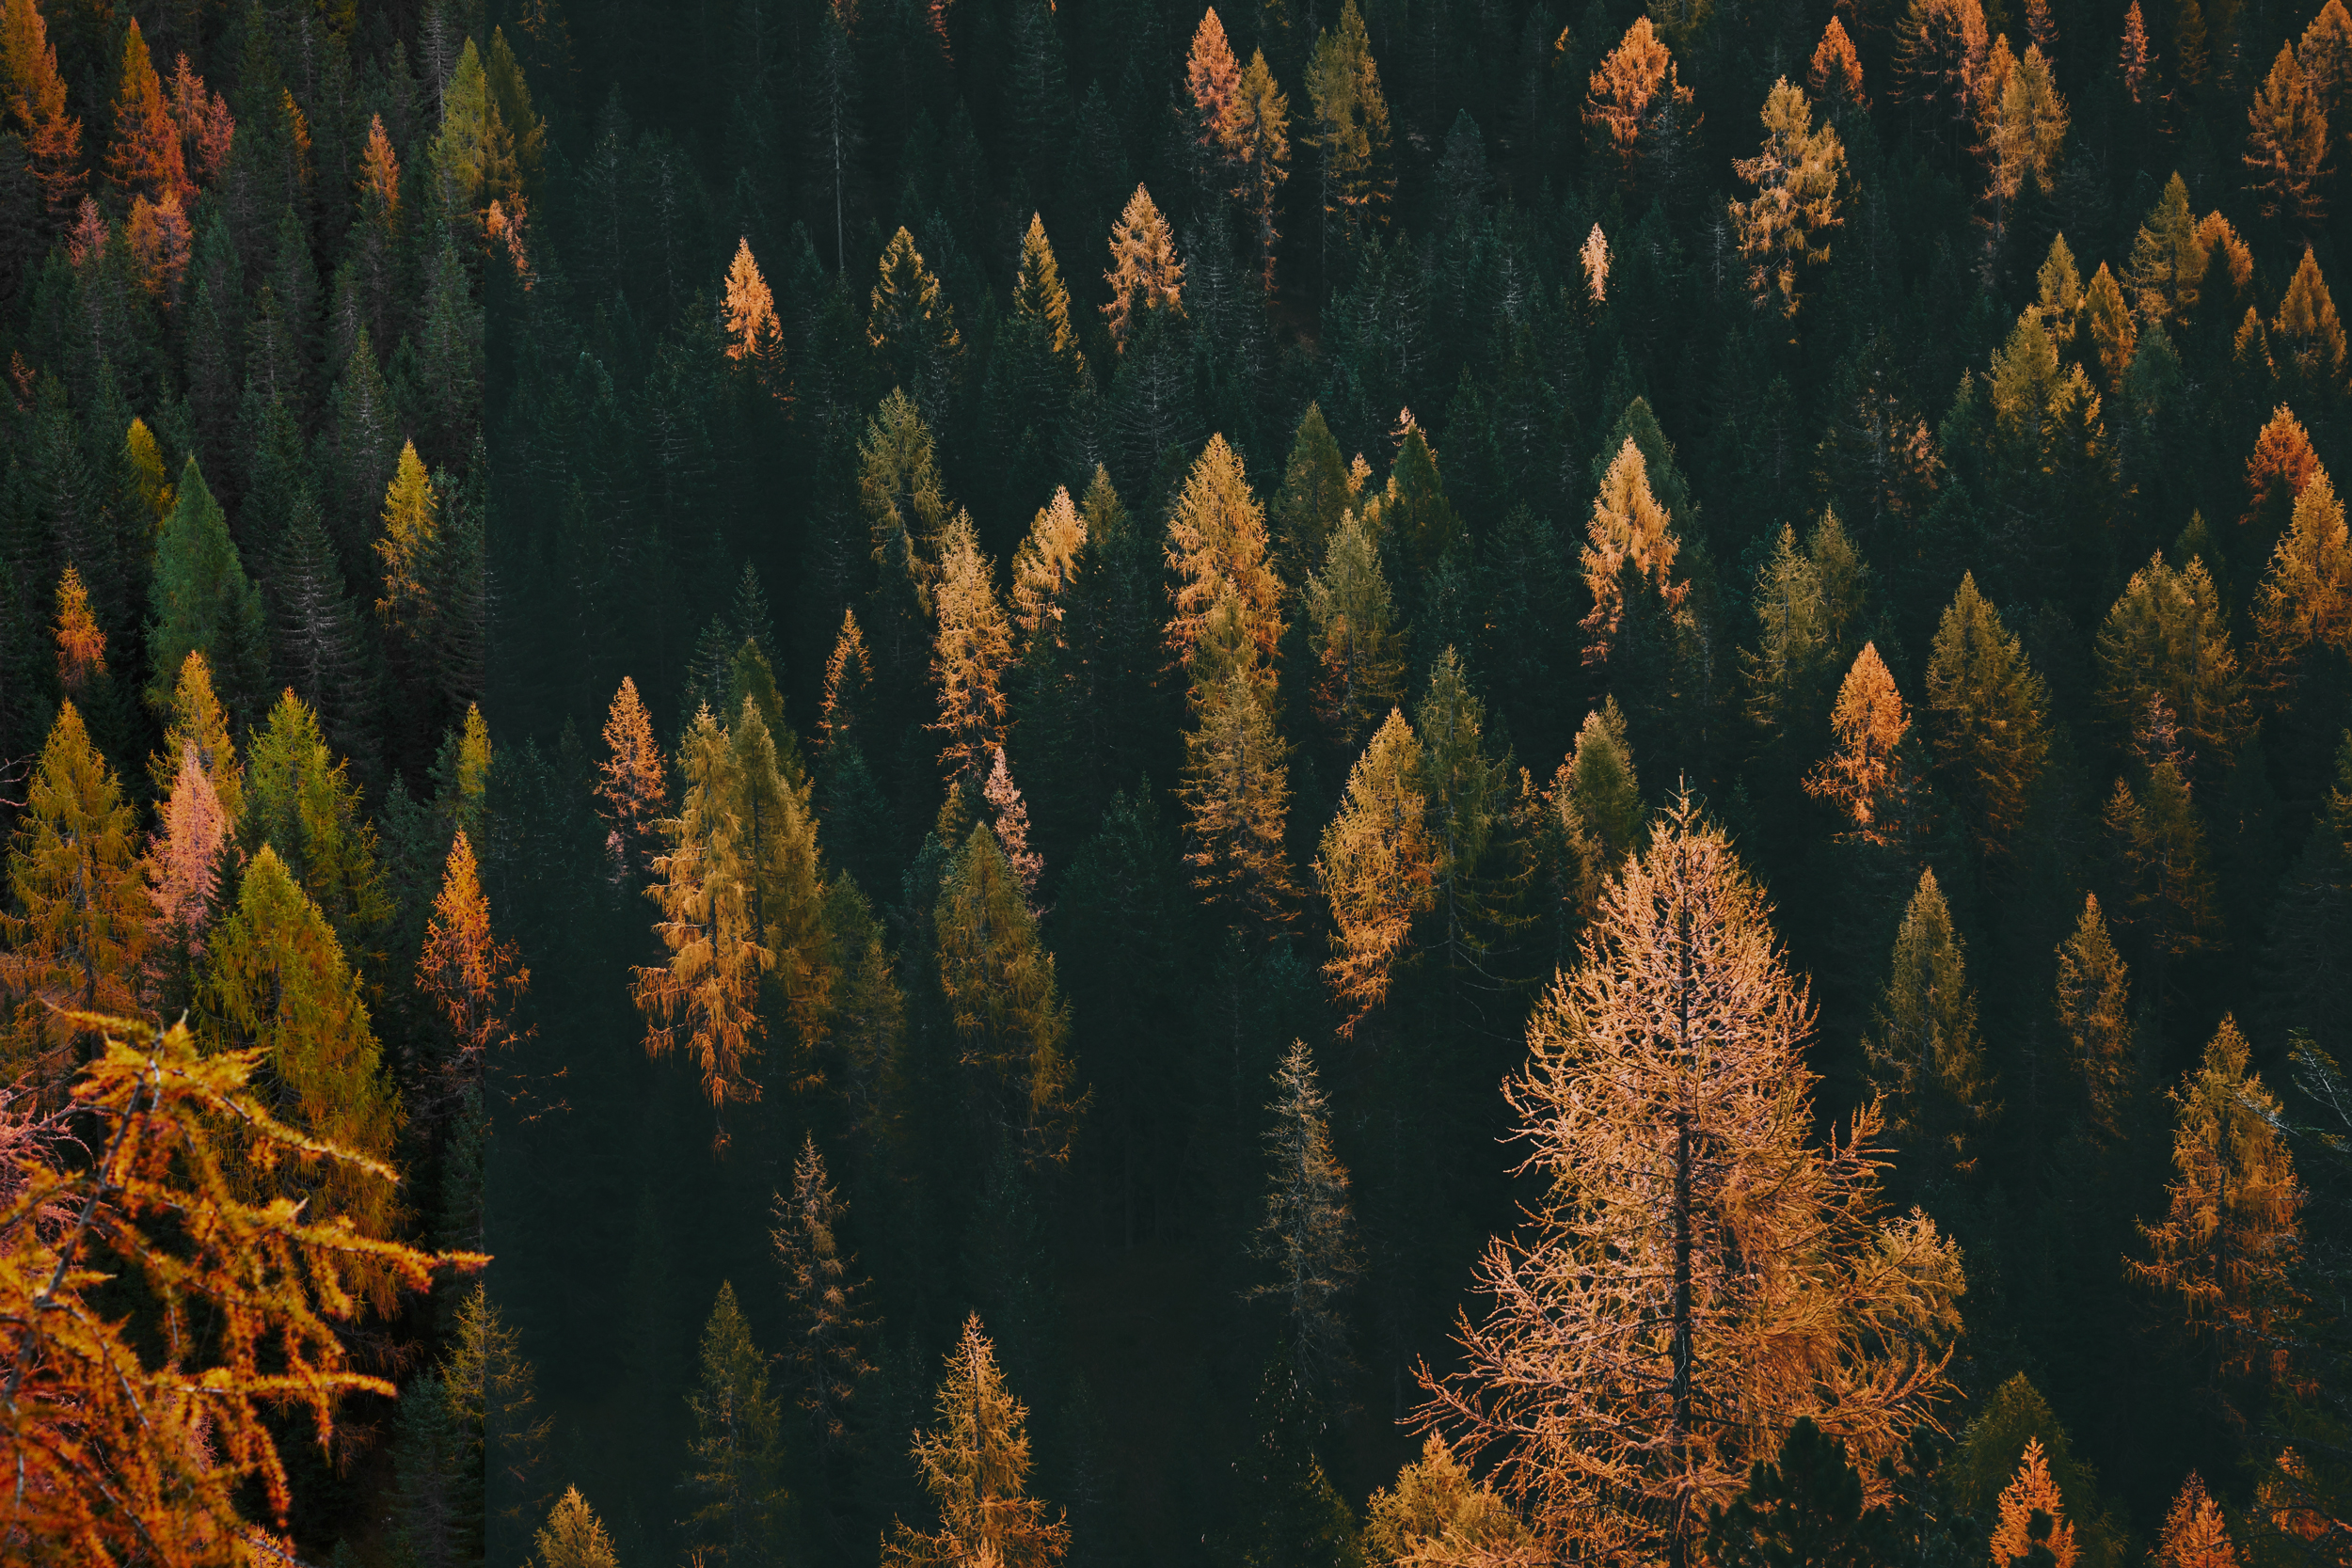
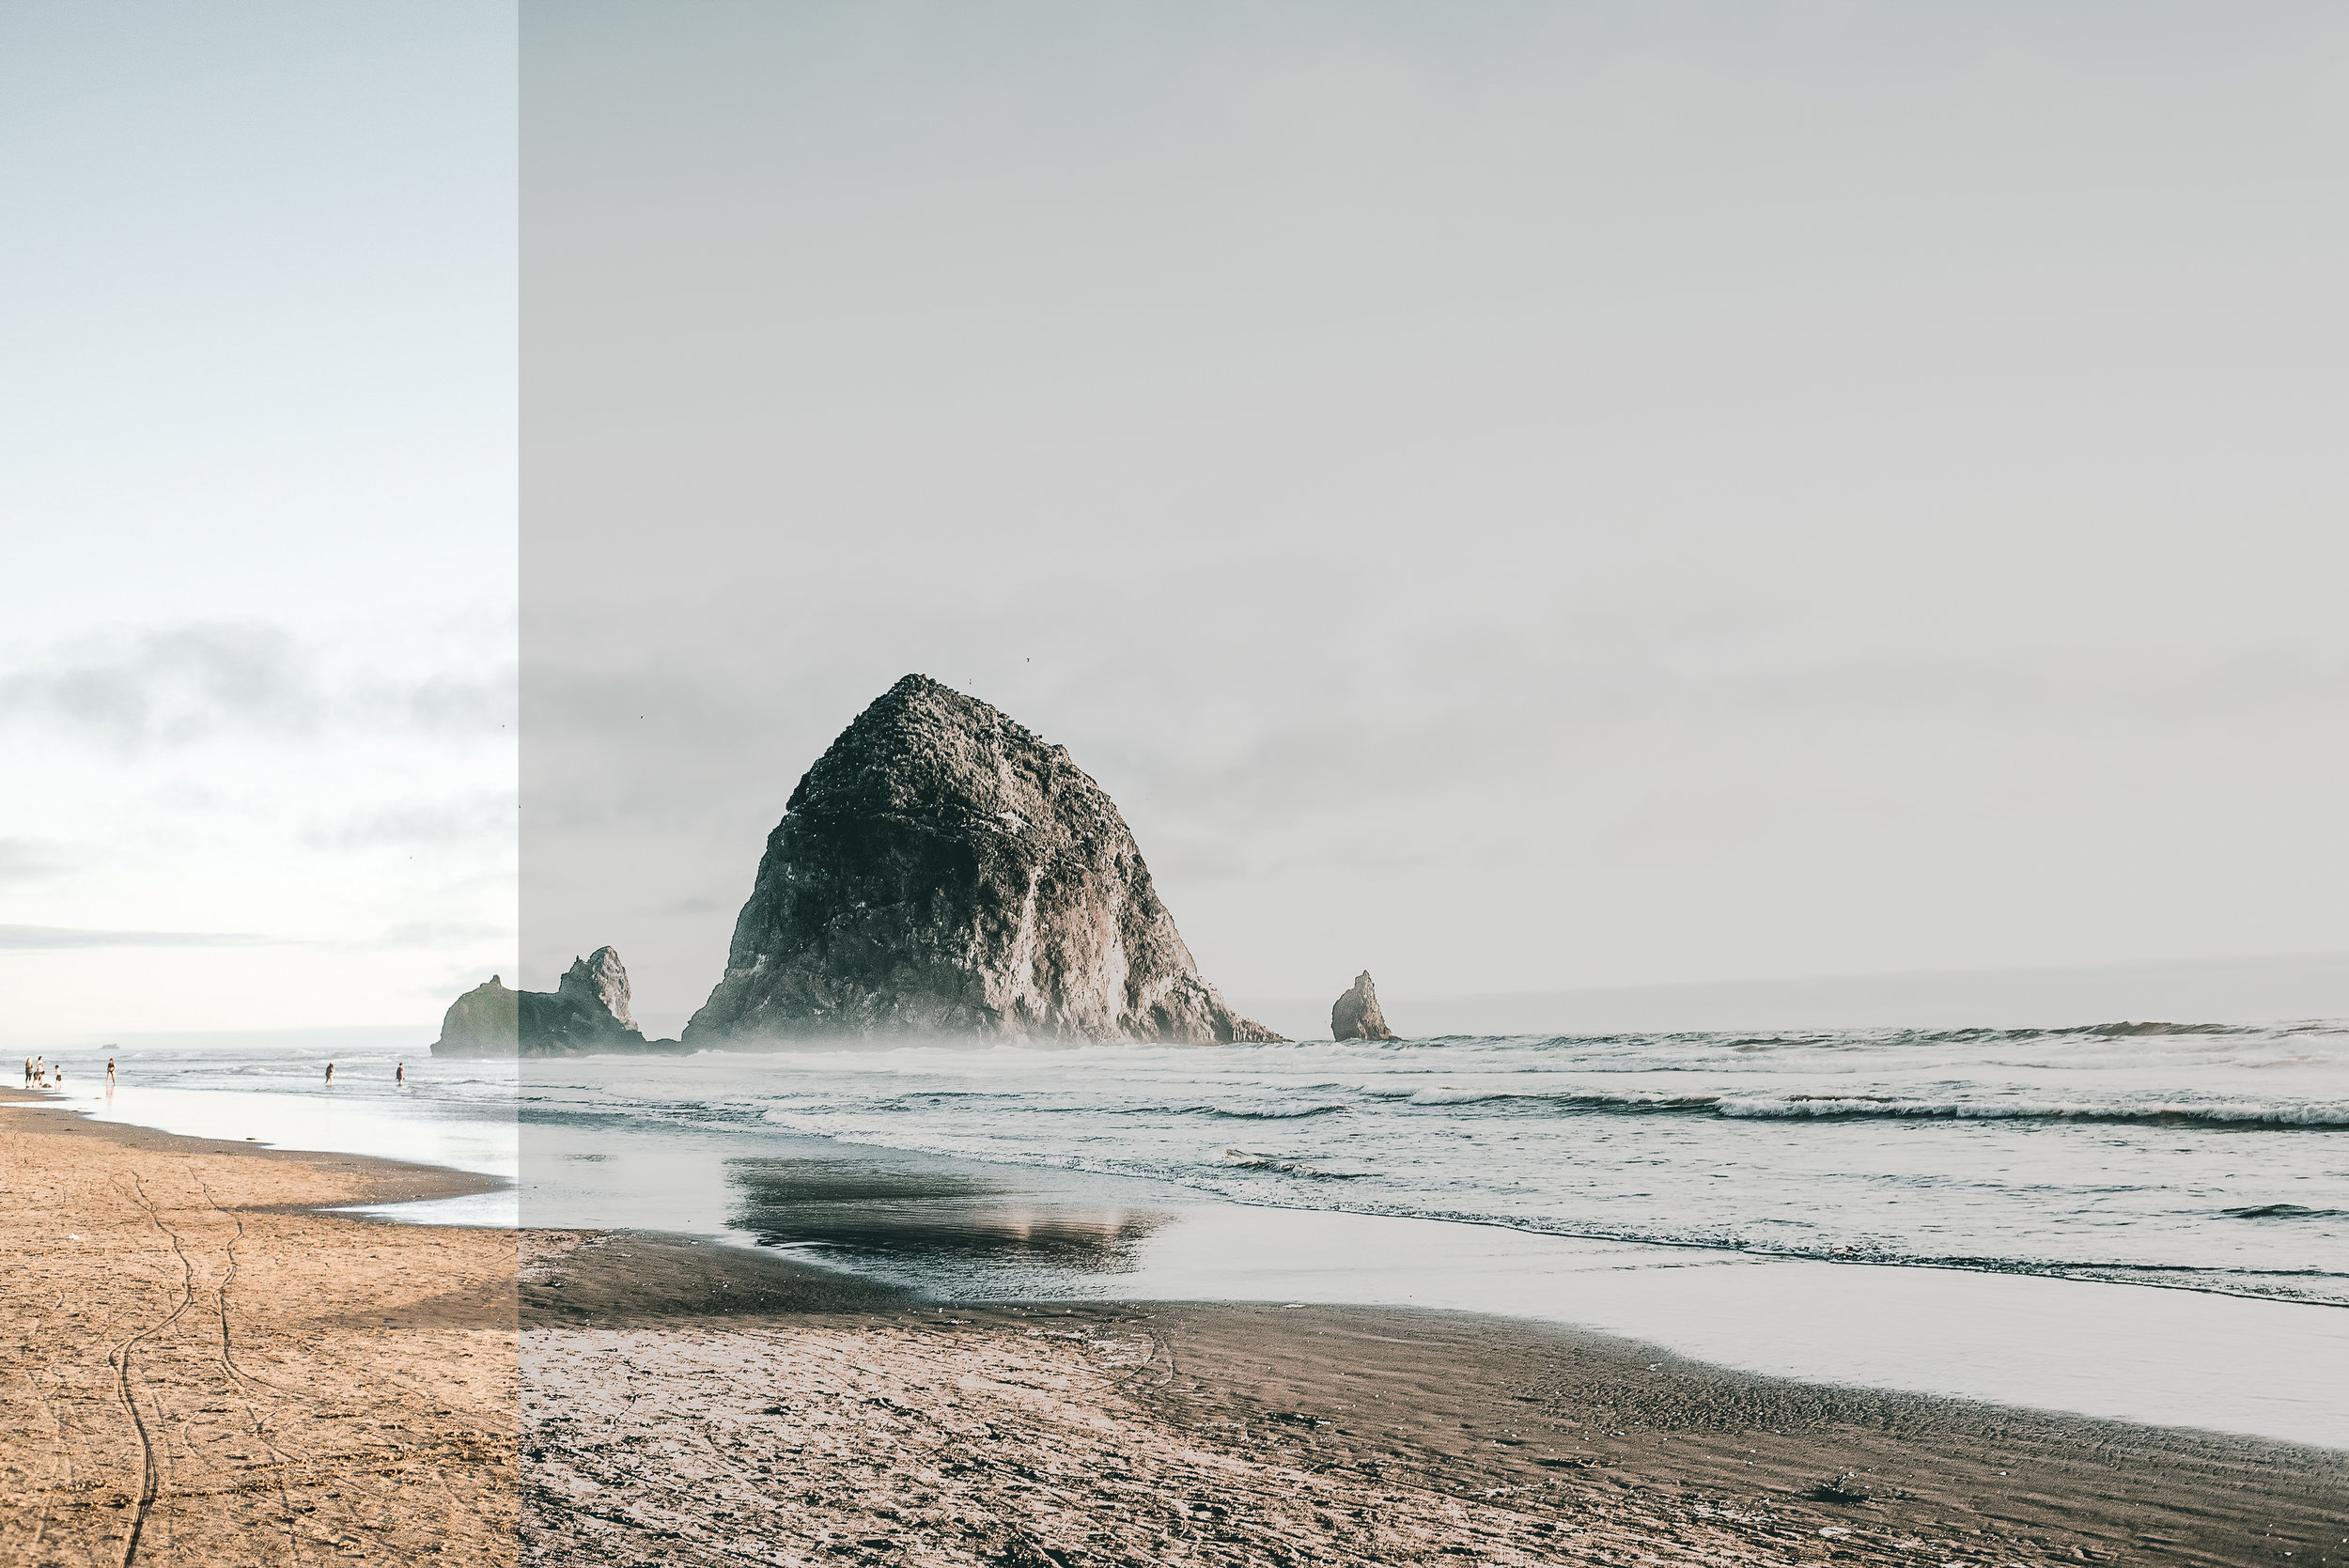
I have always been drawn to Dark & Moody Landscape images. I love a vibrant sunset or sunrise but being from the PNW and living there for the majority of my life I will always love the Moody Look. I created a Pack for Lightroom & Photoshop to emulate dark moody PNW Days.

You can view our Dark & Moody Pack within our SHOP

Before and Afters with our Dark & Moody Pack:

Installing Your Lou & Marks Presets into New Adobe Lightroom CC 2017

Blog Posts_1.jpg

Adobe has released a new version of Lightroom CC.  The Version of Lightroom we have been previously using is now Lightroom CC Classic, and the new CC Version is powerful yet simple and can be used across multiple platforms including your mobile device.

You will be able to install our Presets into your Desktop version of the new application but not yet in the mobile app. Hopefully this will be a future update!

Installing Your Presets

This method is just as simple and fast as in Lightroom CC Classic:

1. Open your Lightroom CC app on your Mac or PC.  

2. Click on the the Editing section. It is on the top right hand side with three horizontal lines with a circle on each line.

3. Open the Presets section. You'll do this by clicking on the Presets bar at the bottom of the Editing section.

4. Click on the three dots at the top of the Presets panel that opens. Choose "Open Presets Folder".

5. Paste your presets into your "Develop Presets" Folder.  Copy and paste over the folders containing your Lou & Marks Presets.

6. Now Restart your Lightroom CC application by closing and re-opening the program. Your Presets will now be located in the Presets Bar at the bottom of the Panel

You can also follow along on this video:

Photoshop Actions Portrait Editing

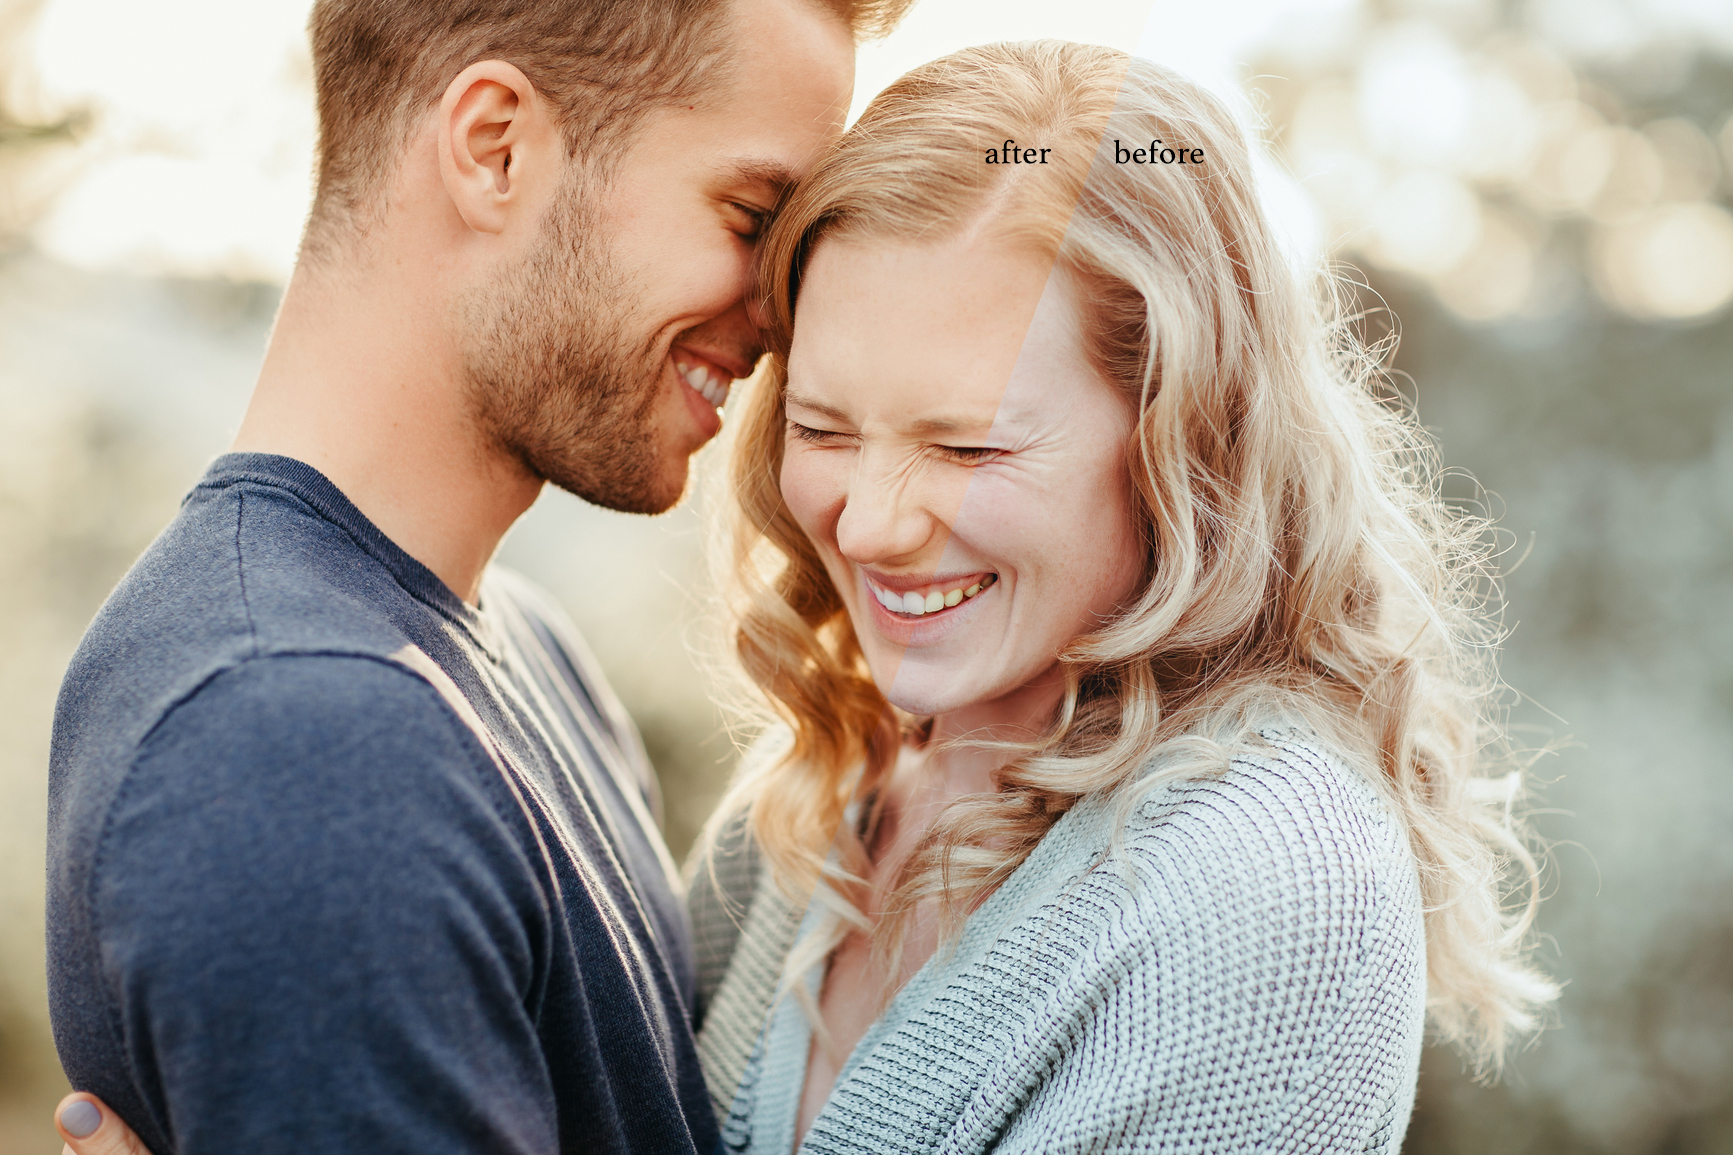
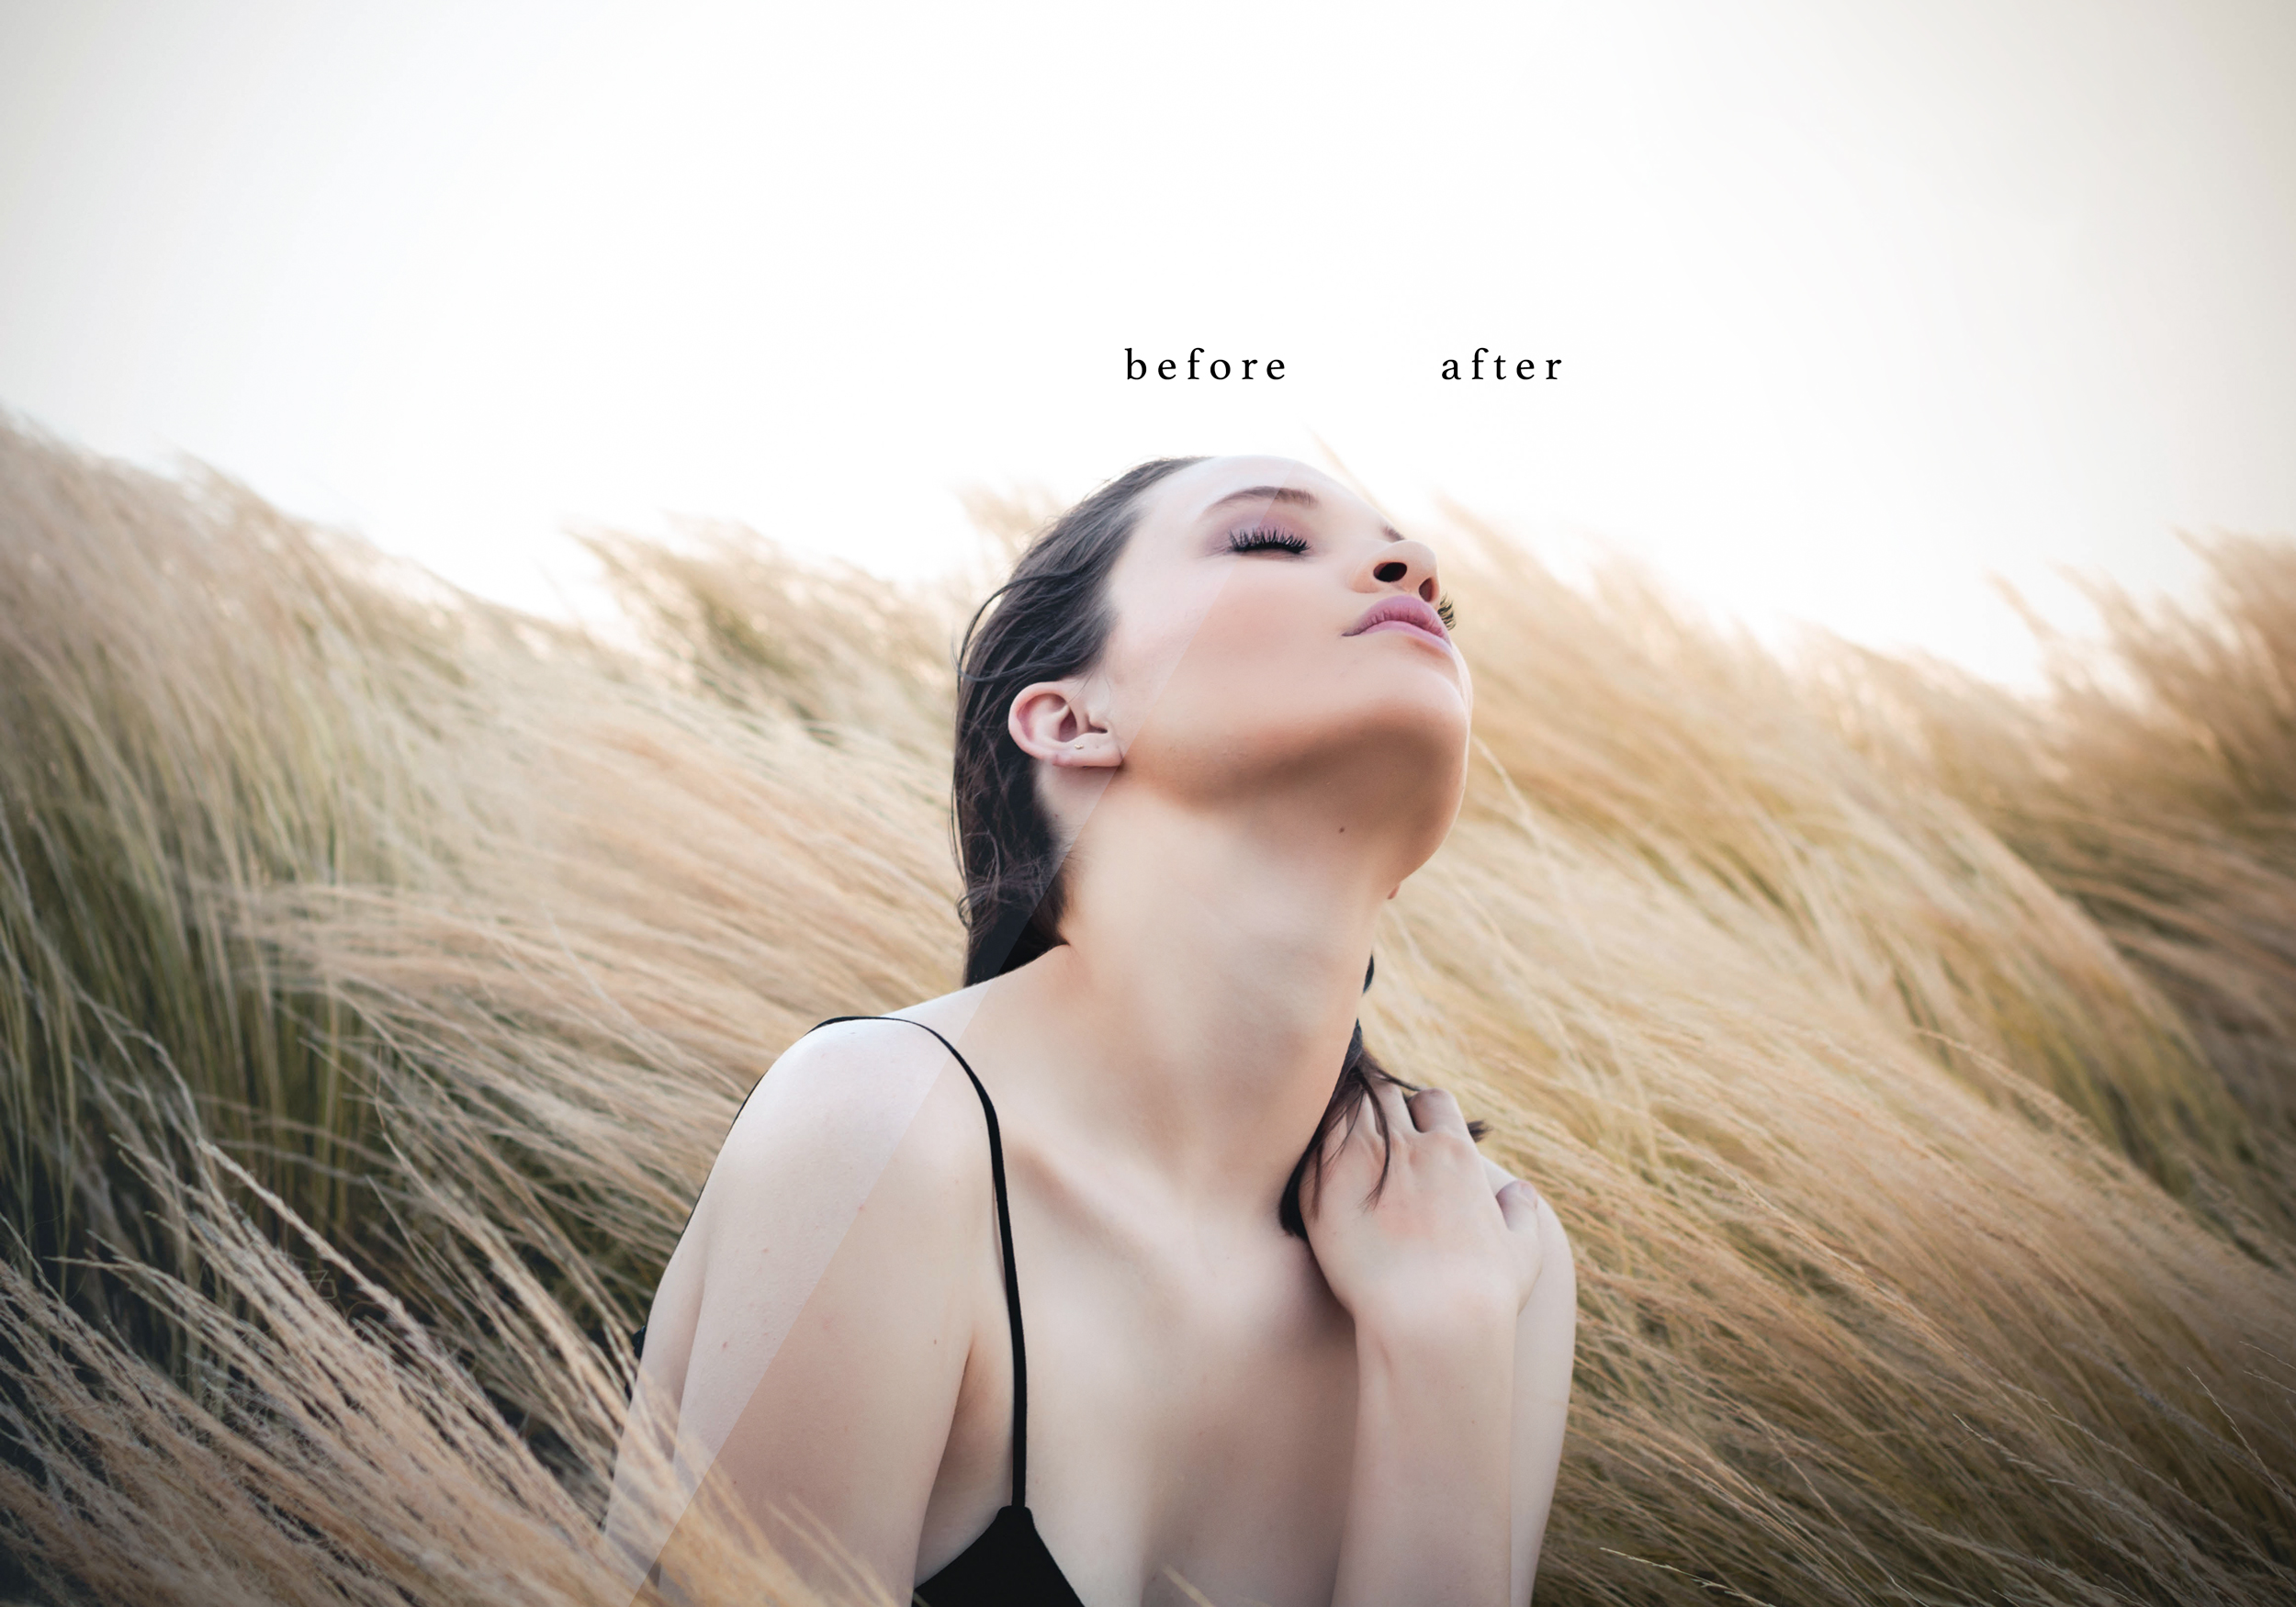
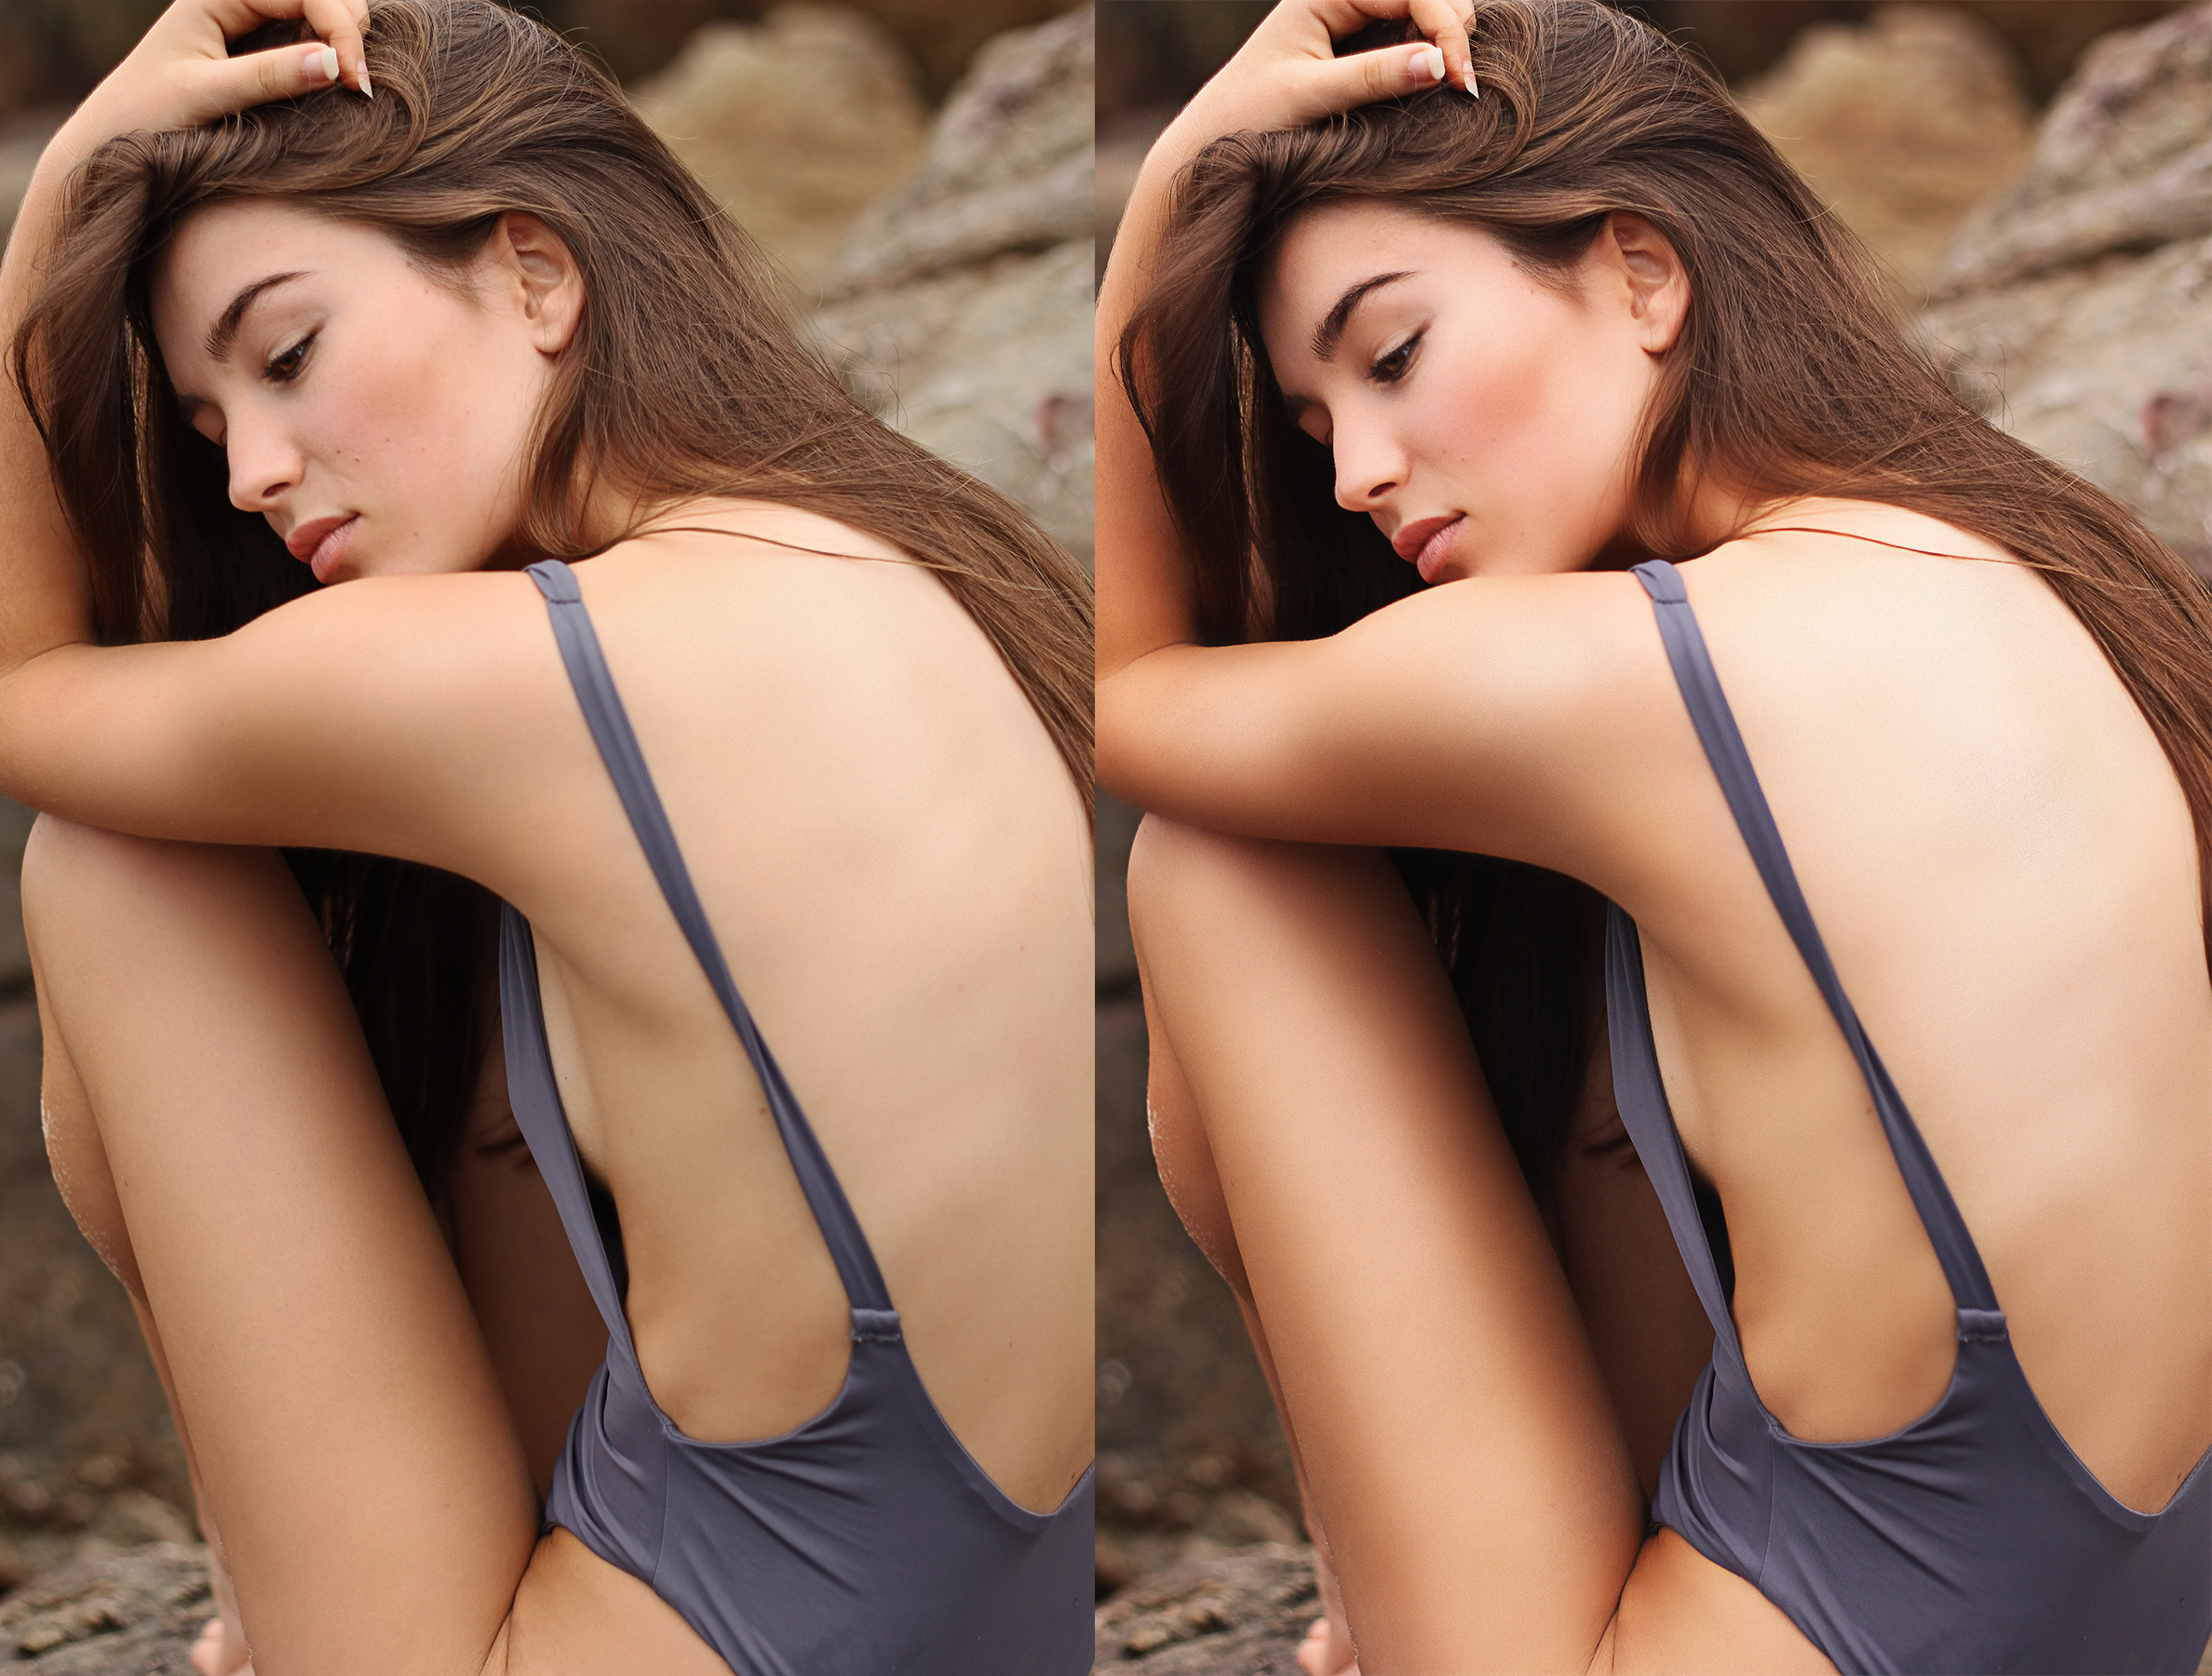
We offer a wide range of Photoshop and Lightroom Retouching Presets and Actions. They offer a soft subtle retouching effect to your images. You can change the opacity of the actions to make them even softer or play the action again for a more dramatic edit.

These are a staple for Portrait/Wedding Photographer workflow. Not all clients will want their portraits enhanced but you will get a handful of clients that want minor editing done to their skin. Our products offer just that. They won't make your clients look like different people but will take care of the minor skin issues your clients might have.

Here are some Before/Afters with our Products. You can view our products on our SHOP